Key Takeaways
- Butter temperature above 70°F melts too quickly, causing excessive dough spread during baking.
- Expired baking soda or powder loses potency, resulting in insufficient rise and flat cookies.
- Home ovens often run 25–50°F cooler than displayed, preventing proper structure development.
- Overmixing develops gluten strands, creating elastic dough that spreads excessively during baking.
- Excessive sugar or insufficient flour weakens dough structure, allowing cookies to flatten and flow.
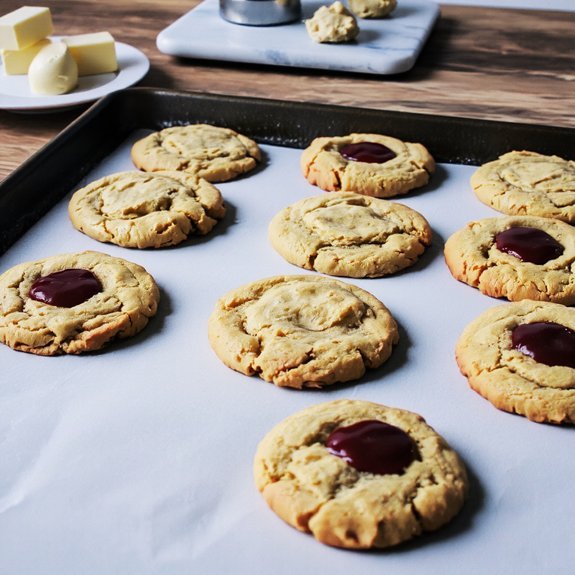
Your Butter Temperature Matters More Than You Think
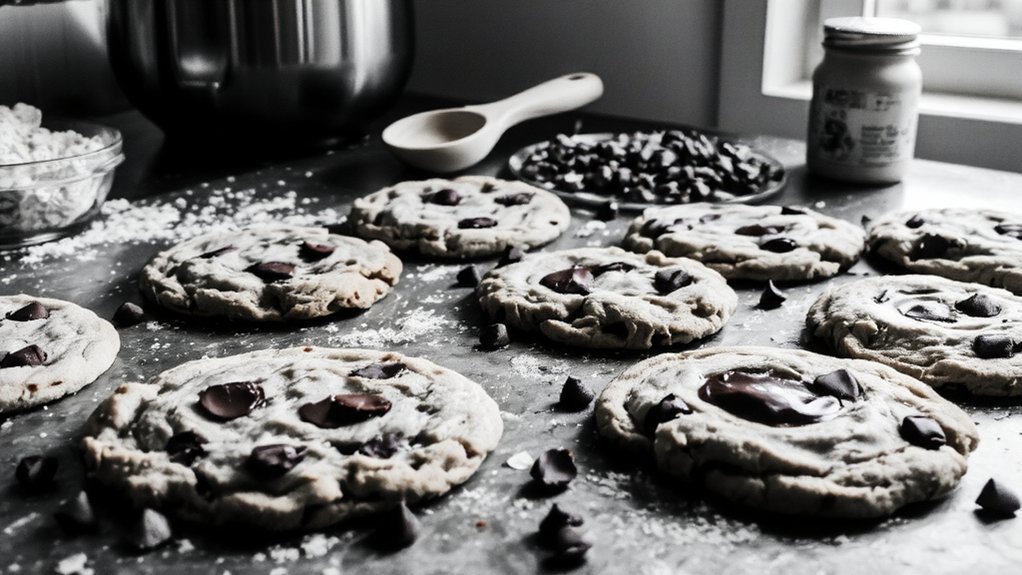
Why do cookies spread excessively in the oven? Your butter temperature directly controls fat crystallization, which determines how much your dough spreads.
When you use warm butter, the fat melts too quickly during baking, allowing your dough to flow across the pan before the flour sets structure. Room temperature butter—around 65-70°F—creates ideal fat crystallization patterns that slow spreading while still incorporating air.
Cold butter won’t cream properly with sugar, leaving you with dense, undercooked centers.
You need precise butter consistency: soft enough to blend smoothly, firm enough to hold its shape. Test by pressing your finger into the stick; it should leave a slight indent without collapsing.
Take control of your batter’s behavior by managing butter temperature before you even crack an egg.
Baking Soda and Baking Powder Problems
While you’ve mastered butter temperature, your leavening agents can still sabotage your cookies.
Expired leaveners lose potency over time, resulting in insufficient rise and consequently flat cookies.
Expired leaveners lose potency over time, causing insufficient rise and flat cookies that won’t achieve proper structure.
Check your baking soda and baking powder dates before mixing.
Your acid interactions matter equally.
Baking soda requires an acidic ingredient—buttermilk, brown sugar, or vinegar—to activate properly.
Without adequate acid, you won’t achieve the chemical reaction needed for lift.
Conversely, too much acid can cause over-neutralization, leaving your batter flat.
Baking powder already contains acid, so verify you’re using the correct leavener for your recipe.
Double-acting baking powder releases gas twice: during mixing and baking.
Don’t substitute carelessly between these agents.
Replace expired products annually to guarantee ideal cookie structure and rise.
Oven Temperature Isn’t as Accurate as You’d Assume
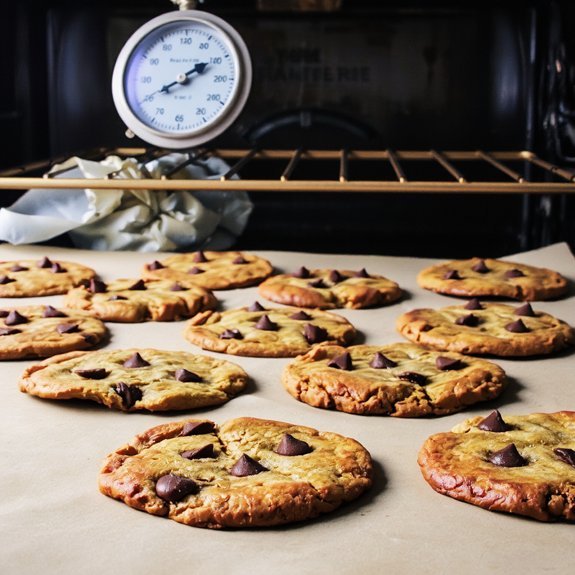
You’ll want to calibrate your oven thermometer because most home ovens run 25-50 degrees off from their displayed temperature, causing your cookies to bake faster or slower than intended.
Hot spots within your oven create uneven heat distribution, which means cookies on one rack brown quickly while others spread excessively on cooler areas.
Using an oven thermometer and rotating your baking sheets halfway through cooking helps you identify and compensate for these temperature inconsistencies.
Calibrate Your Oven Thermometer
How often do you verify that your oven’s displayed temperature actually matches its internal heat? You’re probably not—and that’s why your cookies flatten.
Calibrating your oven thermometer takes minutes but transforms your results. Place an oven-safe thermometer on the middle rack, preheat to 350°F, and wait 15 minutes. Compare the displayed temperature to your thermometer’s reading.
| Temperature Range | Adjustment Needed | Impact on Cookies |
|---|---|---|
| Within 25°F | None | Bakes as intended |
| 26-50°F too low | Increase setting | Spreads excessively |
| 26-50°F too high | Decrease setting | Burns edges |
| Over 50°F variance | Service oven | Unreliable results |
| Calibrated accurately | Verified | Perfect texture |
If your oven runs cool, it’s like cookies never reaching their boiling point—they spread uncontrollably. Grab an ice bath before your next bake session, recalibrate, and reclaim control over your cookies’ destiny.
Hot Spots Cause Uneven Baking
Even with a calibrated thermometer, your oven’s temperature isn’t uniform throughout—and that’s the real culprit behind flat, unevenly baked cookies.
Your oven likely has hot spots where heating elements concentrate intense heat, causing cookies on those racks to spread rapidly while others bake slowly.
Kitchen drafts and ambient humidity compound this problem by creating temperature fluctuations that sabotage consistency.
You’ll notice uneven browning across a single batch—some cookies golden, others pale.
This inconsistency forces you to choose between underbaking some cookies or overbaking others.
Rotate your baking sheets halfway through baking to combat hot spots.
Position racks strategically, avoiding areas directly above heating elements.
Close nearby doors and windows to eliminate kitchen drafts.
These adjustments give you control over your baking environment and guarantee uniform, properly-set cookies every time.
You Might Be Overmixing Your Dough

When you overmix your dough, you’re developing gluten strands that make your cookies spread more during baking because the structure becomes too elastic.
You’ll want to mix at lower speeds and stop as soon as your ingredients combine, since aggressive mixing activates the gluten network in your flour and causes unwanted spreading.
The key is matching your mixing speed to your ingredient stage—gentle folding for dry ingredients and moderate speed only until you see no flour streaks.
Gluten Development Issues
Because overmixing activates gluten proteins and creates an overly elastic dough, you’ll end up with flat cookies that spread excessively during baking.
When you work your dough too much, the flour protein network becomes overdeveloped, causing your cookies to lose their structure during heat exposure.
To avoid this pitfall, mix your ingredients just until combined.
Stop as soon you’ve incorporated the flour—don’t keep stirring.
You’ll want to maintain proper hydration balance; too much liquid combined with excessive mixing intensifies gluten development.
Use a light hand when folding in mix-ins like chocolate chips.
Consider using a lower-protein flour, such as cake flour, which gives you more forgiveness with mixing.
This approach lets you control your dough’s elasticity and achieve the thick, chewy texture you’re after.
Mixing Speed Matters
Your mixer speed directly controls how much you’re developing gluten in your dough, and most home bakers don’t realize they’re cranking their stand mixer too high.
High-speed mixing overdevelops gluten networks, causing excess elasticity that spreads during baking.
Control your beat duration and tool selection:
- Use medium speed (setting 2-3) for creaming butter and sugar
- Switch to low speed when adding dry ingredients
- Keep total mixing time under two minutes post-flour addition
- Consider hand-mixing with a wooden spoon for maximum control
- Reserve high-speed mixing for whipping cream only
Your dough doesn’t need aggressive mixing—it needs precision. Excessive beating creates tough, thin cookies that flatten excessively.
Respect your ingredients’ limits. A gentle hand and deliberate tool selection give you the freedom to bake cookies that hold their shape and texture exactly as intended.
Cookie Sheet and Pan Selection Affects Spreading
If you’ve noticed your cookies spreading too thin or unevenly, your baking surface might be the culprit.
Your pan’s material conductivity directly impacts how your dough spreads.
Dark-colored sheets conduct heat faster, causing cookies to brown and spread excessively.
Light or shiny pans distribute heat more gradually, giving you better control over spreading rates.
Choose aluminum or stainless steel pans for consistent results—they offer predictable heat conduction.
Insulated baking sheets slow heat transfer, reducing unwanted spread and preventing over-browning.
Pan color matters greatly.
Opt for light-colored surfaces to minimize heat absorption and maintain even baking.
Avoid dark nonstick pans unless you reduce oven temperature by 25 degrees.
Upgrade your baking setup strategically.
Quality pans eliminate variables, letting your cookie recipe perform as intended rather than spreading uncontrollably.
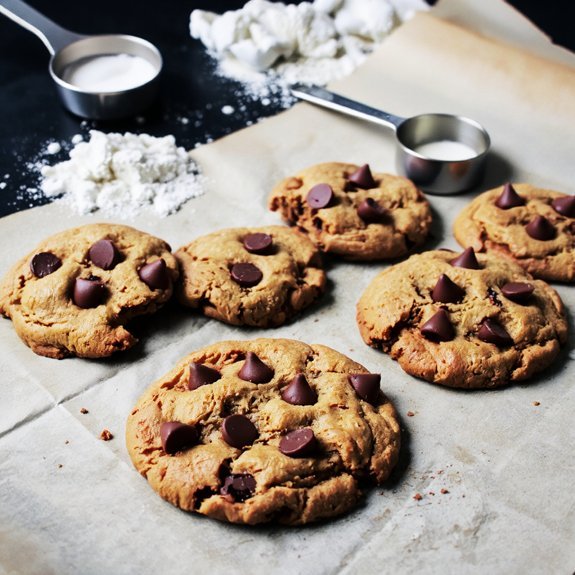
Sugar Ratios and Ingredient Measurements
While pan selection sets the stage for proper baking, the actual composition of your dough determines how much it’ll spread.
Pan selection matters, but dough composition truly determines how much your cookies will spread.
You’ll find that excessive sugar causes aggressive spreading, so precise measurements matter.
When you’re experimenting with sugar substitution, remember that brown sugar contains moisture that affects spread differently than granulated sugar.
Accurate metric conversion guarantees consistency across batches.
Here’s what impacts your dough’s behavior:
- Too much butter softens dough, increasing spread
- Insufficient flour weakens structure, allowing flow
- Brown sugar adds 1-2% moisture content variation
- Granulated sugar creates firmer, less-spreading dough
- Egg ratios affect binding and moisture levels
You’ll gain control by weighing ingredients rather than relying on volume measurements.
This precision eliminates guesswork and gives you the freedom to adjust recipes confidently based on desired thickness.
Chilling Your Dough Before Baking
Chilling dough before baking is one of the most effective interventions you can make to control cookie spread. When you refrigerate your dough, you’re giving fats time to solidify, which prevents excessive melting during baking. This practice also allows flavor infusion—your ingredients bond more completely, delivering deeper, more complex taste.
| Chill Duration | Result |
|---|---|
| 30 minutes | Modest spread reduction |
| 2-4 hours | Ideal control and flavor development |
| Overnight | Maximum structure and richness |
Your chill duration directly impacts outcomes. Thirty minutes provides basic benefit, while two to four hours optimizes both spread control and ingredient integration. Overnight chilling gives you superior results—your cookies hold their shape better and develop more pronounced flavors. You’re taking command of your baking results, not leaving them to chance.
Frequently Asked Questions
Does the Type of Flour I Use Affect How Flat My Cookies Spread?
Yes, flour type greatly impacts your cookie spread. All-purpose flour‘s moderate protein content creates a balanced structure, while cake flour‘s lower protein content allows excessive spreading.
Bread flour’s high protein content restricts spread, yielding thicker cookies. If you’re using flour substitutes like almond or coconut flour, you’ll experience dramatic spreading since they lack gluten development.
You’ve got the freedom to experiment, but understanding your flour’s protein content gives you control over your cookie’s final texture and thickness.
How Does Humidity in My Kitchen Impact Cookie Thickness and Texture?
High humidity increases your dough hydration, making it wetter and stickier.
You’ll notice your cookies spreading excessively flat because the extra moisture weakens gluten structure.
Surface stickiness intensifies, complicating handling and shaping.
Combat this by reducing liquid ingredients slightly or adding flour incrementally.
You can also refrigerate dough longer to firm it up, giving you better control over your final cookie thickness and texture outcome.
Can Old or Expired Leavening Agents Cause My Cookies to Flatten?
Yes, old leavening agents’ll flatten your cookies. Stale baking powder loses potency over time, reducing lift.
Inactive baking soda won’t create the carbon dioxide needed for rise. You’re left with dense, spread-out cookies instead of fluffy ones.
Check your expiration dates—replace baking powder yearly and baking soda every 18 months. Fresh leavening agents directly control your cookie’s structure and thickness, giving you the rise you want.
Does the Size of My Cookie Dough Portions Affect Final Cookie Shape?
Yes, your dough mass directly impacts final cookie shape.
Larger portions contain more dough, spreading differently during baking than smaller ones.
You’ll notice increased bake spread with oversized portions, causing flatter cookies.
Conversely, smaller portions concentrate ingredients, creating thicker results.
Standardize your dough portions using a cookie scoop to guarantee consistent shape and texture across batches.
Precise dough mass gives you control over your baking outcomes.
How Long Should Cookies Cool on the Baking Sheet Before Removing?
You should let your cookies cool on the baking sheet for 2-3 minutes before removing them. This brief resting period allows carryover baking to finish and crisp development to occur properly.
If you remove them too early, they’ll break apart; too long and they’ll harden excessively. The residual heat from the sheet firms your cookies’ structure without overdrying the edges, giving you that ideal texture you’re after.


Leave a Comment