You’ll pick sushi-grade tuna and rinse short-grain rice, then season it with a precise vinegar mix. You’ll slice fillings and mix tuna with mayo and a touch of heat, lay nori on a mat, and roll with steady pressure. Follow the techniques that prevent soggy rice and torn nori—next, you’ll learn the exact steps to execute them.
Choosing the Best Tuna for Rolls
How do you choose the best tuna for your rolls?
You’ll prioritize tuna quality by checking species, cut, color, fat and freshness. Pick Yellowfin or Albacore for accessible, sustainable choices, or reserve Bluefin (Pacific/Atlantic/Southern) only for high-end, well-sourced preparations.
Assess cuts: otoro and chutoro give buttery richness; akami gives lean umami for firmer texture; hoho-niku and kama are specialty options.
Confirm grade and handling: #1 grade and fish quick-frozen below −60°C preserve texture and safety. Look for deep red akami or pale pink fatty sections depending on desired mouthfeel.
If you need mild flavor, choose albacore; for classic spicy rolls choose Yellowfin.
Always check for freshness by smelling for a clean ocean scent and ensuring the flesh is firm and moist.
Always verify supplier transparency and recent harvest dates before buying. Prioritize traceability, seasonal availability, and avoid illegally sourced or overfished stocks altogether.
Ingredients You’ll Need
Now that you’ve selected the tuna, gather the components that will shape texture, flavor, and structure for your rolls.
You’ll need nori sheets for wrapping and crisp support; pick toasted sheets for extra snap. Choose sushi-grade ahi or thawed frozen ahi for raw rolls, or canned albacore for sauced mixtures.
Select mini or English cucumber, ripe avocado, thin carrot ribbons, optional finely diced jalapeño, and cilantro for freshness.
For condiments grab soy sauce, wasabi, pickled ginger, and sriracha-mayo or garlic-sriracha aioli to mix with tuna.
Assemble sushi utensils: a sharp knife, bamboo mat or parchment aid, and portioning tools.
Focus on flavor balancing—salty nori, creamy avocado, spicy accents—so each bite stays harmonious.
Balance salty nori, creamy avocado, and bright heat so each bite remains perfectly harmonious.
Measure portions consistently and prep ingredients before you start assembling rolls now. For convenience, many cooks buy fresh sushi ingredients from local stores like Heinen’s, which offers quality options Heinen’s fresh sushi.
Preparing Sushi Rice
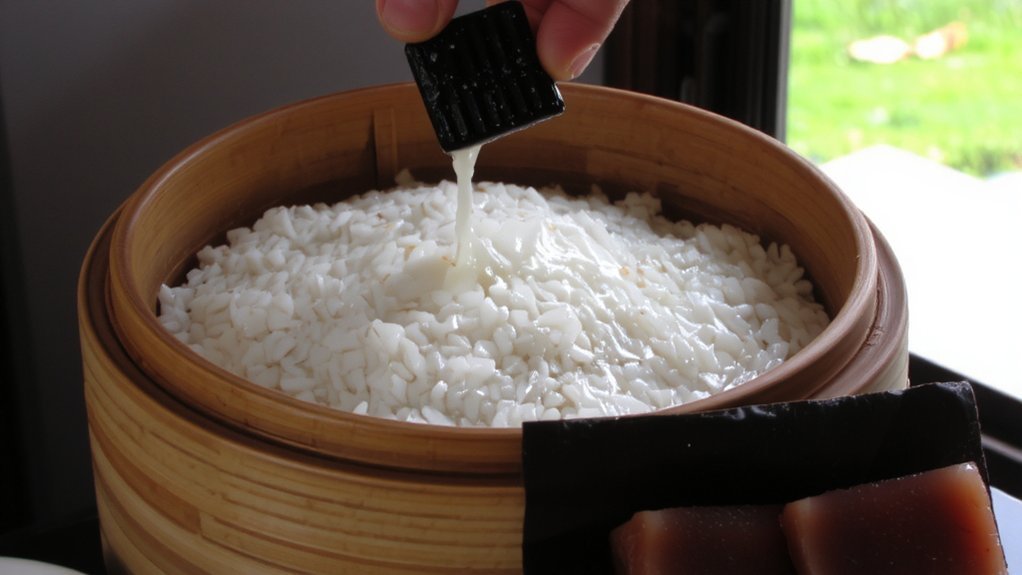
Before you cook, rinse and drain the sushi rice thoroughly until the water runs clear. Use authentic short-grain rice for the best texture.
Then soak it with a strip of kombu for 20–30 minutes to improve flavor and texture; shaking off excess water and letting the rice sit briefly after draining helps prevent sogginess.
Rinse 2–3 times in a fine-mesh strainer until water is clear, then drain well.
Use a rice cooker on Sushi setting for consistent results or simmer covered on the stove 15 minutes then rest 15 minutes.
Aim for about 1:1 rice to water by volume for perfect rice.
Discard kombu after cooking; you’ve already captured kombu benefits.
Make sushi vinegar, cool it, and fold into hot rice in a wide bowl with slicing motions.
Fan briefly to cool, and cover with cloth.
Making the Tuna Filling
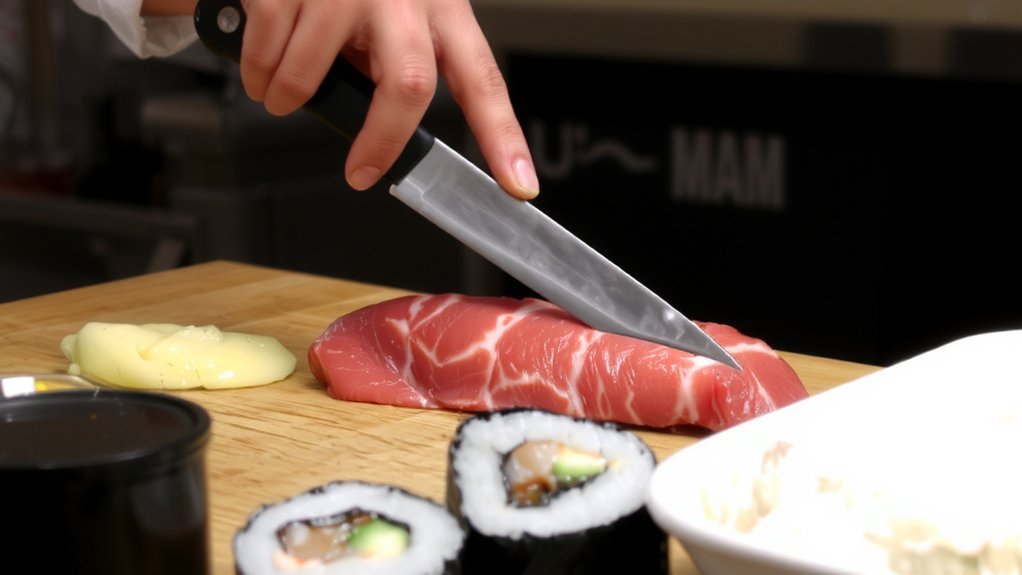
When selecting tuna, choose sushi-grade ahi or yellowfin (or drained canned albacore if you prefer a cooked option). For best results, choose sashimi-grade ahi when available. Then thaw completely if frozen, rinse with cold water, and pat dry before cutting into uniform ¼-inch pieces or ½-inch strips for chunky rolls or mince for a spreadable spicy mix.
Use a sharp knife for clean cuts to preserve texture variations. Drain canned tuna thoroughly. Gently combine tuna with Kewpie mayonnaise, sriracha, rice wine vinegar and a few drops sesame oil; add scallions and furikake to taste as tuna seasoning.
Mix lightly to avoid mushiness, taste, adjust heat and balance salt levels. Keep the filling chilled, covered, and use same day. For chunky rolls, lay strips lengthwise; for spicy rolls, pipe the minced mix carefully.
Preparing the Nori and Fillings
With your tuna filling chilled and ready, set a nori sheet shiny (smooth) side down on the bamboo mat so the rough side faces up to better hold rice and fillings.
Check each sheet for color and rigidity; choose fresh nori without excess oils or additives. Keep hands and tools lightly wet to prevent sticking when spreading rice thinly, leaving a 1–2 cm top border. Use sparing misting only if sheets are brittle to maintain flexibility.
Inspect nori for color and firmness; keep hands lightly wet, spread rice thin leaving a one to two centimeter top border.
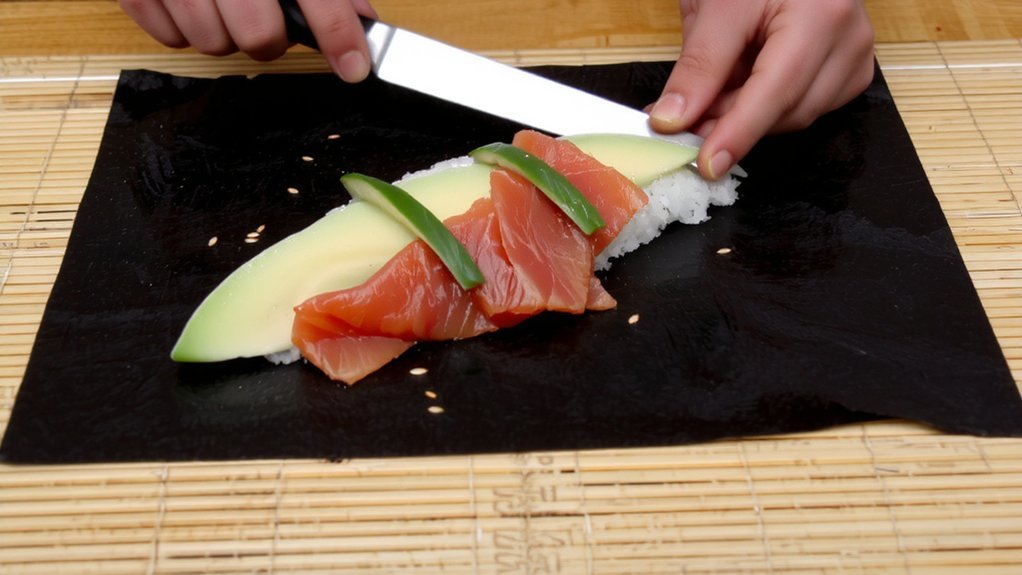
Arrange fillings near the bottom quarter in a narrow line or dam shape; cut pieces uniformly for even texture. Balance tuna, cucumber and condiments to avoid overcrowding.
Follow nori handling techniques and filling arrangement strategies to guarantee clean assembly and consistent flavor. Store unused sheets airtight and dry. Also, when storing, keep unused sheets in a ziplock bag with a teaspoon of uncooked rice to keep them crisp.
Rolling Techniques and Tips
Start by positioning your bamboo mat (or cling-wrapped towel) so the nori seam faces you and the fillings sit in the shallow creek you pressed into the rice. Plan your session because total preparation time is about 40-50 minutes.
Keep ingredients centered, avoid overfilling. Lift the mat edge nearest you, tuck nori over tuna, and begin the first roll. Use steady rolling pressure, easing off when needed; this rolling pressure and simple mat techniques give an even cylinder.
Roll in stages: tuck, roll, tighten, repeat, using fingers to hold fillings.
- Place fillings in a straight line to simplify tucking.
- Pull the mat back slightly between rolls to compact the cylinder for uniformity.
- Finish by shaping with gentle squeezes and sealing the seam underside.
Consume hand rolls immediately; adjust pressure if seams loosen.
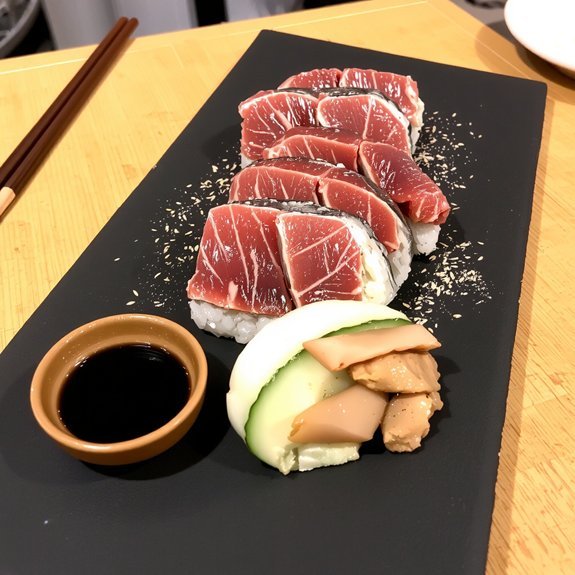
Cutting and Serving the Rolls
After you finish shaping and sealing the roll, prepare your knife and workspace for precise cutting.
| Tip | Action | Benefit |
|---|---|---|
| Angle | 90° or slight diagonal | Tender slices |
| Stroke | Single long cut | Clean edge |
Use a very sharp yanagiba or long blade, dry the tuna and knife, and sanitize. Hold the knife at 90 degrees to tuna sinews when possible; if the block is under 7–8 cm, angle slightly diagonal. Make long single slicing strokes, using the full blade to cut 4–5 mm slices; control each slice to about 15 g. Place slices slightly overlapping on the roll or plate, angling to show grain. Serve immediately with damp chopsticks and condiments. These slicing techniques and presentation tips keep texture, portion control, and clean edges. Finish.
Flavor Variations and Add-Ins
You’ll choose either spicy-tangy boosts—like sriracha or chili oil blended with soy and toasted sesame oil, plus a squeeze of citrus—to give the tuna a bright, adjustable heat.
For creamy balance, mix Kewpie or regular mayo into the tuna and fold in mashed avocado; for crunch, add finely diced cucumber, scallions, or tobiko.
Finish with sesame seeds or a light soy-wasabi dip to tie the textures and flavors together. For best results, mix tuna with sriracha, chili oil, rice vinegar, scallions, and mayonnaise to create a balanced spicy tuna mixture.
Spicy and Tangy Options
When balancing heat and brightness, combine a creamy spicy mayo (mayo, sriracha, sesame oil, sugar, and chili powder) or a minced sashimi‑grade tuna mixed with Kewpie, sesame oil, and sriracha, and counter that richness with tangy elements like rice vinegar in the sushi rice, a squeeze of lime, or a touch of yuzu or gochujang for a citrusy‑acid bite. Always use sashimi-grade tuna when preparing raw tuna to ensure quality and minimize risk.
Note spicy mayo combinations: garlic sriracha and sesame oil; swap gochujang for depth. Keep jalapeño optional for heat.
Prioritize food‑safe handling of sashimi tuna. For budgets, use canned tuna with sriracha, chili oil, rice vinegar, and scallions. Add pickled ginger and sesame seeds as tangy garnishes and finish with green onions.
- Assemble: measure and taste.
- Adjust: acidity versus heat.
- Serve: garnish precisely.
Creamy and Crunchy Add-Ins
While balancing creaminess and crunch, choose add‑ins that contrast texture and flavor without overwhelming the tuna. Use Kewpie mayonnaise, cream cheese, or avocado for creamy textures; mix spicy mayo sparingly to add heat.
Layer thin cucumber, carrot julienne, panko or tempura flakes for crunchy contrasts. Aim for flavor balance by adding sesame oil, lemon juice, or green onions in small amounts.
Assemble ingredient combinations that create clear texture layers: creamy base, crisp vegetable, and a toasted seed or fried element. For hand rolls, combine mashed avocado with mayo and julienne vegetables for a freshness boost.
Taste as you go, adjust acidity and heat, and keep proportions controlled so tuna remains the star. You’ll monitor calorie impact and choose lighter options when needed for health. Use high-quality Ahi tuna as the centerpiece to preserve its mild, clean taste.
Storage and Make-Ahead Tips
You’ll refrigerate sushi at 32–38°F on the bottom shelf in airtight containers, using raw tuna within 1–2 days (cooked: 3–4 days) to prevent spoilage and cross-contamination. Never leave sushi out at room temperature for more than two hours.
If you freeze rolls, wrap or freeze individually in airtight packaging, thaw them in the fridge and eat promptly, knowing texture may change.
For make-ahead prep, cook and cool rice, store ingredients separately with labels and dates, and assemble just before serving to preserve texture and safety.
Refrigeration Guidelines
Because sushi spoils quickly, keep it refrigerated at a steady 32–38°F (0–3°C) and store raw and cooked items separately to prevent cross-contamination. For serving, freshly made sushi can be left at room temperature for up to 4 hours. You’ll monitor refrigeration temperature to maintain safety and extend sushi shelf life; raw rolls last 1–2 days, cooked rolls 3–4 days.
Use airtight containers and wrap rolls tightly in plastic to limit air exposure and drying.
Don’t overcrowd the coldest shelf; place raw fish on the bottom shelf.
When making ahead, store rice and fillings separately and assemble within a day for best texture.
Check visually and smell before serving.
Keep utensils and surfaces clean to avoid cross-contamination at all times.
- Store: airtight container, plastic wrap.
- Placement: bottom shelf for raw fish.
- Timeline: raw 1–2 days, cooked 3–4 days.
Freezing and Thawing
If you plan to freeze tuna sushi rolls, freeze them only when they’re very fresh and tightly wrapped to prevent freezer burn.
Wrap individually in plastic, then place in airtight containers or freezer bags, label with date; keep freezer at or below 0°C. Freeze up to 3 months; expect slight texture changes.
Freeze raw tuna if unused within 1–2 days; avoid freezing rice if possible.
For thawing methods, move rolls to the refrigerator and thaw slowly to limit bacterial growth, or use cold water (change every 30 minutes) or cold running water for faster thawing.
Don’t microwave or thaw at room temperature.
After thawing, refrigerate and consume within 24 hours, storing in airtight containers and separating raw from cooked items.
Check labels and discard promptly. Freezing is useful for storing homemade sushi, allowing you to preserve it up to 3 months.
Make-Ahead Assembly Tips
When planning make-ahead assembly, prepare components deliberately so final assembly is quick and the rolls stay crisp: cook sushi rice ahead and cool it, then reheat briefly before seasoning; mix tuna with mayo and spices up to 24 hours in advance; and prep sauces like sriracha mayo, soy, and wasabi ahead. Also, be sure to store and handle sushi rice correctly to maintain its texture.
You’ll prep vegetables at the last minute, store nori dry, and control fridge temperature. Follow a simple checklist to streamline assembly and protect texture:
- Cook and cool rice; follow rice storage guidelines and reheat before seasoning.
- Mix tuna filling; refrigerate covered up to 24 hours.
- Portion make ahead sauces and store airtight.
Assemble just before serving; wrap or refrigerate rolls up to eight hours with a damp cloth for safety.
Pairings and Condiments
Although tuna rolls are flavorful on their own, you’ll want a small set of condiments and pairings to balance richness, add contrast, and refresh the palate.
Choose sauce pairings: soy sauce for umami, ponzu for citrus lift, and spicy mayo for creamy heat; offer each in small dishes so diners control intensity. Include avocado for a rich, creamy texture that complements spicy mayo.
Select topping combinations: sesame seeds for nuttiness, furikake for sea-salt depth, and thin jalapeño or red onion for brightness.
Serve pickled ginger to cleanse the palate between bites and wasabi sparingly to complement tuna.
Side options: miso soup or edamame for warmth or lightness.
For drinks, chill sake, brew green tea, or present a crisp beer or sparkling water to reset the palate.
Adjust quantities to your guests’ taste and seasonality preferences.
Leave a Comment