Key Takeaways
- Bake two 8-inch cake layers at 375°F for 18–22 minutes using creamed butter, sugar, eggs, flour, and alternating dry and wet ingredients.
- Select deep red, fragrant strawberries; hull with a paring knife at 45°, slice uniformly into 1/4-inch pieces within 2 hours of assembly.
- Whip heavy cream (35–40% fat) to soft peaks in a chilled bowl; stabilize with powdered sugar or cornstarch for extended shelf life.
- Layer cooled cake with thin whipped cream, strawberry halves, and second cake layer; top with whipped cream and reserved strawberries for garnish.
- Use room-temperature strawberries and whipped cream, maintain oven accuracy with a thermometer, and respect timing windows to preserve textural contrast and flavor.
Ingredients You’ll Need
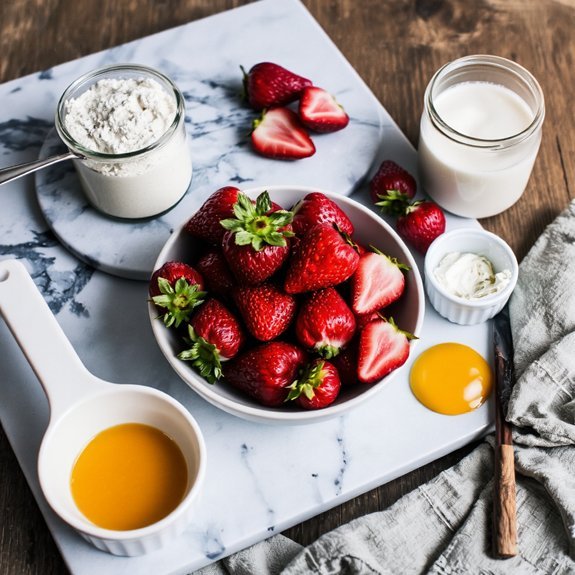
You’ll need several pantry staples and fresh produce to assemble this classic dessert. Gather two cups all-purpose flour, one-half teaspoon salt, two tablespoons granulated sugar, and three teaspoons baking powder.
You’ll require one cup heavy whipping cream, one-quarter cup whole milk, and four tablespoons unsalted butter.
For the filling, procure two pounds fresh strawberries and one-half cup powdered sugar.
Consider measurement conversions if you’re working with metric scales: two cups flour equals approximately 240 milliliters.
For allergy alternatives, substitute all-purpose flour with gluten-free blends in equal proportions, or replace dairy cream with coconut cream.
Use dairy-free butter for lactose-intolerant preparations.
Ensure all ingredients reach room temperature before beginning assembly. This approach guarantees ideal texture and integration throughout your preparation process.
Preparing the Cake Layers
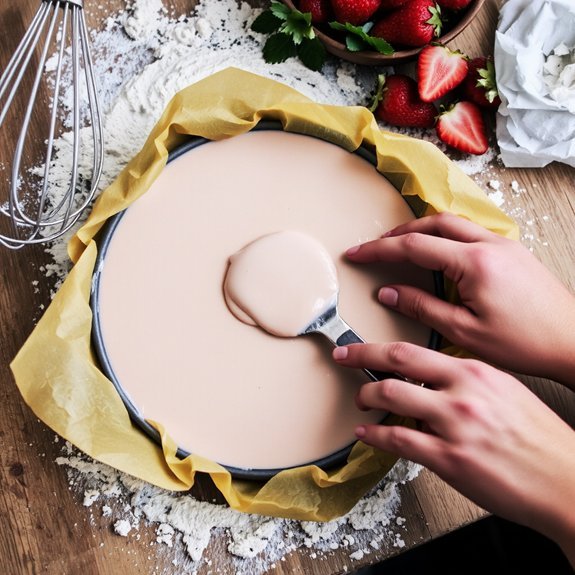
Preheat your oven to 375°F and line two 8-inch round cake pans with parchment paper.
In a large mixing bowl, whisk together your dry ingredients—flour, baking powder, and salt—guaranteeing no lumps remain.
In a separate bowl, cream butter and sugar until light and fluffy, approximately three minutes.
Cream butter and sugar until light and fluffy, approximately three minutes, for optimal cake foundation.
Incorporate eggs one at a time, beating well after each addition.
Alternate adding your dry mixture and buttermilk to the wet ingredients, starting and ending with the dry components. This technique maintains ideal batter consistency throughout mixing.
Pour equal amounts into each prepared pan. Level the tops using a bench scraper or offset spatula, employing crumb leveling methods to guarantee even cake layers.
Bake for 18-22 minutes until a toothpick emerges clean. Cool in pans for 10 minutes before inverting onto wire racks for complete cooling.
Selecting and Preparing Fresh Strawberries
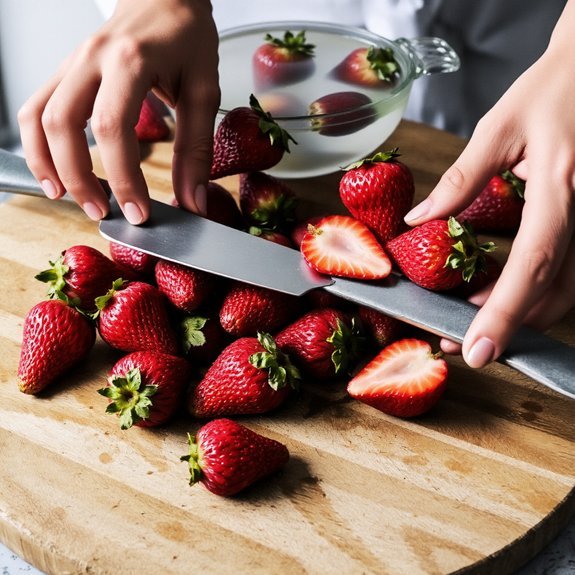
Choosing ripe, unblemished strawberries is essential for achieving the ideal flavor and texture in your dessert. You’ll want to select berries at peak ripeness indicators: deep red coloring throughout, firm yet yielding flesh, and a fragrant aroma.
Prepare your strawberries using these hulling methods:
- Remove the green leafy crown using a small paring knife at a 45-degree angle
- Scoop out the white core with a specialized strawberry huller for precision
- Rinse berries gently under cool water just before use
- Pat dry thoroughly with paper towels to prevent excess moisture
- Slice uniformly to approximately ¼-inch thickness for consistent maceration
Don’t prep strawberries excessively in advance—prepare them within 2 hours of assembly to maintain structural integrity and maximize flavor release during the shortcake’s final composition.
Making Homemade Whipped Cream
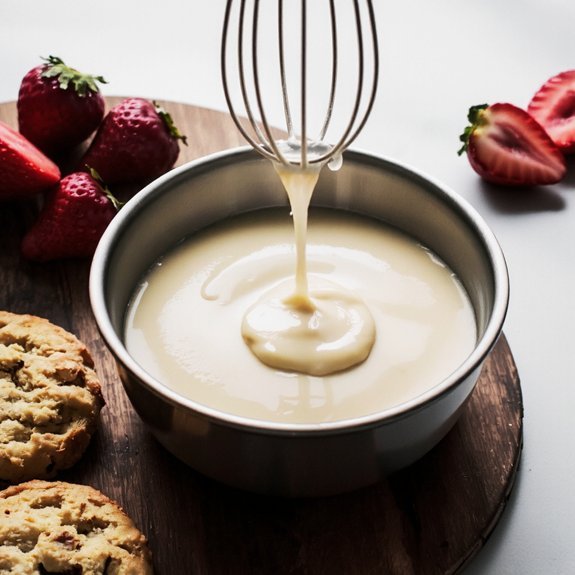
You’ll want to start with heavy cream that contains at least 36% butterfat and chill your mixing bowl and beaters beforehand to achieve ideal volume and texture.
Whip your cream at medium-high speed for 1-2 minutes until soft peaks form, then gradually increase speed while monitoring closely to prevent overwhipping into butter.
Properly made whipped cream will keep refrigerated for up to four hours, though you can stabilize it with a tablespoon of powdered sugar or cornstarch per cup if you need extended shelf life.
Choosing Quality Ingredients
When crafting homemade whipped cream, selecting cold heavy cream with a fat content between 35-40% guarantees ideal volume and stability during whipping.
You’ll want to establish supplier relationships with local dairies that prioritize quality standards.
Conduct taste testing to identify cream with ideal flavor profiles and freshness indicators.
Your ingredient selection directly impacts the final product:
- Fat content: 35-40% promotes proper emulsification
- Temperature: Keep cream at 40°F or below before whipping
- Freshness: Use within 7-10 days of production
- Additives: Avoid creams with stabilizers or gums
- Sourcing: Prioritize grass-fed, hormone-free options
You deserve shortcake that reflects genuine quality.
Don’t compromise on cream—it’s your foundation for achieving professional-grade results.
Superior ingredients yield superior outcomes, giving you the freedom to create desserts worth celebrating.
Whipping Techniques Perfected
With premium cream selected and properly chilled, you’re ready to transform it into stable whipped cream through precise technique. Master speed control by starting on low, gradually increasing to medium-high as peaks form. Proper whisk ergonomics—maintaining a firm grip with your wrist straight—ensures consistent motion and prevents fatigue.
| Stage | Time | Consistency |
|---|---|---|
| Soft peaks | 2-3 min | Billowy, droops slightly |
| Medium peaks | 3-4 min | Holds shape, spreadable |
| Stiff peaks | 4-5 min | Firm, holds angles |
You’ll achieve ideal texture at medium peaks for shortcake applications. Over-whipping produces butter; stop before that point. Chill your bowl and beaters beforehand to accelerate stabilization. This methodical approach gives you complete control over your cream’s final consistency, ensuring perfect results every time.
Storage and Shelf Life
Because homemade whipped cream lacks the stabilizers and preservatives found in commercial varieties, proper storage becomes critical to maintaining quality and safety.
You’ll maximize freshness by understanding ideal refrigeration times and freezing tips that preserve your creation’s integrity.
Storage Guidelines:
- Refrigerate whipped cream in airtight containers for up to 3 days
- Maintain temperatures at 40°F or below to prevent bacterial growth
- Freeze in portions using parchment-lined trays for 2-3 hours before transferring to freezer bags
- Store frozen whipped cream up to 1 month for ideal texture retention
- Thaw frozen portions in refrigeration 4-6 hours before serving
You’ll maintain superior texture and food safety by adhering to these evidence-based protocols. Proper storage guarantees your homemade whipped cream complements your strawberry shortcake without compromise.
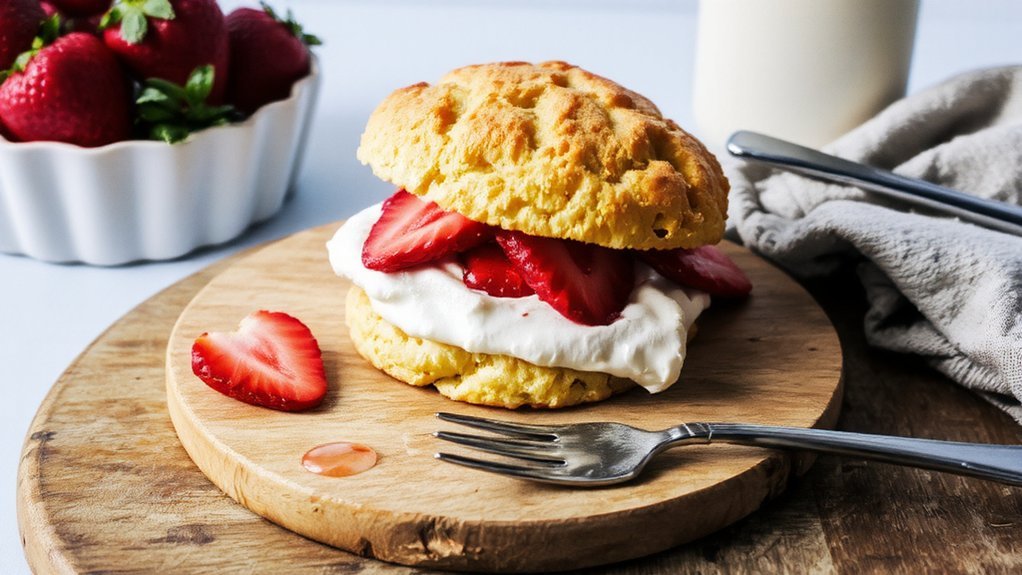
Assembling Your Shortcake
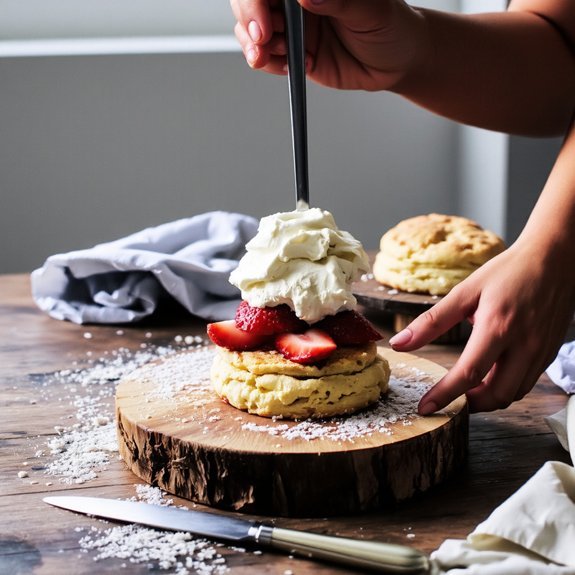
Once you’ve prepared all components, you’re ready to begin the assembly process. Start by positioning your shortcake base on a clean plate or serving board.
Apply a thin layer of whipped cream across the surface, ensuring even coverage for ideal layer alignment. Distribute strawberry halves strategically over the cream, reserving the most visually appealing pieces for decor placement on top.
Position your second cake layer directly above, pressing gently to secure. Crown the structure with additional whipped cream, creating a smooth, professional finish.
Arrange your reserved strawberries at precise angles across the top, maintaining visual balance. For enhanced presentation, add mint leaves or edible flowers as final garnish elements.
This technique yields a structurally sound, elegantly presented dessert ready for immediate service.
Tips for Perfect Results Every Time
Now that you’ve mastered the assembly technique, you’ll want to focus on the variables that separate good strawberry shortcakes from exceptional ones.
Key strategies for consistent excellence:
- Maintain sharp, clean tools—dull knives crush delicate cake layers
- Organize your workspace with mise en place principles for seamless execution
- Calibrate oven temperature using an independent thermometer for precise baking
- Time your assembly within two hours of cake cooling to optimize texture
- Use room-temperature strawberries and whipped cream for superior flavor integration
Proper tool maintenance guarantees clean cuts without structural damage.
Strategic kitchen organization eliminates delays that compromise component quality.
Temperature control directly impacts rise and crumb structure.
Respecting timing windows preserves the textural contrast you’ve worked to achieve.
These disciplined practices eliminate guesswork, granting you complete control over your final product’s quality.
Frequently Asked Questions
Can I Make Strawberry Shortcake Ahead of Time, and How Long Will It Stay Fresh?
You can prepare strawberry shortcake components separately for ideal results.
Bake your sponge cake 1-2 days ahead, storing it in an airtight container.
Whip cream and hull berries within 4 hours of assembly.
Follow these timing guidelines: assemble no more than 2 hours before serving to prevent sogginess.
For reheating tips, briefly warm cake layers at 300°F for 5 minutes if needed.
Properly stored components maintain peak quality and freshness throughout.
What Are Suitable Substitutes for Ingredients if I Have Allergies or Dietary Restrictions?
You can substitute dairy alternatives like coconut cream or cashew-based products for traditional butter and whipped cream.
For gluten-free accommodates, you’ll replace wheat flour with almond flour or rice flour blends at precise 1:1 ratios. Employ binding agents like xanthan gum to maintain structural integrity.
These substitutions preserve your autonomy over dietary choices while maintaining professional-grade results through methodical technique and accurate measurement protocols.
How Do I Prevent the Cake Layers From Becoming Soggy When Assembling?
You’ll prevent sogginess by establishing a crumb barrier—brush each cake layer lightly with simple syrup before frosting application.
Time your assembly strategically; don’t stack components until thirty minutes before serving. Apply a thin buttercream layer first, creating a moisture-blocking seal.
You’re controlling when liquids penetrate the cake structure. This technique maintains your cake’s structural integrity while preserving that desirable tender crumb, giving you the freedom to prepare confidently without sacrificing quality.
Can I Use Frozen Strawberries Instead of Fresh Ones for This Recipe?
You can substitute frozen strawberries, though you’ll notice texture differences.
Thaw them completely in the refrigerator, then drain excess liquid thoroughly—this prevents sogginess in your assembly. Use a fine-mesh strainer for ideal drainage.
Frozen berries lose structural integrity during freezing, yielding softer results than fresh specimens.
Consider this trade-off acceptable if fresh isn’t available. Drain their liquid separately; don’t incorporate it into your shortcake construct.
This technique maintains your dessert’s integrity while utilizing frozen fruit efficiently.
What’s the Best Way to Store Leftover Strawberry Shortcake to Maintain Quality?
You’ll store your leftover strawberry shortcake in an airtight container choice to prevent degradation. Implement moisture control by placing parchment paper between layers, separating the sponge from filling.
Refrigerate at 40°F for maximum three days. For extended preservation, freeze individual portions in freezer-safe containers up to two months.
Thaw overnight in refrigeration before serving. This methodology maintains structural integrity and flavor profile without compromising your dessert’s quality or your time investment.
Leave a Comment