Key Takeaways
- Base recipe uses 225g flour, 225g butter, 225g sugar, four eggs, two teaspoons baking powder, one teaspoon vanilla extract.
- Cream softened butter and sugar for 3–5 minutes until pale and fluffy to incorporate air bubbles throughout batter.
- Fold in room-temperature eggs gradually, then gently fold in flour using a spatula to preserve incorporated air.
- Use light-colored aluminum pans, grease thoroughly, line with parchment paper, and bake at 350°F for 25–30 minutes.
- Avoid opening the oven door during the first 20 minutes; test doneness with a skewer when golden brown.
Ingredients You’ll Need

You’ll need 225g of all-purpose flour, 225g of softened butter, 225g of caster sugar, four large eggs, two teaspoons of baking powder, and one teaspoon of vanilla extract.
You’ve got flexibility with shelf stable substitutes if you’re managing your pantry strategically.
Replace all-purpose flour with self-raising flour, reducing baking powder to half a teaspoon.
For allergen alternatives, you can substitute dairy butter with coconut oil at a 1:1 ratio, maintaining your cake’s structural integrity.
Swap eggs with flax eggs—one tablespoon ground flaxseed mixed with three tablespoons water per egg—though your crumb will be slightly denser.
Use plant-based milk plus cornstarch if you’re avoiding animal products entirely.
These substitutions won’t compromise your final result’s quality when measured precisely.
2. Essential Equipment and Tools
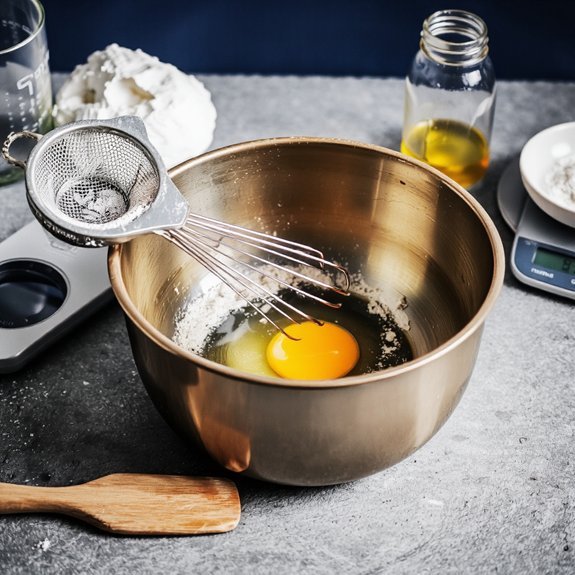
You’ll need mixing bowls and whisks to properly incorporate your dry ingredients and whip your eggs to the correct volume and consistency.
Select baking pans and tins with even thickness and light-colored surfaces to guarantee uniform heat distribution and prevent over-browning.
Accurate measuring devices and scales are critical for maintaining the precise ratios that determine your cake’s structure and rise.
Mixing Bowls and Whisks
Because sponge cake relies on proper aeration and ingredient incorporation, selecting the right mixing bowls and whisks becomes critical to achieving the desired crumb structure.
You’ll want stainless steel or glass bowls that resist deflating air bubbles you’ve worked to incorporate.
Avoid plastic, which can retain grease residue.
Choose balloon whisks for maximum volume incorporation—their multiple wires create superior aeration compared to single-wire designs.
Historical origins of whisk craftsmanship variations trace back centuries, with artisans developing specialized shapes for specific techniques.
You’ll benefit from understanding that wire gauge matters; thicker wires provide better control during vigorous beating.
Select bowls sized appropriately for your batch—too large creates inefficiency, too small causes spillage.
Proper equipment directly impacts your cake’s rise, moisture retention, and overall texture quality.
Baking Pans and Tins
While proper mixing equipment builds the foundation of your batter, selecting the right baking vessels determines how that aerated mixture transforms into finished cake. You’ll want to choose pans with superior material conductivity—aluminum conducts heat efficiently, promoting even browning and consistent crumb structure. Steel pans heat more slowly but retain temperature stability throughout baking.
Nonstick innovations have revolutionized cake removal, eliminating the frustration of stuck layers. Modern coatings withstand high temperatures without degradation, though you’ll still benefit from parchment paper as backup insurance.
Consider pan dimensions carefully: standard 8-inch or 9-inch round tins accommodate most recipes, while deeper pans require adjusted baking times. Invest in quality equipment you’ll actually use—your cake’s structural integrity depends on it.
Measuring Devices and Scales
Precision in sponge cake baking hinges on accurate measurements—the difference between 200 grams and 210 grams of flour fundamentally alters hydration ratios and crumb structure.
You’ll want a digital scale offering 0.1-gram increments for reliable data.
Invest in calibration techniques before each baking session; use standard weights to verify accuracy and eliminate drift errors that compound across ingredients.
You’re choosing between volumetric and weight-based measurement.
Scales dominate professional applications because they’re unaffected by ingredient settling or packing density.
Perform battery maintenance on digital models—low batteries introduce reading inconsistencies that sabotage your formula.
Select stainless steel construction for durability and easy cleaning.
You’ll appreciate tare functions that reset to zero, letting you measure successive ingredients without transferring between containers.
This approach maximizes precision while minimizing contamination risks.
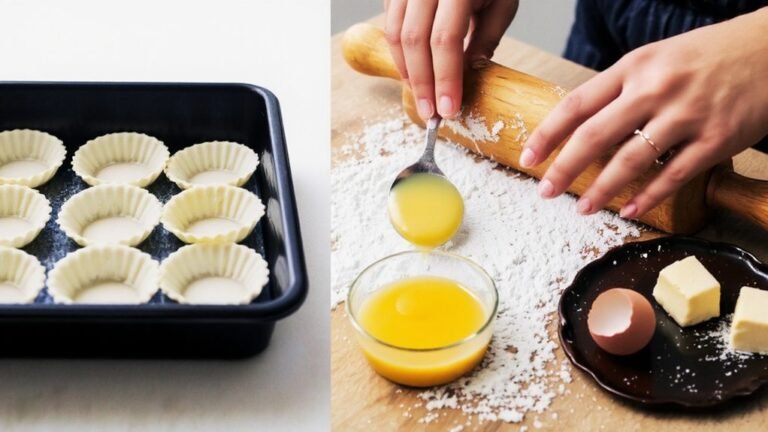
3. Preparing Your Baking Pan
You’ll prepare your 9-inch round or 8-inch square pan by selecting the greasing method—butter, oil, or cooking spray—that suits your cake type and desired crust texture.
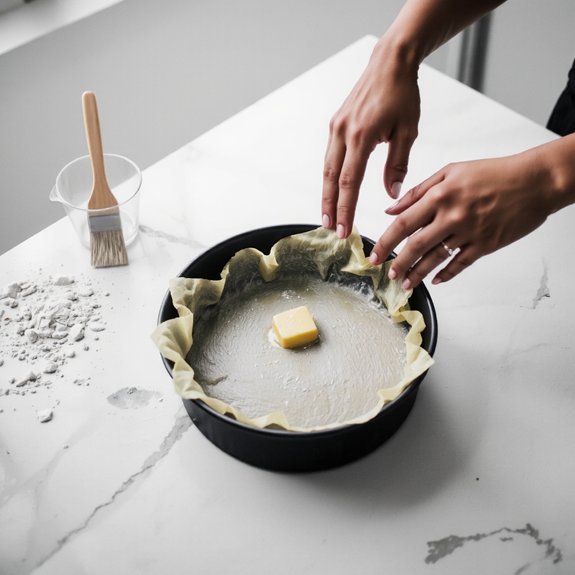
Apply parchment paper to the pan’s bottom after greasing, then grease the paper’s surface to guarantee complete release and prevent sticking during baking.
Your pan size directly impacts bake time and crumb structure, so match your recipe’s specified dimensions precisely to achieve ideal moisture retention and rise.
Greasing and Flouring Techniques
Proper pan preparation is absolutely critical for sponge cake success, as it prevents sticking and guarantees even browning.
You’ll want to understand the surface chemistry involved in greasing—it creates a barrier between batter and metal, allowing your cake to release cleanly.
Don’t fall for nonstick myths; even commercial nonstick pans benefit from proper preparation.
Here’s your technique: brush melted butter thoroughly across all interior surfaces, including corners and edges.
Next, dust evenly with all-purpose flour, tapping out excess.
This dual-layer approach maximizes release potential.
For ideal results, use parchment paper as your base layer.
Cut it to fit your pan’s dimensions precisely, then apply your greasing and flouring method atop it.
This redundant protection secures professional-quality release, eliminating frustration and guaranteeing your sponge cake emerges intact and perfectly formed.
Parchment Paper Placement Methods
How you position parchment paper fundamentally affects your cake’s structural integrity and release success.
You’ll achieve ideal results by mastering these placement techniques:
- Cut parchment to match your pan’s dimensions precisely, allowing a quarter-inch overhang
- Center the sheet to prevent bunching along interior walls
- Use artistic folding at corners for seamless contact with pan surfaces
- Apply stencil positioning methods to mark cake sections before baking
- Press the paper firmly against greased surfaces to eliminate air pockets
This methodical approach eliminates release failures. You’re not constrained by guesswork—you’re employing structural engineering principles.
The parchment acts as your barrier, protecting your cake’s bottom and sides from direct heat exposure while facilitating effortless removal. Precision here determines whether you’ll confidently invert your sponge or risk structural compromise.
Pan Size Selection Guide
Why does pan diameter matter more than most bakers realize?
You’ll achieve ideal cake structure by selecting the right vessel for your batter volume and desired height.
An 8-inch round pan produces denser, taller layers—ideal for stacked designs with gift suitability.
A 9-inch round yields thinner layers with superior crumb structure.
For sheet cakes, you’ll want a 9×13-inch rectangular pan that guarantees even heat distribution and transport stability during delivery.
Match your pan diameter to your batter quantity using this rule: fill pans two-thirds full for proper rise.
Aluminum conducts heat efficiently; dark steel requires temperature reduction by 25 degrees Fahrenheit to prevent over-browning.
Your pan choice directly controls bake time, moisture retention, and final cake architecture.
Choose deliberately, not casually.
4. Creaming Butter and Sugar
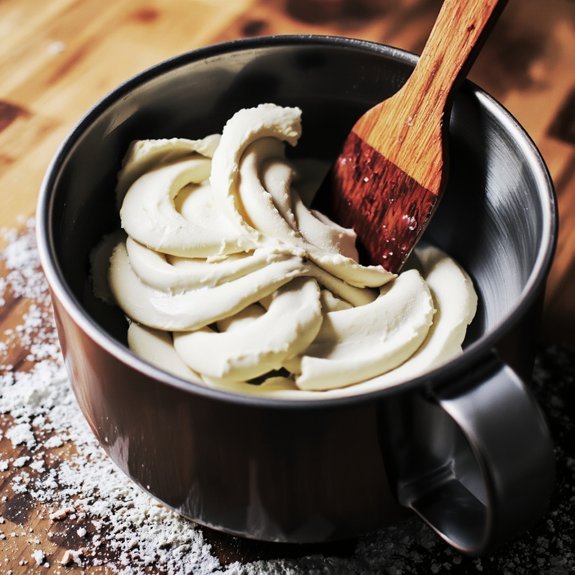
Beating softened butter with granulated sugar creates the foundation for a light, airy crumb structure.
Beating softened butter with granulated sugar creates the foundation for a light, airy crumb structure.
You’re initiating emulsification science that traps air bubbles throughout your batter.
This technique’s historic origins trace back to 18th-century British baking innovations.
Here’s what you’ll accomplish during this critical stage:
- Incorporate 200-250 air cells per gram of mixture
- Achieve pale, fluffy consistency within 3-5 minutes
- Maintain butter temperature between 65-70°F for ideal incorporation
- Create stable emulsion preventing separation during mixing
- Establish structural integrity for your final sponge
You’ll know you’re finished when your mixture doubles in volume and becomes nearly white.
Don’t rush this process—proper creaming determines whether you’ll get that desirable tender crumb or dense cake.
Your freedom to experiment comes after mastering this fundamental technique.
5. Incorporating Eggs and Flour
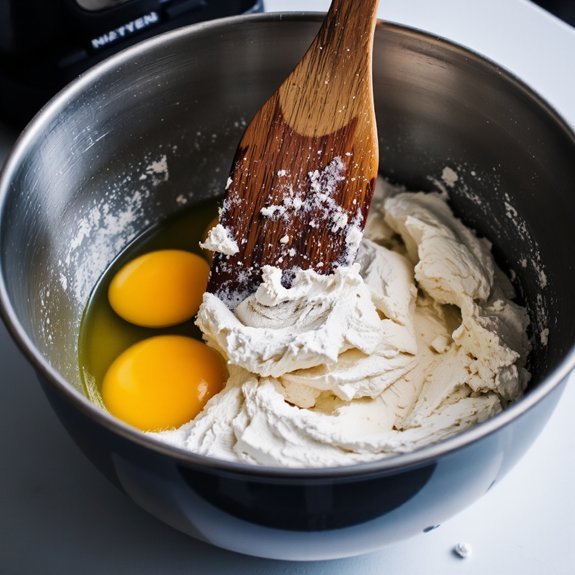
You’ll fold your eggs and flour into the creamed mixture using a gentle, deliberate motion that preserves the air you’ve incorporated. Your folding technique directly impacts the batter’s structure—overworking it deflates the bubbles and yields a dense crumb, while insufficient folding leaves streaks of dry ingredients.
Achieving the proper batter consistency requires you to fold until the mixture reaches a uniform, smooth texture without any visible flour pockets or separated egg whites.
Folding Technique Matters Most
Because the sponge cake’s structure depends entirely on trapped air bubbles, how you incorporate eggs and flour determines whether your crumb’ll be light and airy or dense and heavy.
Master these folding essentials:
- Wrist positioning: Keep your wrist straight and use your forearm to control the spatula’s motion, preventing deflation
- Visual cues: Stop folding when you see no white streaks—overworking collapses air pockets
- Spatula angle: Insert at forty-five degrees, scraping the bowl’s bottom in one fluid motion
- Rhythm: Use deliberate, measured strokes rather than rapid movements
- Timing: Fold until ingredients just combine; residual mixing completes the integration
Your technique directly governs crumb structure.
Fold too aggressively, you’ll lose volume and density increases.
Fold insufficiently, dry pockets remain.
The margin between perfection and failure spans mere seconds—your precision here determines everything.
Achieving Perfect Batter Consistency
Once you’ve mastered folding technique, incorporating eggs and flour becomes the critical next step—it’s where precision transforms individual components into a unified, stable emulsion that’ll support your cake’s structure.
You’ll want to add eggs gradually, allowing each addition to fully incorporate before proceeding. This methodical approach prevents deflation and guarantees even distribution.
Temperature matters considerably here. Room-temperature eggs blend seamlessly into your batter, creating superior homogeneity compared to cold alternatives.
When adding flour, alternate dry ingredients with wet components to maintain structural integrity.
Consider environmental factors affecting your results. Humidity effects can alter flour’s water absorption, requiring slight adjustments to liquid ratios. Altitude adjustments demand reduced baking powder and modified liquid quantities to achieve ideal rise and crumb structure. You’re controlling variables that determine your cake’s success.
6. Mixing the Batter Correctly
Proper mixing technique directly determines whether your sponge cake’ll achieve the light, airy crumb structure that defines this classic dessert.
Master these essential mixing principles:
- Fold gently using a spatula to incorporate dry ingredients without deflating incorporated air
- Listen for audible cues—the batter’ll shift from streaky to homogeneous with a distinct change in sound
- Avoid overmixing, which develops gluten and compresses your foam structure
- Allow a resting period of 5-10 minutes before pouring to stabilize the emulsion
- Use room-temperature ingredients to guarantee ideal incorporation and volume retention
Employ the folding method rather than vigorous stirring.
Work from bottom to top in deliberate strokes, rotating your bowl between folds.
This preserves the air bubbles you’ve created during creaming and whisking stages.
Precision here directly affects your cake’s final texture and rise.
7. Baking Time and Temperature
Your oven’s temperature precision and bake duration directly control the sponge cake’s rise, crumb set, and browning.
You’ll need accurate oven calibration to achieve consistent results—use an oven thermometer to verify your settings, as most domestic ovens deviate 25°F or more from displayed temperatures.
Bake at 350°F for 25–30 minutes, depending on your pan size and oven characteristics.
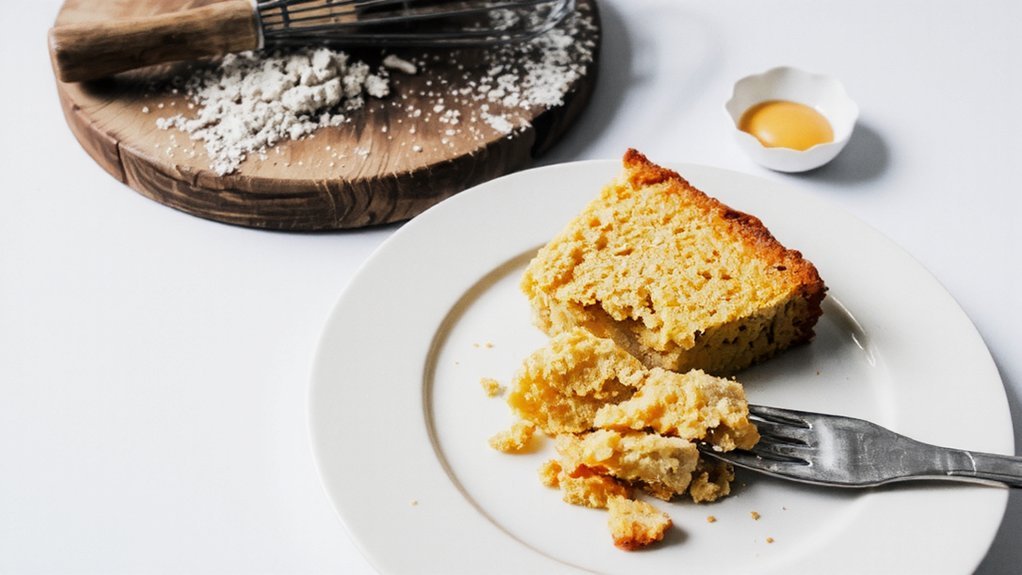
You’re aiming for a golden-brown exterior and a skewer that emerges with minimal crumbs.
Altitude adjustments are critical for successful baking.
At higher elevations, you’ll increase oven temperature by 15–25°F and reduce baking time by 5–10 minutes due to lower atmospheric pressure affecting moisture evaporation and rising rates.
Don’t open your oven door during the first 20 minutes—you’ll collapse the delicate structure you’ve carefully developed.
8. Testing for Doneness
How can you tell when your sponge cake’s structure has fully set?
You’ve got several reliable methods to verify ideal doneness without guesswork.
Master these testing techniques:
- Jiggle Test: Gently shake the pan—the cake’s surface shouldn’t wobble excessively
- Spring Back: Press the center lightly; it’ll return to original shape when fully baked
- Toothpick Method: Insert a skewer into the middle; it should emerge clean or with minimal crumbs
- Visual Cues: The top develops a pale golden hue and pulls slightly from pan edges
- Internal Temperature: Achieve 210°F (99°C) at the center for ideal crumb structure
Don’t rely on appearance alone.
The jiggle test combined with spring back assessment gives you definitive confirmation.
Your cake’s risen structure needs complete protein coagulation and moisture evaporation.
Remove it promptly once these indicators align—overcooking dries out the delicate crumb matrix you’ve worked to develop.
9. Cooling Your Cake Properly
Once you’ve confirmed doneness, you’ll need to manage the cooling process strategically to prevent structural collapse and uneven moisture distribution. Position your cake on a wire rack immediately—this elevates the sponge and allows air circulation underneath, preventing steam entrapment that creates soggy bottoms.
| Cooling Stage | Duration | Key Action |
|---|---|---|
| Initial | 10 minutes | Leave in pan for structural set |
| Intermediate | 30 minutes | Transfer to rack, guarantee condensation control |
| Final | 2-3 hours | Achieve room temperature equilibrium |
Rack placement matters notably. Space your rack away from walls to maximize airflow. Don’t cover your cake during cooling—this traps moisture and undermines your structural integrity. You’ve earned the freedom to customize flavors and fillings; don’t compromise your foundation through rushed cooling. Patience here determines your cake’s final texture and stability.
10. Frosting and Serving Suggestions
Because your sponge’s delicate crumb structure demands complementary frosting choices, you’ll want to select options that won’t compromise structural integrity or create excessive moisture absorption.
Your sponge’s delicate crumb structure requires frosting choices that preserve integrity and minimize moisture absorption.
Consider these proven approaches:
- Buttercream application: Spread a thin 3-4mm crumb coat first, chill 15 minutes, then add your final layer
- Flavor Pairings: Match vanilla sponge with classic vanilla or lemon buttercream; chocolate variants pair with dark chocolate ganache
- Whipped cream alternative: Use stabilized whipped cream for lighter texture without weight
- Presentation Tips: Implement offset spatulas for clean edges; dust with powdered sugar or cocoa for refined aesthetics
- Ganache technique: Pour warm ganache at 45°C to create professional gloss without pooling
These methods preserve your cake’s structural integrity while delivering sophisticated flavor combinations.
You’re free to experiment within these technical parameters for ideal results.
Frequently Asked Questions
Can I Substitute All-Purpose Flour With Other Flour Types in Sponge Cake?
You can substitute all-purpose flour with gluten alternatives like almond flour, coconut flour, or rice flour, but you’ll experience significant texture changes. Almond flour creates denser crumbs; coconut flour absorbs more liquid, requiring hydration adjustments. Rice flour produces grainier structure.
You’re free to experiment, yet maintain precise 1:1 ratios initially, then modify based on moisture content. Structural integrity demands you account for gluten’s binding properties—consider adding xanthan gum at 1/4 teaspoon per cup substituted to preserve stability.
How Do I Store Leftover Sponge Cake to Keep It Fresh Longer?
You’ll maximize freshness by storing your sponge cake in airtight containers at room temperature for three days.
For extended preservation, you’ve got freezing methods that work exceptionally well—wrap individual layers in plastic film, then place them in freezer-safe containers for up to three months. You’re maintaining structural integrity and moisture content this way. Thaw at room temperature before serving, giving you complete control over your cake’s longevity.
Why Did My Sponge Cake Sink in the Middle During Baking?
Your sponge cake sank because you’re likely overmixing your batter or your oven temperature’s too low.
Overmixing deflates air bubbles you’ve incorporated, weakening the cake’s structural integrity.
Conversely, insufficient oven temperature prevents proper crust formation, causing the center to collapse under its own weight.
You’ll want to calibrate your oven precisely and use a folding mixing technique instead of aggressive stirring to maintain that light, airy crumb structure you’re after.
Can I Make Sponge Cake Without Eggs for Vegan Dietary Requirements?
You can absolutely create vegan sponge cake by substituting eggs with flax egg (1 tablespoon ground flaxseed plus 3 tablespoons water per egg) or aquafaba meringue for lift.
Flax egg provides binding and moisture, while aquafaba meringue—whipped chickpea liquid—creates the structural rise you’d normally get from egg whites.
You’ll need precise measurements: maintain your flour-to-fat ratio and adjust liquid content accordingly.
This method delivers comparable crumb structure and volume to traditional recipes.
How Far in Advance Can I Bake Sponge Cake Before Serving?
You’ll find your make ahead timing window spans 1-2 days maximum for ideal structural integrity.
Store your cooled sponge in an airtight container at room temperature—this preserves the crumb’s moisture content and prevents degradation.
For extended serving windows beyond 48 hours, you’re better off freezing unfrosted layers up to three months.
Thaw them gradually before assembly to maintain your cake’s technical quality and avoid condensation-induced sogginess that’ll compromise your final product’s texture.


Leave a Comment