Key Takeaways
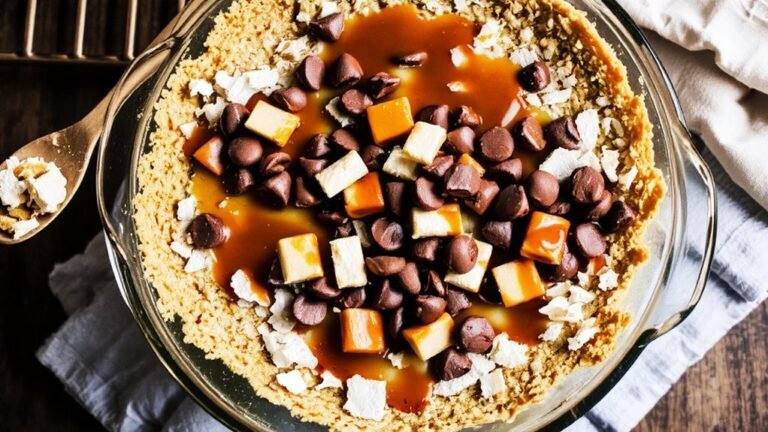
- Layer graham cracker crust, chocolate chips, coconut flakes, and pecans, then pour sweetened condensed milk on top.
- Bake at 350°F for 25–30 minutes until edges turn golden brown and condensed milk bubbles slightly around perimeter.
- Cool completely for at least two hours before cutting with a hot, wet knife for clean edges.
- Store in airtight container at room temperature up to seven days, or refrigerate for two weeks.
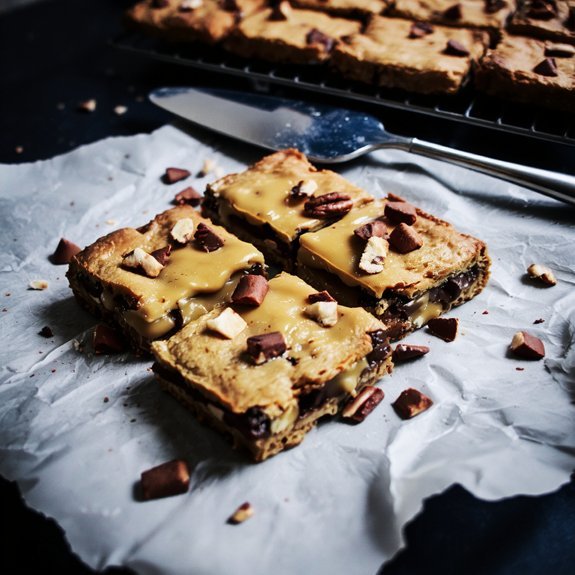
- Serve as 2–3 inch squares on rustic boards for casual gatherings or elegant plates for formal occasions.
Ingredients You’ll Need
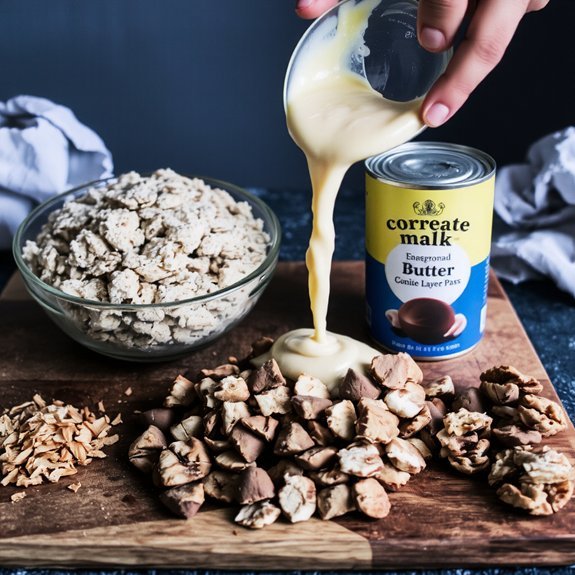
You’ll want to gather a handful of essential ingredients before you start layering your magic bars.
Gather your essential ingredients before you start layering your magic bars—preparation is key to success.
Begin with one cup of graham cracker crumbs mixed with melted butter for your base—or swap in crushed pretzels for a salty twist.
You’ll need a full can of sweetened condensed milk as your binding agent, which you can replace with coconut cream if you’re avoiding dairy.
Next, grab chocolate chips, shredded coconut, and chopped nuts.
For ingredient substitutions, you’ve got freedom here: use dark chocolate instead of milk chocolate, or try peanuts, pecans, or walnuts based on your preference.
If you’re dealing with allergy alternatives, sunflower seed butter works brilliantly in place of traditional nuts, and dairy-free chocolate chips keep everyone satisfied.
Your choices shape the final product—make these bars authentically yours.
Preparing the Graham Cracker Crust
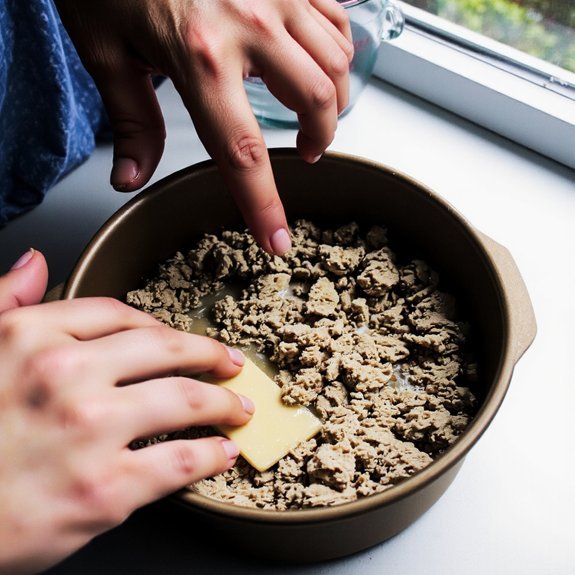
Combining your graham cracker crumbs with melted butter creates the foundation that holds your magic bars together.
You’ll want to achieve the perfect crust texture—neither too dense nor too crumbly—which gives you complete control over your final product’s structural integrity.
Master your pressing technique by:
- Spreading the mixture evenly across your prepared 9×13 baking pan
- Using the bottom of a measuring cup for consistent, firm pressure
- Ensuring edges are packed slightly tighter than the center
- Creating a level surface that supports all layers equally
- Baking at 350°F for 8-10 minutes until lightly golden
This preliminary step sets you free to build fearlessly.
A well-constructed crust prevents layers from shifting, guaranteeing each bite delivers balanced flavor and texture throughout your indulgent creation.
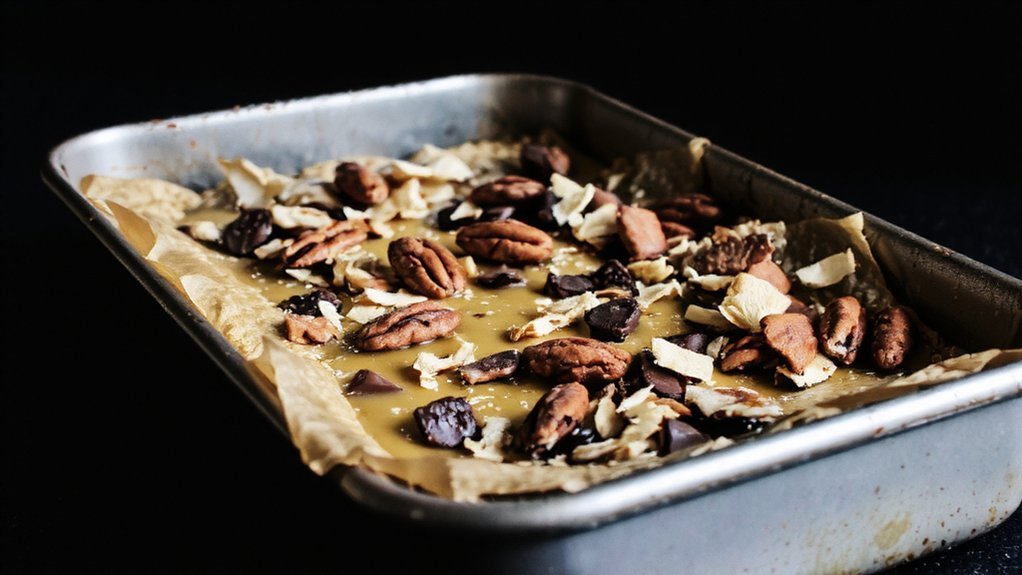
Layering Your Magic Bars
Once your crust has cooled slightly, the real artistry begins—building layers that transform simple ingredients into a decadent dessert. You’ll master layer sequencing by strategically stacking each component to maximize flavor and texture contrast. Start with chocolate chips, then coconut, followed by pecans, and finish with sweetened condensed milk poured evenly across the top.
| Layer | Ingredient | Amount |
|---|---|---|
| 1 | Chocolate Chips | 1 cup |
| 2 | Coconut Flakes | 1 cup |
| 3 | Pecans | 1 cup |
| 4 | Condensed Milk | 14 oz |
You’re not just stacking—you’re engineering balance. Each layer provides distinct textural elements: crunch, chewiness, richness, and binding sweetness. Press down gently between additions, ensuring even distribution. This deliberate approach guarantees every bite delivers the harmonious combination that defines authentic magic bars.
Baking Instructions
With your layers perfectly assembled, it’s time to transform the raw ingredients into golden, caramelized perfection.
- Preheat your oven to 350°F, ensuring proper oven calibration for consistent results
- Position your baking pan on the middle rack placement to promote even heat distribution
- Bake for 25-30 minutes until the edges turn golden brown and the chocolate layer softens
- Watch for the condensed milk to bubble slightly around the perimeter—that’s your signal of doneness
- Remove from heat and let cool completely before cutting into squares
Don’t rush this process.
Proper baking develops the rich caramel layers and melts the chocolate into decadent sweetness.
Cutting while warm risks crumbling your masterpiece.
Once cooled, you’ll slice through clean, distinct layers that showcase your layering precision.
These bars demand patience, but the payoff’s undeniably worth it.
Cooling and Cutting Tips
Patience during the cooling phase determines whether you’ll achieve those pristine, clean-edged squares or end up with a crumbly mess.
You’ve got to resist the urge to cut immediately after baking.
Let your magic bars cool completely on the counter for at least two hours, allowing the condensed milk and chocolate layers to set firmly.
This rest period is non-negotiable if you want structural integrity.
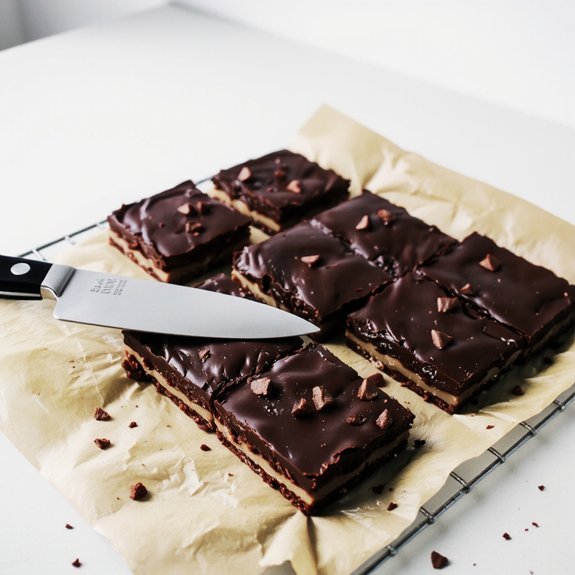
When you’re ready to cut, you’ll need a sharp knife—dip it in hot water and wipe it clean between each slice.
This simple technique prevents the layers from sticking and tearing.
Work deliberately, using downward pressure rather than sawing motions.
Your patience pays off with professional-looking squares that won’t crumble or fall apart when you serve them.
Storage and Serving Suggestions
You’ll want to store your magic bars at room temperature in an airtight container for up to five days, though refrigeration extends their shelf life to two weeks and freezing preserves them for up to three months.
When you’re ready to serve, cut them into squares or rectangles depending on your preferred portion size, and consider plating them on parchment paper or a dessert plate with a light dusting of powdered sugar for visual appeal. The bars taste equally delicious chilled straight from the refrigerator or at room temperature, so you can serve them based on your guests’ preferences and the occasion.
Room Temperature Storage Tips
Since magic bars are best enjoyed at their peak freshness and texture, storing them properly at room temperature guarantees they’ll taste delicious for days.
You’ll want to take these strategic steps:
- Use airtight containers to lock in moisture and protect against ambient humidity fluctuations
- Keep bars in a cool, dark spot away from direct sunlight that causes frosting to melt
- Maintain pest prevention by storing in sealed, elevated containers away from kitchen traffic areas
- Layer parchment paper between stacked bars to prevent chocolate from sticking
- Monitor temperature and avoid areas above 72°F where chocolate begins softening
You’re free to customize your storage based on your climate.
Most magic bars stay fresh for 5-7 days at room temperature when properly sealed.
This approach gives you flexibility without sacrificing quality.
Refrigeration and Freezing Methods
Extending your magic bars’ shelf life requires understanding how cold storage transforms their texture and flavor profile.
You’ll discover that refrigeration keeps them fresh for up to two weeks, preserving that perfect fudgy consistency.
For longer storage, you’ve got the freedom to freeze them for three months without sacrificing quality.
When you’re ready to freeze, wrap each bar individually in parchment paper, then seal them in airtight containers.
This blast freezing method prevents unwanted ice crystallization that’d compromise your bars’ structure.
Thaw them at room temperature for thirty minutes before serving—you’ll restore their ideal chewy texture.
You can also freeze unbaked layers separately, giving you ultimate flexibility for later assembly.
This strategic approach guarantees you’re always prepared with homemade treats on your terms.
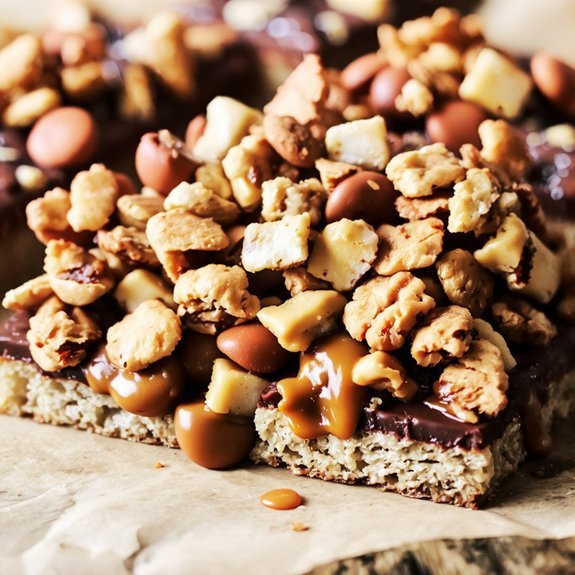
Serving Size and Plating
Three factors determine the perfect magic bar portion: the bar’s density, your dessert course role, and personal preference.
You’ll want to cut generous squares that showcase the distinct layers without crumbling.
Our portion guidance suggests 2-3 inch squares for standard servings, though you’re free to adjust based on appetite.
Consider these presentation techniques:
- Use a hot, wet knife between cuts for clean edges
- Dust plates with cocoa powder or coconut flakes
- Plate slightly off-center for visual interest
- Pair with vanilla ice cream or whipped cream
- Garnish with chocolate shavings or toasted nuts
Stack bars on rustic wooden boards for casual gatherings, or arrange individually on elegant plates for formal occasions.
You’re in control—your magic bars, your rules.
Serve them however you’ll enjoy them most.
Frequently Asked Questions
Can I Substitute Butter With Coconut Oil in the Crust?
You can absolutely swap butter for coconut oil in your crust, giving you creative control over your dessert. Consider flavor considerations—coconut oil adds subtle tropical notes that’ll enhance chocolate layers beautifully.
You’ll need measurement adjustments; use equal parts coconut oil to butter, but choose refined coconut oil to avoid overpowering coconut flavor. The result? A slightly crispier, more indulgent crust that breaks free from traditional constraints while maintaining that perfect magic bar texture you’re craving.
What Causes My Magic Bars to Turn Out Dry or Overbaked?
Your magic bars’re drying out because you’re likely overbaking them or dealing with faulty oven calibration.
Check your oven’s actual temperature with a thermometer—it might run hot, cooking your bars faster than expected.
Additionally, you’re probably using excess flour in your layers, which absorbs moisture and creates that undesirable dry texture. Stick to the exact measurements, watch your baking time closely, and pull them out when the edges just turn golden brown.
Are Seven Layer Magic Bars Suitable for People With Nut Allergies?
You’ll need to carefully examine ingredient labels since traditional seven-layer magic bars often contain nuts like coconut or almonds.
Cross contamination risks exist during preparation if you’re using shared kitchen tools or surfaces.
Consider making a custom nut-free version using sunflower seeds, chocolate chips, and sweetened condensed milk instead.
You’ve got complete control over what goes into your bars—take charge and craft a safe, delicious treat that won’t compromise anyone’s health.
Can I Make Magic Bars Ahead and Freeze Them for Later?
You’ll absolutely love freezing your magic bars for ultimate convenience. They’ll keep beautifully for up to three months in an airtight container.
Your freezing timeline gives you complete control over indulgence whenever cravings strike. When you’re ready, thawing tips are simple: let them sit at room temperature for thirty minutes, allowing flavors to fully develop.
This make-ahead strategy liberates your schedule while delivering fresh-tasting treats on demand.
Why Did My Chocolate Layer Separate From the Other Layers?
Your chocolate layer’s separation stems from tempering issues and incompatible fats.
You’ve likely mixed cocoa butter with oils that don’t bond smoothly, causing the layers to reject each other.
Next time, you’ll want to use quality chocolate and melt it properly—around 90°F—ensuring it’s compatible with your condensed milk and graham cracker base.
This prevents that frustrating slide and keeps your bars structurally sound.

Leave a Comment