
Key Takeaways
- Salt suppresses bitter chocolate perception by ~30% while enhancing sweetness through sensory suppression and flavor contrast mechanisms.
- Melt 8 oz dark chocolate with 4 oz butter at 110–120°F, then whisk in ¾ cup cocoa powder gradually to prevent lumps.
- Heat 1 cup granulated sugar with ¼ cup water to 350°F (hard crack stage), then sprinkle ½–1 tsp fine sea salt and stir vigorously.
- Cool caramel at room temperature 15 minutes, then refrigerate 30–45 minutes until spreadable consistency (65–70°F) for optimal layer integrity.
- Line 9×13-inch pan with parchment, layer half batter, spread caramel, top with remaining batter, then bake at 350°F until set.
Why Salted Caramel and Chocolate Work Together
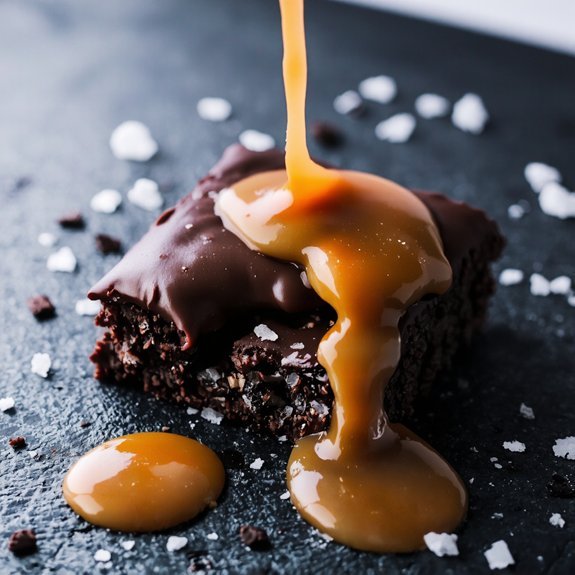
Because chocolate’s cocoa solids contain bitter compounds that can overwhelm the palate, salted caramel balances these flavors through three distinct mechanisms.
First, the caramel’s sweetness (primarily sucrose at 300°F) counteracts bitterness through sensory suppression. Second, you’ll experience Flavor Contrast as the salt (sodium chloride) enhances your taste receptors’ sensitivity to sweetness while suppressing bitter perception by approximately 30%.
Third, Texture Harmony emerges when caramel’s viscosity (140-180 poises) combines with chocolate’s cocoa butter content, creating a unified mouthfeel that prevents flavor separation.
The Maillard reaction in caramel development produces complex notes—including nutty and toasty compounds—that complement chocolate’s aromatic profiles. You’re effectively engineering a complementary flavor matrix where salt acts as both enhancer and mediator, allowing you to enjoy chocolate’s complexity without its harsh edges.
2. Gathering Your Ingredients
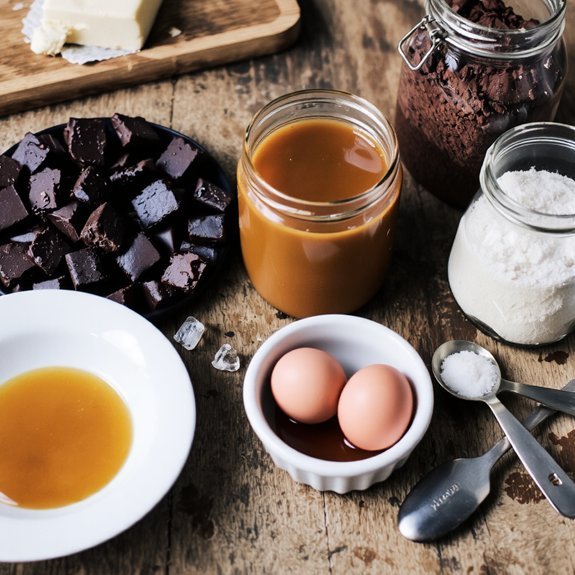
To create exceptional salted caramel brownies, you’ll need to gather precise ingredients measured by weight for ideal consistency. Stock your pantry staples from reputable vendors who prioritize quality sourcing. You’ll require unsweetened cocoa powder, all-purpose flour, baking soda, and fine sea salt for the base. Gather unsalted butter, granulated sugar, and large eggs for structure and richness. Don’t compromise on chocolate—select 70% cacao bars from artisanal vendors.
| Ingredient | Weight | Purpose |
|---|---|---|
| Unsweetened cocoa powder | 85g | Chocolate foundation |
| All-purpose flour | 120g | Structure and crumb |
| Unsalted butter | 170g | Fat and moisture |
Measure caramel ingredients separately: heavy cream, brown sugar, and fleur de sel. This systematic approach guarantees reproducible results every bake.
3. Essential Equipment and Tools
You’ll need mixing bowls and utensils—stainless steel or glass bowls work best, along with a whisk and rubber spatula for combining your batter efficiently.
For baking, gather an 8×8-inch or 9×9-inch square pan lined with parchment paper to promote even heat distribution and easy removal.
Finally, equip yourself with a kitchen scale for precise ingredient measurements, an oven thermometer to verify accurate baking temperatures, and a candy or instant-read thermometer for monitoring your caramel’s doneness.
Mixing Bowls and Utensils
Gathering the right mixing vessels and implements guarantees efficient ingredient incorporation and precise execution throughout the brownie-making process.
You’ll want to prioritize bowl materials that suit your specific needs. Consider these essentials:
- Stainless steel bowls for superior heat conductivity and durability
- Glass bowls for visual ingredient monitoring without reactivity concerns
- Silicone spatulas that resist heat and prevent scratching
Before you begin, prioritize utensil sanitation by washing all equipment with hot soapy water and drying thoroughly.
This eliminates contaminants that compromise your final product.
You’ll need measuring spoons for caramel precision, a whisk for aerating dry ingredients, and sturdy spoons for folding.
Quality tools give you control over your baking outcome—no shortcuts, no excuses.
Your freedom to create exceptional brownies depends on proper preparation and sanitation protocols.
Baking Pans and Molds
Your pan selection directly impacts brownie texture, baking uniformity, and caramel distribution across the entire batch. You’ll want to choose materials that offer superior heat distribution and material durability for consistent results.
| Pan Type | Dimensions | Material | Best Use |
|---|---|---|---|
| Square | 8×8 or 9×9 inches | Aluminized steel | Ideal heat conduction |
| Rectangular | 9×13 inches | Dark nonstick | Enhanced browning |
| Cast iron | 10-inch round | Seasoned iron | Retention heat |
| Glass | 8×8 inches | Borosilicate | Visual monitoring |
You’ll achieve professional-grade results with aluminized steel pans—they conduct heat evenly without hot spots. Dark nonstick surfaces accelerate browning, so reduce your oven temperature by 25°F to prevent over-darkening. Glass pans require temperature reduction too, as they absorb and retain excessive heat. Cast iron delivers exceptional heat retention, ideal for achieving that perfect fudgy center while your salted caramel layer sets properly throughout.
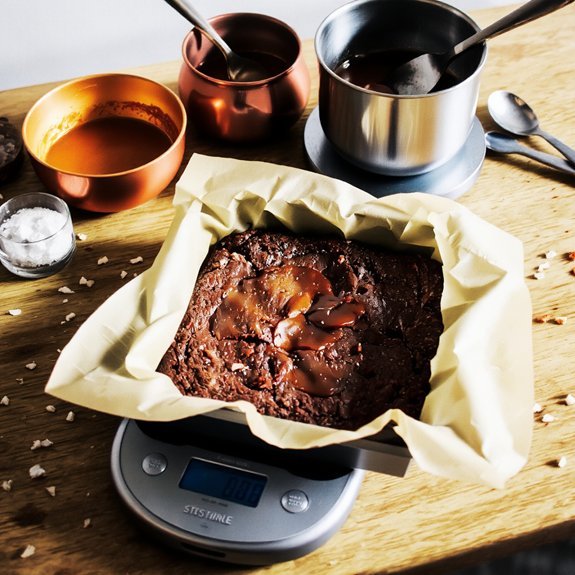
Measuring and Temperature Tools
Precision instruments determine whether your salted caramel brownies achieve the ideal fudgy texture or end up dry and overcooked.
You’ll need reliable tools to control variables that directly impact your results.
- Instant-read thermometer – Calibration techniques guarantee accuracy within ±1°F, critical for monitoring caramel temperature and preventing crystallization or burning.
- Digital kitchen scale – Measures ingredients by weight rather than volume, eliminating inconsistencies that compromise texture and rise.
- Oven thermometer – Verifies actual internal temperature since many ovens run hot or cold, affecting baking time.
Data logging your measurements—recording exact temperatures, weights, and baking duration—creates a reproducible formula.
Document your oven’s behavior across multiple batches.
This systematic approach grants you complete control over outcomes, freeing you from guesswork and guaranteeing consistent excellence every time you bake.
4. Preparing Your Baking Pan
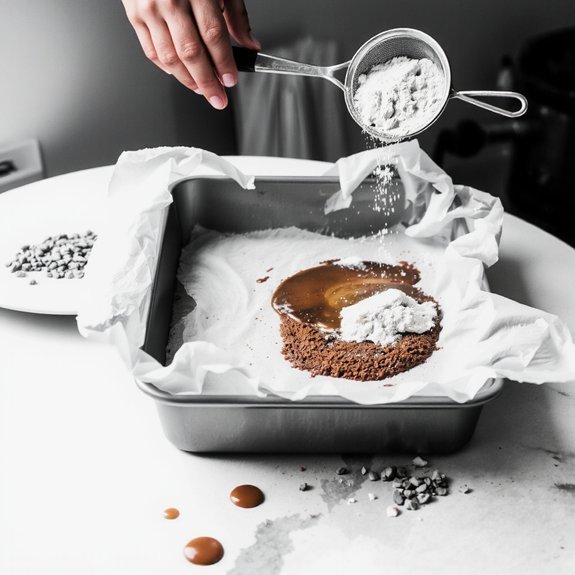
Lining your 9×13-inch baking pan guarantees even heat distribution and prevents the brownies from sticking to the sides.
You’ll want to use parchment paper for best results, allowing you the freedom to remove your brownies cleanly without damage.
Start by cutting a sheet of parchment paper slightly larger than your pan’s dimensions.
Press it firmly into all corners, securing complete coverage of the bottom and sides.
You can use a small amount of cooking spray to secure the paper in place.
For your labeling pans system, mark the pan’s contents with a heat-resistant label before filling.
If you’re using your stacking strategy to prepare multiple batches simultaneously, leave adequate space between pans for proper airflow in your oven.
This preparation method promotes consistent baking and eliminates guesswork.
5. Making the Chocolate Base
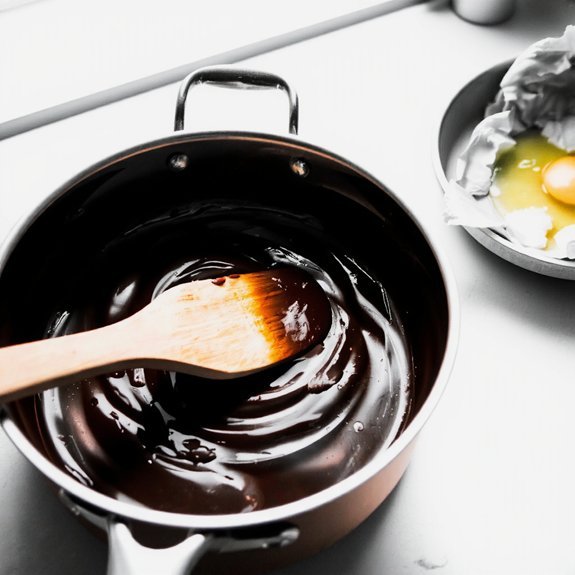
Melting quality chocolate and butter together creates the rich foundation that’ll determine your brownies’ texture and flavor.
You’ll want to combine these ingredients using precise temperature control to achieve ideal crumb structure.
Here’s what you need to do:
- Heat 8 ounces of chopped dark chocolate with 4 ounces of unsalted butter over a double boiler, maintaining 110-120°F for even melting
- Whisk in 3/4 cup cocoa powder gradually to establish robust flavor layering without lumps
- Remove from heat and let cool slightly before incorporating your remaining ingredients
This methodical approach guarantees your chocolate base won’t seize or separate.
You’re building the structural integrity that supports both the caramel swirl and those signature salted edges.
Don’t rush this step—controlled melting creates superior texture and deep, complex chocolate notes throughout your finished brownies.
6. Creating the Salted Caramel Layer
You’ll need to heat your sugar to 350°F while stirring constantly to guarantee even caramelization and prevent crystallization.
Once you’ve achieved that amber hue, you’ll sprinkle your sea salt directly into the hot caramel—typically ½ to 1 teaspoon per batch—and stir vigorously for 10-15 seconds to distribute it evenly.
After pouring the caramel onto your cooled chocolate base, you’ll let it set at room temperature for 30-45 minutes before cutting, which allows the layers to bond without separating.
Melting Caramel Sugar Properly
Creating the perfect caramel requires precise temperature control and timing.
You’ll master this technique by understanding sugar crystallization and implementing strict heat control.
Here’s your approach:
- Combine ingredients: Mix 1 cup granulated sugar with ¼ cup water in a heavy-bottomed saucepan, stirring until the mixture resembles wet sand.
- Apply steady heat: Increase temperature to medium-high without stirring. You’re aiming for 350°F (175°C)—the hard crack stage where sugar transforms into caramel.
- Monitor color: Watch carefully as it shifts from clear to golden amber. Remove from heat immediately when it reaches deep amber; residual heat continues cooking it.
You’ll prevent unwanted sugar crystallization by avoiding wooden spoons and keeping the pan undisturbed.
This disciplined method gives you complete control over your caramel’s final flavor profile.
Achieving Perfect Salt Balance
How do you determine the ideal salt-to-caramel ratio? You’ll want to aim for one-quarter to one-half teaspoon of sea salt per cup of caramel. Start conservatively—you can always add more.
Salt granularity matters considerably. Use fine sea salt rather than kosher salt, which dissolves inconsistently and creates uneven salt perception. Sprinkle salt directly onto your warm caramel layer, then stir thoroughly for thirty seconds to guarantee complete distribution.
The precise timing is critical. Add salt while caramel reaches 165-170°F, when it’s still viscous enough to suspend particles evenly.
If you’re layering salted caramel into brownies, apply it before the mixture cools completely—this prevents clumping.
Taste-test a small sample on parchment paper. The salt should enhance sweetness without dominating flavor. This method gives you complete control over your final product’s taste profile.
Cooling and Setting Techniques
Once your salted caramel reaches the ideal temperature and consistency, you’ll need to cool it strategically to achieve the perfect setting layer for your brownies.
1. Establish proper chill scheduling by allowing your caramel to rest at room temperature for 15 minutes.
Then transfer it to the refrigerator for 30-45 minutes until it reaches a spreadable consistency of 65-70°F.
2. Control humidity levels in your kitchen to prevent crystallization.
Maintain 40-50% relative humidity for best results.
3. Monitor viscosity constantly during cooling intervals.
Adjust your timing based on ambient conditions and caramel thickness.
This methodical approach guarantees your salted caramel layer sets firmly without becoming brittle, giving you complete control over your brownie’s structural integrity and taste profile.
7. Assembling and Baking Your Brownies
Preheat your oven to 350°F (175°C) while you prepare your 9×13-inch baking pan by lining it with parchment paper, allowing a 2-inch overhang on two sides for easy removal.
Pour half your brownie batter into the pan, spreading it evenly across the base.
Apply your salted caramel sauce using deliberate layering techniques, distributing it uniformly without overworking the batter.
Top with remaining brownie mixture, sealing the caramel layer between two chocolate strata. This architectural approach prevents caramel from burning while guaranteeing flavor integration throughout.
Bake for 28-32 minutes, monitoring internal temperature until a toothpick inserted near the center yields moist crumbs.
Overbaking diminishes the fudgy texture you’re pursuing.
Remove from heat and allow the brownies to cool completely in the pan before cutting—this guarantees structural integrity and ideal flavor development.
8. Cooling and Cutting Tips
While your brownies’re still warm, resist the urge to cut them immediately.
Patience during the cooling phase determines whether you’ll achieve clean edges or crumbly fragments.
Follow these critical steps for ideal portion consistency:
- Cool completely at room temperature (approximately 2-3 hours) before cutting; residual heat compromises structural integrity and creates uneven portions.
- Use a hot, wet knife between each slice; this technique eliminates friction and produces clean cuts without dragging or crumbling.
- Cut in a single motion with downward pressure rather than sawing; decisive strokes prevent slice psychology from sabotaging your presentation.
Store cooled brownies in an airtight container.
Proper cooling and cutting methodology guarantees professional-quality results that maintain their integrity and visual appeal, giving you the freedom to serve impressive, uniform pieces every time.
9. Storage and Serving Suggestions
To maximize shelf life and maintain ideal texture, you’ll want to store your salted caramel brownies in an airtight container at room temperature for up to five days, or refrigerate them for up to two weeks.
Store salted caramel brownies in an airtight container at room temperature for five days or refrigerate up to two weeks.
For extended storage, freeze them in airtight containers for up to three months.
When serving, present brownies at room temperature for peak flavor complexity and fudgy consistency.
Reheating methods depend on your preference: microwave individual portions for 15-20 seconds for warm, gooey results, or reheat in a 325°F oven for 5-8 minutes for restored texture.
Avoid overheating, which compromises the caramel layer’s structural integrity.
Pair servings with vanilla ice cream, espresso, or dark coffee to complement the salted caramel profile.
Store cut and uncut brownies separately to prevent moisture transfer between pieces.
Frequently Asked Questions
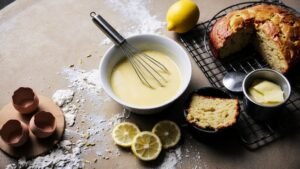
Can I Make This Recipe Without Eggs, and What’s the Best Substitute?
You can absolutely make this egg-free.
Your best options are a flax egg—mix one tablespoon ground flaxseed with three tablespoons water per egg, let it sit fifteen minutes—or aquafaba meringue for superior texture.
Whip three tablespoons aquafaba per egg until stiff peaks form, then fold into your batter.
Both substitutes provide binding and moisture while maintaining structural integrity.
The flax egg yields denser results; aquafaba meringue creates airier, more decadent brownies.
Choose based on your desired consistency and liberation from conventional baking constraints.
How Do I Fix Brownies That Turned Out Too Dry or Cakey?
You can salvage overly dry brownies by applying a syrup glaze post-baking—combine equal parts simple syrup and melted chocolate, brushing it across the surface.
For future batches, increase your oil substitution by 15% if you’ve already replaced eggs; this elevates moisture retention substantially.
Alternatively, reduce baking time by 2-3 minutes and pull them when a toothpick shows minimal crumbs.
Store finished brownies in airtight containers with bread slices to restore softness within 24 hours.
What’s the Difference Between Using Cocoa Powder Versus Melted Chocolate?
You’ll find cocoa powder delivers higher flavor intensity with a more pronounced chocolate taste, while melted chocolate creates richer texture differences through added cocoa butter.
Cocoa powder produces denser, fudgier brownies with less moisture content.
Melted chocolate yields smoother, more luxurious texture with enhanced fudginess.
For precise results, use unsweetened cocoa powder at 3 tablespoons per 8-ounce chocolate.
Melted chocolate requires adjusting flour ratios to prevent excessive density.
Choose based on your desired intensity level and texture preference.
Can I Freeze Salted Caramel Brownies, and for How Long?
You can freeze your salted caramel brownies for up to three months.
Wrap each brownie individually in parchment paper, then place them in airtight freezer packaging to prevent freezer burn and oxidation.
Stack them in a freezer-safe container. For thawing methods, transfer brownies to room temperature for 30-45 minutes, or refrigerate overnight. This preserves texture and caramel integrity without compromising quality.
How Do I Prevent the Caramel Layer From Sinking Into the Batter?
You’ll prevent caramel layer sinking by implementing chill assembly methodology.
First, spread your brownie batter base and refrigerate it to 45°F for structural integrity.
Next, make sure your caramel thickness reaches 1/4 inch—thin layers won’t support themselves.
Pour the chilled caramel onto the solidified batter, then refrigerate the combined layers for 30 minutes before adding your top batter layer.
This temperature control prevents thermal breakdown and maintains layer separation throughout baking.


Leave a Comment