Key Takeaways
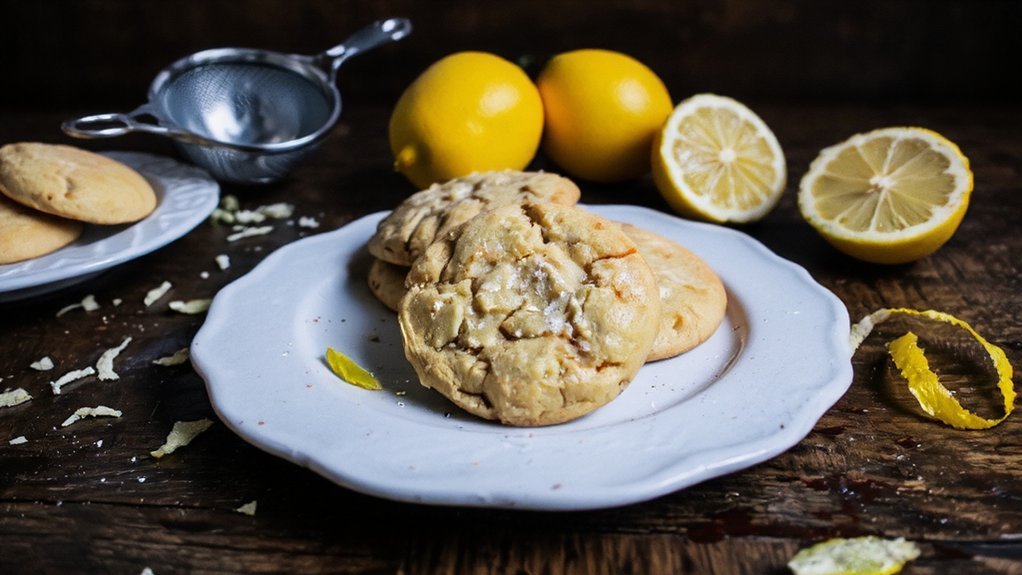
- Cream softened butter and sugar for 2 minutes until fluffy, then add fresh lemon juice and zest for bright citrus flavor.
- Mix flour, baking soda, and salt separately, then gradually combine with wet ingredients until just combined to avoid overmixing.
- Bake at 350°F for 10–12 minutes with pan rotation halfway through; remove when edges turn light golden.
- Cool cookies on wire rack for 10–15 minutes, then equilibrate at room temperature for 30–45 minutes before storing.
- Optional glaze: whisk powdered sugar with fresh lemon juice and zest; apply while cookies cool for elegant finishing.
Ingredients You’ll Need
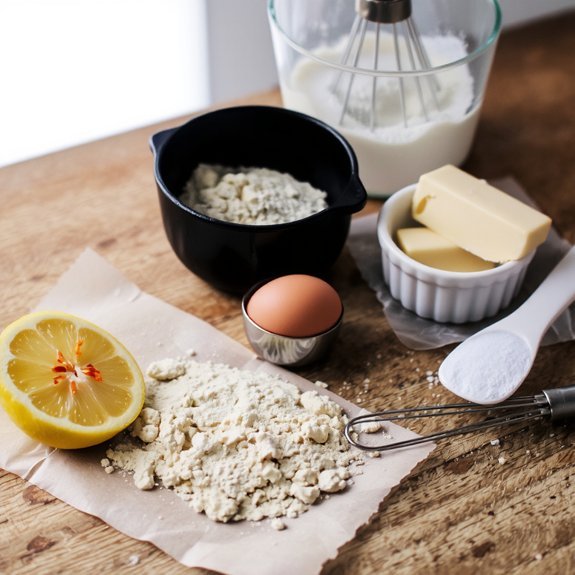
You’ll need just a handful of staples to prepare these lemon cookies: 2¼ cups all-purpose flour, 1 teaspoon baking soda, ½ teaspoon salt, ¾ cup unsalted butter (softened to 65-70°F), 1 cup granulated sugar.
You will also need 1 large egg, 3 tablespoons fresh lemon juice, and 1 tablespoon lemon zest.
For allergen alternatives, you can substitute all-purpose flour with certified gluten-free flour blend maintaining the same measurements. If you’re dairy-sensitive, swap butter for coconut oil at equal ratios.
Consider organic substitutions for enhanced quality: sourcing organic lemons maximizes zest potency and juice acidity. Organic butter yields superior flavor complexity. You’ll appreciate grass-fed butter’s rich, nuanced taste profile.
These ingredient selections give you complete control over your baking process. You’re free to adjust proportions based on your dietary preferences and sourcing capabilities, ensuring ideal results aligned with your specifications.
Equipment and Tools
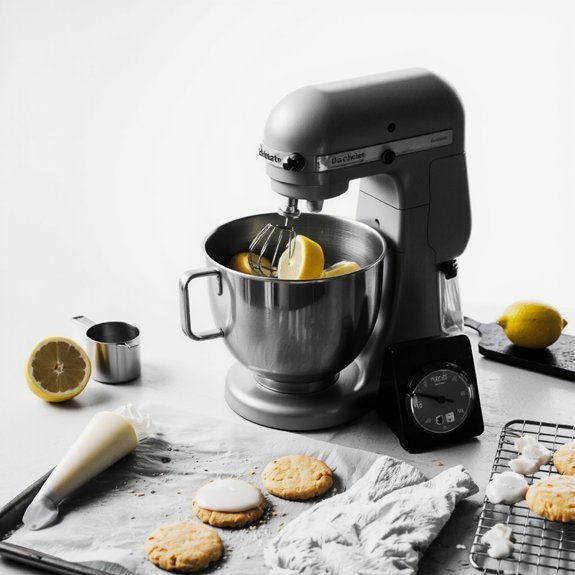
A standard electric mixer, mixing bowls, measuring cups, and measuring spoons form the foundation of your setup. You’ll also need a cookie sheet, parchment paper, and a cooling rack for proper heat distribution and texture control.
| Equipment | Purpose | Safety Precautions |
|---|---|---|
| Electric Mixer | Cream ingredients efficiently | Keep hands clear of beaters |
| Oven Thermometer | Confirm accurate baking temperature | Prevent burns from calibration errors |
| Silicone Spatula | Fold ingredients without deflation | Use heat-resistant grades |
| Baking Scale | Achieve precise measurements | Calibrate regularly for accuracy |
Your buying guide should prioritize commercial-grade tools that withstand repeated use. Invest in an oven thermometer to eliminate guesswork regarding temperature accuracy. Non-stick cookie sheets reduce sticking issues, while parchment paper prevents oxidation and promotes even browning. Quality equipment grants you freedom to execute your recipe consistently without compromise.
Preparing Your Ingredients
Once you’ve assembled your equipment, ingredient preparation becomes the next critical phase where precision directly impacts your final product.
You’ll need to measure all dry ingredients—flour, baking soda, and salt—using the spoon-and-level method for accuracy.
Zest your lemons before juicing them, capturing those volatile oils that define your cookies’ flavor profile.
Conduct ingredient sanitization by rinsing all citrus thoroughly under running water to eliminate surface contaminants.
Soften your butter to room temperature, approximately 65-70°F, ensuring proper emulsification during mixing.
Consider allergy substitutions upfront: replace wheat flour with certified gluten-free alternatives or use dairy-free butter for those with sensitivities.
Organize ingredients in mise en place style, arranging them in the order you’ll use them.
This methodical approach eliminates guesswork and guarantees consistent results.
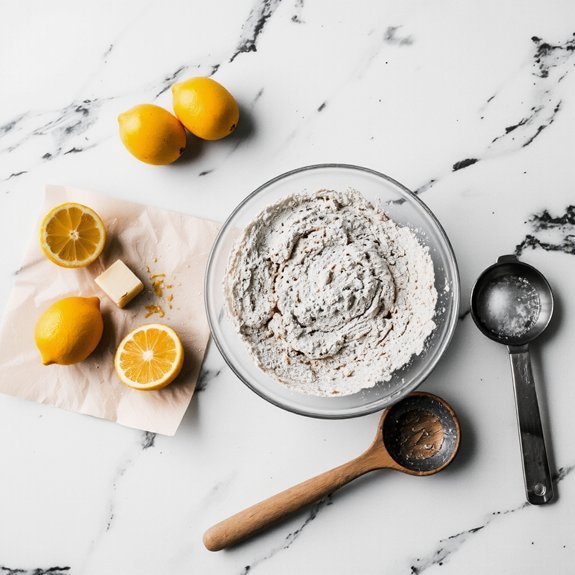
Making the Cookie Dough
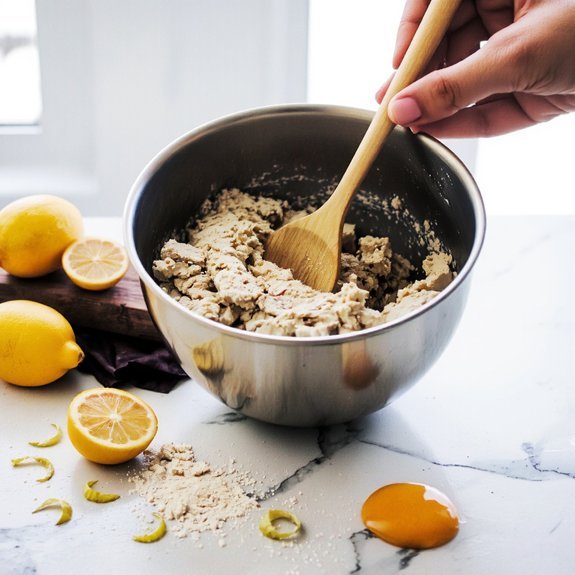
Combining your softened butter with granulated sugar marks the beginning of proper emulsification. You’ll cream these ingredients for approximately two minutes until you’ve achieved a light, fluffy consistency.
This promotes proper incorporation and stabilizes your mixture. Add your lemon zest and juice, performing sensory evaluation to confirm adequate citrus intensity.
In a separate bowl, you’ll whisk together flour, baking soda, and salt.
Gradually incorporate these dry ingredients into your wet mixture, stirring until just combined. Avoid overmixing, which develops gluten and toughens your cookies.
Consider recipe scaling requirements if you’re adjusting batch sizes. Maintain proportional ingredient ratios for consistent results. Your dough should hold together while remaining slightly crumbly.
Shaping and Baking
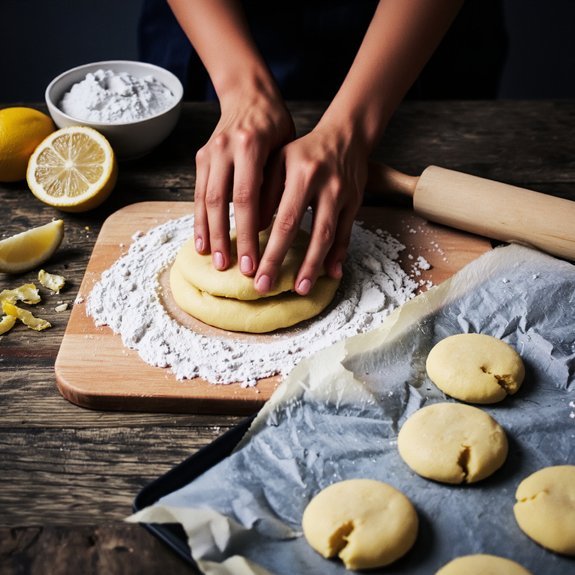
Your prepared dough’s consistency dictates your shaping method. You’ll achieve ideal results by following these baking protocols:
1) Roll dough to uniform thickness of ¼ inch using parchment paper between layers
2) Cut shapes with cookie cutters, spacing pieces 2 inches apart on baking sheets
3) Rotate pans halfway through baking to counteract oven hotspots
4) Bake at 350°F for 10-12 minutes until edges achieve light golden coloration
You’ll want consistent cookie dimensions for even heat distribution. This precision prevents underbaked centers or over-browned edges.
Position your racks strategically, as many ovens distribute heat unevenly. Monitor your baking time carefully—lemon cookies require vigilant attention during final minutes.
Remove them while edges remain slightly soft; they’ll continue setting as they cool. This methodology gives you complete control over your final product’s texture and appearance.
Cooling Your Cookies
You’ll transfer your cookies to a wire rack immediately after removing them from the oven, allowing air circulation on all sides to prevent moisture accumulation on the bottom surface. Position the rack at room temperature and let your cookies cool for approximately 10-15 minutes, during which they’ll continue to set and firm up as their internal temperature decreases.
This cooling method guarantees you’ll achieve the ideal texture—crispy edges with a tender center—before storing or serving your lemon cookies.
Wire Rack Method
Transferring cookies to a wire rack immediately after removal from the oven prevents residual heat from the baking sheet from over-baking their bottoms.
This technique has historical origins in professional bakeries seeking consistent results.
Here’s your recommended cooling protocol:
- Position your wire rack on a heat-resistant surface away from drafts
- Transfer cookies within 2-3 minutes of oven removal using a spatula
- Space cookies 1 inch apart for proper air circulation
- Allow 10-15 minutes for complete cooling before storage
Elevate your sustainability by reusing wire racks across multiple baking sessions. The elevated design maximizes airflow circulation, ensuring even heat dissipation around each cookie’s perimeter.
This methodology prevents moisture accumulation underneath your batch, maintaining that desirable crispy exterior while preserving tender interiors. You’ll achieve superior texture control and professional-quality results with this straightforward approach.
Room Temperature Timing
Once cookies rest on the wire rack for 10-15 minutes, they’ve reached an intermediate cooling stage where they’re firm enough to handle but still warm. Transfer them to room temperature storage, monitoring ambient humidity and temperature fluctuations that affect texture retention.
| Cooling Phase | Time | Temperature |
|---|---|---|
| Wire rack | 10-15 min | 120-140°F |
| Room temperature | 30-45 min | 70-75°F |
| Storage readiness | 60+ min | Ambient |
| Humidity control | Continuous | <55% RH |
| Final state | Complete | 68-72°F |
You’ll achieve ideal cookie structure by allowing full ambient equilibration. This methodology prevents condensation and maintains crispness. Control your environment—don’t let it control your results. Precise timing eliminates guesswork and guarantees consistent outcomes every batch.
Optional Lemon Glaze
Combining powdered sugar, fresh lemon juice, and zest creates a simple yet elegant finishing layer for your cookies.
You’ll find this glaze’s culinary origins in classical French patisserie, with regional variations spanning Mediterranean and Nordic baking traditions.
Prepare your glaze using these precise steps:
- Whisk 1 cup powdered sugar with 2 tablespoons fresh lemon juice until you achieve smooth consistency
- Fold in ½ teaspoon lemon zest for depth and aromatic complexity
- Adjust viscosity by adding lemon juice incrementally if you need thinner application
- Apply glaze while cookies cool, allowing 15-20 minutes for complete setting
You’re free to customize concentration levels based on your flavor preferences.
This optional topping elevates your lemon cookies without overwhelming their delicate crumb structure.
Storage and Serving Tips
To maintain ideal freshness and texture, you’ll want to store your cooled lemon cookies in an airtight container at room temperature for up to five days, or refrigerate them for up to two weeks.
For extended preservation, freeze them in airtight containers for up to three months.
When serving, pair your lemon cookies with complementary beverages and accompaniments.
Consider pairing suggestions like Earl Grey tea, sparkling water with fresh mint, or a crisp white wine for sophisticated occasions.
Alternatively, serve them alongside coffee or lemonade for casual gatherings.
Remove frozen cookies from airtight containers thirty minutes before serving to allow them to acclimate to room temperature.
This methodology guarantees prime flavor development and texture restoration.
Store cookies separately from strongly aromatic foods to prevent flavor absorption.
Frequently Asked Questions
Can I Substitute the Lemon Juice With Lemon Extract or Lime Juice?
You can substitute lemon juice with lemon extract using precise extract ratios—typically one teaspoon extract replaces three tablespoons juice.
This concentrated approach prevents excess moisture in your dough.
Lime substitution works at equal volumes, though it’ll shift your flavor profile toward tartness.
You’re free to experiment with either option, but understand that extract ratios demand accuracy for consistent results.
Adjust sweetness accordingly since lime carries different acidic intensity than lemon juice.
How Do I Prevent My Lemon Cookies From Spreading Too Much During Baking?
You’ll prevent excessive spreading by chilling your dough for at least 30 minutes before baking.
Maintain butter temperature between 65-68°F—too warm causes uncontrolled spread.
Use precise measurements: accurate flour ratios absorb moisture properly.
Make sure your oven reaches exact temperature; calibrate with a thermometer.
Employ parchment paper for consistent heat distribution.
You’re taking control of your baking results through technical precision and proper preparation methodology.
What’s the Best Way to Zest a Lemon Without a Microplane Tool?
You’ve got two solid options.
Use the Knife Technique: hold your lemon steady, carefully scrape the blade’s flat side across the skin at shallow angles, collecting only the yellow layer—avoid white pith.
Alternatively, the Peeler Method lets you strip thin ribbons, then mince them finely.
Both techniques demand precision and control.
You’ll achieve consistent zest without special equipment, giving you the independence to execute professional results in your own kitchen.
Can These Lemon Cookies Be Frozen for Later Consumption?
You can absolutely freeze your lemon cookies for extended shelf life. Place cooled cookies in airtight containers or freezer bags, removing excess air to prevent freezer burn. They’ll maintain quality for up to three months at 0°F.
When you’re ready to enjoy them, thaw at room temperature for approximately 30 minutes. This method preserves texture and flavor, giving you complete control over consumption timing without compromising quality.
Why Did My Cookies Turn Out Too Dry or Too Cake-Like?
You’ve likely encountered two culinary pitfalls. Overmixing batter develops excessive gluten, yielding dense, cake-like results.
Additionally, flour measurement errors—whether you’ve packed it or used volume instead of weight—increase dry ingredients disproportionately.
You’re free to recalibrate by using precise scales for flour (spoon-and-level method works secondarily), mixing only until combined, and reducing flour by 1-2 tablespoons per batch. These adjustments restore ideal moisture and texture.


Leave a Comment