
Key Takeaways
- Tempering stabilizes cocoa butter crystals into Form V, creating a glossy finish, satisfying snap, and preventing bloom.
- The seeding method introduces pre-crystallized chocolate as nucleation points; use 10–20% seed ratio at 45–50°C.
- The tabling method spreads chocolate on marble, using folding motions for three to five minutes until paste-like.
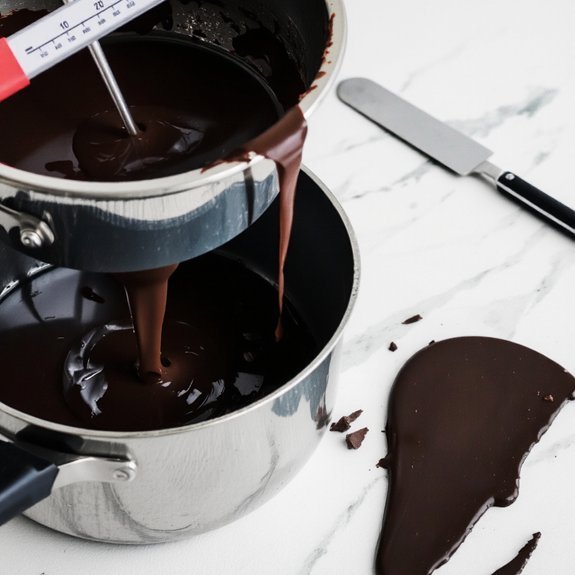
- Maintain precise temperature control with a digital thermometer in a cool 65–70°F environment for consistent results.
- Clean equipment thoroughly and practice repeatedly to develop intuition for chocolate behavior and achieve professional-quality tempering.
Why Tempering Matters
When you temper chocolate, you’re stabilizing its cocoa butter crystals into their most desirable form.
Tempering chocolate stabilizes cocoa butter crystals into their most desirable, stable form for superior results.
This process transforms unstable crystals into stable ones, giving you superior results that justify the effort.
Tempered chocolate delivers shelf stability—your creations won’t develop gray bloom or become grainy over time.
You’ll achieve a professional appearance and texture that separates quality work from amateur attempts.
Flavor preservation matters too.
Proper tempering locks in cocoa’s complex notes rather than muting them through heat damage.
You’re not sacrificing taste for aesthetics; you’re enhancing both simultaneously.
Additionally, tempered chocolate snaps cleanly when broken, melts smoothly on the tongue, and sets quickly—critical qualities for truffles, bars, and coatings.
You gain control over your chocolate’s performance, ensuring consistent, predictable outcomes every time.
Understanding Cocoa Butter Crystals
To achieve those superior results, you’ll need to understand the molecular foundation beneath tempering’s success: cocoa butter crystals.
Cocoa butter crystallizes into six polymorph types, each with distinct melting points and stability levels.
You’re targeting Form V crystals, which create that glossy finish and satisfying snap you demand.
Your crystal lattice structure determines everything.
When you temper chocolate, you’re controlling which polymorph dominates.
Form V crystals remain stable at room temperature, while inferior forms like Form IV eventually transform into Form VI, causing bloom and texture degradation.
The Seeding Method
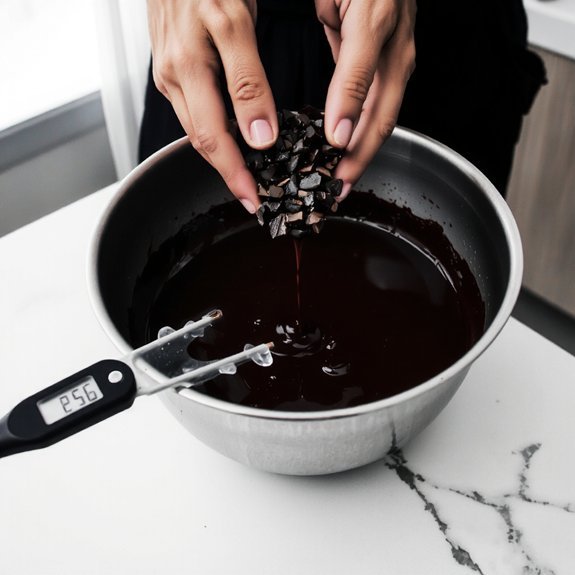
The seeding method gives you direct control over crystal formation by introducing pre-crystallized Form V chocolate into your melted batch.
You’ll chop high-quality tempered chocolate finely to maximize surface area contact with your warm chocolate.
Proper seed ratios typically range from 10-20% of your total batch weight, depending on your chocolate’s temperature and cocoa butter content.
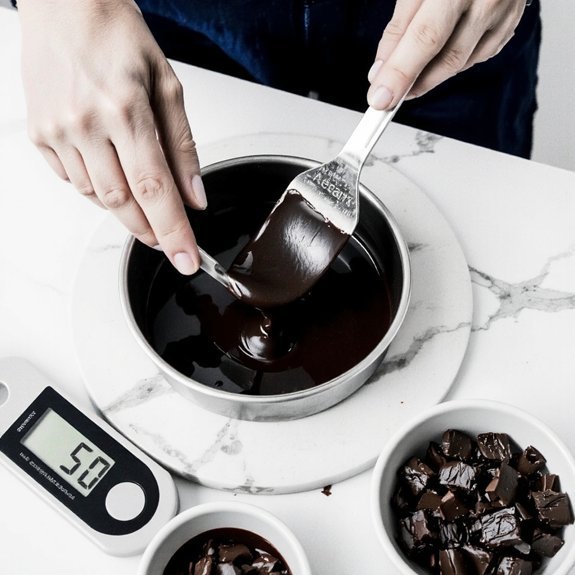
You can use the microwave technique to gently warm your base chocolate to 45-50°C, then add your seeds while stirring constantly.
The friction generates just enough heat to dissolve inferior crystals while preserving your Form V seeds as nucleation points.
This method demands precision—overheating destroys your seed structure, while insufficient temperature prevents proper integration.
Monitor your chocolate’s consistency carefully until it reaches ideal working temperature and viscosity for molding or enrobing.
The Tabling Method
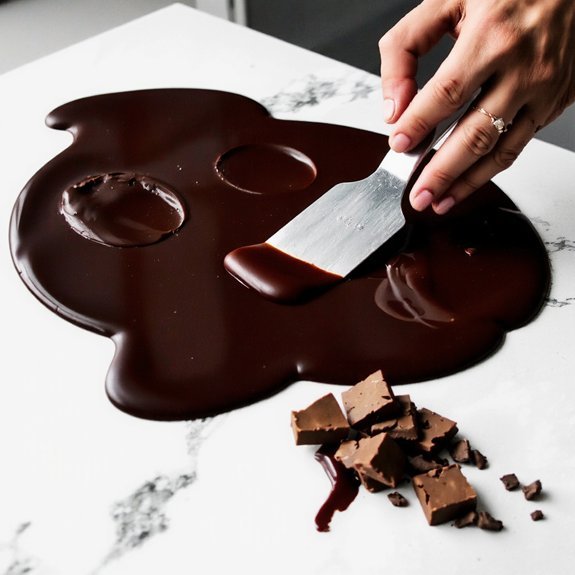
By pouring tempered chocolate onto a cool marble slab, you’ll create ideal conditions for crystal development through controlled cooling and manipulation.
Spread the chocolate thinly across the surface using a spatula, allowing heat to dissipate rapidly.
Once the edges begin to set, use tabling motions to work the chocolate back toward the center, folding and pushing repeatedly. This action encourages proper crystal formation while preventing unwanted crystalline structures.
Use tabling motions—folding and pushing repeatedly—to encourage proper crystal formation while preventing unwanted crystalline structures.
Continue these movements for three to five minutes until the chocolate reaches a thicker, paste-like consistency.
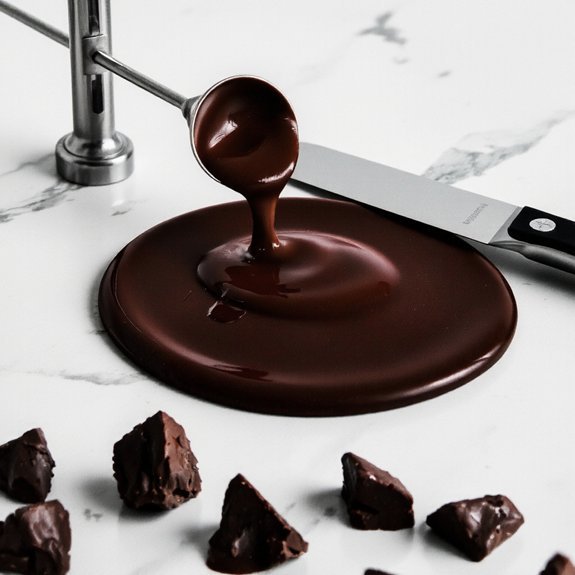
When it’ll hold its shape and show a slight sheen, gather it into a mass. Transfer this tempered chocolate to a warm bowl, where it’ll maintain workable viscosity for coating, molding, or dipping without losing its crystalline structure.
Tips for Perfect Results Every Time
Mastering the tabling method sets you up for success, but you’ll want to keep several key principles in mind to guarantee consistent results across every tempering session.
Temperature control remains non-negotiable.
You’ll need an accurate thermometer—digital infrared models work best—to monitor your chocolate precisely.
Don’t rely on guesswork; chocolate demands exactness.
Equipment maintenance directly impacts your outcomes.
Clean your marble slab or work surface thoroughly before each session, removing residual cocoa butter that can interfere with crystallization.
Invest in quality tools that you’ll maintain consistently.
Work in a cool environment—ideally 65-70°F.
Ambient temperature substantially affects your chocolate’s behavior during tempering.
Finally, practice patience.
You’ll develop intuition through repetition, learning how your specific chocolate responds to technique adjustments.
This hands-on experience gives you the freedom to troubleshoot problems independently and achieve professional-grade results reliably.
Frequently Asked Questions
What Type of Chocolate Works Best for Tempering: Dark, Milk, or White?
Dark chocolate works best for tempering because you’ll appreciate its higher cocoa content, which creates superior crystalline structure. You’re not constrained by milk solids that complicate milk chocolate’s tempering process.
White chocolate presents challenges since it contains no cocoa solids—only cocoa butter and milk solids. Dark chocolate gives you the control and precision you need, delivering professional results with consistent snap and shine every time you work with it.
Can I Temper Chocolate Without a Thermometer Using Alternative Methods?
Yes, you can temper chocolate without a thermometer.
You’ll use the finger test and cold plate method.
Dip your finger into melted chocolate—it shouldn’t feel too hot.
Pour chocolate onto a cold plate; it’ll set quickly if properly tempered.
Once set, you’ve achieved the right crystal structure.
This tactile approach gives you direct control over your chocolate’s consistency, letting you work independently without relying on equipment restrictions.
How Long Does Tempered Chocolate Stay in Tempered Condition Before Re-Melting?
Your tempered chocolate maintains ideal stability for 24-48 hours at room temperature, depending on ambient conditions.
You’ll achieve maximum ambient stability between 65-70°F with low humidity.
Once you notice blooming or dullness, remelt timing becomes critical—don’t delay.
You can re-temper immediately by reheating gently, then cycling back through your preferred tempering method.
Proper storage extends your window, but don’t expect indefinite results without climate control.
What Causes Chocolate to Bloom and How Do I Prevent It?
You’ll see chocolate bloom when you don’t maintain proper chocolate crystallization control.
Temperature fluctuations and humidity control failures cause cocoa butter to migrate and recrystallize on your chocolate’s surface.
You’re creating that undesirable gray or white coating.
Prevent bloom by storing your finished chocolate in cool, dry conditions—around 65-70°F with humidity below 55%.
You’ll keep your chocolate looking pristine and maintaining its snap by respecting these storage fundamentals.
Can I Use an Oven or Microwave Instead of a Double Boiler?
You can absolutely use a microwave with short microwave bursts—heat for 10-15 seconds, stir thoroughly, then repeat until melted.
An oven method works too: place chocolate in an oven-safe bowl at 250°F, checking frequently to prevent overheating.
Both techniques demand vigilance since chocolate scorches easily. The microwave offers speed and independence from stovetop equipment, while the oven method provides gentler, more controlled heat. Choose whichever liberates your workflow best.


Leave a Comment