Key Takeaways
- Cut butter into quarter-inch cubes to increase surface area and reduce softening time from 20 minutes to 5–6 minutes.
- Use a hot glass filled with ~140–160°F water, then invert over butter to trap heat and soften within 2–3 minutes.
- Grate cold butter directly into a bowl using a box grater or microplane for instant softness and even dispersal.
- Heat a knife under hot water, then use smooth downward strokes every 2–3 cuts to slice butter into uniform pieces quickly.
- Microwave butter on 10–30% power in 5-second intervals, checking texture between rounds to avoid melting or uneven softening.
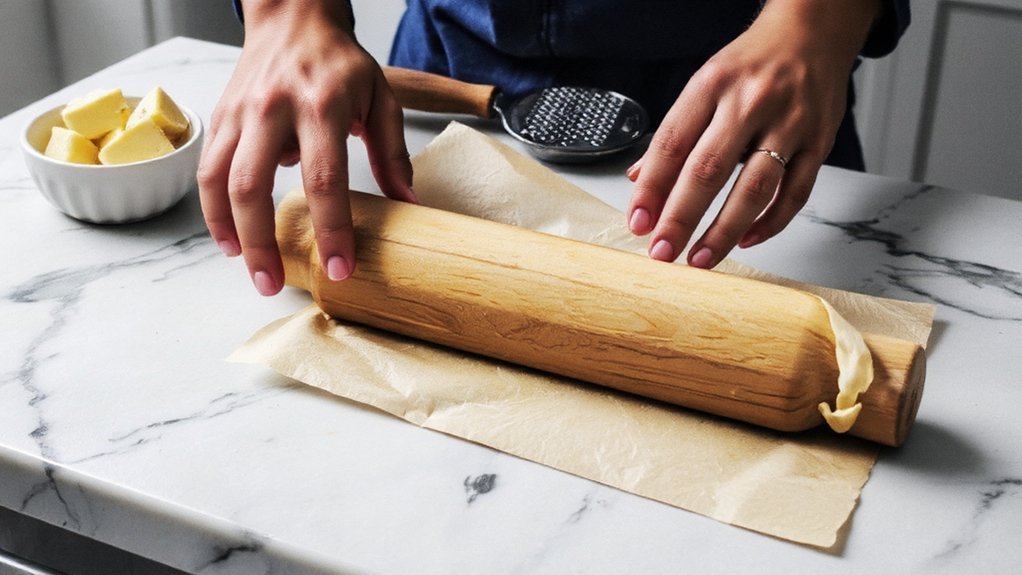
The Hot Water Glass Method
Grab a glass and fill it with hot water—this simple technique’ll soften butter in minutes.
Pour out the water once the glass reaches ideal temperature, then invert it over your butter stick. The trapped heat transfers directly to the butter, expediting the softening process without melting it.
Water temperature matters greatly.
Aim for approximately 140-160°F to balance speed with control. Excessively hot water risks melting your butter completely, while lukewarm water prolongs the wait.
Observe these safety precautions: handle the glass carefully to avoid burns, and keep it away from children.
Don’t leave the glass unattended, as residual heat remains dangerous. Check your butter’s consistency after two to three minutes—you’ll achieve the perfect spreadable texture for baking or cooking without compromising quality or wasting time.
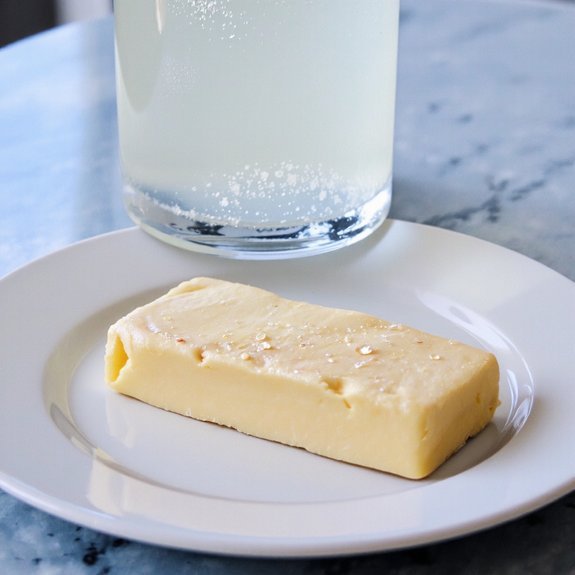
Cutting Butter Into Smaller Pieces
You’ll dramatically accelerate butter softening by cutting the stick into smaller pieces, which increases surface area for heat absorption.
The most effective approach involves cutting your butter into quarter-inch cubes or thin pats, depending on your time constraints and intended use.
Proper cutting technique—using a sharp knife and working quickly to minimize handling—ensures uniform pieces that soften evenly and predictably.
Why Smaller Pieces Matter
Cutting butter into smaller pieces dramatically accelerates the softening process by increasing surface area exposure to ambient temperature.
You’ll notice that cubed butter softens roughly three to four times faster than a whole stick, making this technique invaluable for time-sensitive baking projects.
From a baking chemistry perspective, smaller pieces distribute heat more evenly throughout the butter’s structure, achieving consistent softness without creating melted pools.
This portion control method gives you precise control over your ingredients’ readiness.
You’re not bound by conventional waiting times anymore.
By cutting butter into quarter-inch cubes or thinner slices, you eliminate unnecessary delays.
The expanded surface area dramatically reduces softening time from twenty minutes to just five or six minutes at room temperature.
This straightforward approach maximizes efficiency while maintaining ideal butter quality for your recipes.
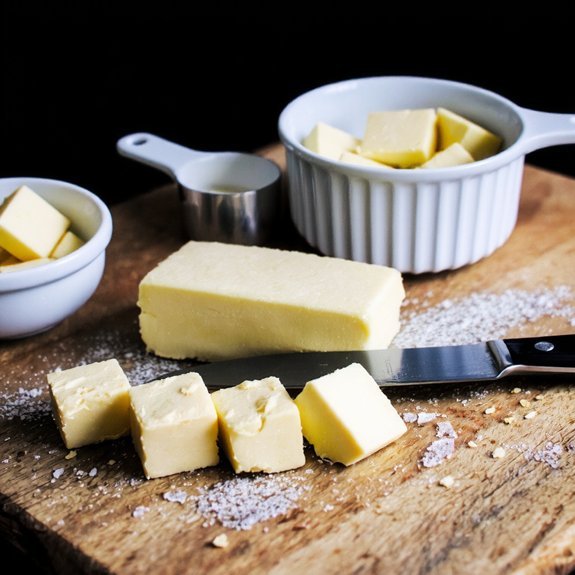
Best Cutting Techniques
To maximize the softening acceleration discussed earlier, employ a sharp knife and a deliberate cutting strategy. You’ll want to hold your knife with an ergonomic grip that distributes pressure evenly across your hand, reducing fatigue while maintaining control.
Position your butter stick at a 45-degree angle to your cutting board—angle considerations matter greatly here. This orientation lets you create uniform cubes efficiently without applying excessive force. Cut lengthwise first, then crosswise, producing roughly half-inch pieces.
Your knife’s blade should remain perpendicular to the board during each stroke. This technique prevents crushing the butter, which creates uneven softening. Sharp blades glide through cleanly, generating minimal friction heat that could prematurely melt your butter. These precision cuts maximize surface area exposure, accelerating your softening timeline substantially.
Optimal Piece Size Guide
The ideal butter cube measures between one-quarter and one-half inch on each side—this range balances surface area exposure with practical handling. You’ll maximize softening speed without sacrificing control or creating messy residue.
| Piece Size | Softening Time | Serving Sizes | Storage Notes |
|---|---|---|---|
| ¼ inch | 5-8 minutes | Single portions | Container-friendly |
| ⅜ inch | 10-15 minutes | Small servings | Ideal balance |
| ½ inch | 15-20 minutes | Standard use | Storage optimization |
| ¾ inch | 25+ minutes | Large batches | Reduced efficiency |
You’ll achieve uniform softening by maintaining consistent dimensions across all pieces. This consistency guarantees predictable results and eliminates guesswork. For storage optimization, ⅜-inch cubes offer the sweet spot—they thaw rapidly while remaining manageable. Your serving sizes dictate final adjustments, but stay within this framework for reliable performance and maximum control over your butter-softening process.
Using a Warm Knife to Slice Through

You’ll heat your knife by running it under hot water or dipping it briefly in boiling water until the blade reaches approximately 140-160°F.
Using smooth, downward strokes, you’ll slice through the butter with steady pressure, reheating the knife every 2-3 cuts to maintain ideal temperature and prevent dragging. A thin-bladed chef’s knife or serrated butter knife works best for this method, as the blade geometry allows even heat distribution and clean cuts without compressing the butter.
Heat the Knife Properly
Running a knife under hot water creates an effective cutting tool for slicing cold butter cleanly.
You’ll achieve ideal results by following these heating techniques:
- Hold the blade under running water for 15-20 seconds until it’s hot to touch
- Dry the knife completely with a clean towel to prevent water from diluting butter
- Test temperature by carefully touching the spine before cutting
- Repeat heating between slices to maintain effectiveness
This method offers sterilization benefits, eliminating bacteria that accumulate during cutting.
Handle safety remains paramount—grip the knife’s spine carefully when testing heat levels, avoiding blade contact with your skin.
The hot blade glides through firm butter effortlessly, producing clean cuts without crumbling or tearing.
You’ll work faster and maintain butter’s structural integrity throughout the process.
Slicing Technique and Method
Positioning your warm knife at a slight angle—roughly 20-30 degrees from vertical—maximizes contact with the butter’s surface and produces cleaner cuts than a perpendicular approach.
Your hand positioning matters critically. Grip the knife firmly near the blade’s base, keeping your wrist stable. Use steady, deliberate strokes rather than sawing motions. Establish a consistent slice rhythm—one fluid cut per second—preventing the blade from cooling excessively between passes.
| Angle (Degrees) | Contact Quality | Cut Cleanliness |
|---|---|---|
| 0 (Perpendicular) | Minimal | Poor |
| 15-20 | Good | Very Good |
| 20-30 | Ideal | Excellent |
| 35+ | Reduced | Fair |
| 45+ | Minimal | Poor |
This technique demands freedom from hesitation. You’re controlling heat distribution directly, maintaining butter’s workable state without melting. Execute each slice with authoritative precision, respecting the butter’s structural integrity throughout the process.
Best Knife Types Work
Selecting the right knife fundamentally determines your slicing success—the blade’s material, length, and edge geometry directly influence heat retention and cut quality.
You’ll want a knife that holds warmth effectively while maintaining a sharp edge.
Ideal knife characteristics:
- Stainless steel blades retain heat longer than carbon steel, preventing rapid cooling during cuts
- 8-10 inch chef’s knives provide ideal leverage and surface area for efficient butter slicing
- Handle ergonomics matter—choose designs with comfortable grip that won’t slip when wet from warm water
- Serrated edges offer grip on cold butter; smooth edges glide through softened butter seamlessly
You’re free to choose based on your preferences, but prioritize blade material and handle ergonomics.
Warm your knife under hot running water, dry it thoroughly, then execute controlled downward strokes.
This combination—proper equipment plus technique—delivers clean, effortless cuts every time.
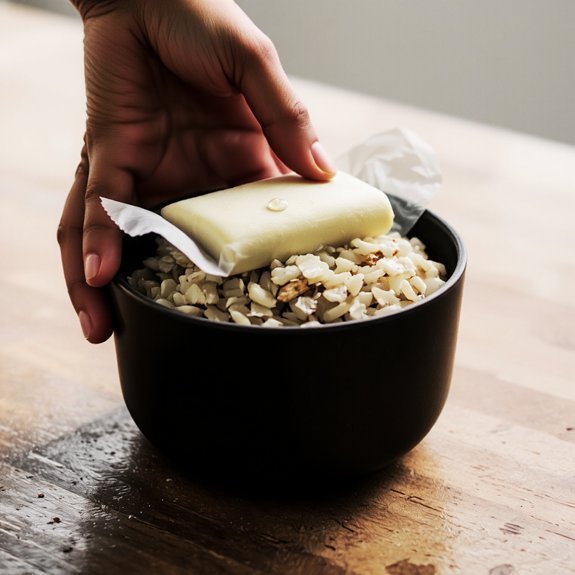
The Rice or Salt Heating Technique
How can you soften butter in minutes without a microwave or countertop wait?
Use the rice or salt heating technique for rapid results.
Use the rice or salt heating technique for rapid butter softening in just minutes without a microwave.
Fill a small glass or ceramic bowl with uncooked rice or salt.
Microwave it for two to three minutes until it’s hot—check temperature carefully to avoid burns.
This is your heat retention vessel.
Place your butter on a plate and invert the heated bowl over it.
The trapped warmth gradually softens the butter without melting it.
Leave it covered for three to five minutes, checking progress periodically.
Safety precautions are essential: use oven mitts when handling the hot bowl, keep it away from children, and never leave it unattended.
This method gives you complete control over softening speed while maintaining butter’s structural integrity for baking and cooking applications.
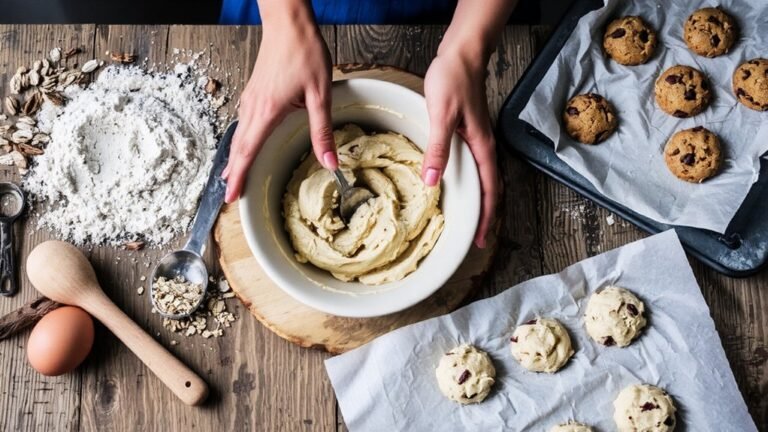
Grating Butter for Instant Softness

Grating cold butter directly into your mixing bowl delivers the fastest path to workable softness without any risk of melting.
This method grants you complete texture control while maintaining your ingredient’s integrity.
Your grater selection matters notably.
Choose between:
- Box grater with medium holes for uniform shreds
- Microplane for fine, delicate ribbons
- Channel grater for quick, consistent results
- Rotary grater for effortless, controlled grating
The friction from grating generates minimal heat, keeping your butter cold yet instantly dispersible throughout your mixture.
You’ll achieve even distribution without the guesswork of timing or temperature monitoring.
This technique works exceptionally well for pastries, cookie doughs, and pie crusts where butter distribution determines your final product’s quality.
You’re in control—no waiting, no estimation, just immediate results.
When to Use the Microwave Safely
While the microwave offers speed, it demands vigilance to avoid butter that’s melted rather than softened.
You’ll want to use the lowest power settings available—typically 10-30% power—rather than full strength.
This graduated approach gives you genuine control over the softening process.
Set strict time limits: start with 5-second intervals for a standard stick of butter.
Check the texture between intervals; you’re targeting a yielding consistency, not liquefaction.
Room temperature matters too—cold kitchens require longer heating than warm ones.
Never leave butter unattended during microwaving.
The difference between perfectly softened and ruined butter takes mere seconds.
You control the outcome by respecting these boundaries.
Master these parameters, and you’ll achieve ideal butter consistency every time without compromise or waste.
Frequently Asked Questions
Can I Soften Salted Butter the Same Way as Unsalted Butter?
Yes, you can soften salted butter using identical methods as unsalted varieties.
The softening process doesn’t alter salt concentration or compromise flavor balance.
You’ll employ the same techniques—room temperature sitting, microwaving in short intervals, or cubing for faster results.
The salt won’t interfere with how quickly the butter reaches your desired consistency.
Just monitor closely during microwaving to prevent melting, maintaining control over your cooking preparation and final product quality.
What’s the Ideal Room Temperature for Butter to Soften Naturally?
You’ll achieve ideal butter softening at 68-72°F, where you’ve got the most control over your results.
Humidity effects matter too—lower humidity speeds softening, while dampness slows it.
Within this temperature range, you’re looking at 30-45 minutes for complete softening.
You’re not bound by commercial timelines; adjust your space’s conditions to suit your schedule and preferences for maximum efficiency.
How Long Does Butter Typically Take to Soften at Room Temperature?
You’ll typically need 30-45 minutes for butter to reach ideal softening at standard room temperature.
Your softening timeline varies considerably based on ambient humidity and air circulation patterns.
Stick butter softens faster than block formats due to increased surface area exposure.
You can accelerate this process by cutting butter into smaller pieces, which maximizes heat distribution and reduces wait time substantially, giving you greater control over your baking preparation schedule.
Can I Re-Soften Butter That Has Hardened Again After Softening?
You can absolutely re-soften hardened butter using proven methods.
The microwave technique offers rapid results—heat at 50% power in 5-second intervals for precise control.
Alternatively, the grating method lets you shred cold butter into thin strands that soften quickly at room temperature.
Both approaches restore workability without compromising your butter’s integrity, giving you complete autonomy over your ingredient preparation timeline.
Is Softened Butter Safe to Use in All Baking Recipes?
You can’t use softened butter universally across all recipes without considering ingredient interactions.
Cold butter creates distinct layers in croissants and pie crusts, yielding superior texture.
For creamed mixtures, softened butter works perfectly.
However, recipe substitutions demand precision—you’ll compromise results if you swap cold butter for softened in laminated doughs.
Always verify your specific recipe’s requirements before proceeding; your baking success depends on it.


Leave a Comment