Key Takeaways
- Use weight-based measurement with a digital scale for superior accuracy and consistency over volumetric methods.
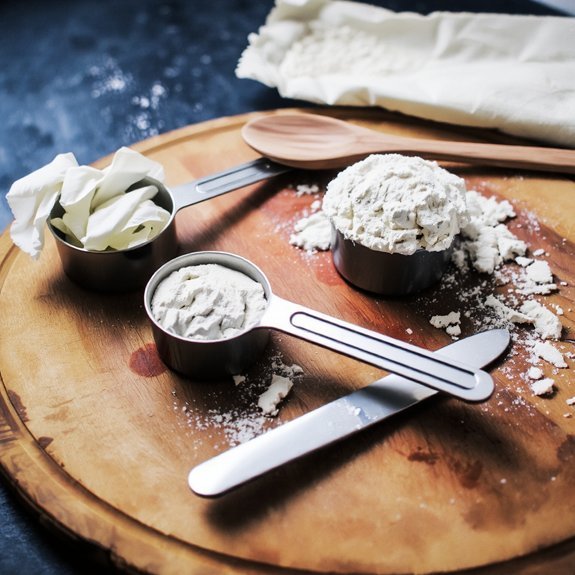
- If using cups, employ the spoon-and-level technique: spoon flour into the cup and level flush with a knife.
- Never scoop directly from the bag, as compression significantly increases the flour amount captured.
- Convert recipes to grams using standard conversions: all-purpose flour 1 cup = 125 grams.
- Store flour in airtight containers at 60–70°F to prevent humidity fluctuations that alter density.
Why Flour Measurement Matters in Baking
Because flour’s density varies with humidity, settling, and packing methods, precise measurement directly determines your recipe’s success or failure.
You can’t achieve consistent results without accurate flour quantities since they fundamentally control gluten development and baking chemistry.
When you measure imprecisely, you’re effectively guessing at hydration ratios and protein content activation.
Too much flour creates dense, dry baked goods; too little produces gummy, collapsed structures.
You’re dictating the molecular interactions that transform simple ingredients into finished products.
Baking chemistry demands exactitude.
Your flour measurement influences dough extensibility, crumb structure, and crust formation.
You maintain complete control over outcomes by measuring correctly, liberating yourself from failed batches and wasted ingredients.
Precision isn’t pedantic—it’s practical autonomy over your baking results.
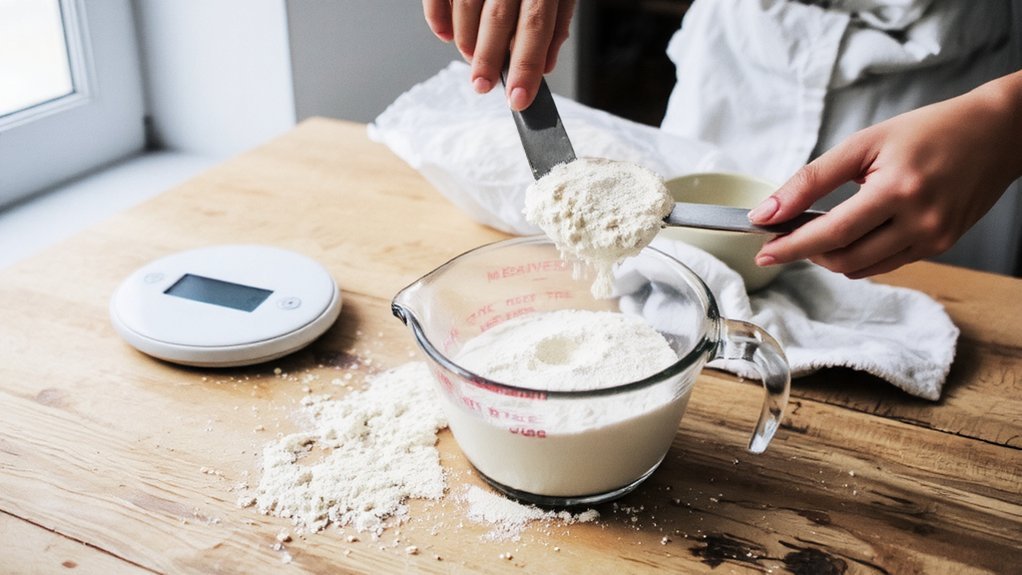
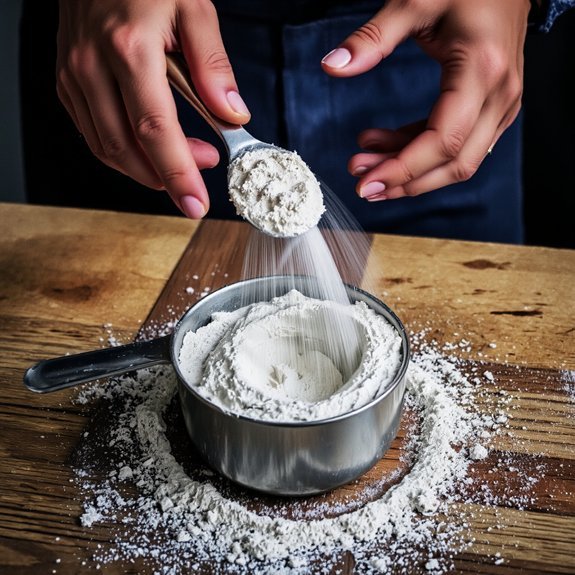
The Spoon-and-Level Method
Since flour settles during storage and transport, you’ll need a reliable technique to account for this density variation—and the spoon-and-level method accomplishes this by standardizing how you capture flour.
This technique has historical origins in professional baking, where consistency directly impacts results.
Here’s how you execute it: spoon flour from your container into your measuring cup, slightly overfilling it.
Don’t pack or shake the cup. Then, using a straight edge—a knife or spatula works perfectly—level off the excess flour flush with the rim. This removes air pockets and guarantees accuracy.
You’ll find numerous instructional videos demonstrating this method online, which reinforces its widespread acceptance among bakers.
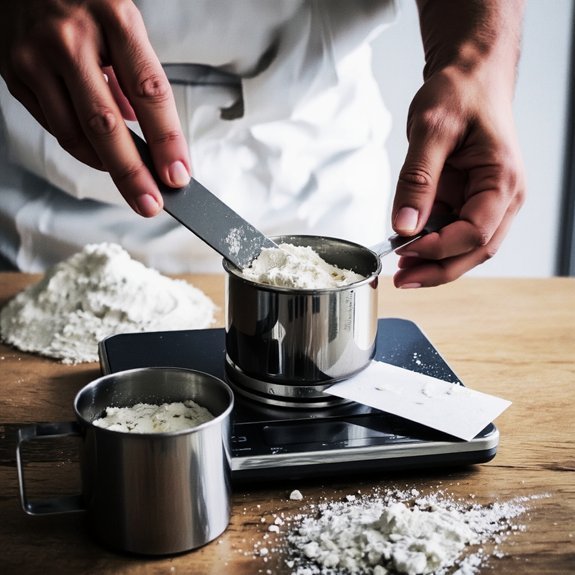
Using a Kitchen Scale for Precision
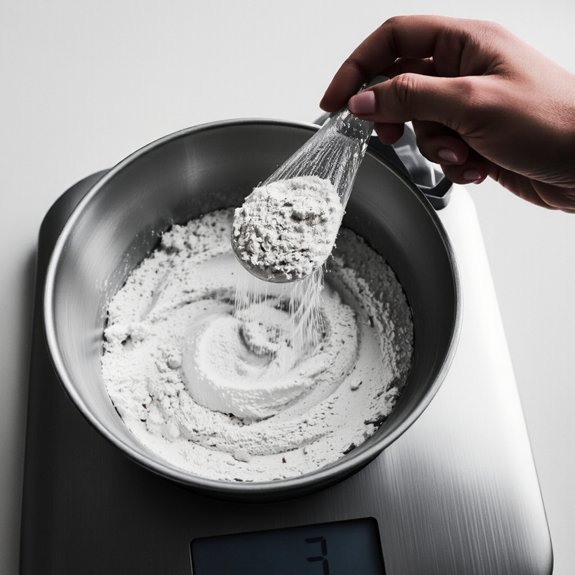
You’ll achieve greater accuracy by using a kitchen scale, which eliminates the inconsistencies inherent in the spoon-and-level method.
To maximize precision, you’ll need to understand the differences between digital and analog scales, properly calibrate your chosen scale before each use, and convert your favorite recipes from volume measurements to grams.
This approach transforms baking from guesswork into reproducible, scientific measurement.
Digital vs. Analog Scales
While both digital and analog scales measure flour’s weight, digital scales offer superior accuracy for baking applications. You’ll appreciate the precision digital models deliver—typically within 0.1 ounces—compared to analog scales’ 0.5-ounce margin of error.
Digital scales give you immediate, crystal-clear readings on their displays, eliminating the guesswork inherent in reading analog dials. You won’t struggle with display readability in various lighting conditions either. Their battery longevity typically spans months or years, depending on usage frequency, ensuring consistent performance when you need it.
You’ll also benefit from digital scales’ tare function, which lets you zero the weight between ingredients. This streamlines your measuring process considerably.
While analog scales require no batteries and work indefinitely, they can’t match the dependability and accuracy you demand for precision baking. Choose digital if you’re serious about consistent results.
Calibrating Your Kitchen Scale
Calibrate your digital scale regularly to maintain the accuracy that makes weight-based measuring superior to volumetric methods.
You’ll achieve reliable flour measurements by checking calibration every few months or before critical baking projects.
Use certified calibration weights that meet traceability standards—typically 100g, 200g, or 500g masses.
Place each weight on your scale and verify the reading matches exactly.
If discrepancies appear, consult your scale’s manual for adjustment procedures.
For professional-grade scales or persistent inaccuracies, contact authorized service centers.
They’ll recalibrate your equipment to manufacturer specifications, guaranteeing precision you can trust.
You maintain control over your baking results through proper scale maintenance.
This commitment to accuracy eliminates guesswork and delivers consistent, predictable outcomes every time you measure flour.
Converting Recipes to Grams
Why do so many recipes still list flour in cups when grams offer superior accuracy?
You’ll gain better control over your baking by converting to metric measurements.
Here’s how you’ll master this conversion:
- Multiply the cup measurement by 120–130 grams (standard all-purpose flour density)
- Cross-reference nutrition labeling on your flour’s package for precise gram equivalents
- Document ingredient sourcing details alongside gram conversions for consistent results
You’re not bound by outdated volumetric measurements.
Converting recipes to grams eliminates variables that cup measurements introduce—settling, sifting, and density variations.
Your scale provides exact accountability, enabling you to replicate results consistently.
When you understand ingredient sourcing and review nutrition labeling data, you’ll convert recipes with confidence.
This precision transforms baking from guesswork into reproducible science, giving you freedom to experiment and innovate without failure.
Measuring Cups: Advantages and Limitations
You’ll encounter volume consistency issues when you pack flour differently into measuring cups, as even slight variations in pressure noticeably alter the weight you’re actually measuring.
Standard cup conversions assume a specific density measurement, but you’re likely working with flour that varies based on humidity, brand, and storage conditions.
These density measurement challenges mean that two bakers using identical cup measurements can end up with substantially different flour quantities in their recipes.
Volume Consistency Issues
Because measuring cups rely on volume rather than weight, they introduce significant inconsistencies that can compromise baking results.
You’ll encounter several reliability problems when using this method:
- Humidity fluctuations cause flour to compact differently depending on atmospheric conditions, altering density within the same cup measurement
- Batch variability occurs because scooping techniques differ—whether you aerate, compress, or level affects actual flour quantity substantially
- Settling during storage reduces flour volume over time, meaning yesterday’s cup measurement differs from today’s
These variables mean you’re never truly measuring consistent flour quantities.
One baker’s “one cup” might contain considerably more flour than another’s, creating unpredictable outcomes across batches.
You forfeit precision and reproducibility by accepting volume measurements. This inconsistency explains why professional bakers reject cups entirely, demanding the accuracy only weight-based measurements provide for reliable, consistent results.
Standard Cup Conversions
Despite their inherent inconsistencies, measuring cups remain the most accessible tool for home bakers, and understanding standard conversions can help you minimize errors.
The standard cup measurement—240 milliliters in the US—originated from culinary traditions that prioritized practicality over precision.
You’ll find that one cup of all-purpose flour typically weighs 120-125 grams, though variations occur based on how densely you pack it.
Historical origins of cup measurements trace back to colonial America, where standardization emerged gradually across culinary traditions.
You’re not bound by outdated methods; modern bakers increasingly adopt weight measurements for superior accuracy.
However, if you’re committed to using cups, you’ll benefit from mastering the spoon-and-level technique: spooning flour into your cup, then leveling the top with a knife.
This approach gives you greater control and consistency, liberating you from guesswork.
Density Measurement Challenges
The fundamental problem with volumetric flour measurement lies in density variability—flour’s weight per unit volume shifts based on moisture content, granule size, settling time, and storage conditions.
You’ll encounter measurement inconsistencies that compromise your recipes’ reliability.
Consider these density factors:
- Particle size directly impacts how flour settles in your measuring cup, affecting weight-to-volume ratios
- Electrostatic charge causes flour particles to repel each other, creating air pockets that reduce apparent density
- Humidity fluctuations alter moisture absorption, changing flour’s overall density within hours
You’re not experiencing measurement failure—you’re confronting flour’s inherent variability.
Standard cups can’t account for these fluctuations.
Weight measurements liberate you from this uncertainty, providing consistent results regardless of environmental conditions or storage duration.
How Flour Settles and Affects Density

When you’re measuring flour by volume, you’ll find that its density isn’t constant—it changes based on how the flour’s settled in its container.
Flour particles naturally compact over time, reducing the air spaces between them. This particle compaction directly increases density, meaning the same volume now contains more flour mass.
Conversely, freshly sifted flour contains more air entrapment, lowering its density and yielding less flour per cup.
You’ll encounter significant variations depending on storage conditions, transport, and how vigorously you’ve handled the container. Flour that’s been jostled settles differently than undisturbed flour. These density fluctuations create measurement inconsistencies that compromise your recipe’s precision.
To counteract these variables, you’ll want to standardize your measuring technique or switch to weight-based measurements for reliable, reproducible results.
Converting Between Volume and Weight Measurements
Since volume measurements don’t reliably account for flour’s variable density, you’ll need conversion factors to translate between cups and grams—the standard weight measurement for baking.
Volume measurements mask flour’s variable density. Master weight conversion factors for reliable, professional baking results.
This precision matters substantially for recipe localization and culinary education, ensuring consistent results across different regions and skill levels.
Standard conversion factors include:
- All-purpose flour: 1 cup = 125 grams
- Cake flour: 1 cup = 115 grams
- Bread flour: 1 cup = 130 grams
You’re not bound by volumetric guesswork anymore.
Digital scales provide the accuracy that cups can’t deliver, eliminating density variables entirely.
When you convert recipes using these established ratios, you’re taking control of your baking outcomes.
Weight measurements grant you the freedom to replicate professional results consistently, regardless of how you’ve scooped or settled your flour beforehand.
Common Measuring Mistakes to Avoid
Even with accurate conversion factors and digital scales at your disposal, you’ll still encounter pitfalls that undermine measurement precision.
Recipe misreading causes substantial errors—you might confuse grams with ounces or overlook sifting instructions that drastically affect density.
Contaminated utensils introduce foreign matter, compromising your flour’s integrity and altering ratios.
Never scoop directly from the bag; you’ll compress flour and exceed intended amounts.
Avoid measuring over your mixing bowl, where spills contaminate everything.
Don’t tap your measuring cup against the rim—this settles flour, increasing weight.
Always level off with a straight edge for volume measurements.
Room temperature and humidity fluctuate, affecting flour weight, so store it properly and remeasure for critical recipes.
These disciplined practices guarantee consistent, reliable results every time.
Adjusting Recipes Based on Flour Type
Different flour types won’t perform identically in your recipes because their protein content and structure vary markedly.
You’re responsible for making strategic adjustments to achieve your desired results.
Consider these critical factors:
- Protein Content Variations – All-purpose flour (10-12% protein) requires different hydration than bread flour (12-14% protein) or cake flour (7-9% protein)
- Texture Optimization – Increase liquid slightly when substituting cake flour for all-purpose; decrease it when using bread flour
- Ratio Adjustments – Swap flours at 1:1 weight measurements, then modify liquids incrementally until you reach proper consistency
You’ll gain greater control over your baking outcomes by understanding these distinctions.
Measure flour by weight whenever possible, adjusting hydration ratios based on your chosen flour’s protein profile.
This precision guarantees consistent, predictable results regardless of which flour variety you select.
Storing Flour to Maintain Consistency
Once you’ve mastered measuring and adjusting flour for different recipes, you’ll need to protect your ingredient’s quality through proper storage.
Store flour in airtight containers away from heat, light, and humidity to prevent degradation.
Glass or food-grade plastic bins work best for pest prevention, keeping insects and rodents out while maintaining freshness.
Keep your containers in a cool, dark pantry or cupboard—ideally between 60-70°F.
You’ll want to implement date labeling on all containers, noting when you opened or purchased each batch.
This practice guarantees you’re using flour within its ideal window, typically six to eight months for all-purpose varieties.
Freezing flour extends shelf life considerably if you’ve got extra stock.
Simply thaw it completely before measuring to maintain measurement accuracy in your recipes.
Frequently Asked Questions
Does Flour Type Affect How Much I Need for a Recipe?
Yes, flour type substantially affects your recipe amounts.
You’ll encounter varying protein content—bread flour contains roughly 12-14%, while all-purpose sits around 10-12%, and cake flour drops to 7-8%. These differences alter absorption rates, meaning you’re not simply swapping equal volumes.
Higher protein flours absorb more liquid and develop stronger gluten networks. You’ll need to adjust your measurements accordingly, giving you precise control over your final product’s texture and structure.
Can I Substitute All-Purpose Flour With Other Flour Varieties Equally?
You can’t substitute all-purpose flour equally with other varieties without adjusting your measurements. Different flours contain varying protein content, which directly affects gluten formation and your recipe’s outcome.
Bread flour’s higher protein creates stronger gluten networks, requiring you to use slightly less. Cake flour’s lower protein demands more flour by weight. You’ll need to experiment and adapt quantities based on each flour’s specific protein percentage to maintain your desired texture and structure.
How Does Humidity Impact Flour Measurement Accuracy at Home?
Humidity directly compromises your flour’s measurement accuracy. When you’re measuring by volume, you’ll encounter moisture absorption issues that alter flour density.
High humidity causes cup compaction, packing more flour into your measuring cup than intended. You’re effectively adding extra flour to recipes without realizing it. For precise measurements you demand, weigh flour instead of measuring by volume, or store it in airtight containers to control moisture exposure before measuring.
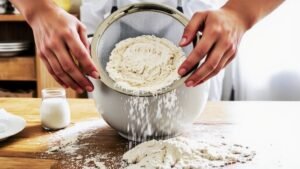
Should I Sift Flour Before or After Measuring It?
You’ll sift flour after measuring it for ideal results. This approach, called Sift Timing, guarantees you’re capturing accurate volume before aerating.
Sifting post-measurement prevents Volume Calibration errors that occur when you sift first—loosened flour occupies more space, requiring you to remeasure. You’re in control: measure your flour, then sift. This method gives you precise, consistent results you can rely on every time.
Does Flour Expire and Affect Baking Results Over Time?
Yes, you’ve got control over your flour’s longevity. All-purpose flour lasts 6-8 months at room temperature; whole wheat deteriorates faster due to oil content.
You’ll notice rancidity signs through musty odors or off-flavors that compromise your baked goods. Extend storage lifespan by refrigerating or freezing flour in airtight containers.
Expired flour won’t rise properly, producing dense, flat results. Monitor your supplies carefully—you’re responsible for ideal baking outcomes.


Leave a Comment