
Key Takeaways
- Use a reliable digital probe thermometer submerged in syrup to monitor temperature and stop heating at your desired stage.
- Choose the wet method by dissolving sugar in water first for slower, more controlled caramelization with lower burning risk.
- Heat on medium to prevent rapid browning and maintain better control over the molecular transformation process.
- Watch for warning signs like smoke, bitter aroma, and color shift from golden amber to deep brown.
- Add cold cream slowly while stirring if caramel begins burning to immediately stop the cooking process.
Understanding the Science of Caramelization
Why does sugar transform into caramel instead of simply melting?
When you heat sucrose above 320°F, its sugar structure breaks down through thermal decomposition. This controlled breakdown—not mere melting—creates entirely new flavor compounds.
When you heat sucrose above 320°F, thermal decomposition breaks down sugar’s structure, creating entirely new flavor compounds through controlled chemistry.
You’re initiating a complex chemical reaction where sugar molecules fragment and recombine. At approximately 330°F, you’ll notice browning. Around 350°F, bitter-sweet notes emerge. Push beyond 380°F and you’ll develop deep, complex flavors characteristic of dark caramel.
The key to mastering caramelization is understanding this precise temperature progression. You control which flavor compounds develop by stopping heat application at your desired stage. This isn’t accidental—it’s deliberate chemistry. By respecting these temperature thresholds, you’ll achieve consistent, exceptional caramel without the frustration of burning.
Wet Method vs. Dry Method: Which Should You Choose?
Since you’ve now grasped how temperature controls flavor development, you’ll find that your cooking method—wet or dry—fundamentally determines how you’ll manage that heat.
The wet method dissolves sugar in water before heating, giving you precise control and preventing crystallization. You’re trading speed for safety. The dry method heats sugar directly, accelerating caramelization and intensifying flavor complexity, but demands vigilance.
| Method | Speed | Control | Flavor Differences | Recipe Applications |
|---|---|---|---|---|
| Wet | Slower | High | Subtle, clean caramel | Sauces, custards |
| Dry | Faster | Lower | Deep, complex notes | Brittle, decorative work |
| Wet | Forgiving | Predictable | Mild undertones | Dessert fillings |
| Dry | Unforgiving | Requires experience | Bold, smoky character | Premium confections |
| Wet | Stable | Temperature-dependent | Neutral sweetness | Everyday recipes |
Your choice hinges on desired flavor intensity and acceptable risk tolerance.
Essential Tools and Temperature Monitoring
How you’ll succeed at caramelize hinges entirely on your ability to monitor temperature with precision and consistency.
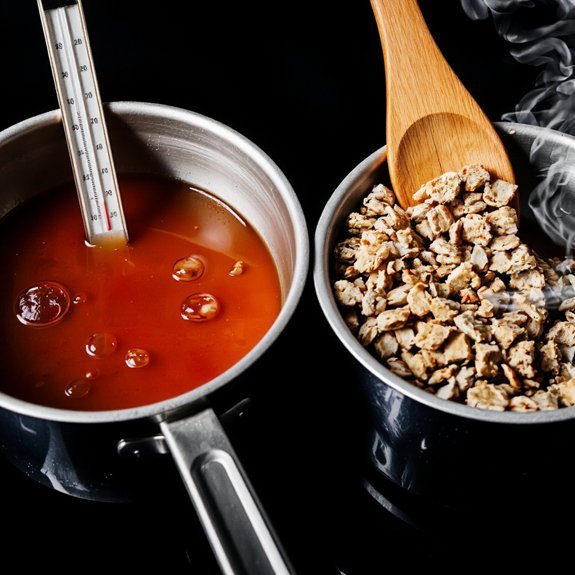
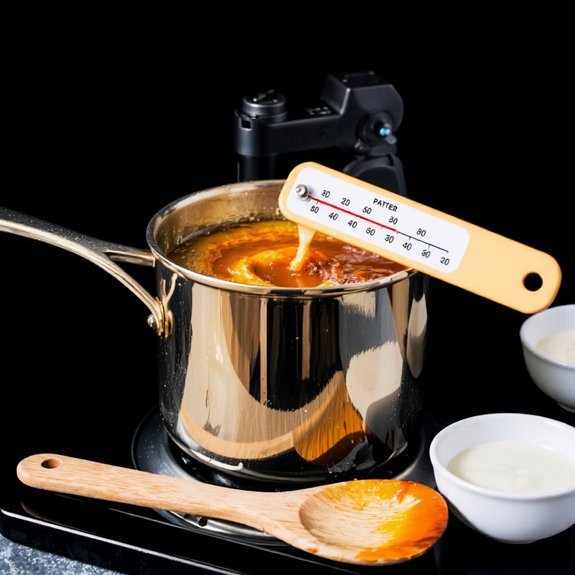
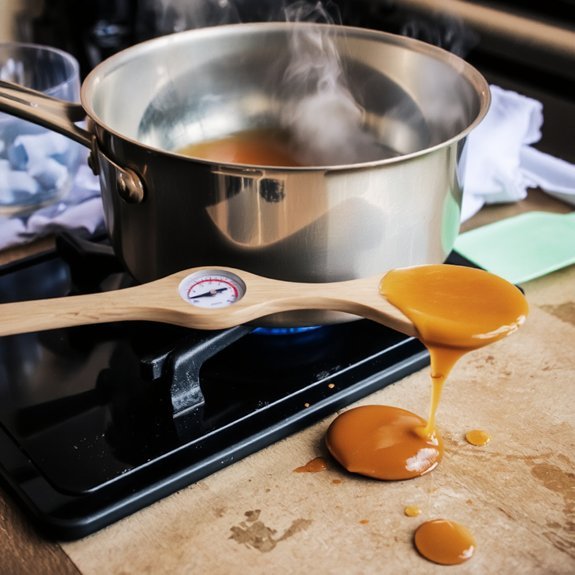
You’ll need a reliable candy thermometer—digital probe thermometers outperform traditional glass versions for accuracy. Proper probe placement matters critically: keep it submerged in syrup without touching the pan’s bottom, which distorts readings.
Calibration tips guarantee reliability. Test your thermometer in boiling water; it should register 212°F (100°C) at sea level. Adjust calculations if it doesn’t.
You’re controlling sugar’s molecular transformation, demanding exact temperatures. At 320°F (160°C), you’re hitting hard-crack stage where mistakes become irreversible. You’ll maintain control by monitoring continuously, removing heat at precisely the right moment. This technical precision separates exceptional caramel from burnt failure.
Warning Signs Your Caramel Is Burning
What separates a perfectly caramelized batch from a ruined one often comes down to recognizing subtle visual and olfactory cues before they cross the point of no return.
You’ll notice smoke signals rising from your pan as the first warning.
The color shifts from golden amber to deep brown—your critical window’s closing.
A bitter aroma replaces caramel’s sweet fragrance, signaling chemical breakdown.
Your thermometer reads beyond 350°F (175°C), indicating overheating.
The mixture darkens unevenly, with burnt spots appearing at the pan’s edges.
You’ll detect acrid smoke that stings your eyes and nostrils.
These indicators demand immediate action: remove your pan from heat, halt the cooking process, and salvage what remains.
Trust your senses—they’re your best defense against caramel catastrophe.
Techniques to Fix and Prevent Caramel Disasters
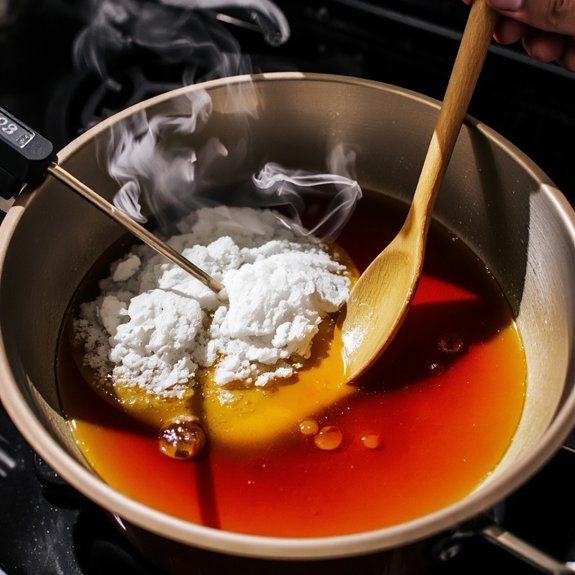
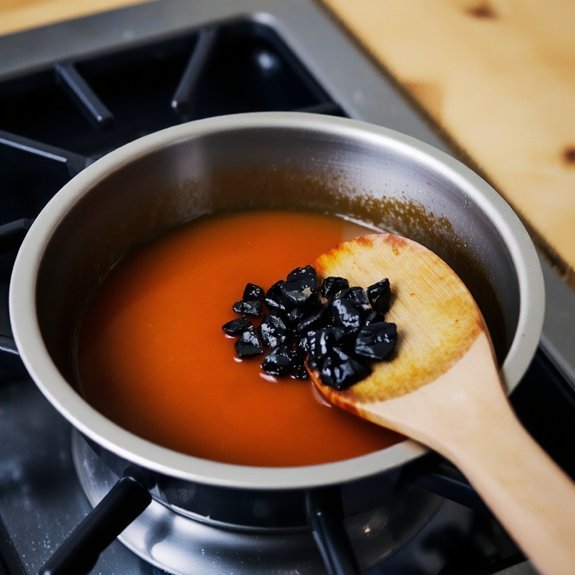
Once you’ve identified the warning signs of burning caramel, you’ll want to master both remedial techniques and preventative strategies to guarantee consistent results. If your caramel darkens excessively, immediate cream incorporation stops the cooking process and salvages your batch. Add cold cream slowly while stirring constantly to prevent splattering.
For prevention, control your heat source meticulously—medium heat prevents rapid browning. Avoid stirring excessively, which causes crystallization. Keep your sugar moisture-free by using a pastry brush dampened with water along pan sides.
Acid addition, typically lemon juice or vinegar, prevents crystallization during cooking. A small amount interferes with sugar molecule bonding, ensuring smooth texture. This technique grants you freedom from anxiety about unexpected texture failures.
Master these methods and you’ll produce flawless caramel consistently.
Frequently Asked Questions
Can I Use Different Types of Sugar to Make Caramel, or Just White Sugar?
You’ve got freedom to experiment beyond white sugar.
Brown sugar’ll give you deeper, molasses-forward notes—though you’ll need to adjust your technique since it’s hygroscopic and burns faster.
Turbinado sugar works great; its larger crystals dissolve slower, giving you better control over caramelization.
Raw sugars and demerara offer similar advantages.
Your independence means you’re not locked into convention—just monitor temperatures closely, as alternative sugars behave differently than refined white sugar.
How Long Does Homemade Caramel Last, and How Should I Store It?
You’ll find homemade caramel stays fresh for two weeks in an airtight container at room temperature.
For extended storage, you’ve got freedom to choose: refrigeration guidelines suggest keeping it up to one month in the fridge, while freezing techniques extend shelf life to three months.
Store it in sealed glass containers, separating layers with parchment paper.
Thaw frozen caramel gradually at room temperature before using.
Is It Safe to Make Caramel With Children Watching or Helping?
You can safely involve children by assigning them supervised roles away from the heat source. Implement burn prevention by having kids measure ingredients, stir cooled caramel, or wrap finished pieces.
Never let them handle the hot pan directly. Teaching tips include explaining the temperature danger beforehand and establishing clear boundaries.
Keep them at least three feet from the stove, and always maintain direct adult supervision throughout the entire process.
Can I Add Butter and Cream to Caramel After It Reaches the Desired Color?
Yes, you can add butter and cream after reaching desired color. Remove your pan from heat immediately—this stops the cooking process.
Add cold butter first, stirring carefully as it’ll bubble vigorously. Then incorporate room-temperature or slightly cool cream slowly, whisking constantly.
The temperature differential prevents splattering and guarantees smooth incorporation. This technique gives you complete control over your caramel’s final consistency and flavor profile.
What’s the Best Way to Clean up Hardened Caramel From Pots and Pans?
You’ll dissolve hardened caramel by filling your pot with boiling water and bringing it to a simmer for 5-10 minutes.
For stubborn residue, you’re free to scrub with baking soda paste—it’s an abrasive that won’t damage your cookware.
You’ve got flexibility here: combine boiling water with baking soda directly in the pan, let it sit, then scrub aggressively.
This method breaks down caramel’s molecular bonds without requiring harsh chemicals, giving you complete control over your cleaning process.


Leave a Comment