Key Takeaways
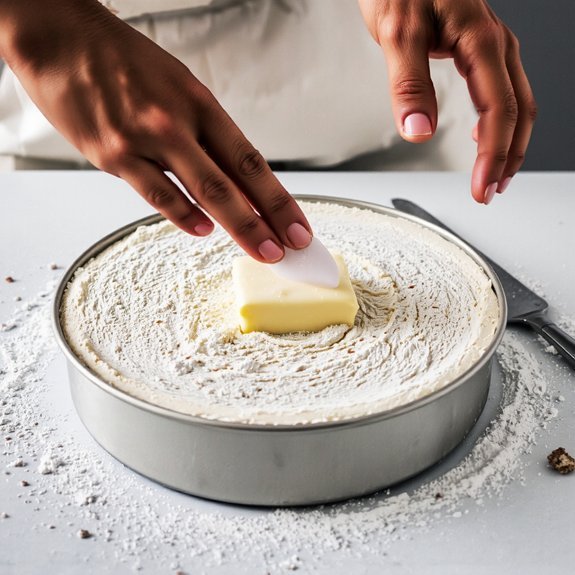
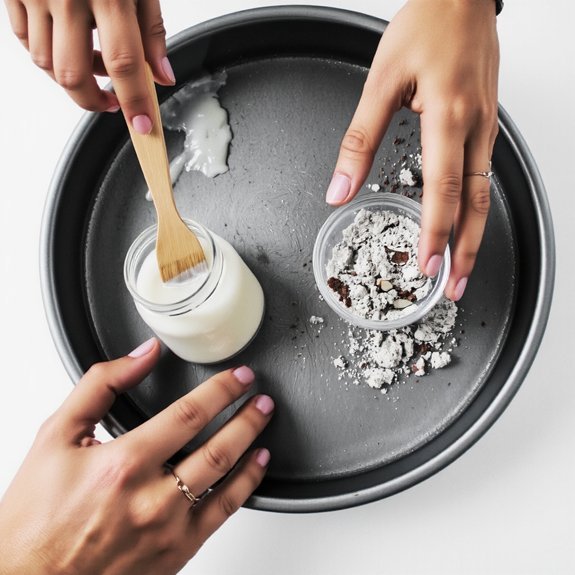
- Apply a thin, uniform layer of butter, oil, or shortening across the pan’s bottom, sides, corners, and crevices using a brush or towel.
- Sprinkle approximately one tablespoon of flour over the greased surface, then tap and tilt the pan to distribute evenly.
- Invert the pan and tap the bottom gently to remove excess flour, leaving only a thin coating for optimal release.
- Check for bare spots in corners and along the rim, reapplying grease and flour as needed before adding batter.
- Choose fats based on cooking temperature and desired flavor: butter for richness, oil for high-heat versatility, or shortening for easy removal.
Why Greasing and Flouring Matters
When you grease and flour a pan properly, you’ll prevent your baked goods from sticking to the surface, ensuring they release cleanly and maintain their shape.
Proper greasing and flouring prevents sticking, ensuring your baked goods release cleanly and maintain their intended shape.
This foundation technique directly impacts your baking success.
Greasing creates a barrier between your batter and the pan’s surface, allowing your creations to slip out effortlessly.
Flouring adds another protective layer that absorbs excess moisture while preventing direct contact with the pan.
Together, these steps enable Moisture Retention within your baked goods, keeping them tender and fresh longer.
You’ll also achieve Texture Preservation—maintaining the crumb structure you’ve worked hard to develop during mixing.
Without proper preparation, you’ll risk collapsed edges, torn surfaces, and wasted ingredients.
Taking these few moments upfront guarantees professional results and complete control over your baking outcomes.
Materials You’ll Need
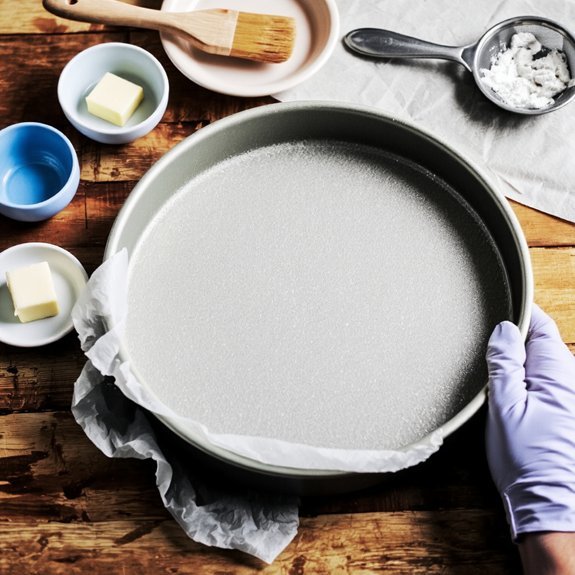
Before you begin greasing and flouring your pan, you’ll want to gather a few essential supplies.
- Shortening or butter – Your choice of fat for coating the pan’s surface
- All-purpose flour – Standard flour works best for most baking projects
- Measuring spoons – Makes sure you’re applying the right amount of grease without excess
- Oven mitts – Protects your hands while handling hot pans
You’ll also benefit from having a small bowl nearby to hold your grease, making application easier.
A pastry brush or paper towel works well for distributing the fat evenly across all surfaces.
Keep everything within arm’s reach before starting.
This preparation prevents fumbling mid-process and makes certain your pan’s properly prepared for baking success.
Having these materials ready lets you work efficiently and confidently.
Step-by-Step Greasing Instructions

You’ll want to select a fat that matches your baking needs—butter for flavor, vegetable oil for neutral results, or shortening for easy removal.
Your application technique matters greatly because uneven coverage can cause sticking or uneven browning.
Use a pastry brush, paper towel, or your fingers to apply a thin, uniform layer across the bottom and sides of your pan.
Choosing the Right Fat
What’s the best fat for greasing your pan? You’ve got freedom to choose based on your cooking needs, but understanding smoke points and flavor profiles matters.
- Butter – Ideal for low to medium heat baking; adds rich flavor but burns easily at high temperatures.
- Vegetable oil – Neutral taste with a high smoke point; perfect for any cooking method without compromising your dish’s flavor.
- Coconut oil – Works well for baking and medium heat; imparts subtle coconut notes to sweet preparations.
- Shortening – Highest smoke point; creates crispy results without flavor interference, making it your best choice for high-heat cooking.
Select your fat based on your cooking temperature and desired outcome.
Match the smoke point to your heat level, and you’ll achieve perfectly prepared pans every time.
Application Techniques Matter
Once you’ve selected your fat, how you apply it determines whether your baked goods release cleanly or stick stubbornly to the pan. Use your fingers, a pastry brush, or paper towel to coat every surface evenly.
Work with deliberate stroke direction—apply the fat in one consistent direction rather than random motions. This prevents pooling and guarantees uniform coverage. Adjust your motion tempo to steady, controlled movements; rushing creates uneven layers that fail when baking.
Pay special attention to corners and crevices where batter settles. Don’t skimp on coverage, but avoid excessive buildup that hardens and flakes.
For best results, apply thin, even coats. This technique gives you complete control over your baking success, freeing you from the frustration of stuck or damaged cakes.
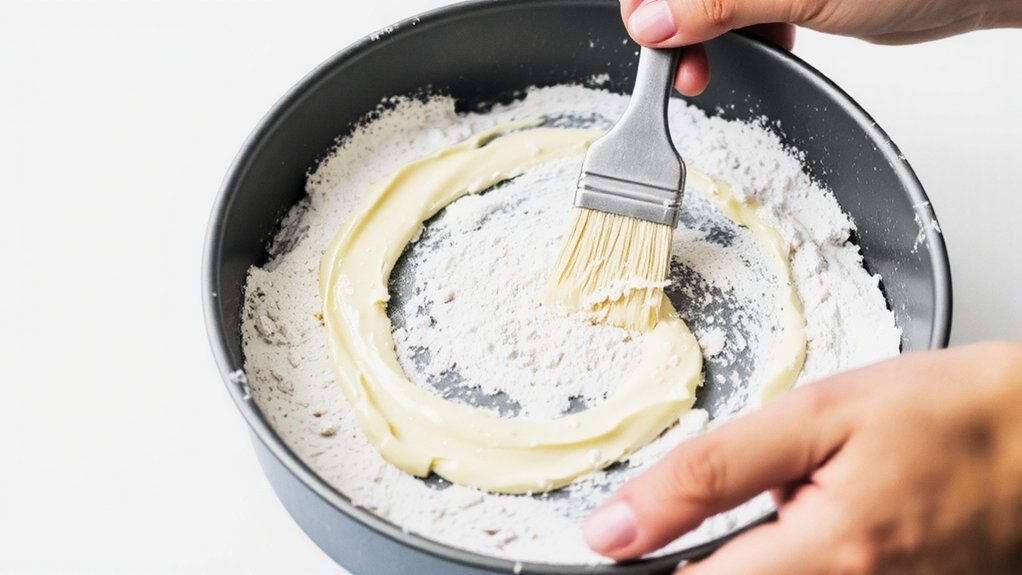
How to Flour Your Pan Properly
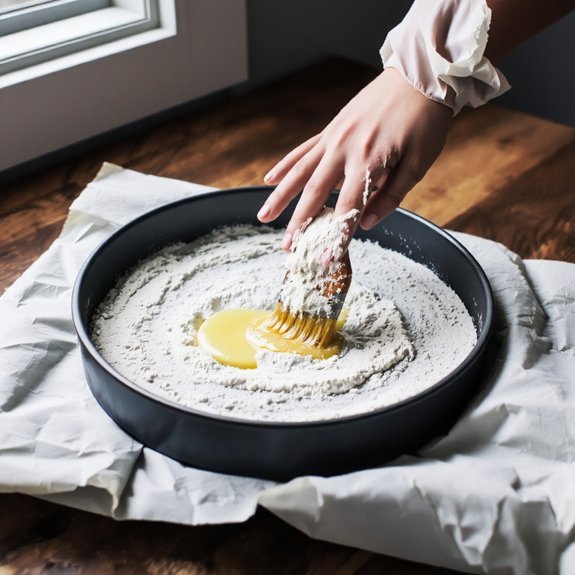
After you’ve greased your pan thoroughly, sprinkle a tablespoon of flour over the entire greased surface.
This creates a non-stick barrier that protects your baked goods’ freedom from sticking.
Here’s how to flour your pan properly:
- Tap the pan gently to distribute flour evenly across all surfaces, including corners and edges.
- Tilt and rotate the pan, ensuring complete coverage without excess buildup that compromises baking results.
- Knock out surplus flour by inverting the pan over your sink or trash bin—you’ll only want a thin coating remaining.
- Check for bare spots before adding batter; reapply flour as needed for ideal pan seasoning and release.
Note allergen warnings: flour particles may trigger sensitivities. Always verify your flour type matches dietary requirements before use.
Alternative Methods and Products
Why stick with traditional greasing and flouring when several effective alternatives can simplify your pan preparation?
Parchment paper and silicone baking mats eliminate the need for greasing entirely, giving you complete control over your baking process.
Parchment paper and silicone baking mats give you complete control by eliminating the need for greasing entirely.
These reusable options reduce environmental impact by cutting down on waste from disposable products.
Cooking sprays offer convenience, though consider their supply chains and packaging waste.
You can make your own spray by mixing oil with a small amount of lecithin.
Coconut oil serves as an excellent butter substitute for greasing, particularly for non-stick applications.
Cornstarch works well for dusting instead of flour, especially for delicate baked goods.
These alternatives empower you to choose what works best for your kitchen while reducing unnecessary environmental burden.
Experiment to discover your preferred method.
Pro Tips for Baking Success
You’ll achieve better baking results by selecting fats that match your recipe’s needs—butter for flavor, oil for moisture, or cooking spray for convenience.
Apply your chosen fat evenly across all pan surfaces using a pastry brush or paper towel to prevent sticking and guarantee uniform browning.
Dust your pan with flour using a fine-mesh sieve or the dredging method, tapping out excess so your baked goods release cleanly.
Choose the Right Fat
What fat you select can make or break your baked goods, so it’s worth understanding each option’s properties.
Your choice directly impacts texture, flavor, and browning results.
Consider these options:
- Butter – Delivers rich flavor and superior browning; use unsalted for control
- Vegetable oil – Neutral-tasting, creates tender crumbs; choose sustainably sourced varieties
- Coconut oil – Adds subtle flavor, aligns with cultural traditions in many cuisines
- Lard – Produces flaky pastries; source from ethical producers supporting sustainable farming
Each fat behaves differently at various temperatures.
Butter contains water, affecting rise and texture. Oils distribute evenly for uniform results.
Your preference depends on the recipe’s demands and your values regarding sustainability considerations. Match your fat choice to your specific baking goal for ideal outcomes.
Even Coverage Techniques
Once you’ve selected your fat, applying it evenly across every surface—corners, crevices, and all—determines whether your baked goods release cleanly or stick stubbornly to the pan.
Use your fingertips, a pastry brush, or a paper towel to distribute the fat with consistent film thickness.
Pay special attention to corners and edges where batter pools.
You’ll want adequate coverage without excessive buildup, which can create uneven browning.
The contact angle—how the fat sits against the pan’s surface—matters greatly.
A proper contact angle assures the fat coats uniformly rather than beading up in spots.
Work methodically, pressing the fat into crevices and along the rim.
Your systematic approach prevents frustrating sticking and guarantees professional-quality releases every time.
Flour Application Methods
Why does flour application matter as much as greasing?
Because proper flour coverage prevents your baked goods from sticking and guarantees clean release.
You’ve got freedom in choosing your method, so pick what works best for your kitchen.
- Dust evenly – Use a fine-mesh sifter to distribute flour uniformly, avoiding clumps that create bare spots.
- Consider particle size – Finer flour particles settle better than coarse varieties, guaranteeing complete pan coverage.
- Account for humidity effects – High moisture environments require slightly more flour since humidity reduces its effectiveness.
- Tap excess gently – Invert your pan and tap the bottom to remove surplus flour without compromising your coating.
Master these techniques, and you’ll achieve professional results every time.
Frequently Asked Questions
Can I Use Oil Instead of Butter to Grease My Baking Pan?
Yes, you can substitute oil for butter when greasing your baking pan.
Neutral oil types like vegetable, canola, or coconut oil work well and won’t affect your baked goods’ flavor.
Consider your pan’s material for compatibility—nonstick pans need minimal greasing, while cast iron benefits from oil’s protective properties. You’ve got the freedom to choose what works best for your kitchen setup and preferences.
How Long Does Flour Stay on a Greased Pan Before Baking?
You’ll want to use your greased and floured pan immediately—don’t delay. Flour won’t stay put long; humidity effects weaken your coating thickness within minutes.
Moisture in the air causes flour to absorb liquid from the grease, creating clumpy patches that won’t protect your batter properly.
For best results, you’re preparing your pan right before pouring batter. If you can’t bake immediately, you’ll need to re-flour the affected areas to maintain adequate protection.
What Happens if I Forget to Grease and Flour My Pan?
You’ll face a Stuck Cake problem that’s tough to remove from your pan’s surface.
Your baked good won’t release cleanly, crumbling apart as you attempt extraction.
You’ll also battle Burnt Edges where your cake chars against the pan’s sides.
This preventable disaster ruins your finished product.
Skip the prep work, and you’re sacrificing your baking freedom.
Take thirty seconds to grease and flour properly—it’s non-negotiable for success.
Is It Better to Grease First or Flour First on Pans?
You’ll want to grease first, then flour.
This layer sequence guarantees you’ve got proper coverage without wasting flour.
Start by applying a thin, even coat of butter or oil to every surface—you’re in control here.
Next, dust flour over the greased pan, tapping out excess.
This coating balance prevents sticking while keeping your baked goods’ texture intact.
You’ll get consistent results every time.
Can I Reuse Flour From a Pan for Another Baking Project?
You shouldn’t reuse flour from a pan for baking projects. Once flour contacts greased surfaces, it’ll pick up residual oils that compromise your recipe’s texture and rise.
Additionally, you’re risking allergen transfer if you’ve used the pan for different ingredients previously. Quality degradation occurs as the flour absorbs moisture and contaminants.
Start fresh with clean flour every time you bake to guarantee best results and maintain your freedom to create without limitations.


Leave a Comment