Key Takeaways
- Use 3 cups whole wheat flour with 2 cups all-purpose flour and 1.5 cups water for proper hydration and texture development.
- Knead for 10–12 minutes using heel-of-palm technique until dough passes windowpane test for adequate gluten development.
- Bulk ferment 4–6 hours at 68–72°F with stretch-and-folds, then final proof 2–4 hours before baking.
- Score at 30–45° angle, bake at 450°F for 35–45 minutes with steam for first 15 minutes to develop crust.
- Cool completely on wire rack 1–2 hours before storing in airtight containers at room temperature up to four days.
Gathering Your Ingredients

Before you’ll need to gather whole wheat flour, all-purpose flour, water, salt, yeast, and honey. You’re free to choose your ingredient sourcing based on quality and cost preferences.
For budget shopping, compare bulk bins at local co-ops against standard grocery stores—you’ll often find better prices on flour and yeast in larger quantities. Verify your yeast’s expiration date; active dry or instant varieties both work effectively.
Select unrefined sea salt over iodized options for superior flavor development. Source raw honey from farmers’ markets or bulk retailers to maximize value without sacrificing quality.
Measure precisely: 3 cups whole wheat flour, 2 cups all-purpose flour, 1.5 cups water, 2 teaspoons salt, 2.5 teaspoons yeast, and 2 tablespoons honey. Having everything prepared before mixing streamlines your process and guarantees consistent results.
Understanding Whole Wheat Flour
Since whole wheat flour contains the entire wheat kernel—the bran, germ, and endosperm—it’ll behave differently than all-purpose flour in your bread.
You’ll notice it absorbs more water and produces denser, more substantial loaves.
The nutritional profile of whole wheat flour surpasses refined alternatives, delivering fiber, minerals, and B vitamins you won’t find in processed options.
Whole wheat flour delivers superior nutrition—fiber, minerals, and B vitamins absent from refined alternatives.
This nutritional density gives you control over what goes into your body.
Modern milling techniques preserve the wheat kernel’s integrity while creating consistent particle sizes.
You can choose between stone-ground varieties, which retain more nutrients, or roller-milled versions for finer texture. Understanding these milling techniques empowers you to select flour matching your baking goals and nutritional priorities, ensuring your whole wheat bread delivers both performance and health benefits you demand.
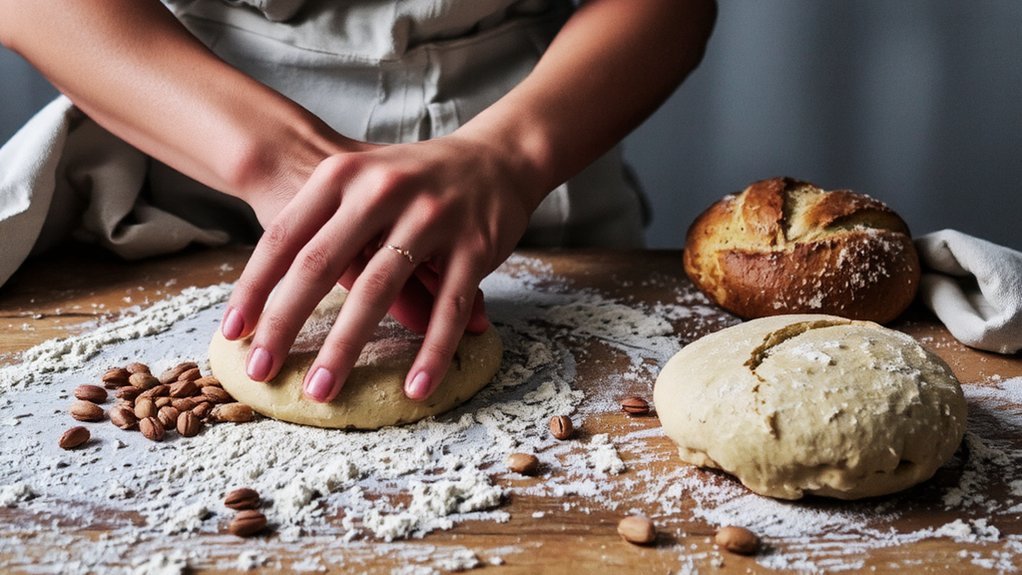
Mixing and Kneading Your Dough
Combining your whole wheat flour with water, salt, and yeast requires a deliberate approach because whole wheat’s higher bran content demands extended hydration and kneading time compared to all-purpose flour.
You’ll need to knead for 10-12 minutes, applying consistent hand pressure to develop gluten networks.
This extended timeline prevents dense, crumbly loaves.
Key kneading techniques:
- Apply firm, rhythmic hand pressure using the heel of your palm
- Fold the dough toward you, rotate a quarter turn, and repeat
- Perform the windowpane test: stretch a small dough piece until translucent without tearing
Once you’ve achieved proper gluten development through the windowpane test, your dough’s ready for bulk fermentation.
You’ll notice improved elasticity and strength throughout this process, ensuring superior bread structure and crumb quality.
The First Rise: Bulk Fermentation

Place your properly kneaded dough in a lightly oiled bowl, cover it with a damp kitchen towel or plastic wrap, and let it rest at room temperature (68-72°F) for 4-6 hours.
During bulk fermentation, yeast metabolism accelerates, producing carbon dioxide that aerates your dough while developing flavor complexity.
You’ll observe visible expansion—aim for a 50-75% volume increase.
Monitor your dough’s progression carefully.
It shouldn’t overproof, as excess fermentation weakens gluten structure and compromises crumb quality.
Midway through fermentation, perform a series of stretch-and-folds to strengthen the dough and redistribute nutrients for continued yeast activity.
The longer fermentation period allows aroma compounds to develop fully, creating the distinctive nutty, complex flavor profile whole wheat bread demands.
Trust the process rather than clock-watching; dough development varies based on ambient temperature and flour hydration levels.
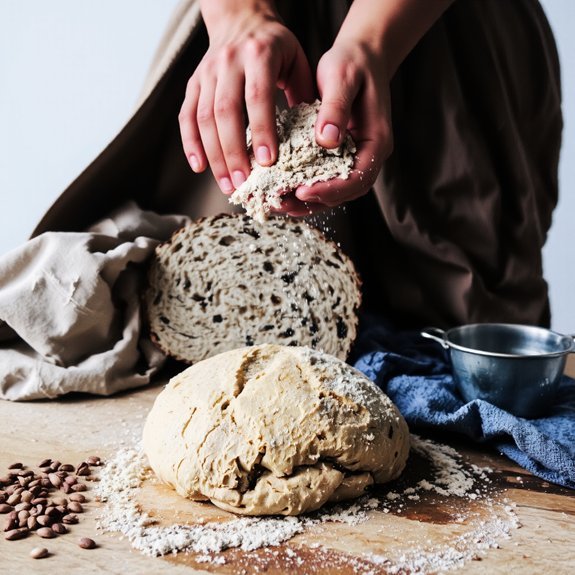
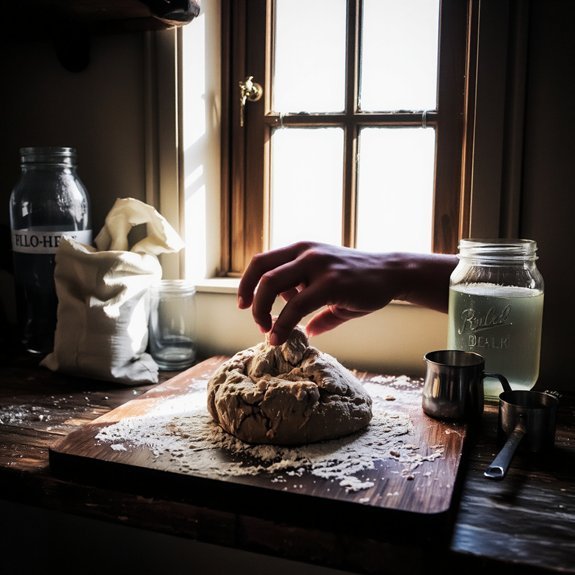
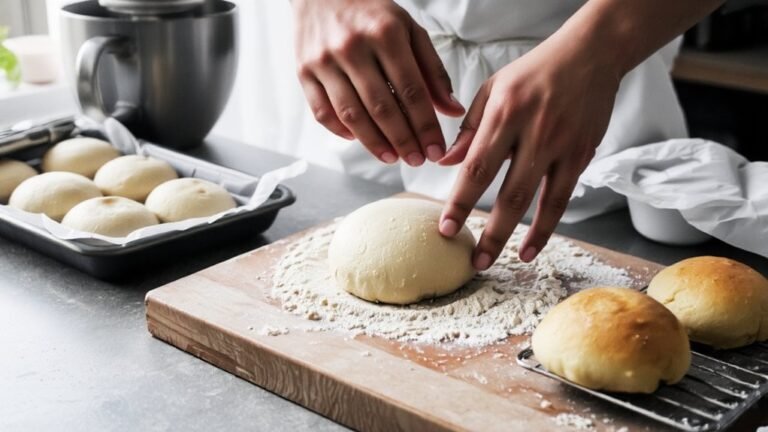
Shaping Your Loaf

After bulk fermentation completes, you’ll gently turn your dough onto a lightly floured surface and begin pre-shaping to build surface tension.
After bulk fermentation, gently turn dough onto a floured surface and begin pre-shaping to build essential surface tension.
This critical step strengthens your dough’s structure before final shaping.
For boule shaping, you’ll execute these tension techniques:
- Fold the dough’s bottom edge toward the center, rotating and repeating until you’ve created a taut, round ball
- Flip seam-side down and cup your hands around the dough, dragging it toward you to generate surface tension
- Rest the shaped dough seam-side up in a floured banneton for final proofing
The tension you’ve created prevents over-spreading during baking, ensuring your loaf rises upward rather than outward.
This technique directly impacts your bread’s oven spring and crumb structure.
Your shaping precision determines your final loaf’s appearance and texture.
The Second Rise: Final Proofing
Your shaped dough now enters its final proofing stage, where controlled fermentation develops flavor complexity while the gluten matrix continues strengthening. Place your loaf in a proofing box or banneton basket, then cover it with plastic wrap to maintain humidity control. You’ll monitor fermentation for 2-4 hours at room temperature, or refrigerate overnight for enhanced flavor development.
| Condition | Action |
|---|---|
| Room temp (68-72°F) | 2-4 hours |
| Warm (75°F+) | 1-2 hours |
| Cold (refrigerated) | 8-16 hours |
| High altitude | Add 30 minutes |
| Sea level | Standard timing |
Poke your dough gently; it should spring back slowly. Make altitude adjustments for your elevation to guarantee proper fermentation rates. You’re now ready for scoring and baking.
Scoring and Preparing for the Oven
Before you transfer the proofed loaf to your baking surface, you’ll need to score it with a sharp blade or lame to control where the bread expands during the oven spring.
Score your proofed loaf with a sharp blade to control expansion during oven spring and shape your bread deliberately.
Scoring dictates your bread’s final shape and prevents uncontrolled bursting.
Execute deliberate slash patterns at a 30-45-degree angle, cutting ¼ to ½ inch deep.
Consider these approaches:
- Single-slash scoring for simplicity and maximum ear development
- Cross-hatch patterns for controlled, even expansion across the loaf
- Decorative designs that serve both functional and aesthetic purposes
Maintain your lame maintenance routine by cleaning and sharpening between cuts—dull blades drag rather than slice, compromising results.
Position your proofed loaf seam-side up on parchment or a banneton.
You’re now ready to load into your preheated oven for baking.
Baking to Perfection
You’ll bake your whole wheat loaf at 450°F for 35-40 minutes, adjusting based on your oven’s hot spots and your loaf’s size.
You can’t rely on time alone—you’ll need to monitor internal temperature (it should reach 205-210°F) and listen for a hollow sound when you tap the bottom.
To develop that deep, crackling crust you’re after, you’ll create steam in the first 15 minutes by placing a hot pan on the oven’s bottom rack, then remove it so the crust hardens properly.
Temperature Control Matters
Because whole wheat bread’s dense crumb structure requires precise heat management, maintaining an oven temperature of 375-425°F (190-220°C) is critical to achieving proper rise and crust development.
You’ll need reliable equipment to monitor your baking environment accurately:
- Thermometer selection: Invest in an oven thermometer with ±25°F accuracy to verify your oven’s true temperature, as built-in gauges often drift substantially
- Sensor placement: Position your thermometer at mid-rack height, away from heating elements, to capture the actual baking zone temperature
- Adjustment strategy: Calibrate your oven settings based on thermometer readings before you begin proofing your dough
You control your bake’s outcome through temperature precision.
Don’t rely on preset settings alone.
Rotate your loaf halfway through baking to achieve even browning.
This methodical approach guarantees consistent results and eliminates guesswork from your whole wheat baking process.
Timing Your Bake
Once you’ve calibrated your oven temperature, timing becomes your second critical control variable for achieving consistent whole wheat bread results.
You’ll need to master time budgeting throughout your baking process—from fermentation through final baking stages.
Most whole wheat loaves require 35-45 minutes at your target temperature, though dense formulations may demand additional time.
Implement batch scheduling to optimize your workflow.
Stagger multiple loaves strategically, allowing you to monitor each one individually without sacrificing quality.
Use visual cues alongside your timer: golden-brown crust coloration and hollow-sounding bottoms indicate doneness more reliably than time alone.
Don’t rely exclusively on predetermined timings.
Every oven behaves differently.
Rotate your loaves midway through baking for even browning.
Remove bread when it reaches your desired color—underproofed loaves bake faster than fully developed ones, so remain flexible and attentive throughout.
Crust Development Techniques
A superior crust forms through deliberate steam management and surface preparation during the critical first 15 minutes of baking. You’ll leverage Maillard chemistry—the browning reaction between proteins and sugars—by maintaining high humidity that delays crust formation, allowing maximum expansion before the surface sets.
Control your crust development through these proven techniques:
- Inject steam into your oven during the first 10 minutes to create the ideal moisture environment for Maillard reactions
- Score your dough strategically to direct expansion and maximize surface area for browning
- Apply an egg wash or water spray before baking to enhance crust enzymatics and surface moisture retention
You’ll achieve ideal color and texture by balancing temperature (450–475°F) with humidity levels. Once steam escapes, your crust hardens, so timing’s everything. Remove steam vents in the final 15 minutes to develop that desirable crackle and deep mahogany finish.
Cooling and Storage Tips
You’ll want to cool your whole wheat bread completely on a wire rack before storing it, as this prevents condensation that can make the crust soggy.
Once cooled, you should place your bread in an airtight container or resealable bag to maintain its moisture content and prevent it from drying out.
Your properly stored whole wheat bread will stay fresh for three to four days at room temperature, or you can freeze it for up to three months for extended shelf life.
Proper Cooling Techniques
Cooling your whole wheat bread immediately after baking is essential for setting the crumb structure and preventing moisture condensation that’d soften the crust.
You’ll achieve best results by following these cooling practices:
- Rack elevation: Transfer your loaf to a wire cooling rack immediately, allowing air circulation underneath the bread and preventing steam entrapment on the bottom surface.
- Ambient airflow: Position your rack in an area with natural ventilation, avoiding enclosed spaces that trap moisture and compromise crust quality.
- Timing: Let your bread cool completely—typically 1-2 hours—before slicing or storing to guarantee the interior’s moisture redistributes evenly.
Don’t wrap your bread until it’s completely cool. You’re in control of your bread’s final texture and shelf life through these straightforward cooling techniques.
Airtight Storage Methods
Once your whole wheat bread’s cooled completely, proper storage becomes critical for maintaining freshness and preventing mold growth.
You’ll want to select containers that meet food grade standards and guarantee material safety for direct food contact.
Airtight plastic bags or glass containers work exceptionally well for this purpose.
Remove as much air as possible before sealing—you can use a vacuum sealer for best results.
Store your bread at room temperature in a cool, dark location away from direct sunlight and heat sources.
You’re free to refrigerate if you prefer extended shelf life, though this accelerates staling.
For long-term storage beyond a week, freezing is your best option.
Wrap loaves tightly in freezer-safe materials, allowing you to preserve quality for up to three months without compromise.
Shelf Life Guidelines
Proper cooling techniques directly impact how long your bread’ll stay fresh after baking.
Understanding staling mechanisms helps you make informed preservation choices.
Your whole wheat bread maintains ideal quality when you follow these guidelines:
- Room temperature storage: Keep bread in a paper bag for 2-3 days; this allows moisture circulation while preventing excessive drying
- Freezing: Wrap cooled loaves tightly in plastic wrap, then foil; frozen bread lasts up to three months
- Refrigeration: Avoid standard refrigerators, as cold temperatures accelerate staling; use only if your kitchen lacks cool storage
Consider preservative options like honey or vinegar if you’re baking infrequently.
These natural additives extend shelf life without compromising your bread’s integrity.
Store cut-side down on a cutting board to minimize exposed surface area.
Monitor for mold before consuming stored portions.
Troubleshooting Common Baking Issues
Why does your whole wheat bread sometimes turn out dense, dry, or unevenly browned?
Several controllable factors affect your results.
Dense crumb? You’re likely overworking your dough or underproofing it.
Whole wheat absorbs more water than white flour, so adjust your hydration accordingly.
Dry texture indicates insufficient moisture—increase water content incrementally.
Uneven browning stems from inconsistent oven temperature or rack positioning.
Rotate your loaf halfway through baking for uniform color development.
Make humidity adjustments based on your climate.
Dry environments require additional water; humid conditions may need less.
Similarly, altitude adjustments are essential: higher elevations demand increased liquid and slightly longer baking times due to lower atmospheric pressure affecting moisture evaporation rates.
Monitor these variables systematically.
You’ll master whole wheat baking through precise control and observation.
Frequently Asked Questions
Can I Substitute Whole Wheat Flour With All-Purpose Flour in This Recipe?
Yes, you can substitute whole wheat flour with all-purpose flour. You’ll need a hydration adjustment since all-purpose flour absorbs less water than whole wheat.
Reduce your liquid by about 5-10%. Expect flavor loss—all-purpose won’t deliver whole wheat’s nutty, earthy notes.
Your bread’ll rise faster and produce a lighter crumb structure. You’re trading nutritional density and complexity for convenience and a more delicate texture. Make these adjustments deliberately to achieve your desired results.
What Equipment Do I Need to Bake Whole Wheat Bread at Home?
You’ll need a digital scale for accurate flour measurements—precision matters in bread baking.
A Dutch oven traps steam during baking, creating that coveted crispy crust.
You’ll also want mixing bowls, a bench scraper for handling dough, and a banneton proofing basket.
A reliable oven thermometer guarantees proper temperature control.
Optional but valuable: a bread lame for scoring and a kitchen thermometer for monitoring dough temperature throughout fermentation.
How Does Whole Wheat Bread Differ Nutritionally From White Bread?
You’ll find whole wheat bread delivers substantially higher fiber content than white bread, promoting digestive health and sustained energy. Its lower glycemic index means you won’t experience sharp blood sugar spikes like refined white bread causes.
You’re getting more B vitamins, minerals, and antioxidants too. The bran and germ layers you’re consuming contain nutrients stripped from white flour during processing. You’re investing in superior nutritional value with every bite.
Can I Freeze Whole Wheat Bread Dough for Baking Later?
Yes, you can freeze whole wheat bread dough. You’ll want to freeze it up to three months for best results.
After kneading, place your dough in an airtight container or freezer bag.
When you’re ready to bake, thaw it overnight in the refrigerator, then let it rise at room temperature.
Safety considerations include ensuring proper airtight storage to prevent freezer burn and contamination. This method gives you complete control over your baking schedule.
Why Does Whole Wheat Bread Taste Denser Than Regular Bread?
You’ll notice whole wheat bread tastes denser because bran particles interfere with gluten development, limiting your dough’s rise potential. The bran’s sharp edges cut through protein strands, restricting expansion.
Additionally, whole wheat flour demands increased hydration needs—you’re adding more water to achieve workable consistency, which paradoxically produces a heavier crumb structure. This combination gives you that characteristically dense texture you’re experiencing, allowing you complete control over your baking outcomes.


Leave a Comment