Key Takeaways
- Melt four tablespoons of butter with one 10-ounce marshmallow bag, then fold in six cups of Rice Krispies cereal.
- Press the mixture firmly into a parchment-lined 9×13-inch baking pan, smoothing the top with a buttered spatula.
- Preheat oven to 350°F and bake on center rack for 12–15 minutes until edges show light caramelization.
- Cool completely at room temperature (2–3 hours) or refrigerate (30–45 minutes) before cutting with a buttered, sharp knife.
- Store in airtight containers at room temperature for five days or freeze individually wrapped portions for three months.
Gathering Your Ingredients
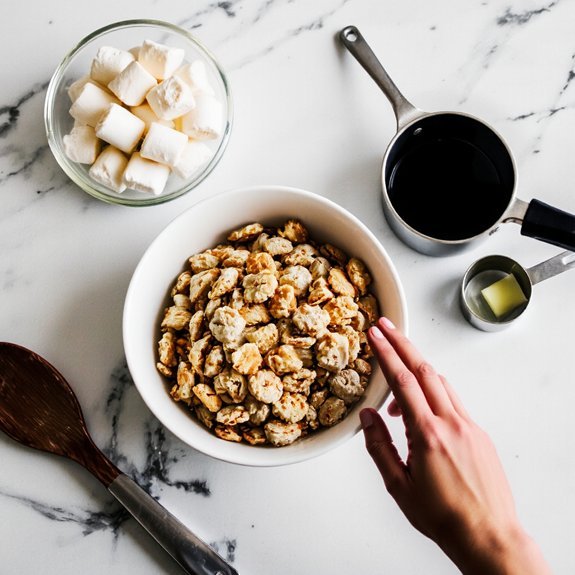
Before you begin assembling your Rice Krispie treats, you’ll want to gather all necessary components to guarantee a smooth, uninterrupted workflow.
Gather all necessary components before assembling Rice Krispie treats to guarantee a smooth, uninterrupted workflow.
You’ll need four tablespoons of butter, one 10-ounce bag of marshmallows, and six cups of Rice Krispies cereal as your foundational ingredients.
Consider seasonal availability when sourcing marshmallows—bulk purchases during holiday periods often yield better pricing.
For those managing dietary restrictions, explore allergy alternatives such as dairy-free butter and vegan marshmallows without compromising texture or taste.
Additionally, prepare a 9×13-inch baking pan lined with parchment paper for easy release.
Gather a spatula for pressing, measuring cups for accuracy, and a large mixing bowl.
This methodical preparation eliminates interruptions, allowing you to work efficiently through each stage of the recipe.
Preparing Your Baking Pan
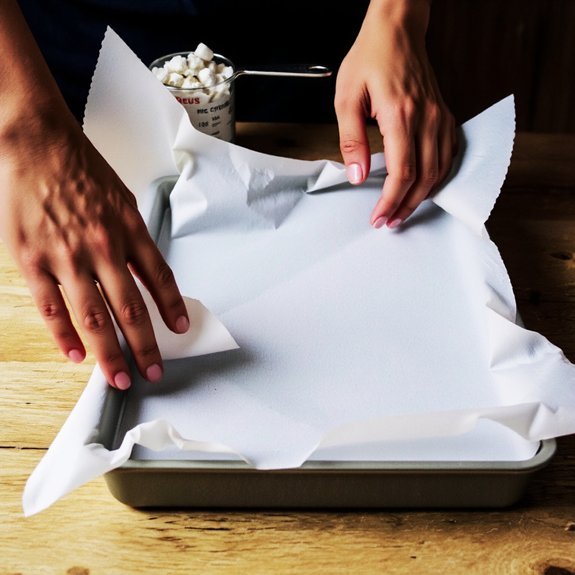
Properly prepare your 9×13-inch baking pan by lining it with parchment paper, making sure the paper extends slightly beyond the pan’s edges for convenient removal once your treats have set. This technique prevents adhesion and facilitates clean extraction.
| Lining Option | Advantages |
|---|---|
| Parchment Paper | Non-stick, reusable, heat-resistant |
| Aluminum Foil | Durable, conforms to pan shape |
| Buttered Kraft Paper | Economical, biodegradable alternative |
| Silicone Mats | Reusable, professional-grade performance |
| Cooking Spray | Quick application, minimal waste |
Choose your preferred lining option based on availability and sustainability preferences. Pan sizing matters considerably—oversized pans yield thinner treats, while undersized containers create excessive thickness. Verify your pan dimensions before commencing assembly. Make certain your lining material covers all interior surfaces completely, eliminating exposed metal that could cause uneven cooking or treat degradation during the setting process.
Mixing the Marshmallow Base
With your baking pan properly lined and ready, you’ll now focus on creating the marshmallow foundation that binds your treats together.
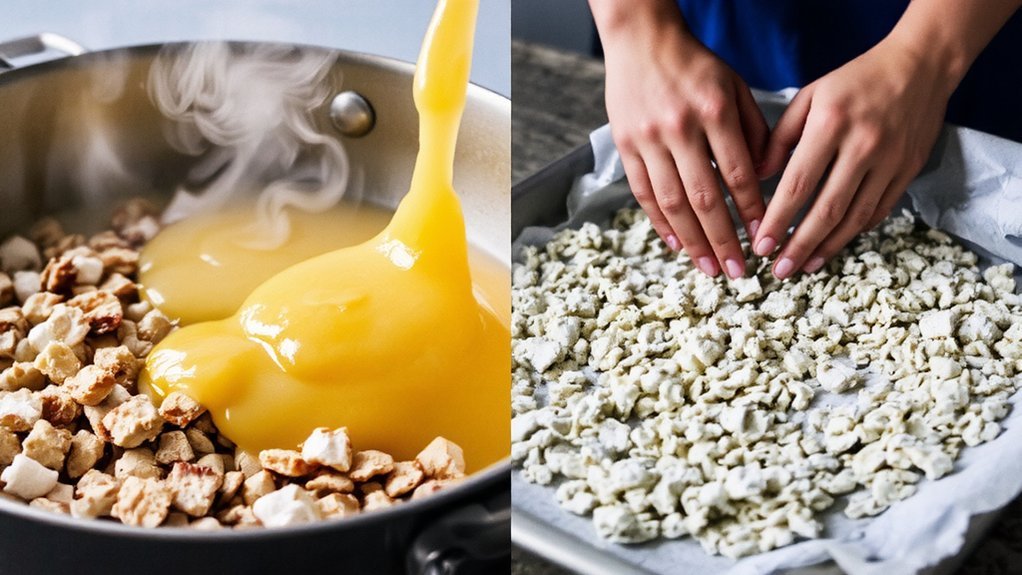
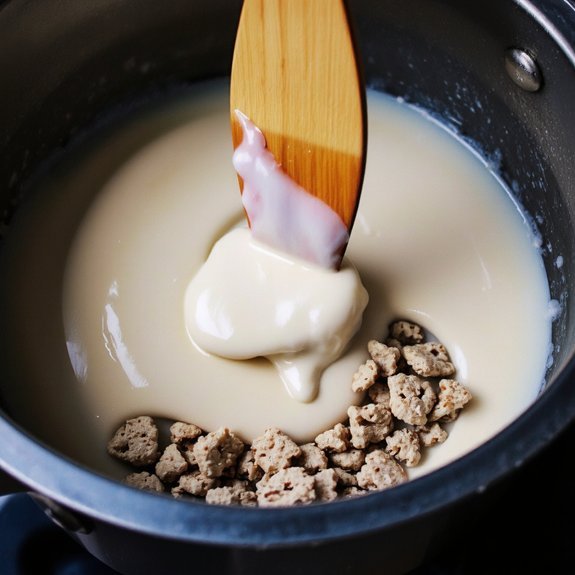
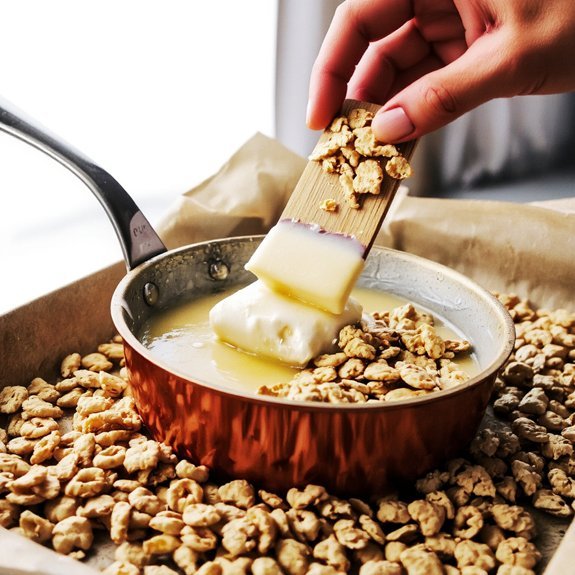
Melt four tablespoons of butter in a large saucepan over medium heat. Add one 10-ounce bag of marshmallows, stirring consistently until completely dissolved.
Your utensil choices matter—use a sturdy wooden spoon or silicone spatula for best control.
Key techniques for success:
- Maintain steady stirring rhythm to prevent sticking and guarantee even melting
- Keep heat at medium to avoid scorching the marshmallow mixture
- Select heavy-bottomed cookware for superior heat distribution
- Monitor consistency until you achieve a smooth, pourable texture
- Remove from heat immediately once marshmallows fully dissolve
This precise execution creates the adhesive matrix essential for structural integrity. Don’t rush this stage—proper marshmallow preparation determines your treats’ final quality and binding strength.
Combining With Rice Krispies Cereal
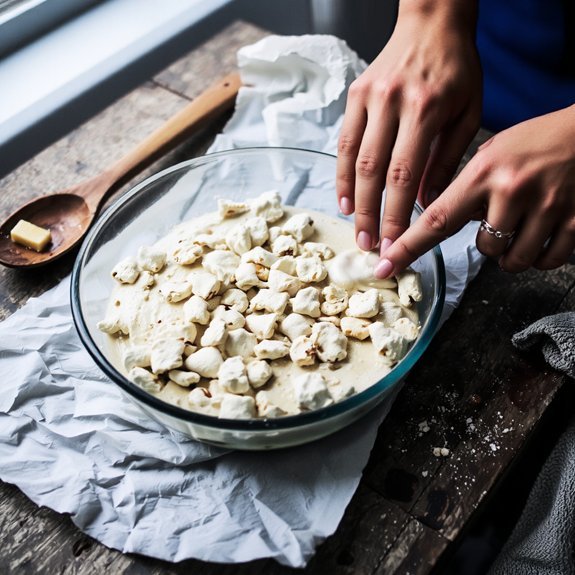
Quickly transferring your melted marshmallow mixture to a large mixing bowl sets the stage for incorporating the cereal. You’ll want to work efficiently while the mixture remains warm and pliable. Gradually fold in six cups of Rice Krispies, ensuring even distribution throughout.
| Option | Benefit | Best For |
|---|---|---|
| Rice Krispies | Classic texture | Traditional treats |
| Cocoa Puffs | Chocolate flavor | Dessert variation |
| Fruity Pebbles | Vibrant taste | Adventurous palates |
Consider your flavor add-ins before combining—cocoa powder, vanilla extract, or food coloring integrate seamlessly at this stage. Cereal alternatives like Chex or cornflake varieties offer textural diversity while maintaining structural integrity. Don’t overmix; excessive folding deflates the marshmallow’s aeration. Your mixture should achieve uniform coating without compressing the cereal into mush.
Pressing the Mixture Into the Pan
Transferring your cereal mixture to a prepared 9×13-inch baking pan requires deliberate technique to achieve uniform density and ideal texture.
You’ll control the final product’s structural integrity through strategic pressure distribution and surface smoothing.
- Use an offset spatula or buttered hands to transfer the warm mixture efficiently
- Apply consistent, firm pressure across the entire surface using even pressure distribution
- Work methodically from center outward, ensuring no air pockets remain trapped
- Achieve surface smoothing by pressing the top layer flat with a buttered spatula or parchment paper
- Complete this step while the mixture remains warm for maximum malleability
Your careful execution here determines whether your treats maintain their shape and present a professional appearance.
Don’t rush this critical stage—precision now prevents disappointment later.
Setting Your Oven Temperature
Before you place your treats in the oven, you’ll need to preheat it to 350°F (175°C). This temperature promotes even baking without burning the marshmallow layer.
Preheat your oven to 350°F for even baking that won’t burn the delicate marshmallow layer.
For ideal results, verify your oven’s thermostat accuracy using an independent oven thermometer. Many home ovens run hot or cold, so this calibration tip prevents inconsistent outcomes.
Place the thermometer on the center rack and allow fifteen minutes for stabilization before comparing its reading to your oven’s display.
If you notice a discrepancy, adjust accordingly or use the thermometer’s reading as your reference. Preheating typically requires ten to fifteen minutes.
You’ll know you’re ready when the oven signals completion. Proper temperature control directly impacts your treats’ texture—too hot causes excessive browning; too cool results in inadequate setting.
Baking for the Perfect Texture
Once your oven reaches 350°F, you’ll place your prepared pan on the center rack, where heat distribution is most consistent.
This positioning prevents sugar crystallization and guarantees even heat exposure throughout the baking process.
Monitor these critical factors for ideal results:
- Internal temperature: Aim for 180°F at the treat’s center
- Moisture migration: Watch for excess condensation on pan edges
- Baking duration: Maintain 12-15 minutes without exceeding time limits
- Surface appearance: Expect slight golden edges with a set interior
- Cooling protocol: Allow complete cooling before cutting to stabilize structure
You’ll achieve the ideal balance between crispy exterior and chewy interior by respecting these parameters.
Remove your treats promptly when edges display light caramelization.
This precision approach guarantees consistent, professional-quality results that you’ll control completely.
Cooling and Cutting Your Treats
Once you’ve removed your Rice Krispie treats from the heat, you’ll need to determine the ideal cooling duration before cutting to achieve clean edges and proper firmness.
You’ll employ specific cutting techniques and select appropriate tools—such as a sharp, buttered knife or dental floss—to portion your treats without causing them to crumble or stick.
After cutting, you’ll implement proper storage methods to maintain freshness and preserve the texture you’ve worked to achieve.
Optimal Cooling Time Duration
After you’ve pressed the mixture into the pan, you’ll need to let it set completely—typically 2-3 hours at room temperature or 30-45 minutes in the refrigerator.
The cooling duration depends on several factors affecting your treats’ structural integrity:
- Ambient humidity influences evaporation rates and final texture consistency
- Thermal inertia of your pan determines how quickly the mixture stabilizes
- Room temperature variations necessitate longer setting times in warmer conditions
- Refrigeration accelerates the process without compromising quality or taste
- Partial cooling followed by cutting yields cleaner edges than fully hardened treats
You’ll achieve ideal results by monitoring the mixture’s firmness rather than adhering rigidly to timeframes.
The treats should resist pressure without remaining tacky.
This approach grants you control over your final product’s texture, ensuring professional-quality results every time.
Cutting Techniques and Tools
Executing clean, uniform cuts requires the right tools and methodology to prevent your treats from crumbling or sticking.
You’ll want a sharp, long-bladed knife—blade sharpening before cutting guarantees precise slices without crushing the cereal structure. Consider using a chef’s knife or serrated blade, depending on your preference for control and finish quality.
Wear protective gloves to maintain grip stability and prevent the sticky marshmallow mixture from adhering to your hands. Dip your knife in water between cuts, which reduces resistance and produces cleaner edges. Work methodically, applying steady downward pressure rather than sawing motions.
For uniform portions, you can score your treats lightly before making full cuts. This technique gives you freedom to customize your treat sizes while maintaining professional presentation standards throughout your cutting process.
Storage Methods After Cooling
Since your Rice Krispie treats’ll continue to set as they cool completely, you’ll want to store them properly to maintain their texture and prevent staleness.
Proper storage preserves your treats’ quality and extends their shelf life considerably.
You’ve got several effective options:
- Airtight containers at room temperature keep treats fresh for up to five days
- Parchment paper layers prevent sticking and facilitate easy removal
- Freezer storage extends longevity to three months when properly sealed
- Individually wrapped portions offer convenience and portion control
- Cool, dry environments away from humidity guarantee ideal texture retention
For maximum freshness, you’ll want to use food-grade airtight containers that seal completely.
If you’re choosing freezer storage, wrap each treat individually in plastic wrap before placing them in freezer bags. This method prevents freezer burn and maintains the treats’ structural integrity throughout extended storage periods.
Frequently Asked Questions
Can I Substitute Butter for Margarine in Rice Krispie Treats?
You can substitute margarine for butter in Rice Krispie treats, though you’ll notice flavor differences—margarine produces a more neutral taste, while butter delivers richness.
Texture variation occurs because margarine contains more water content, potentially yielding slightly softer, less crisp treats. For best results, use stick margarine rather than whipped varieties.
Your treats’ll still set properly, but authentic flavor requires butter’s superior emulsification properties and dairy complexity.
How Long Do Rice Krispie Treats Stay Fresh After Baking?
Your Rice Krispie treats maintain ideal freshness for 2-3 days when stored in sealed storage containers at room temperature.
You’ll maximize longevity by refrigerating them, extending shelf life to one week.
For extended preservation, you can freeze your treats for up to three months—they’ll retain their structural integrity and flavor profile.
Confirm proper airtight containment prevents moisture absorption and staleness, preserving that quintessential crispy texture you’ve worked to achieve.
What Causes Rice Krispie Treats to Become Hard or Stale?
Your Rice Krispie treats harden through two primary mechanisms: moisture loss and sugar crystallization.
When you expose them to air, they gradually lose their internal moisture content, causing the marshmallow binder to solidify.
Simultaneously, the sugar undergoes crystallization as it ages, creating a brittle, rigid structure.
You’ll prevent this degradation by storing treats in airtight containers, maintaining controlled humidity levels, and consuming them within your ideal freshness window.
Can I Add Food Coloring to Make Colored Rice Krispie Treats?
You can absolutely customize your Rice Krispie treats with vibrant hues. Gel coloring delivers superior pigmentation without compromising your treats’ texture—you’ll add just a few drops to your melted marshmallow mixture.
For an artisanal approach, you’re free to experiment with natural dyes like beet juice or matcha powder. Both methods integrate seamlessly during the binding process, yielding professionally colored confections that maintain ideal consistency and shelf stability.
Are Rice Krispie Treats Safe for People With Gluten Allergies?
You’ll need to exercise caution with standard Rice Krispie treats. While the cereal itself contains gluten, you can find certified gluten-free alternatives.
Always conduct thorough label reading on every ingredient—marshmallows, butter, and food coloring included—as cross-contamination risks exist. Select certified gluten-free Rice Krispies and verify all components meet stringent standards.
This meticulous approach guarantees you maintain complete control over your dietary requirements and safely enjoy this treat.
Leave a Comment