Key Takeaways
- Preheat oven and baking surface to 475–500°F for at least 45 minutes before baking pizza dough.
- Bake pizza at 475°F for 12–14 minutes or 500°F for 10–12 minutes until crust turns golden-brown.
- Monitor through oven window and rotate halfway through baking if hot spots exist in oven.
- Transfer shaped dough directly onto preheated stone, steel, or rack to achieve optimal crust crispness.
- Verify oven temperature accuracy with independent thermometer; electric ovens require adding 25°F to target temperature.
Gathering Your Ingredients
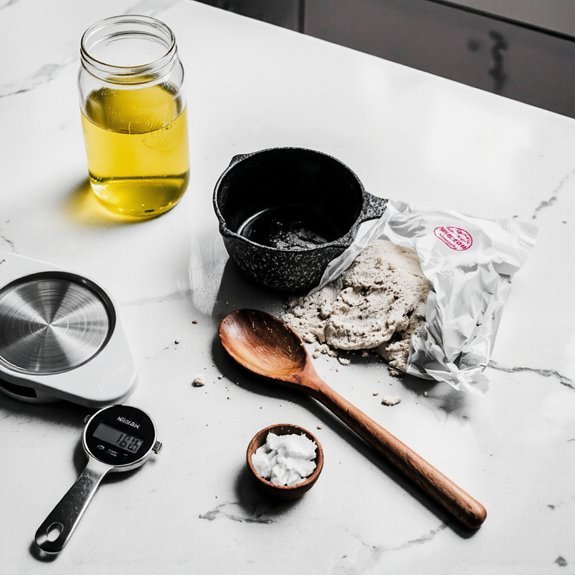
Before you can bake pizza dough, you’ll need to gather five essential ingredients: all-purpose flour, water, salt, yeast, and olive oil.
Before baking pizza dough, gather five essential ingredients: all-purpose flour, water, salt, yeast, and olive oil.
Start with ingredient sourcing—select unbleached all-purpose flour from reputable suppliers.
For yeast, you’ll want active dry or instant varieties; check the expiration date carefully.
Perform freshness checks on all components before mixing.
Verify your yeast hasn’t expired, as dead yeast won’t activate properly.
Use filtered or bottled water if your tap water’s heavily chlorinated, as chlorine inhibits fermentation.
Choose extra virgin olive oil for superior flavor.
Sea salt or kosher salt works best; avoid iodized table salt, which can interfere with yeast activity.
Measure precisely using a kitchen scale rather than cups—this guarantees consistency.
Store flour in airtight containers away from moisture and heat.
Keep yeast refrigerated for extended shelf life.
You’re now ready to proceed with confidence.
Mixing the Dough

You’ll start by combining your dry ingredients—flour, salt, and any other dry seasonings—in a large bowl.
Next, you’ll create a well in the center and add your water and yeast, stirring until the mixture comes together into a shaggy dough.
Then you’ll knead the dough for 8-10 minutes until it reaches a smooth, elastic consistency.
Combining Dry Ingredients First
To establish a uniform flour-to-salt ratio that’ll distribute evenly throughout your dough, combine your flour and salt in a large mixing bowl before adding any liquids. This approach gives you complete control over your ingredient proportions without compromise.
When mixing, use a whisk to break up flour clumps and promote flour aeration. This technique incorporates air into your dry mixture, resulting in a lighter final texture.
Whisk for approximately one minute until you’ve achieved a consistent, lump-free blend.
Salt distribution becomes critical at this stage. Make sure your salt particles spread throughout the flour entirely. Uneven salt distribution will create bitter pockets in your finished pizza. Proper dry ingredient preparation prevents these issues and guarantees balanced flavor development during fermentation and baking.
Adding Water and Yeast
Once your dry ingredients have reached a uniform consistency, create a well in the center of your flour mixture and pour in your lukewarm water—ideally between 90–110°F to activate yeast without killing it.
You’ll control your dough’s quality by managing these critical elements:
- Use filtered or distilled water quality to avoid chlorine and mineral interference with fermentation.
- Sprinkle your yeast directly into the water, allowing 30 seconds for blooming before mixing into the flour.
- Stir vigorously for two minutes, integrating all dry ingredients until a shaggy mass forms.
Proper yeast storage—kept cool and sealed—ensures consistent activation.
Your hands become the primary tool; mix until the dough pulls away from the bowl’s sides.
This phase demands precision and attention to temperature and ingredient ratios for ideal gluten development.
Kneading Until Smooth Consistency
Transforming your shaggy dough mass into a smooth, elastic ball requires consistent kneading for 8–10 minutes.
Push the dough away from you with the heel of your hand, fold it back over itself, rotate it a quarter turn, and repeat.
You’ll notice tactile cues signaling progress: the dough becomes less sticky and more cohesive.
Continue working until you achieve a surface sheen and uniform texture throughout.
Proper kneading develops gluten networks, which trap gas bubbles and create your pizza’s structure.
Don’t rush this phase—underworked dough won’t rise adequately.
If your dough sticks excessively, dust lightly with flour, but avoid over-flouring, which toughens the final product.
You’ll recognize completion when the dough springs back after a gentle poke and feels supple, not stiff.
This foundation determines your pizza’s quality.
Kneading and Developing Gluten
Kneading your dough develops the gluten network that’ll give your pizza its characteristic chewy texture and structural integrity.
Kneading develops gluten networks that create pizza’s characteristic chewy texture and structural integrity.
You’re not just mixing ingredients—you’re building the framework that makes your crust rise properly and hold its shape.
Here’s what you’ll accomplish through proper kneading:
- Strengthen gluten alignment by working the dough consistently for 8-10 minutes, ensuring protein strands organize into parallel formations that trap gas bubbles effectively.
- Increase dough elasticity so your dough springs back when stretched, allowing you to shape it without tearing while maintaining even thickness.
- Enhance dough stability by creating enough tension that your pizza maintains structural integrity during fermentation and baking, preventing collapse or excessive spreading.
Master these mechanics, and you’ll control your pizza’s final texture completely.
The First Rise and Bulk Fermentation
You’ll want to keep your dough between 75-80°F during bulk fermentation, as warmer temperatures accelerate yeast activity while cooler ones slow it down.
Your fermentation timing typically ranges from 4-8 hours at room temperature, depending on how developed you want the flavor and gluten structure to become.
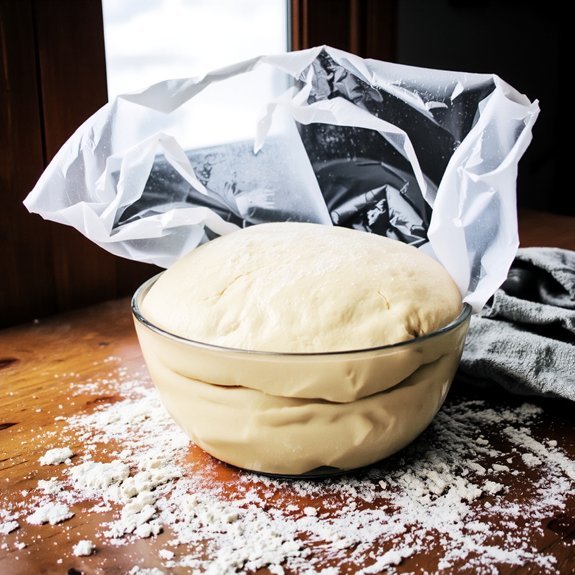
Monitor your dough’s volume—you’re aiming for it to roughly double in size, which signals that fermentation has progressed sufficiently for shaping.
Temperature Control Matters
Once you’ve mixed your dough, temperature becomes your primary lever for controlling fermentation speed and flavor development.
You’re not at the mercy of your kitchen’s ambient conditions—you control the process.
1. Monitor your dough’s internal temperature using proper thermometer placement in the dough’s center, away from bowl edges.
Provide accurate readings that guide your fermentation timeline.
2. Maintain 75-78°F for slower, flavor-rich fermentation over 24-48 hours, developing complex taste and manageable gluten structure.
3. Adjust your environment: warmer spaces accelerate fermentation, while cooler areas extend it.
This gives you flexibility regardless of season.
Before baking, verify your oven calibration with an independent thermometer.
Your oven’s dial often lies—calibration makes certain your pizza bakes evenly at the precise temperature you’ve chosen, transforming your carefully fermented dough into exceptional results.
Timing Your Fermentation
Because fermentation speed depends entirely on the temperature you’ve established, timing becomes predictable rather than guesswork. You’ll monitor your dough’s rise during bulk fermentation, typically lasting 4-8 hours at room temperature. Cold retardation—refrigerating your dough for 24-72 hours—extends fermentation while maximizing flavor development and texture.
| Temperature | Duration | Dough Rise | Flavor | Method |
|---|---|---|---|---|
| 68°F | 8-10 hrs | Slow | Mild | Bulk only |
| 75°F | 4-6 hrs | Moderate | Good | Standard |
| 80°F | 3-4 hrs | Fast | Basic | Warm |
| 50°F | 24-48 hrs | Minimal | Complex | Cold retardation |
| 38°F | 48-72 hrs | Negligible | Maximum | Extended retard |
You’ll recognize proper fermentation when your dough increases 50-75% in volume. Trust your temperature control—it’s your freedom from timing uncertainty.
Shaping and Second Rise
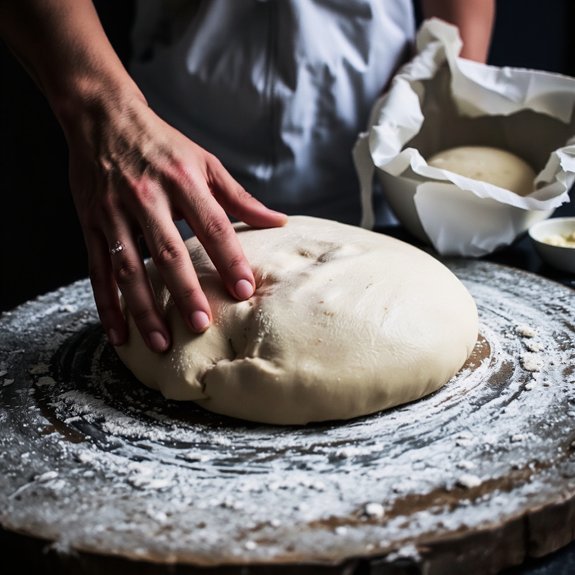
Dividing your risen dough into portions and pre-shaping them sets the stage for proper gluten development and final fermentation.
You’ll want to handle your dough with confidence and precision to achieve the results you’re after.
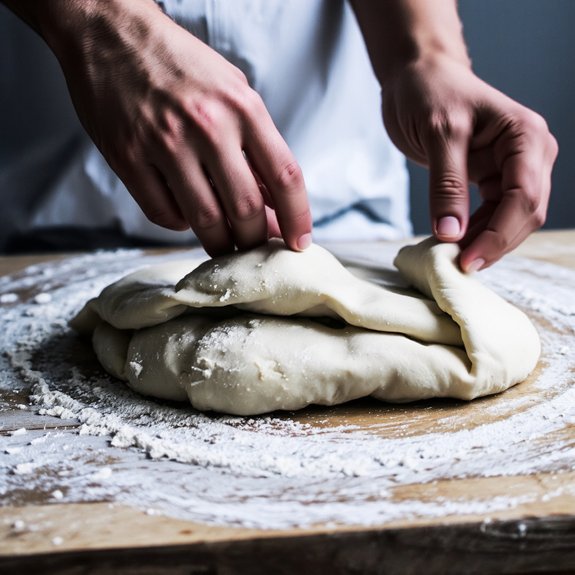
- Pre-shape your portions by gently folding edges toward the center, creating surface tension without degassing the dough completely.
- Apply the dimple technique during your second rise—use your fingertips to create small indentations across the dough’s surface, promoting even hydration and preventing large air pockets.
- Execute rim sealing by pinching the dough’s outer edges upward, ensuring a stable crust structure that’ll hold your toppings securely.
Let your shaped dough rest for 30-45 minutes before final stretching.
This second rise allows gluten to relax fully, giving you the freedom to stretch without resistance or tearing.
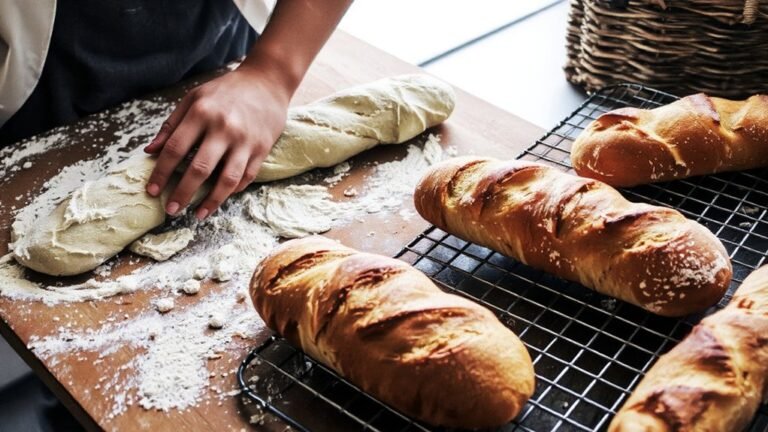
Baking to Perfection
After your dough’s second rise completes, you’ll need to preheat your oven to the target temperature—typically 475-500°F (245-260°C) for home ovens—allowing at least 45 minutes for the oven and baking surface (whether stone, steel, or rack) to reach thermal equilibrium.
| Temperature (°F) | Baking Time | Crust Crispness | Cheese Caramelization |
|---|---|---|---|
| 475 | 12-14 min | Medium | Light Golden |
| 500 | 10-12 min | High | Deep Golden |
| 550+ | 8-10 min | Maximum | Dark Caramelized |
| Electric Ovens | Add 25°F | Moderate | Slower Development |
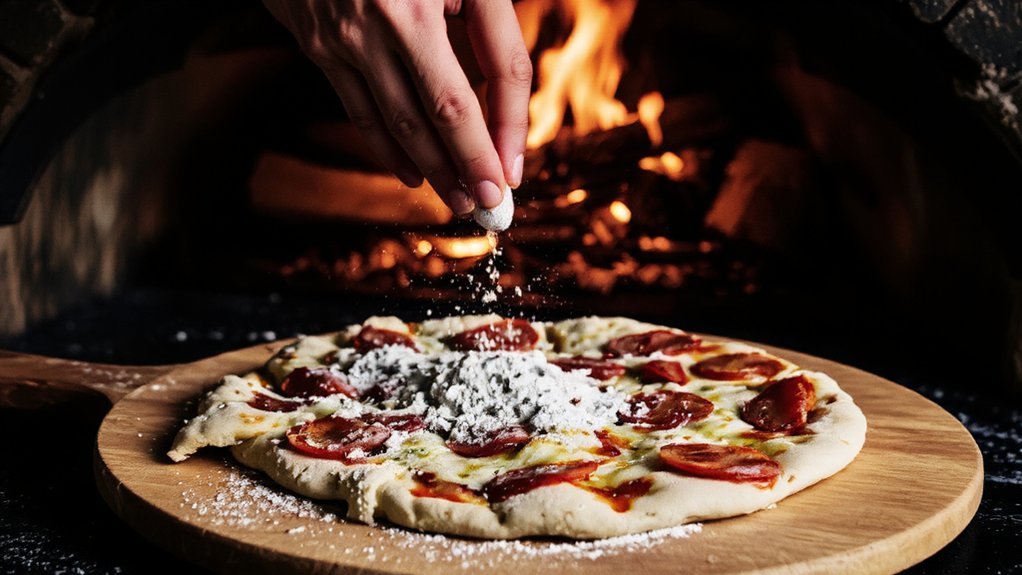
Transfer your pizza directly onto the preheated surface. Monitor progress through your oven window—you’re targeting golden-brown crust crispness and proper cheese caramelization without burning. You’ll achieve best results by rotating halfway through baking if your oven has hot spots.
Frequently Asked Questions
Can I Make Pizza Dough Without a Stand Mixer?
Yes, you can absolutely make pizza dough without a stand mixer.
Hand kneading gives you complete control—mix your ingredients, then knead for 8-10 minutes until the dough’s smooth and elastic. Alternatively, use a food processor to combine and partially develop your dough in 30-60 seconds, then finish kneading by hand.
Both methods deliver excellent results. You’re not dependent on equipment; you’re resourceful and capable of mastering dough without machines dictating your process.
How Long Can I Refrigerate Pizza Dough Before Baking?
You can refrigerate pizza dough for up to 72 hours.
Cold fridge fermentation develops complex flavors while you’re free to bake whenever you want.
This extended resting period allows yeast to work slowly, creating superior taste and texture.
You’ll achieve better results than rushing the process.
Simply store your dough in an airtight container, remove it 30 minutes before baking, then shape and bake as desired.
What’s the Difference Between Active Dry Yeast and Instant Yeast?
You’ll find active dry yeast has larger granules than instant yeast, requiring longer activation at 110°F. Instant yeast dissolves faster, needing just 105°F activation.
Both deliver identical results in pizza dough, though instant yeast’s finer particles hydrate quicker. Active dry yeast boasts superior shelf life—up to four years versus instant’s two years.
Your choice depends on convenience and storage priorities.
Can I Freeze Pizza Dough for Later Use?
Yes, you can freeze pizza dough for later use.
Wrap your dough tightly in plastic wrap and store it in the freezer for up to three months.
When you’re ready to use it, employ proper thawing techniques—refrigerate overnight or let it sit at room temperature for two hours.
Par baking benefits include pre-cooking your crust partially before freezing, reducing final baking time and ensuring consistent results when you’re ready to top and finish your pizza.
Why Did My Pizza Dough Turn Out Dense and Heavy?
You’ve likely used high protein flour without sufficient hydration.
Your dough’s dense texture results from inadequate water absorption and insufficient gluten development.
You’re not giving your dough enough freedom to rise properly. Increase your hydration ratio and reduce protein content if possible.
Allow extended fermentation time—this lets yeast work effectively, creating an airy crumb structure. Don’t rush the process; proper hydration and patience yield light, open pizza dough.

Leave a Comment