Key Takeaways
- Press graham cracker crumbs mixed with melted butter into a 9×13-inch parchment-lined pan as the foundation base layer.
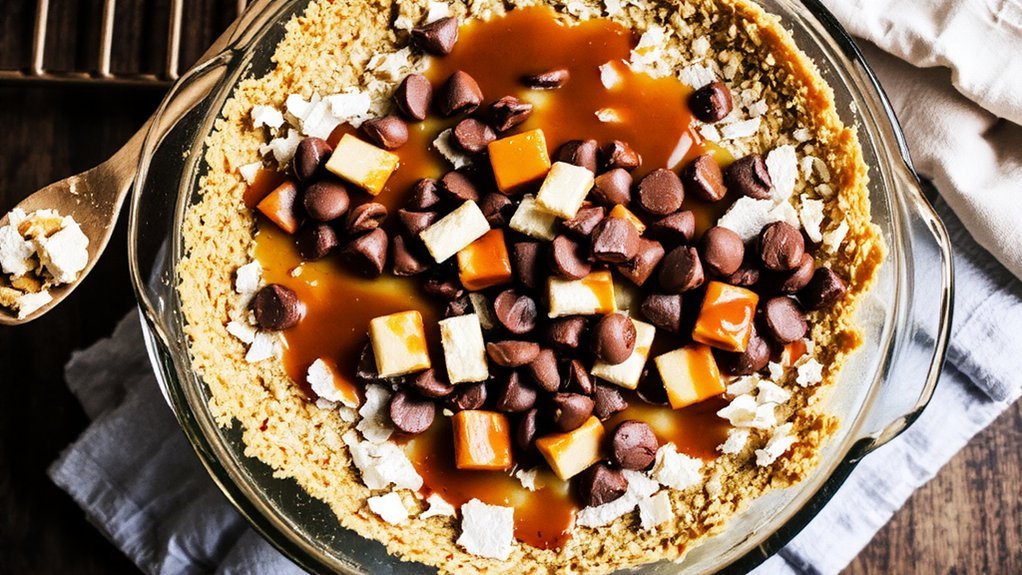
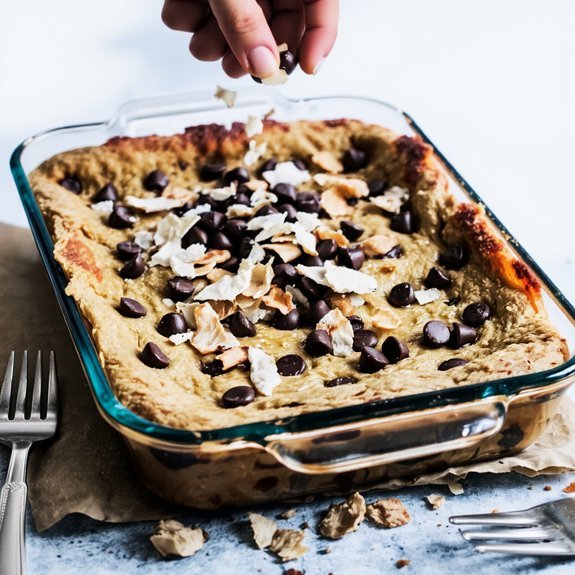
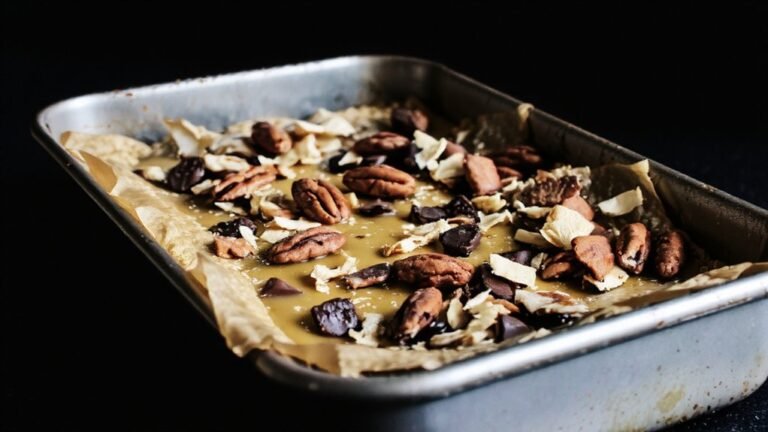
- Layer coconut, pecans, and chocolate chips evenly over the crust, then pour sweetened condensed milk over all toppings.
- Bake at 350°F for 25–30 minutes until edges turn golden brown and the center sets completely.
- Cool completely on a rack for 2–3 hours before cutting to ensure clean slices and proper setting.
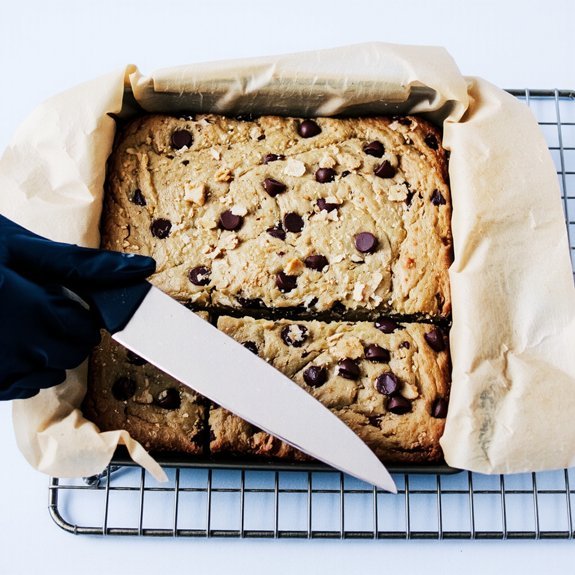
- Dip knife in hot water between cuts and slice into uniform squares for best results and presentation.
Gathering Your Ingredients
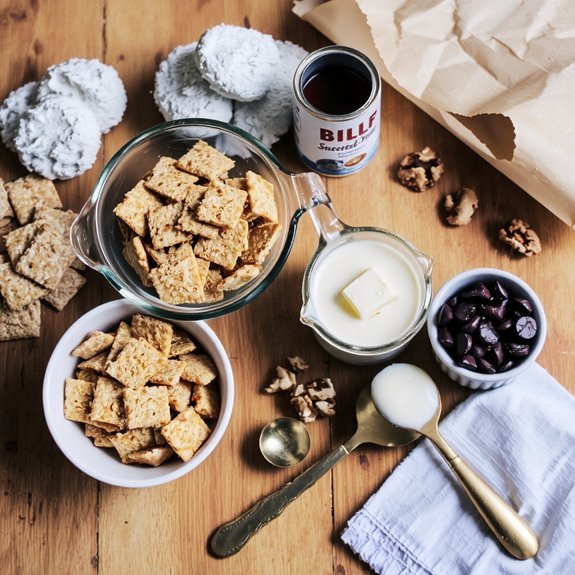
You’ll need just a handful of essential components to create these beloved bars: one cup of softened butter, two cups of graham cracker crumbs, one fourteen-ounce can of sweetened condensed milk, two cups of semi-sweet chocolate chips, one and one-half cups of shredded coconut, and one cup of chopped pecans or walnuts.
Gather these ingredients before you begin. For budget shopping, purchase store brands—they’re equally effective and considerably cheaper. Check your pantry first; you might already have items on hand.
Consider allergy alternatives if needed. Substitute nuts with seeds like sunflower or pumpkin varieties. Replace coconut with additional chocolate chips or crushed pretzels for texture variation. You can swap graham cracker crumbs with crushed vanilla wafers or digestive biscuits.
Measure everything precisely. Use standard measuring cups and level off dry ingredients with a knife. Softening butter beforehand guarantees even distribution throughout your base layer.
Preparing the Graham Cracker Base
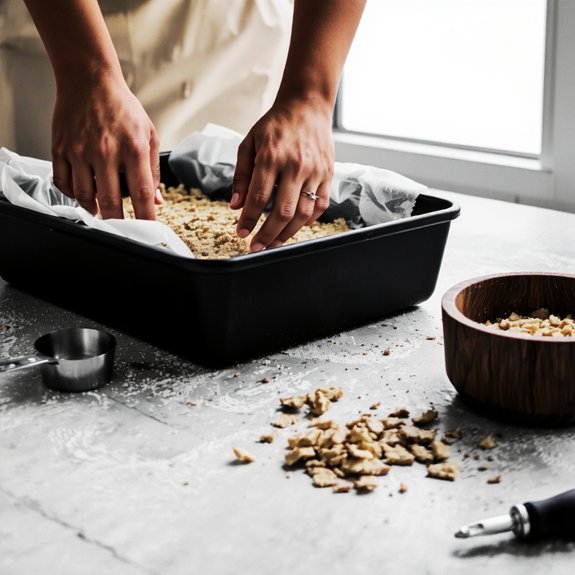
Combining your softened butter with graham cracker crumbs creates the foundation for these magic bars. You’ll want to use one cup of crumbs mixed with half a cup of melted butter, pressing this mixture firmly into your prepared pan. For those seeking gluten alternatives, crushed digestive biscuits or almond flour work excellently. Consider spice infusions like cinnamon or cardamom to elevate your base’s complexity.
| Ingredient | Measurement |
|---|---|
| Graham cracker crumbs | 1 cup |
| Butter, melted | ½ cup |
| Salt | ¼ tsp |
| Cinnamon (optional) | ⅛ tsp |
| Gluten-free flour blend | 2 tbsp |
Press your mixture into a 9×13 inch pan with steady, even pressure. This guarantees uniform baking and prevents gaps. Your crust should be compact yet not overly dense—you’re establishing structural integrity for the layers ahead.
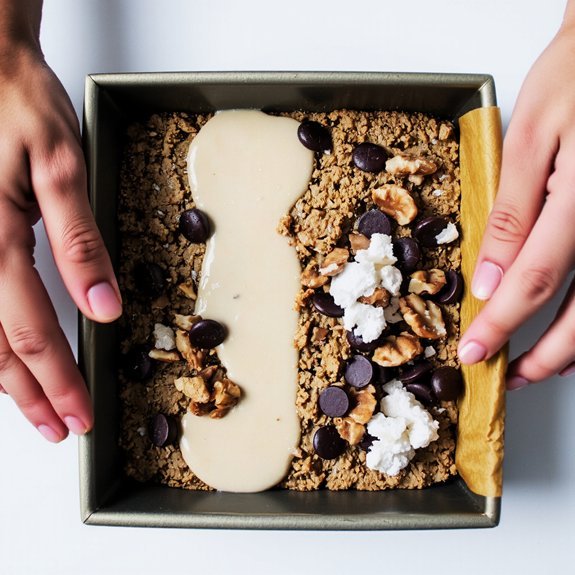
Layering the Bars
You’ll spread your graham cracker base evenly across the prepared baking pan, pressing gently to create a compact foundation that’ll support the subsequent layers.
Next, you’ll distribute your toppings—typically condensed milk, chocolate chips, nuts, and coconut—in distinct, even layers rather than mixing them together, ensuring each ingredient reaches every corner of the pan. This strategic layering technique allows the condensed milk to bind the upper toppings while keeping each component’s flavor and texture distinct.
Base Layer Foundation
Once you’ve prepared your baking pan with melted butter, it’s time to establish the foundation that’ll support your entire dessert. Spread two cups of graham cracker crumbs evenly across the buttered surface, creating a uniform crumb texture that binds together when pressed.
These crumbs serve as your primary binding agents, holding the structural integrity of your bars intact. Press the mixture firmly into the corners and edges, ensuring no gaps remain.
This compressed base layer prevents filling seepage and creates the sturdy platform you need. Don’t skip this critical step—a well-formed foundation determines whether your magic cookie bars maintain their shape or crumble apart.
Your precision here directly impacts the final product’s quality and structural stability.
Topping Distribution Technique
With your graham cracker base firmly pressed into place, the layering process begins by distributing one cup of shredded coconut evenly across the entire surface.
You’re now establishing the foundation for what’ll make these bars truly magical.
Continue building your layers with precision:
- Sprinkle one cup of chopped pecans using uniform spacing to guarantee every bite delivers consistent texture
- Pour one can of sweetened condensed milk across the entire pan, letting it settle naturally between ingredients
- Apply one cup of semi-sweet chocolate chips through targeted clustering rather than scattered placement
- Add one cup of butterscotch chips in the final layer, distributing them to fill gaps left by chocolate
This methodical approach guarantees balanced flavor in each bar.
You’re controlling the outcome through deliberate technique, not chance.
Your freedom to customize ratios remains—adjust nuts or chips to your preference while maintaining this foundational structure.
Baking Instructions
You’ll preheat your oven to 350°F and grease a 9×13-inch baking pan with butter or cooking spray to prevent sticking.
Once you’ve layered all your ingredients—the graham cracker crust, sweetened condensed milk, chocolate chips, coconut flakes, and chopped nuts—you’ll bake the bars for 25-30 minutes until the edges turn golden brown and the center sets firmly.
The top layer should display light caramelization without darkening excessively, indicating you’ve achieved the ideal texture balance between chewy and structured.
Prepare Your Pan
Before mixing your ingredients, grab a 9×13-inch baking pan and line it with parchment paper, making sure the paper extends slightly beyond the pan’s edges for easy removal later.
Your pan selection matters for even baking and consistent results.
Follow these preparation steps:
- Clean thoroughly – Wash your pan with hot, soapy water and dry completely to prevent moisture interference
- Choose the right material – Use metal or glass; avoid dark nonstick surfaces that may overcook edges
- Line strategically – Allow parchment to overhang all sides for convenient bar extraction without damage
- Skip greasing – Parchment paper eliminates the need for additional butter or cooking spray, streamlining cleanup
This preparation guarantees your magic cookie bars bake evenly and release cleanly.
A properly prepared pan gives you complete control over your baking outcome, freeing you from worrying about sticking or uneven browning.
Mix and Layer
Combine your dry ingredients—1 cup all-purpose flour, 1 cup granulated sugar, and ½ teaspoon salt—in a medium bowl, then blend in 1 cup softened butter until the mixture resembles coarse breadcrumbs. Press this foundation firmly into your prepared pan, creating an even base layer.
| Layer | Ingredient | Amount | Sensory Note |
|---|---|---|---|
| Base | Butter mixture | Pressed firm | Golden, crisp texture |
| One | Chocolate chips | 1 cup | Dark, glossy contrast |
| Two | Coconut | 1⅓ cups | White, aromatic accent |
| Three | Pecans | 1 cup | Brown, nutty depth |
| Four | Sweetened condensed milk | 1 can | Caramel drizzle |
Now layer each ingredient sequentially without mixing. This sensory sequencing builds aesthetic contrast—dark chocolate against white coconut, crunchy nuts binding everything together. Drizzle condensed milk across the top layer, ensuring complete coverage. Your unbaked bars now showcase distinct flavor and textural dimensions ready for the oven.
Bake Until Golden
Once your layered bars are assembled, preheat your oven to 350°F and position the rack in the center for even heat distribution.
Bake for 25-30 minutes, watching for the Maillard reaction to develop across the coconut topping.
- Monitor the top layer for golden-brown color as your primary visual cue
- Listen for subtle crackling sounds indicating moisture evaporation from the condensed milk
- Check that edges pull slightly away from pan sides, signaling structural set
- Pierce the center with a toothpick—it should meet minimal resistance from the chocolate chips
Remove your bars when the coconut edges turn deep golden and the filling’s caramelization completes.
Don’t overbake; the residual heat will continue cooking after removal.
Cool completely on the rack before cutting for clean, professional results.
Cooling and Cutting Tips
After your magic cookie bars finish baking, you’ll want to let them cool completely in the pan—this typically takes 2-3 hours at room temperature—before attempting to cut them.
This chill duration allows the condensed milk and chocolate layers to set properly, preventing crumbling and ensuring clean slices.
Once cooled, use a sharp knife dipped in hot water and wiped dry between cuts.
This technique prevents the chocolate and caramel from sticking to your blade.
Cut straight down with steady pressure rather than sawing motions.
For clean slices, work methodically and deliberately.
Cut your bars into uniform squares, typically eight to sixteen pieces depending on desired size.
Parchment paper underneath simplifies removal and cleanup.
Store cooled bars in an airtight container at room temperature for up to five days.
Storing Your Magic Cookie Bars
Proper storage extends your magic cookie bars’ shelf life and maintains their texture, building on the careful cutting work you’ve just completed.
You’ve invested time in layering condensed milk, coconut, and chocolate—don’t let that effort go to waste.
Here’s how you’ll preserve your bars:
- Airtight containers keep bars fresh for up to five days at room temperature, protecting against moisture loss and oxidation
- Refrigeration extends shelf life to one week when you layer parchment between bars
- Freezer strategy locks in quality for three months; wrap individually in plastic wrap, then place in freezer bags
- Thawing method requires thirty minutes at room temperature before serving, restoring ideal texture
These storage techniques maintain the structural integrity of your chocolate-coconut creation while maximizing accessibility for whenever you desire a treat.
Frequently Asked Questions
Can I Substitute Sweetened Condensed Milk With Evaporated Milk in This Recipe?
You shouldn’t substitute evaporated milk for sweetened condensed milk—they’re fundamentally different. Evaporated milk lacks the sweetness adjustment you need; you’d have to add significant sugar separately.
The texture alteration would be dramatic too. Evaporated milk’s thinner consistency won’t create the same binding properties or fudgy layers.
Your bars’d turn out dry and crumbly instead of chewy. Stick with sweetened condensed milk for authentic results, or find a proper recipe designed for evaporated milk substitutions.
What’s the Best Way to Prevent the Graham Cracker Base From Becoming Soggy?
You’ll prevent sogginess by employing the par-baking technique—prebake your graham cracker crust at 350°F for 8-10 minutes before adding toppings.
This critical step sets the structure and creates a moisture barrier.
Additionally, don’t skimp on crust thickness; aim for a solid ½-inch base that provides adequate density.
These methods guarantee you’ve got a firm foundation that won’t absorb excess moisture from the condensed milk layer above.
How Do I Know if My Magic Cookie Bars Are Fully Baked Inside?
You’ll know your magic cookie bars are fully baked when you insert a toothpick into the center and it emerges clean or with minimal crumbs clinging to it.
The internal temperature should reach 190-200°F, indicating the condensed milk filling has set properly.
The coconut and pecans on top will display a light golden-brown hue.
Don’t overbake—remove them when the toothpick shows slight moistness for ideal fudgy texture and freedom from dryness.
Can I Freeze Magic Cookie Bars, and if So, for How Long?
You can freeze your magic cookie bars for up to three months when you’ve stored them properly in an airtight container.
For ideal storage duration, wrap each bar individually in parchment paper before freezing.
When you’re ready to enjoy them, you’ve got thawing methods options: thaw at room temperature for two hours, or refrigerate overnight for gradual thawing that preserves texture and prevents condensation damage to your bars.
What Causes My Bars to Turn Out Too Dry or Too Chewy?
You’ll notice overbaking symptoms when your bars turn dry—watch your oven timer closely. Don’t exceed recommended baking time.
For chewy results, nail your ingredient ratios precisely: use the exact butter, condensed milk, and chocolate chip measurements. Under-baking slightly yields chewier bars.
You control the texture by mastering timing and proportions. Pull them out when edges’re golden but centers remain slightly soft. This technique gives you the perfect balance you’re after.

Leave a Comment