Key Takeaways
- Use bread flour (12–14% protein), autolyse 30 minutes, then ferment 4–6 hours at 68–72°F with stretch-and-fold sequences.
- Shape dough with three folds to build surface tension, then proof seam-side down in a banneton or towel-lined bowl.
- Score with a sharp blade at 30–45 degrees, cutting ¼–½ inch deep to control expansion and promote oven spring.
- Preheat Dutch oven to 450–475°F, bake covered 20 minutes for steam, then uncover 20–25 minutes until deep golden-brown.
- Cool on racks for roughly two hours before slicing; test doneness by tapping the bottom for a hollow sound.
Understanding French Bread Basics
Mastering French bread starts with recognizing its defining characteristics: a crispy, golden crust achieved through high-heat baking and steam injection, combined with a tender, open crumb structure created by minimal mixing and long fermentation.
Crispy crust and tender crumb: the hallmarks of French bread mastery through steam, heat, and long fermentation.
You’ll discover that regional varieties—from Parisian baguettes to Provençal batards—reflect distinct cultural significance across France.
Each style demands specific hydration levels, fermentation times, and shaping techniques.
You’re not simply mixing flour and water; you’re understanding how gluten development, enzymatic activity, and steam create the bread’s signature texture.
The simplicity of French bread’s ingredient list belies its complexity.
You’ll learn that precision in temperature control, timing, and technique separates mediocre loaves from exceptional ones.
This foundation liberates you to experiment confidently within traditional parameters.
Essential Ingredients and Their Roles
You’ll need bread flour as your foundation, which provides the gluten structure that gives French bread its characteristic texture and crumb.
Yeast acts as your rising agent, fermenting the dough and creating the volume and flavor development that distinguishes artisanal French bread from other loaves.
Water and salt work in tandem—water activates the yeast and hydrates the flour, while salt controls fermentation speed and enhances both flavor and gluten strength.
Flour: The Foundation
Flour’s protein content determines your bread’s structure, elasticity, and rise.
You’ll want bread flour containing 12-14% protein, which develops gluten networks essential for that signature French crust and open crumb.
Stone milling preserves nutrients and flavor that roller-milled alternatives strip away, giving you superior taste and texture control.
You’re free to choose unbleached flour—it requires longer fermentation but rewards you with authentic results.
Avoid bromated flour; it’s unnecessary for quality baking.
Storage techniques matter greatly.
Keep your flour in airtight containers away from moisture, heat, and light.
You’ll maintain its freshness and protein integrity for months.
Store in cool conditions around 50-60°F if possible.
Select your flour deliberately.
It’s your foundation’s foundation, determining everything that follows in your baking process.
Yeast: The Rising Agent
Just as flour creates structure, yeast generates the gas that leavens your dough and develops flavor through fermentation.
You’ll rely on active dry yeast or instant yeast, both products of commercial cultivation methods refined over centuries.
Yeast history reveals how bakers discovered wild fermentation, then harnessed it through controlled propagation.
Today’s commercially cultivated strains deliver consistent results you can depend on.
You need precise measurements—typically 2.5 teaspoons of yeast per 500 grams of flour.
Temperature matters critically; yeast activates between 75–80°F.
Too cold slows fermentation; too hot kills cells.
You control fermentation timing by adjusting temperature and yeast quantity.
Longer, cooler fermentation develops complex flavors superior to rushed processes.
This method gives you the freedom to craft authentic French bread with depth and character.
Water and Salt: Balance
While **water and salt** might seem like minor components, they’re actually essential to French bread’s structure and flavor.
Water hydrates flour, activating gluten development and creating the open crumb structure you want.
Salt strengthens gluten networks and controls fermentation speed, preventing over-proofing.
When you’re adjusting your recipe, maintain these ratios:
- Water comprises 60-65% of total flour weight, ensuring proper dough consistency and oven spring
- Salt measures 1.5-2% of flour weight, balancing taste without inhibiting yeast activity
- Hydration levels directly impact shelf life—higher water content extends freshness but requires precise technique
Recipe scaling demands careful measurement.
Increase water and salt proportionally to avoid compromising texture or flavor.
This precision guarantees consistent results whether you’re baking one loaf or multiple batches, maintaining the authentic French bread quality you’re pursuing.
Preparing Your Dough: Mixing and Hydration
You’ll want to use water between 75-80°F to activate your yeast at the proper rate and control fermentation timing.
As you mix your ingredients, you’ll develop gluten through kneading techniques—either by hand for 10-12 minutes or with a stand mixer for 6-8 minutes—which creates the elastic network that traps gas and gives French bread its characteristic crumb structure.
Proper hydration, typically 65-75% water by flour weight, combined with adequate gluten development, determines whether you’ll achieve the open, irregular crumb and chewy crust that defines authentic French bread.
Water Temperature Matters
Why does water temperature deserve your attention when mixing French bread dough?
Temperature directly controls fermentation speed and gluten development.
You’ll achieve consistent results by controlling this variable rather than leaving it to chance.
Use measurement tools like a kitchen thermometer to verify water temperature precisely.
Here’s what you need to know:
- Ideal range: 65-75°F produces balanced fermentation without acceleration
- Cold water: Slows fermentation, extending bulk fermentation time for flavor development
- Warm water: Accelerates yeast activity, requiring vigilant monitoring
Seasonal adjustments matter greatly.
Summer requires colder water to prevent over-fermentation, while winter demands warmer water to maintain proper dough temperature.
This freedom to adjust gives you control over your baking timeline and final product quality.
Don’t estimate—measure everything.
Gluten Development Techniques
Now that you’ve dialed in your water temperature, it’s time to focus on how you’ll build the gluten network that gives French bread its characteristic structure and chew.
You’ll develop gluten through extended mixing and proper hydration ratios. Employ the autolyse method—mixing flour and water, then resting for thirty minutes before adding salt and yeast—to jumpstart gluten formation naturally.
Consider enzyme dosing to accelerate fermentation and strengthen your dough’s elasticity. Protein fortification using isolated wheat gluten or diastatic malt enhances dough strength and gas retention.
Work your dough through gentle stretch-and-fold sequences during bulk fermentation rather than aggressive kneading. This controlled approach gives you precise control over gluten development, yielding that coveted open crumb structure and chewy crust French bread demands.
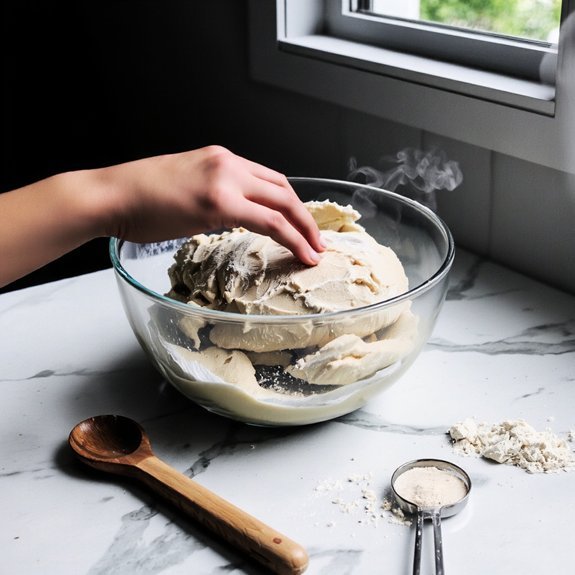
The Fermentation Process
Developing a strong, flavorful dough requires proper fermentation timing and temperature control.
You’ll manage two critical phases to achieve ideal results.
1. Bulk fermentation: You’ll let your dough rest at room temperature (68-72°F) for 4-6 hours.
Perform fold-and-stretch sequences every 30 minutes during the first two hours.
This builds strength and develops flavor compounds.
2. Cold retardation: You’ll transfer your shaped dough to refrigeration (38-40°F) for 8-48 hours.
This slow fermentation enhances taste complexity and gives you scheduling flexibility.
3. Temperature management: You’ll monitor ambient conditions carefully.
Warmer temperatures accelerate fermentation; cooler temperatures slow it down, allowing extended flavor development.
These fermentation stages won’t just improve taste—they’ll give you complete control over your baking timeline while maximizing your bread’s potential.
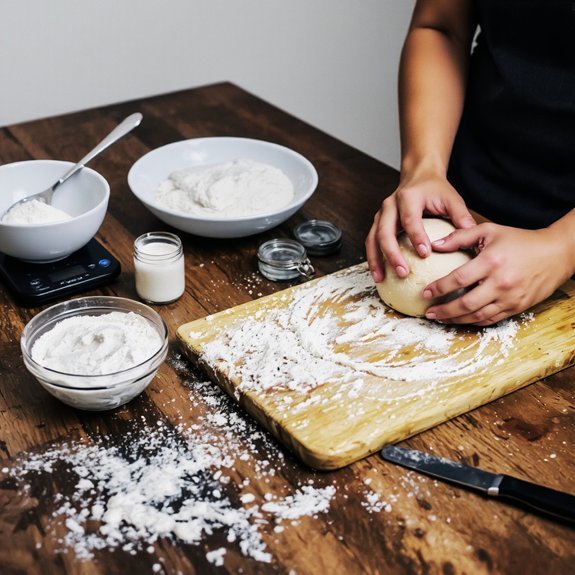
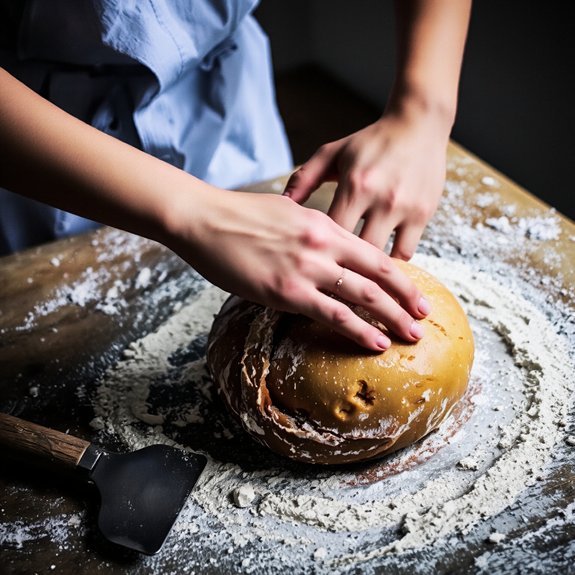
Shaping Your Loaves
After your dough’s fermentation is complete, you’ll shape it to create structure and surface tension that’ll support oven spring and develop that characteristic French bread crust.
Shape your fermented dough to build structure and surface tension for superior oven spring and authentic French bread crust.
Gently turn your dough onto a lightly floured surface without degassing it entirely.
Fold the dough in thirds, pressing firmly to establish tension building throughout the mass.
Rotate and repeat this process two more times, creating a cohesive ball with taut exterior skin.
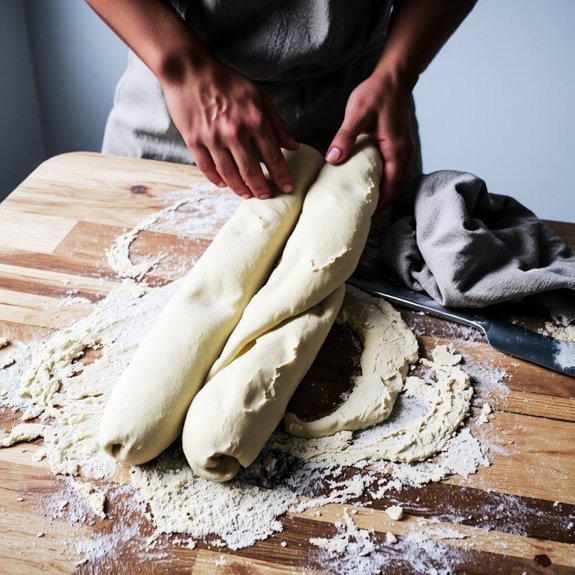
For batard shapes, gently press your dough into a rectangle.
Fold the top third down, seal with the heel of your hand, then fold again and seal.
Roll tightly toward you, ensuring even tension.
Position your loaf seam placement facing down on a banneton or towel-lined bowl. This orientation prevents seams from splitting during baking.
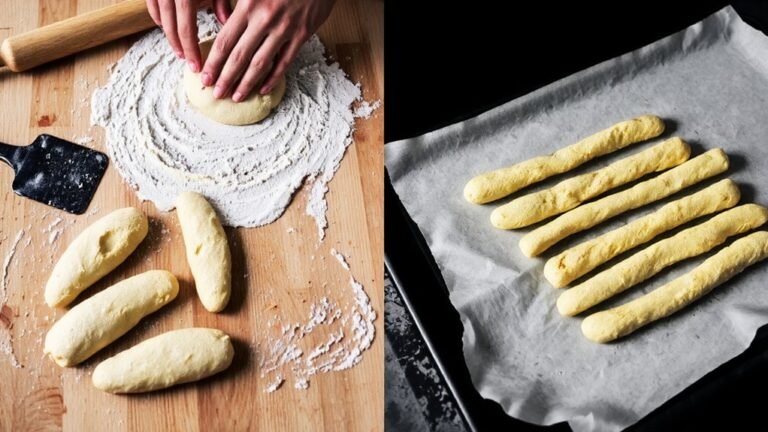
Let your shaped dough proof for the final rise before scoring and baking.
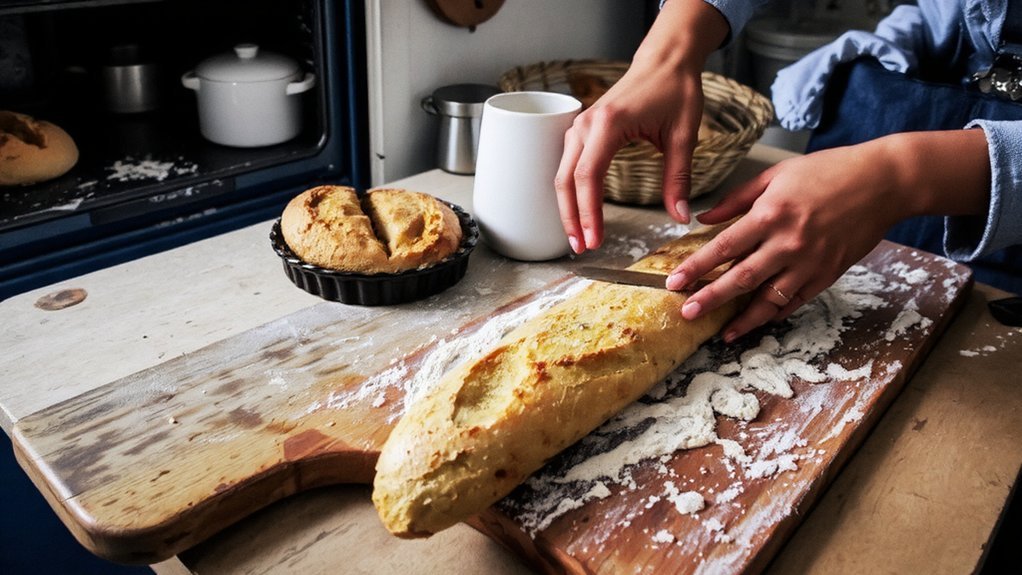
Scoring Techniques for the Perfect Crust
Scoring your loaves with sharp, decisive cuts controls where your bread expands during baking, directing oven spring upward rather than outward and creating that coveted caramelized crust.
You’ll master this essential technique by understanding two critical variables: blade angle and slash depth.
- Blade angle: Hold your blade at 30-45 degrees to create shallow, angled cuts that encourage upward expansion and ideal ear formation.
- Slash depth: Cut ¼ to ½ inch deep, penetrating the surface tension without compromising structural integrity or causing collapse during baking.
- Pattern consistency: Execute parallel or crosshatch patterns with deliberate, confident strokes—hesitation produces ragged edges that undermine aesthetic appeal and crust development.
These precise cuts grant you complete control over your bread’s final appearance and texture.
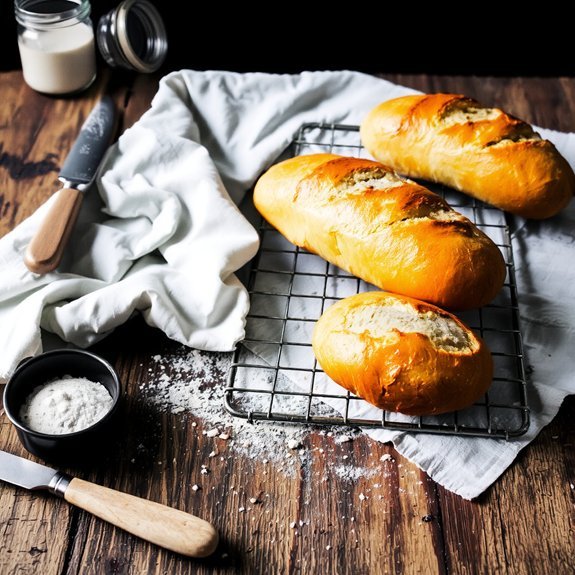
Baking Your Bread to Perfection
Once you’ve scored your loaves, you’ll transfer them to a preheated Dutch oven or baking stone set at 450–475°F, where steam and radiant heat work together to maximize oven spring and develop that distinctive caramelized crust.
Steam and radiant heat maximize oven spring, developing that distinctive caramelized crust at 450–475°F.
Bake covered for 20 minutes to trap steam, then uncover and continue for 20–25 minutes until the crust achieves deep golden-brown color.
Monitor your oven placement carefully—rotate if needed for even browning.
You’ll know they’re done when they sound hollow when tapped on the bottom.
Immediately transfer your loaves to cooling racks, allowing air circulation underneath.
This step prevents moisture from softening the crust.
Complete cooling takes roughly two hours before slicing, ensuring the crumb structure sets properly for that perfect bite.
Troubleshooting Common Baking Issues
Even with careful attention to technique, you’ll sometimes encounter issues that prevent your bread from baking as intended. Understanding how to diagnose and fix these problems gives you control over your results.
1. Pale crust: Your oven temperature may be off.
Invest in an oven thermometer for accurate oven calibration. Many ovens run 25°F cooler than displayed, substantially affecting browning.
2. Dense crumb: Check your equipment maintenance—verify your oven racks aren’t warped and your baking stone’s clean.
Improper steam generation also creates dense bread.
3. Collapsed loaf: You’re likely over-proofing.
Reduce bulk fermentation time by 15-minute increments until you find your ideal window.
Regular equipment maintenance and precise oven calibration eliminate most baking obstacles.
They let you bake consistently excellent French bread.
Frequently Asked Questions
Can I Use All-Purpose Flour Instead of Bread Flour for French Bread?
You can substitute all-purpose flour, though you’ll notice differences. All-purpose flour contains less protein content—around 10-12% versus bread flour’s 12-14%—which means you’ll develop less gluten structure.
You’ll need hydration adjustment; reduce water slightly since all-purpose flour absorbs less liquid. Your crust won’t achieve that signature crackle, and the crumb structure won’t be as open.
The result’s still edible, but you’re sacrificing authentic French bread’s characteristic texture and chew.
How Long Can I Store Homemade French Bread Before It Goes Stale?
You’ll want to consume your homemade French bread within 24 hours for ideal quality. Store it in a paper bag at room temperature—never refrigerate, as cold accelerates staling.
Humidity effects greatly impact shelf life; excessive moisture promotes mold, while dry conditions harden the crust.
For extended storage beyond two days, freeze your loaf in an airtight container. You can thaw and reheat it when you’re ready to enjoy fresh, crusty bread without compromising texture or flavor.
What Equipment Do I Absolutely Need to Bake French Bread at Home?
You’ll need a kitchen scale for precise flour measurements—you shouldn’t eyeball ingredients.
A baking stone produces that authentic crispy crust you’re after.
A Dutch oven traps steam during baking, essential for proper expansion.
You’ll want a lame or sharp knife for scoring.
A banneton proofing basket helps shape your dough.
These aren’t luxuries; they’re fundamental tools giving you complete control over your baking process.
Can I Freeze French Bread Dough and Bake It Later?
You can absolutely freeze French bread dough.
Follow this freezing protocol: after your first rise, punch down the dough, shape it, and freeze it on a baking sheet for two hours before transferring to an airtight container.
For thawing tips, remove it from the freezer and let it thaw at room temperature for four to six hours, or refrigerate overnight.
Once thawed, proceed with your final proof and baking as normal.
Why Does My French Bread Crust Crack Unevenly During Baking?
Your uneven crust cracks stem from inconsistent scoring depth and inadequate steam techniques. You’ll need to make deliberate, uniform slashes at precise angles—typically 30 to 45 degrees—at identical depths.
Master your steam generation by using a preheated Dutch oven or introducing steam via a pan of boiling water. This controlled moisture environment lets your bread expand predictably, creating the distinctive ear and preventing chaotic cracking patterns.


Leave a Comment