Key Takeaways
- Mix flour, yeast, sugar, and salt; combine with milk, butter, and egg until shaggy dough forms.
- Knead dough 8–10 minutes until smooth and elastic, then bulk ferment at 68–72°F for 1–2 hours.
- Divide dough into 16 portions, shape into balls or ovals, and proof 45–60 minutes until puffy.
- Preheat oven to 425°F and bake rolls 12–15 minutes until golden-brown with 190°F internal temperature.
- Store cooled rolls in airtight container for up to 2 days; reheat wrapped in foil at 350°F.
Gathering Your Ingredients and Equipment
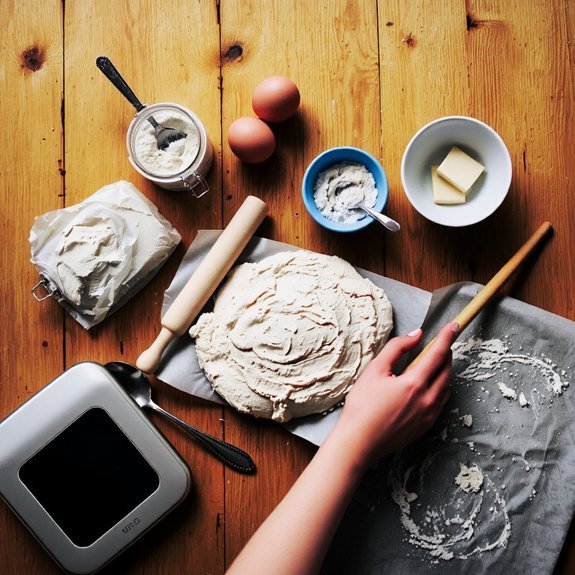
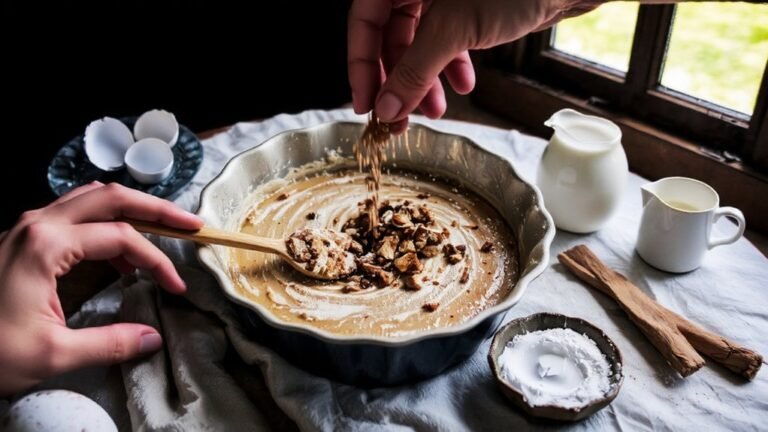
Before you start mixing, you’ll need to assemble your dry ingredients: 3¼ cups of all-purpose flour, 2¼ teaspoons of instant yeast, 1 tablespoon of granulated sugar, and 1½ teaspoons of salt.
For your wet ingredients, gather ¾ cup of whole milk, 2 tablespoons of butter, and 1 large egg.
Regarding ingredient sourcing, select bread flour for ideal gluten development if you’re serious about results.
Your equipment list includes a stand mixer with dough hook attachment, measuring cups and spoons, a digital scale for precision, and a large mixing bowl.
Before beginning, make sure equipment maintenance by cleaning your mixer thoroughly and verifying the dough hook’s secure attachment.
Have parchment paper, a kitchen towel, and a baking sheet ready.
Temperature control matters—use room-temperature ingredients for consistent fermentation and superior texture development.
Mixing and Kneading Your Dough
Combining your ingredients properly sets the foundation for well-developed gluten development and ideal dough consistency. Add your dry ingredients to a mixing bowl, create a well in the center, and pour in your wet ingredients. Mix until you’ve formed a shaggy dough, approximately two minutes.
Proper ingredient combining creates the foundation for strong gluten development and consistent dough texture.
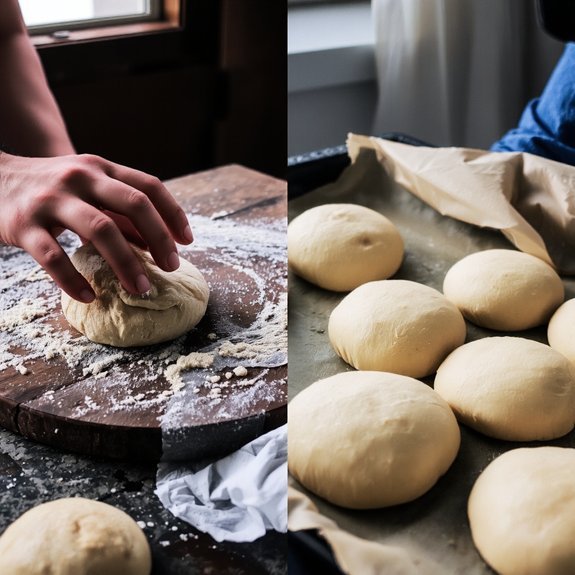
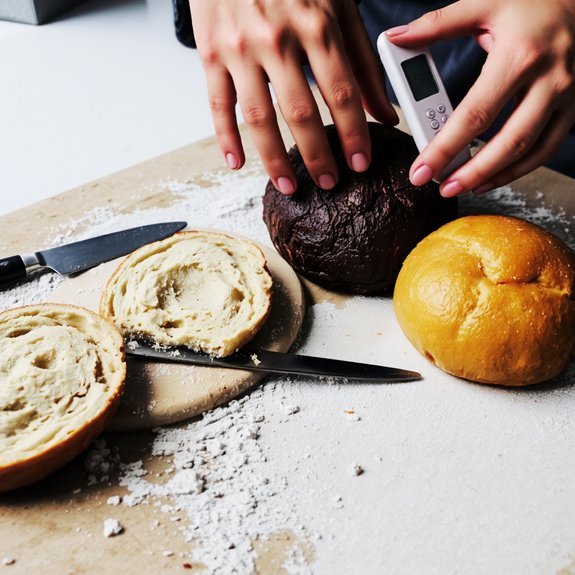
Transfer your dough to a floured surface and begin kneading with a steady kneading rhythm—push the dough away with your palm, fold it back, rotate, and repeat.
Maintain this motion for eight to ten minutes until your dough becomes smooth and elastic.
You’ll know you’re done when the dough springs back slowly after poking it. Proper kneading develops the gluten network necessary for light, airy rolls. Don’t rush this critical step; it determines your final texture and rise quality.
The Rising and Shaping Process
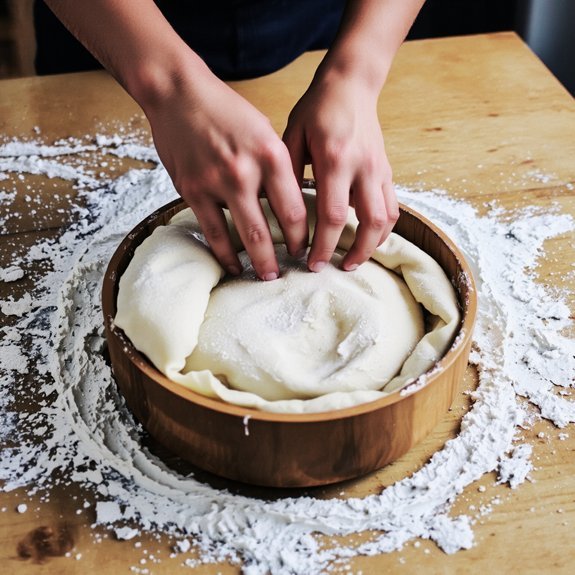
Once your dough’s gluten network is fully developed, you’ll place it in a lightly oiled bowl, turning it to coat all surfaces, and let it rise at room temperature (68-72°F) for one to two hours until it’s doubled in volume.
This bulk fermentation develops flavor and strength.
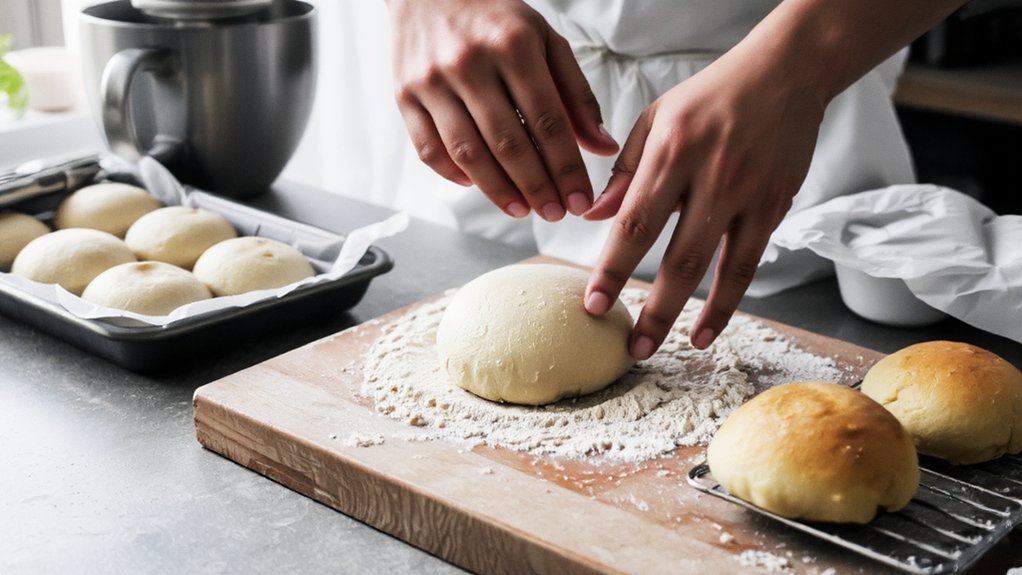
After proofing times conclude, punch down your dough and divide it into sixteen equal portions weighing approximately 1.5 ounces each.
You’ll control your shaping variations by either rolling each piece into a smooth ball or elongating it into an oval.
Place shaped rolls on parchment-lined baking sheets, spacing them two inches apart.
Cover loosely with plastic wrap and let them undergo final proof for forty-five to sixty minutes until they’re puffy and jiggly.
You’ve now prepared them for baking.
Baking Your Rolls to Perfection
Preheating your oven to 425°F about fifteen minutes before baking’ll guarantee consistent heat distribution. This also creates the ideal oven spring.
Preheating your oven to 425°F guarantees consistent heat distribution and creates the ideal oven spring for bakery-quality rolls.
Position your rolls on a lined baking sheet, allowing 2-3 inches between each. Here’s what you’ll monitor:
- Oven temperature: Maintain 425°F for golden-brown results
- Baking duration: 12-15 minutes until rolls reach internal temp of 190°F
- Crust formation: Brush with egg wash for glossy finish
- Color development: Watch for deep golden-brown exterior
- Doneness test: Tap bottoms—hollow sound indicates completion
Rotate your sheet halfway through baking for even browning. Don’t open the oven door during the first ten minutes; this disrupts steam circulation essential for crust formation.
Remove rolls immediately when done and transfer to a cooling rack. Your timing and temperature precision directly determine whether you’ll achieve bakery-quality results or dense, undercooked rolls.
Troubleshooting Common Baking Issues
Even with perfect timing and temperature control, your rolls mightn’t turn out as expected—pale crusts, dense interiors, or uneven browning can derail your results.
Address pale crusts by increasing oven temperature by 25°F or extending bake time by 5 minutes.
For dense interiors, reduce hydration by 2% or extend proofing time by 15 minutes.
Uneven browning indicates hot spots; rotate your baking sheet halfway through baking.
Prevent mold prevention by storing rolls in airtight containers at room temperature for two days maximum.
For stale revival, wrap cooled rolls in foil and reheat at 350°F for 10 minutes.
Alternatively, sprinkle water on rolls before reheating to restore moisture.
These troubleshooting techniques guarantee consistently excellent results every bake.
Frequently Asked Questions
Can I Make Dinner Rolls Ahead of Time and Freeze Them for Later?
Yes, you can freeze dinner rolls for later convenience.
After shaping, place them on a baking sheet and freeze for two hours until solid.
Transfer frozen rolls to freezer bags, noting your freeze timing and batch labeling with dates.
When you’re ready, thaw them at room temperature for one hour, then bake at 375°F for fifteen minutes until golden.
You’ve reclaimed your schedule by batch-preparing ahead.
What’s the Best Way to Store Leftover Dinner Rolls to Keep Them Fresh?
You’ll keep your rolls fresher longer by storing them in airtight containers at room temperature for up to two days.
For extended storage, implement moisture control by placing a paper towel in the container’s bottom to absorb excess humidity.
You’re free to refrigerate them for five days or freeze for three months—just wrap individual rolls tightly in plastic wrap before containerizing to prevent freezer burn and maintain ideal texture.
How Do I Reheat Frozen or Day-Old Dinner Rolls Before Serving?
You’ll revive your rolls by wrapping them in damp parchment paper, then heating at 350°F for 10-15 minutes.
This steam reviving method restores moisture.
For crispier exteriors, unwrap them during the final 2-3 minutes.
Alternatively, you can achieve oven crisping by placing unwrapped rolls directly on a baking sheet at 375°F for 8-10 minutes.
Either technique gives you fresh-tasting rolls without constraints on your reheating preference.
Can I Substitute All-Purpose Flour With Whole Wheat or Alternative Flours?
You can substitute all-purpose flour with whole wheat or alternative flours, but you’ll need hydration adjustments.
Whole wheat absorbs more moisture due to lower gluten content, so increase water by 2-3 tablespoons per cup.
Alternative flours like spelt or rye require similar modifications.
Start by replacing 25% of all-purpose flour, gradually increasing substitution amounts.
Monitor dough consistency carefully—it should feel slightly tacky but manageable for ideal roll texture and rise.
What’s the Difference Between Using Instant Yeast Versus Active Dry Yeast?
You’ll find instant yeast contains finer particles and requires less hydration than active dry yeast.
When activating, you can mix instant yeast directly into dry ingredients, while active dry yeast demands blooming in warm water first.
Instant yeast ferments faster, cutting your rise time by 25 percent.
You’re free to substitute equally, though you’ll need slightly more active dry yeast to match instant’s potency.
Adjust your hydration accordingly for ideal dough consistency.


Leave a Comment