Key Takeaways
- Cream butter and sugar by hand using circular motions against the bowl sides for 3–5 minutes until fluffy.
- Sift dry ingredients together separately, then alternate adding them with wet ingredients in thirds to prevent overmixing.
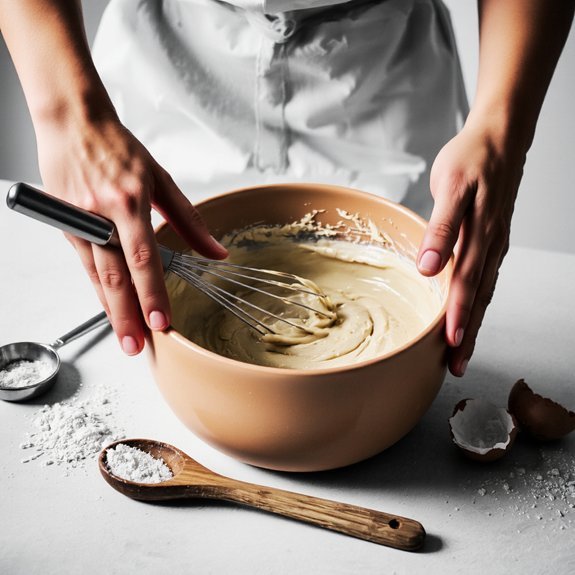
- Use a whisk and rubber spatula for gentle folding motions to maintain air incorporation and avoid gluten development.
- Ensure all ingredients are room temperature for proper emulsion and consistent texture throughout the batter.
- Fill liners two-thirds full and bake at 350°F for 18–22 minutes, testing with a toothpick for doneness.
Essential Tools and Ingredients You’ll Need
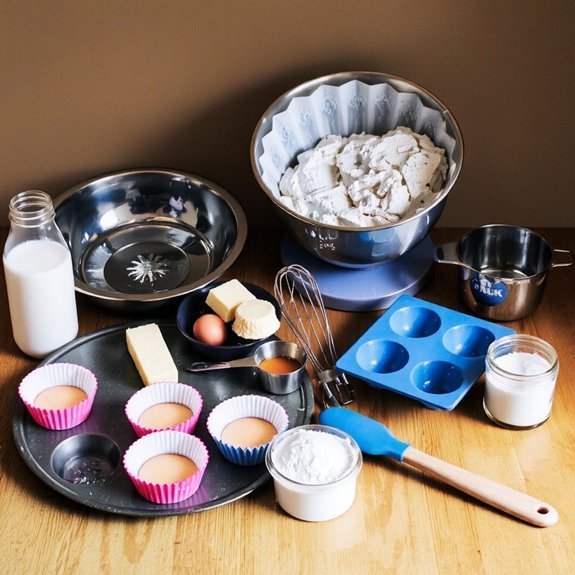
You’ll need a mixing bowl, whisk, and measuring cups to successfully bake cupcakes without an electric mixer.
These measuring essentials guarantee precise ingredient ratios, which directly impact your final product’s texture and flavor.
Select a durable stainless steel bowl—large enough to accommodate vigorous whisking without splashing.
Your whisk should have sturdy wires that won’t bend under pressure.
Measuring essentials include both dry and liquid measuring cups, as they’re calibrated differently.
Specialty pans are equally critical.
Standard cupcake tins with twelve cups work well, though jumbo specialty pans allow creative experimentation.
Line them with paper or silicone liners for easy removal.
Gather additional tools: a rubber spatula for folding, a small saucepan for melting ingredients, and a kitchen scale for weight-based precision.
These items grant you complete control over your baking process, freeing you from mixer dependency.
Creaming Butter and Sugar by Hand
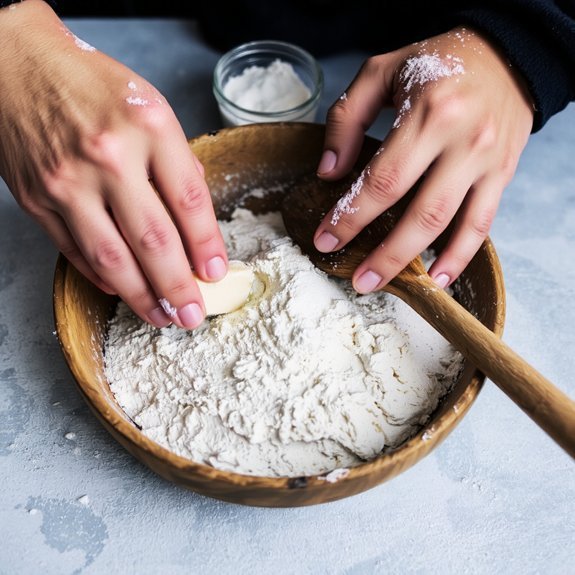
Creaming butter and sugar forms the foundation of your cupcake batter, creating the air pockets that yield a light, tender crumb.
You’ll achieve proper texture development through deliberate, vigorous mixing.
Here’s your approach:
- Use room-temperature butter for best air incorporation
- Press the mixture against the bowl’s sides with your spoon
- Work in circular motions, breaking down sugar crystals
- Continue for 3-5 minutes until the mixture lightens in color
- Listen for the texture to shift from grainy to smooth and fluffy
Your effort directly determines crumb quality.
The friction between sugar and butter creates microscopic air bubbles—essential for rise and structure.
Don’t rush this step.
Proper creaming guarantees your cupcakes won’t bake dense or heavy. This foundation supports everything that follows, making it non-negotiable for success.
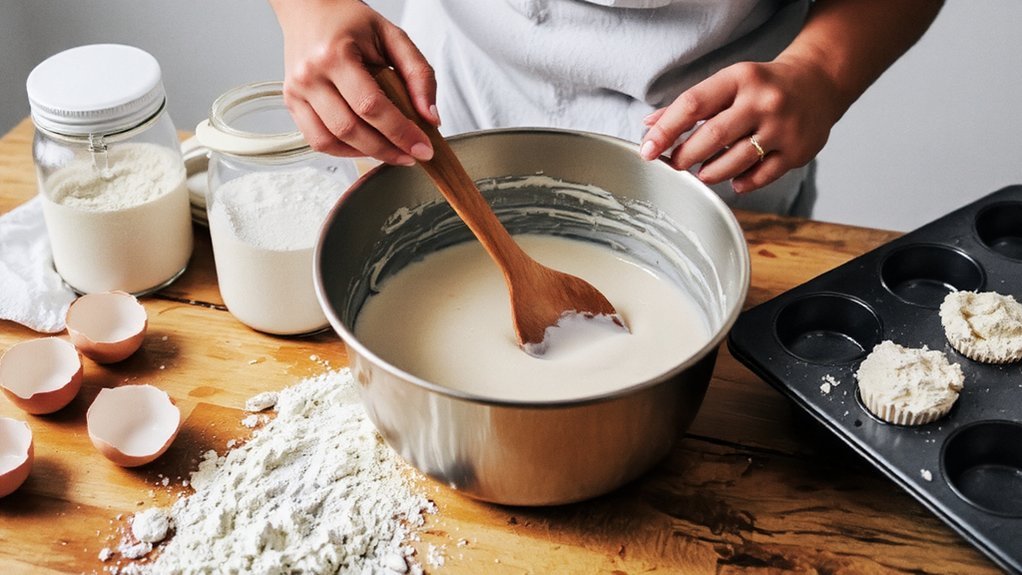
Properly Combining Dry and Wet Ingredients
Once your creamed butter and sugar mixture reaches that fluffy, pale stage, it’s time to introduce your dry and wet components in careful alternation.
| Step | Action | Purpose |
|---|---|---|
| 1 | Add dry ingredients first | Minimizes gluten development |
| 2 | Fold gently with spatula | Prevents overmixing |
| 3 | Add wet ingredients next | Incorporates moisture evenly |
| 4 | Repeat alternation cycle | Promotes uniform texture |
Begin by sifting your dry ingredients together—flour, baking powder, salt. Using your folding technique, incorporate one-third of these into your butter mixture with deliberate, sweeping motions. This restraint prevents excessive gluten development, keeping your cupcakes tender.
Next, add half your wet ingredients—buttermilk or oil blended with eggs. Fold gently. Continue this alternation: dry, wet, dry, finishing with dry ingredients. You’re controlling gluten formation while achieving a homogenous batter. Your hand’s sensitivity outperforms mechanical mixing, granting you precision and ultimate control over your final product.
Avoiding Common Mixing Mistakes
Hand-mixing techniques demand vigilance against several pitfalls that can compromise your batter’s structure and your cupcakes’ final texture.
Hand-mixing cupcakes requires careful attention to avoid structural compromises that ruin texture and rise.
You’ll avoid disaster by staying attentive to these critical errors:
- Overmixing wet ingredients – Creates tough, dense cupcakes through gluten development
- Temperature pitfalls – Cold ingredients won’t incorporate smoothly; room temperature promotes proper emulsion
- Measurement accuracy lapses – Eyeballing quantities ruins chemical balance and rise
- Uneven dry ingredient distribution – Pockets of unmixed flour create gritty spots
- Incorporating air inconsistently – Haphazard folding deflates your batter’s leavening potential
You’re working without mechanical assistance, so intentionality matters.
Mix deliberately, measuring each ingredient precisely.
Don’t rush incorporation; let your hand motions remain controlled and methodical.
This disciplined approach guarantees superior results that justify your freedom from electric dependence.
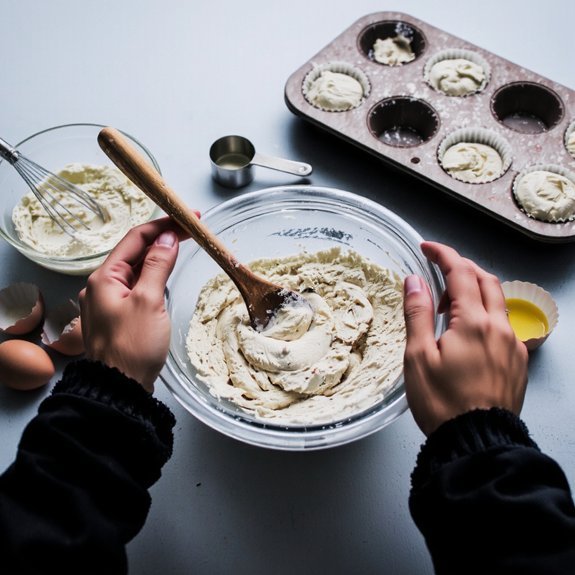
Baking and Cooling Your Handmade Cupcakes
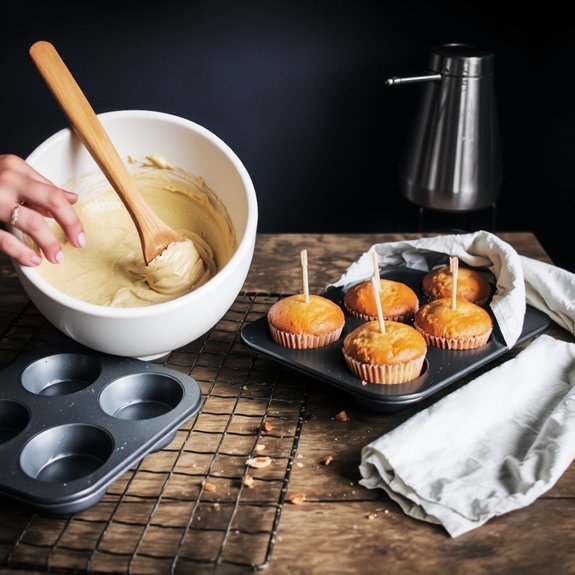
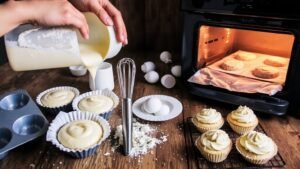
Transferring your batter to the oven marks the culmination of your hand-mixing efforts, and you’ll want to execute this phase with equal precision. Fill your cupcake liners two-thirds full, ensuring consistent bake timing throughout your batch.
Preheat your oven to 350°F and bake for 18-22 minutes, checking for doneness with a toothpick inserted into the center—it should emerge clean.
Monitor your cupcakes closely during the final minutes. Dome control matters greatly; you’re aiming for a gentle, even rise without excessive doming or collapsing.
Once baked, remove them immediately and transfer to a wire rack. This prevents residual heat from overcooking the bottoms. Let them cool completely—at least one hour—before frosting. Rushing this cooling phase compromises your frosting application and overall texture. Patience here guarantees superior results.
Frequently Asked Questions
Can I Use Oil Instead of Butter When Baking Cupcakes Without a Mixer?
You can substitute oil for butter in your cupcake recipe.
You’ll notice texture differences—oil produces moister, denser crumbs compared to butter’s lighter structure.
The flavor impact shifts markedly; you’ll lose butter’s rich, complex notes in favor of a neutral taste profile.
Maintain your independence in the kitchen by using a 3:4 ratio (three-quarters cup oil replaces one cup butter).
This adjustment preserves moisture while delivering denser results you’ll control entirely.
How Do I Know When My Cupcakes Are Fully Baked and Ready to Remove?
You’ll know your cupcakes are done when you perform the toothpick test—insert one into the center, and it should emerge clean or with minimal crumbs.
Additionally, the tops should spring back immediately when you lightly press them with your finger.
The edges’ll pull away slightly from the pan’s sides. You’re free to remove them once they’ve reached these indicators, typically around 18-22 minutes at 350°F, depending on your oven’s characteristics.
What’s the Best Way to Frost Cupcakes Without an Electric Mixer or Tools?
You’ll achieve superior results using hand whipped frosting techniques.
Vigorously beat softened butter and powdered sugar with a whisk or fork until light and fluffy—typically five to eight minutes.
Once you’ve reached ideal consistency, employ spoon spread techniques by using an offset spatula or regular spoon to apply frosting smoothly across each cupcake’s crown.
Work deliberately, maintaining control over application pressure for professional-grade finishes without electrical dependency.
How Should I Store Leftover Cupcakes to Keep Them Fresh Longer?
You’ll maximize freshness by storing cupcakes in airtight containers at room temperature for two days. For extended preservation, you’re free to freeze them for up to three months.
When you’re ready to enjoy them, freezer thawing at room temperature takes approximately two hours. This method preserves moisture and flavor integrity without requiring refrigeration, which can accelerate staleness. Properly sealed containers prevent oxidation and maintain ideal texture throughout storage.
Can I Substitute All-Purpose Flour With Alternative Flours in Hand-Mixed Cupcake Recipes?
You can absolutely substitute all-purpose flour with alternative flours in hand-mixed cupcake recipes. Almond flour creates denser, more tender crumbs, while gluten-free blends maintain traditional texture better.
You’ll need to adjust liquid ratios and binding agents accordingly—almond flour absorbs less moisture, requiring reduced wet ingredients. Gluten-free blends typically need added xanthan gum for structure.
Experiment with 1:1 ratios initially, then modify based on your batter’s consistency. Your results’ll depend on which alternative you choose.

Leave a Comment