Key Takeaways
- Use an oven thermometer and preheat for 15–20 minutes to ensure accurate, stable baking temperatures throughout.
- Measure dry ingredients by spooning and leveling, or weigh them for consistent, reproducible results.
- Beat wet ingredients gently and fold in leavening agents last to preserve lift and texture.
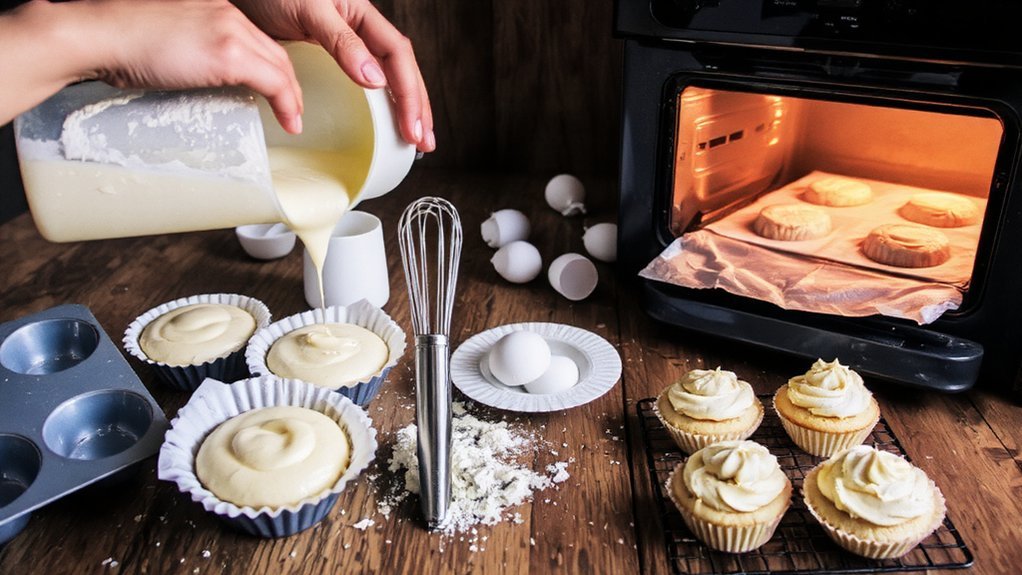
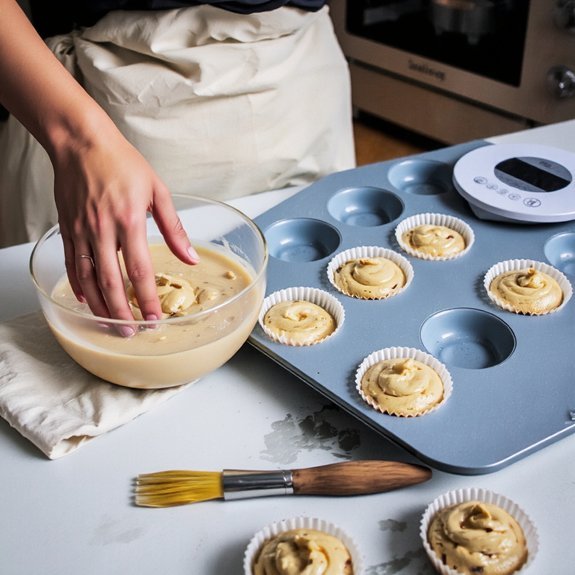
- Fill cupcake cavities two-thirds full and test doneness at minimum time using the toothpick method.
- Use room-temperature eggs and butter for proper emulsification, resulting in a smooth, uniform batter.
Choosing Quality Ingredients
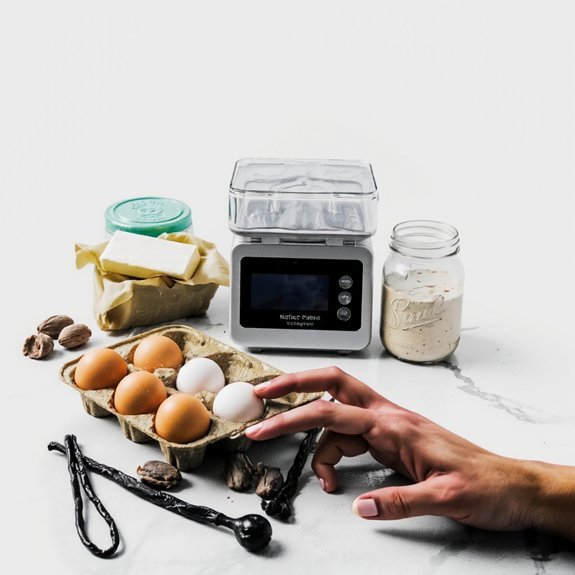
Because you can’t salvage mediocre ingredients with technique alone, start by sourcing the best ones you can find.
You’ll want unbleached all-purpose flour from reputable mills and fresh eggs from ethical sourcing practices that prioritize animal welfare.
Don’t compromise on butter—seek out European-style varieties with higher fat content for superior flavor and texture.
For cocoa powder, you’re free to choose between natural and Dutch-processed based on your desired depth.
Source seasonal produce when making fruit-filled varieties; strawberries in summer deliver incomparable freshness compared to off-season alternatives.
Invest in pure vanilla extract rather than imitation substitutes.
Your leavening agents—baking powder and baking soda—should be fresh; check expiration dates meticulously.
Quality chocolate, whether dark or milk, directly impacts your final product’s richness.
Mastering the Mixing Technique
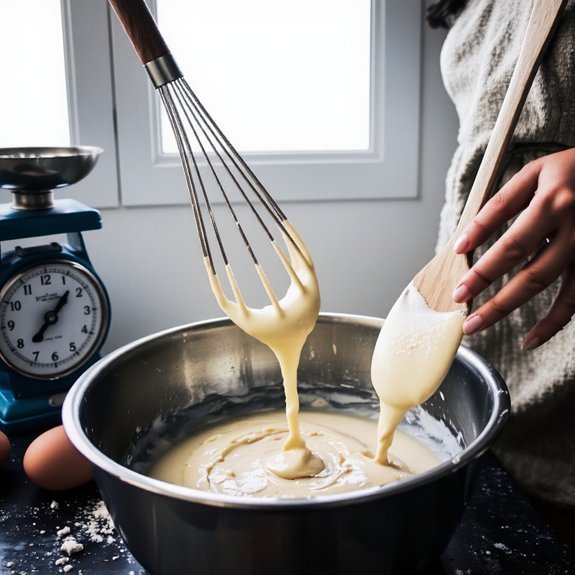
How you combine your carefully selected ingredients matters as much as the ingredients themselves, since improper mixing can trap excess air, develop gluten unevenly, or fail to properly incorporate leavening agents.
You’ll control aeration by varying your mixing speed and duration. Master the folding technique to gently incorporate delicate ingredients like whipped egg whites without deflating them. Use these guidelines:
| Ingredient Category | Mixing Method |
|---|---|
| Dry ingredients | Whisk together; sift if needed |
| Wet ingredients | Beat until combined; don’t overwork |
| Leavening agents | Fold in last to preserve lift |
| Fold-in additions | Use spatula; minimal strokes |
| Final batter | Smooth, uniform consistency |
You’re not just mixing—you’re engineering the cupcake’s crumb structure and rise. Precision here directly determines your results.
Getting Your Oven Temperature Right
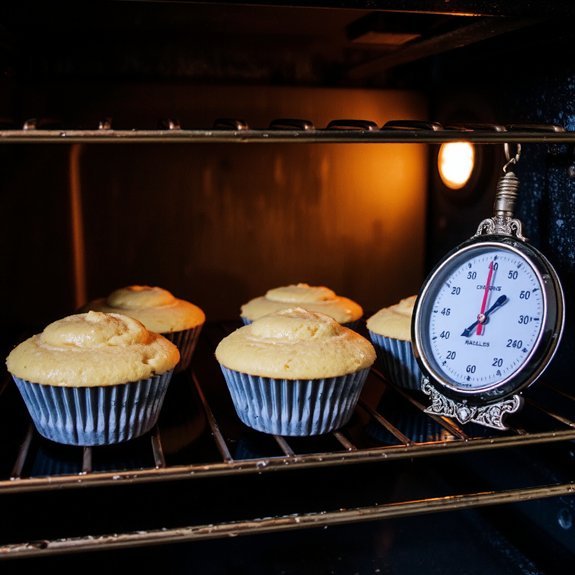
While you’ve perfected your mixing technique, an improperly calibrated oven will undermine every careful step you’ve taken.
Your cupcakes demand precision, and temperature control is non-negotiable.
Use these calibration techniques to guarantee success:
- Invest in an oven thermometer—your oven’s built-in gauge often reads 25°F off
- Preheat for 15-20 minutes, allowing the heating element to stabilize completely
- Check readings at multiple points inside the oven cavity
- Recalibrate monthly, especially if you’re baking frequently
Rack positioning matters equally. Position your rack in the center, allowing heat to circulate evenly around each cupcake.
This prevents overdone edges or underbaked centers. Never crowd your oven—maintain airflow between batches. You’re free to experiment with multiple racks once you’ve mastered single-batch baking. Temperature accuracy separates mediocre cupcakes from exceptional ones.
Avoiding Common Baking Mistakes
Even with perfect oven calibration, you’ll sabotage your cupcakes if you don’t avoid these critical mistakes.
Perfect oven calibration means nothing if you sabotage your cupcakes by making these critical mistakes.
First, respect your pan size—don’t overfill or underfill cups.
Overfilled batter spills over edges; underfilled cups produce flat, dense cupcakes.
Fill each cavity two-thirds full for ideal rise and structure.
Timing errors destroy results.
Don’t rely on the recipe time alone; instead, use the toothpick test at the stated minimum time.
Insert it into the center—it should emerge with a few moist crumbs, never wet batter or completely dry.
Overbaking dries out your cupcakes irreversibly, while underbaking leaves wet, unstable centers.
Watch your ingredient ratios obsessively.
Excess flour creates dense cupcakes; too much liquid produces sunken middles.
Measure dry ingredients by spooning and leveling, never scooping directly.
These precision-based techniques guarantee consistent, superior cupcakes every time.
Professional Baker Secrets and Tips
Beyond mastering the fundamentals, professional bakers elevate their cupcakes through strategic shortcuts and ingredient knowledge that separate mediocre results from exceptional ones.
You’ll discover that professionals prioritize precision in their approach:
- Use room-temperature eggs and butter for ideal emulsification and consistent crumb structure
- Invest in high-quality vanilla extract and cocoa powder—these ingredients define your flavor profile
- Implement efficient shop organization by pre-measuring dry ingredients and organizing tools strategically
- Master customer service by understanding flavor preferences and delivery timing to build loyalty
You’ll also find that professionals weigh ingredients rather than measure by volume, ensuring reproducibility.
They temper chocolate carefully, blend batters minimally to avoid overdevelopment, and cool cupcakes completely before frosting.
These techniques, combined with streamlined shop organization and attentive customer service, position you as a serious baker who delivers excellence consistently.
Frequently Asked Questions
How Long Can Cupcakes Be Stored Before They Go Stale or Spoil?
You’ll keep unfrosted cupcakes fresh for 2-3 days at room temperature.
With Fridge Storage, they’ll last up to a week when you seal ’em in airtight containers—the moisture-rich crumb structure resists drying.
For maximum Freezer Longevity, you’ve got up to three months; wrap individual cupcakes in plastic wrap, then foil before freezing.
Frosted varieties demand refrigeration within two hours.
Thaw frozen cupcakes at room temperature for ideal texture and flavor recovery before serving.
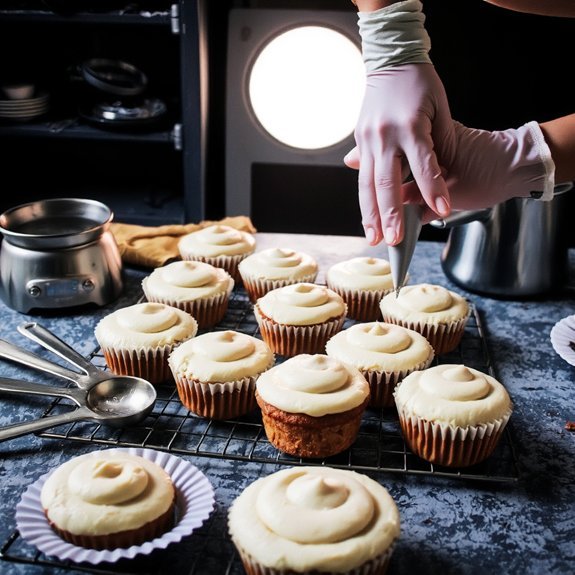
What’s the Best Way to Frost Cupcakes for a Professional Appearance?
You’ll achieve professional results by mastering piping techniques with a fitted pastry bag and appropriate tips.
Hold the bag at forty-five degrees, applying steady pressure for consistent swirls.
You’ve got freedom to experiment with various nozzle sizes—star tips create classic ridges, while round tips offer smoothness.
Layer your frosting in stages, allowing each application to set slightly. Finish details like edible pearls, sprinkles, or fresh garnishes elevate your cupcakes’ appearance dramatically.
Can Cupcake Batter Be Prepared Ahead and Refrigerated Overnight?
You can absolutely prepare your cupcake batter ahead through overnight chilling. This technique actually enhances your results—the overnight chilling allows thorough flavor infusion as ingredients meld together.
Your dry components fully hydrate while wet ingredients bond more completely. You’re free to refrigerate covered batter up to 24 hours.
Simply bring it to room temperature before pouring into liners. This method gives you flexibility without compromising rise, texture, or final cupcake quality.
How Do I Level Cupcake Tops for Even Frosting Application?
You’ll level your cupcake tops by using either a cake leveler or serrated knife with steady, horizontal strokes. Cool cupcakes completely first—this prevents crumbling.
Position your leveler parallel to the cupcake’s surface, then slice off the domed top in one smooth motion. For serrated knives, employ a gentle sawing technique.
This creates flat, even surfaces that’ll hold frosting uniformly, giving you professional results without relying on bakery shortcuts.
What Causes Cupcakes to Dome or Sink in the Middle?
You’ll get doming when your oven temperature runs too high—the edges set before the center rises fully.
Sinking results from undermixing your batter, leaving insufficient structure to support the crumb.
You’re also vulnerable if you’ve overmixed, creating excess gluten that deflates during cooling.
Nail your oven calibration and master controlled mixing techniques to achieve consistently flat, stable cupcake tops ready for your frosting application.


Leave a Comment