Key Takeaways
- Combine flour, salt, and yeast; mix with warm milk to form shaggy dough, then knead 8–10 minutes until smooth and elastic.
- Roll dough to 1/4-inch thickness, spread butter-sugar-cinnamon filling uniformly, roll tightly, pinch seam, and cut into uniform pieces.
- Proof shaped rolls 2–3 hours at 75–80°F in a greased pan until doubled in size and springs back slowly.
- Preheat oven to 350°F and bake rolls 20–25 minutes until golden brown with internal temperature reaching 190°F.
- Apply warm cream cheese frosting or buttercream while rolls are hot; thin with milk for glaze or keep thick for spreading.
Ingredients You’ll Need
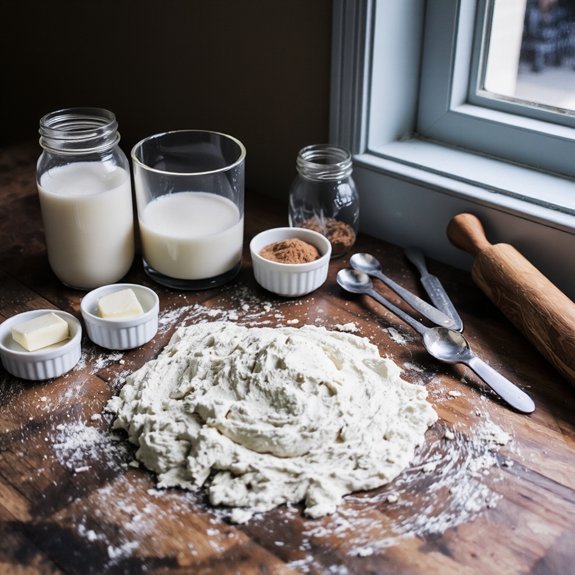
You’ll need all-purpose flour, whole milk, granulated sugar, active dry yeast, unsalted butter, eggs, salt, and ground cinnamon for the dough and filling.
All-purpose flour, whole milk, granulated sugar, active dry yeast, unsalted butter, eggs, salt, and ground cinnamon form your essential ingredient base.
These pantry staples form your foundation for successful baking without unnecessary constraints on flavor or texture.
For ingredient substitutions, you’ve got flexibility.
Replace whole milk with almond or oat milk if you prefer dairy-free options.
Swap unsalted butter with coconut oil for a distinct taste profile.
Brown sugar works equally well as granulated sugar, offering deeper molasses notes.
You’ll also benefit from gathering vanilla extract and cream cheese for frosting.
Have your measuring tools ready—precision matters when working with yeast-activated doughs.
Measure dry ingredients separately from wet ones to guarantee proper activation and rise.
Preparing and Kneading the Dough
Combining your dry ingredients—flour, salt, and yeast—in a large bowl creates the foundation for proper dough development.
Whisk these together thoroughly to distribute the yeast evenly.
Pour your warm milk mixture into the dry ingredients and stir until a shaggy dough forms.
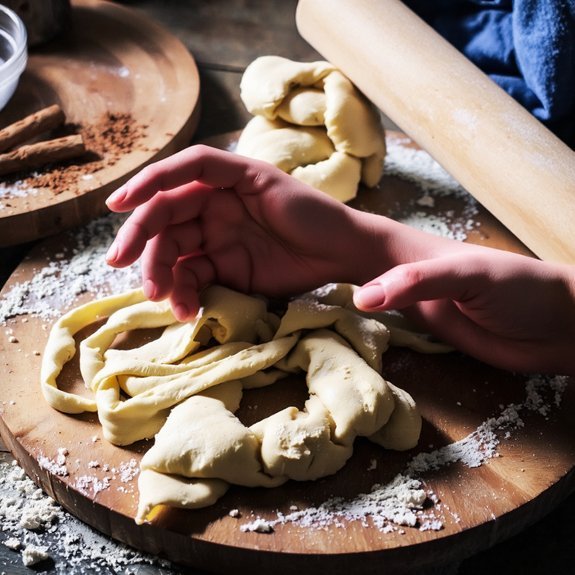
Now you’ll move on to kneading techniques that build strength into your dough.
Turn your dough onto a floured surface and knead for eight to ten minutes.
Push the dough away from you with the heel of your hand, fold it back, and rotate it.
This repetitive motion develops gluten, creating an elastic structure that traps gas and produces those signature soft, pillowy rolls.
You’ll know you’ve achieved proper gluten development when your dough becomes smooth, elastic, and springs back when poked.
Creating the Cinnamon Filling
Once your dough’s risen to double its size—typically one to two hours—it’s ready for the filling stage.
Roll out your dough into a rectangular sheet, approximately ¼-inch thick.
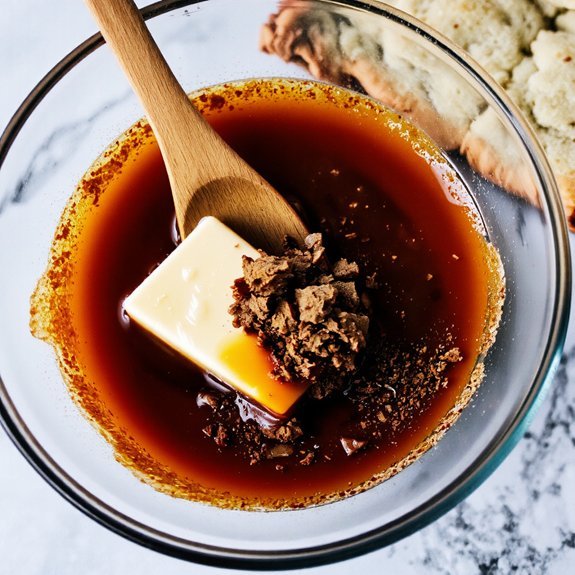
Mix your filling components: softened butter, brown sugar, and ground cinnamon in precise proportions—typically two tablespoons butter, ¾ cup brown sugar, and two tablespoons cinnamon per batch.
Your application technique determines even flavor distribution.
Spread the butter mixture uniformly across the dough’s surface, leaving a ½-inch border on all edges.
This prevents overfilling and guarantees proper sealing.
Master proper spice layering by combining your dry ingredients beforehand, creating a homogeneous mixture.
This prevents cinnamon concentration in isolated spots.
Work systematically from one end to the other, maintaining consistent pressure throughout application.
You’ll achieve superior rolls through controlled technique rather than excessive filling.
Rolling and Shaping Your Rolls
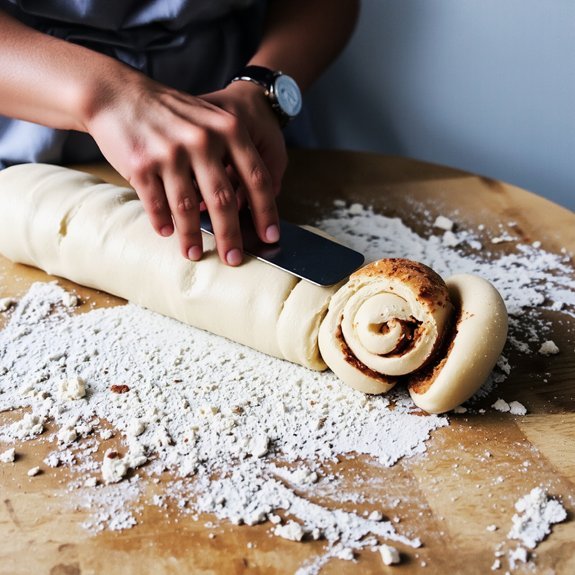
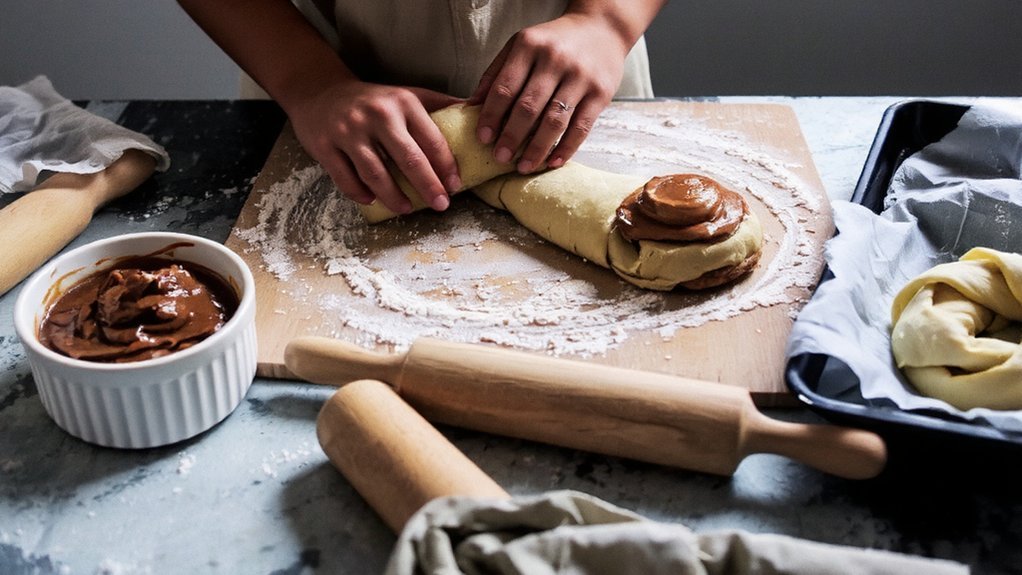
With your filling evenly distributed across the dough, you’re ready to execute the critical rolling technique that determines your rolls’ final structure and consistency.
Start at the edge closest to you, rolling the dough tightly away from your body.
Maintain consistent spiral tightness throughout—loose rolls flatten during baking, while over-tight rolls crack.
Use your hands to guide the dough, applying gentle pressure to seal each layer.
Once you’ve completed the roll, pinch the seam firmly along the entire length for proper edge sealing.
This prevents unraveling during proofing and baking.
Cut your roll into uniform pieces using a sharp knife or dental floss, ensuring clean cuts that won’t compress your carefully shaped dough.
Proofing and Rising
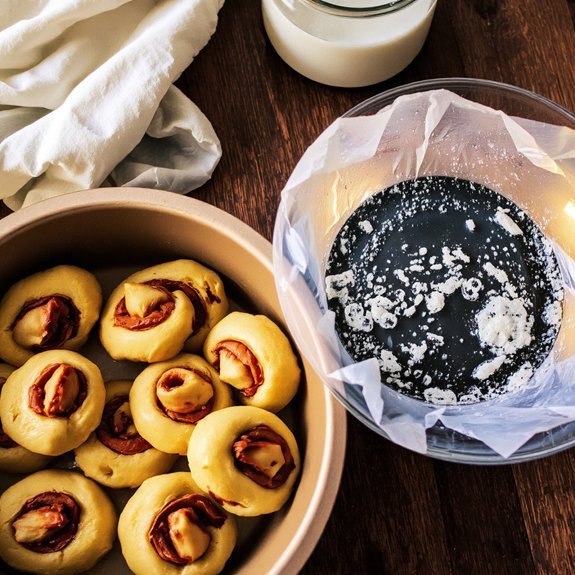
After you’ve shaped your rolls, you’ll place them in a greased pan where they’ll undergo their first rise, which typically takes two to three hours at room temperature. You’ll want to maintain an environment between 75°F and 80°F, as warmer conditions accelerate yeast activity while cooler temperatures slow the process considerably.
Your rolls are ready to bake when they’ve doubled in size and spring back slowly when you gently poke them with your finger.
First Rise Timeline
During the next 1-2 hours, you’ll allow your dough to undergo bulk fermentation, where yeast activates and produces gas that creates the characteristic light, airy crumb structure in your finished rolls.
You can consult timeline charts to track your dough’s progress.
The yeast lifecycle follows predictable stages: lag phase (initial adaptation), exponential growth (rapid fermentation), and stationary phase (peak rise).
Your dough should roughly double in volume by the end of this period.
You’ll know bulk fermentation is complete when you poke the dough and it springs back slowly rather than immediately.
Environmental temperature markedly affects timing—warmer conditions accelerate fermentation, while cooler temperatures slow it considerably.
You remain in control: shorter rises produce denser rolls; longer rises yield airier results.
Temperature and Environment
Temperature stands as the primary variable controlling your dough’s fermentation rate, and you’ll need to monitor it carefully throughout both the bulk fermentation and final proofing stages.
You’ll want to maintain 75-78°F for ideal results, as warmer environments accelerate fermentation while cooler spaces slow it considerably.
Humidity management proves equally critical—aim for 65-70% relative humidity to prevent your dough’s surface from drying out.
You’ll achieve this by covering your rolls with a damp towel or placing them in a proofing box.
Appliance ventilation matters too.
Don’t position your dough near heating vents or direct airflow, as inconsistent temperatures derail your timeline.
A turned-off oven with the light on provides excellent environmental control, keeping your rolls at stable conditions throughout their rise.
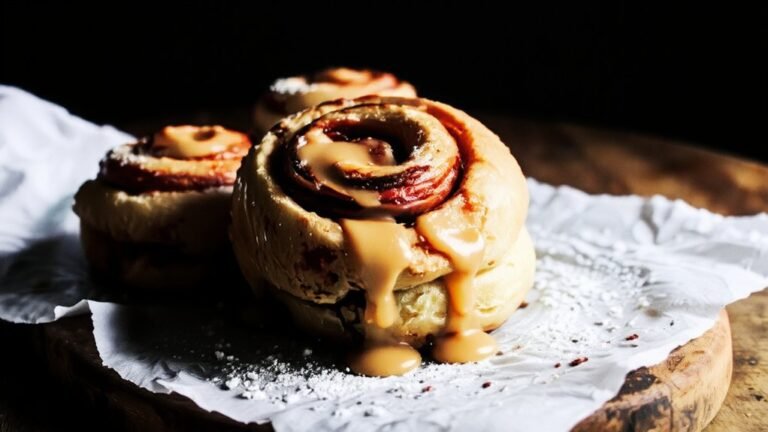
Baking and Frosting
Preheating your oven to 350°F guarantees even heat distribution and ideal rise for your rolls.
Bake them for 20-25 minutes until golden brown and the internal temperature reaches 190°F.
You’ve earned the freedom to choose your frosting techniques—cream cheese frosting delivers tanginess, while buttercream offers richness.
Apply frosting while rolls are still warm for maximum absorption.
For glaze variations, you can thin your frosting with milk for a pourable consistency or keep it thick for spreading.
Consider cinnamon-infused options or maple glazes for distinct flavor profiles.
Work efficiently during application; thick frosting sets quickly.
Layer your frosting evenly across each roll or drizzle it artfully.
Your baking results depend on precision timing and temperature control.
Master these fundamentals, and you’ll consistently produce exceptional cinnamon rolls.
Frequently Asked Questions
Can I Make Cinnamon Rolls Ahead of Time and Freeze Them Before Baking?
Yes, you can freeze cinnamon rolls before baking.
Use the par bake method: bake them at 350°F for 10-15 minutes until partially cooked, then cool completely.
Apply the flash freezing technique by placing them on a baking sheet for two hours before transferring to freezer bags.
You’ll gain complete control over your schedule.
Bake frozen rolls directly from the freezer, adding 5-10 minutes to your standard baking time.
What’s the Best Way to Store Leftover Cinnamon Rolls to Keep Them Fresh?
Store your leftover cinnamon rolls in airtight containers at room temperature for up to two days.
For extended freshness, refrigerate them for up to a week.
When you’re ready to enjoy them, you’ve got freedom in your reheating methods: microwave individual rolls for 20-30 seconds, use a 350°F oven for 10 minutes, or reheat them covered in a skillet over low heat. Each method restores moisture and warmth effectively.
Can I Substitute All-Purpose Flour With Whole Wheat or Alternative Flours?
Yes, you can substitute all-purpose flour with whole wheat or alternative flours. You’ll need hydration adjustments since whole wheat absorbs more liquid—increase water by 10-15%.
Recognize nutrition differences: whole wheat adds fiber and minerals but creates denser rolls. Almond flour or coconut flour require different ratios entirely.
Experiment with blends: 25% whole wheat mixed with all-purpose gives you flexibility without sacrificing texture. You’re in control of your baking choices.
How Do I Fix Cinnamon Rolls That Didn’t Rise Properly During Proofing?
You can rescue your rolls through yeast revival.
Warm your proofing environment to 75-80°F and give them another 30-45 minutes.
If they’re still sluggish, you’ve got options: rebake at a lower temperature, or knead in fresh yeast with a bit of warm water. Don’t settle for dense, flat rolls—take control and salvage your batch with these direct interventions.
What Are Some Frosting Alternatives to Traditional Cream Cheese Icing?
You can skip cream cheese icing entirely. Try a maple glaze—it’ll complement your rolls’ warmth without heaviness.
Brown butter frosting delivers rich, nutty depth that you won’t find in traditional options. Alternatively, you’ve got cinnamon sugar glaze, espresso buttercream, or caramel drizzle.
Each approach lets you customize your rolls’ finish based on your flavor preferences. You’re free to experiment without settling for predictable cream cheese.

Leave a Comment