Key Takeaways
- Sift dry ingredients (flour, cocoa powder, baking soda, salt) twice to aerate and ensure even distribution throughout the batter.
- Cream butter and sugar together, then incorporate eggs one at a time for proper emulsification before adding dry ingredients.
- Alternate adding dry mixture and vanilla to wet ingredients, folding gently to combine without overdeveloping gluten for tender texture.
- Bake at 350°F for 25–30 minutes; remove slightly underbaked with moist crumbs on toothpick to allow carryover cooking.
- Cool in pan 10–15 minutes, then transfer to wire rack for 30–45 minutes to achieve firm exterior and fudgy interior.
Gathering Your Ingredients
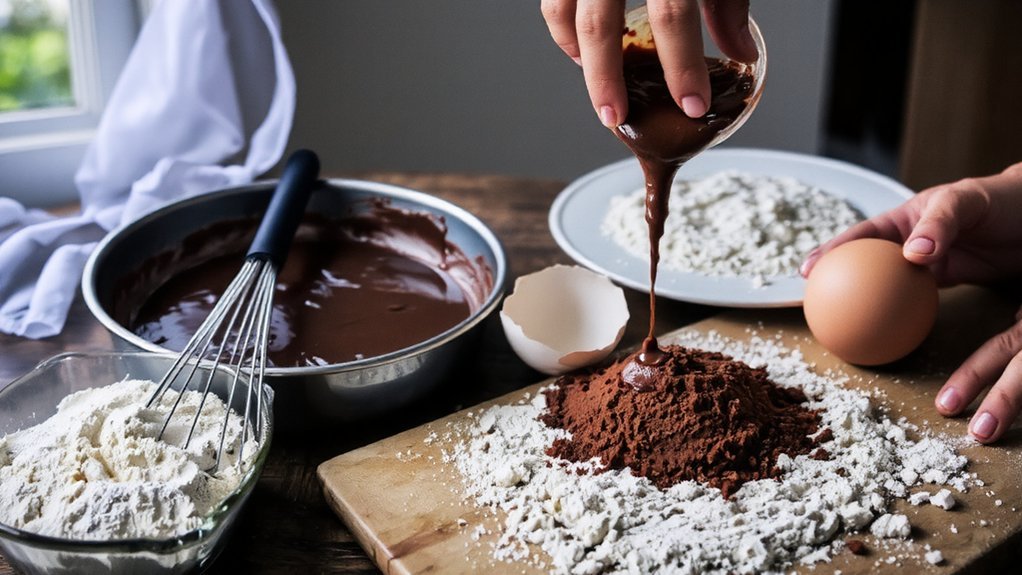
Before you’ll start mixing your brownie batter, you’ll need to assemble your dry and wet components.
Organize your pantry systematically to locate all necessary ingredients efficiently.
You’ll require 3/4 cup unsweetened cocoa powder, 1 3/4 cups all-purpose flour, 1 teaspoon baking soda, 1/2 teaspoon salt, 1 cup granulated sugar, 1/2 cup brown sugar, 3/4 cup vegetable oil, 3 large eggs, and 2 teaspoons vanilla extract.
For allergy substitutions, you can replace all-purpose flour with a certified gluten-free blend maintaining a 1:1 ratio.
Substitute vegetable oil with melted coconut oil or applesauce for altered texture and moisture profiles.
If egg allergies exist, use commercial egg replacers following package specifications precisely.
Verify ingredient freshness, particularly your cocoa powder and baking soda, as these directly impact rise and flavor development.
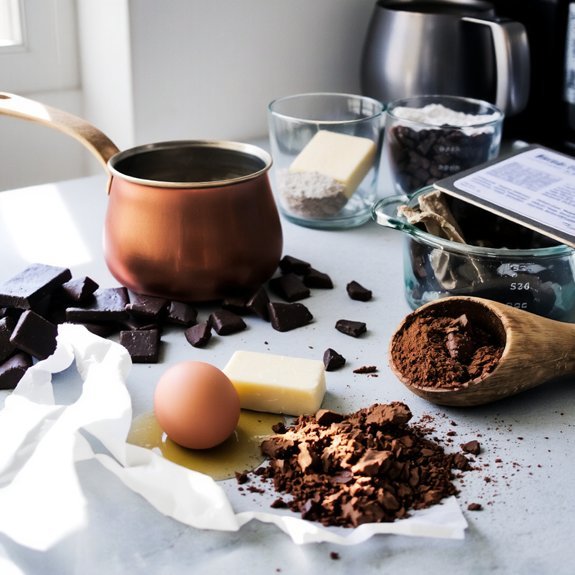
Selecting Quality Chocolate
You’ll want to select dark chocolate with a cocoa percentage between 60-85%, as this range delivers ideal flavor depth and bittersweet balance without excessive sugar interference.
Pure chocolate, composed of cocoa solids and cocoa butter, provides superior taste and texture compared to compound chocolate, which substitutes cocoa butter with vegetable oils and lacks the complexity you’re seeking.
Verify your chocolate’s ingredient list to confirm it contains only cocoa mass, cocoa butter, sugar, and vanilla—avoiding unnecessary additives that compromise brownie quality.
Dark Chocolate Cocoa Percentages
When you’re selecting chocolate for brownies, the cocoa percentage dramatically impacts both flavor intensity and texture. You’ll find that higher percentages deliver deeper, more complex notes while lower percentages produce sweeter, milder results.
| Cocoa % | Flavor Profile | Texture | Health Benefits |
|---|---|---|---|
| 50-60% | Sweet, mild | Fudgy | Moderate antioxidants |
| 61-70% | Balanced, rich | Chewy | Enhanced antioxidants |
| 71-85% | Intense, bitter | Dense | High antioxidants |
| 86%+ | Bitter, sophisticated | Firm | Maximum antioxidants |
You’re not locked into one choice—your preference dictates your decision. For robust chocolate flavor, choose 70% cocoa. For approachable sweetness, opt for 60%. Premium baking demands precision: measure your chocolate by weight, not volume, ensuring consistent results batch after batch.
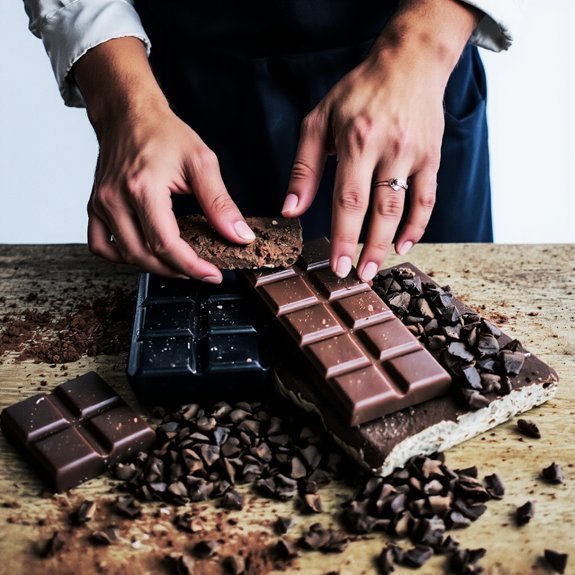
Pure Chocolate vs. Compound
Beyond cocoa percentage, the type of chocolate you select fundamentally shapes your brownie’s structure and taste.
You’ve got two primary options: pure chocolate and compound chocolate.
Pure chocolate contains cocoa butter, adhering to strict regulatory standards that guarantee authenticity.
Its complex processing methods develop nuanced flavors and create superior texture through natural emulsification.
You’ll experience a firmer crumb and richer mouthfeel.
Compound chocolate replaces cocoa butter with vegetarian oils, offering budget-friendly advantages.
While it meets different regulatory standards, its simplified processing methods yield consistent results with less temperamental handling.
For brownie baking, you’re choosing between complexity and reliability.
Pure chocolate demands precision but rewards you with sophisticated depth.
Compound chocolate delivers predictability without fuss.
Select based on your priorities—quality or convenience—since both produce acceptable brownies when executed properly.
Measuring and Preparing Dry Ingredients
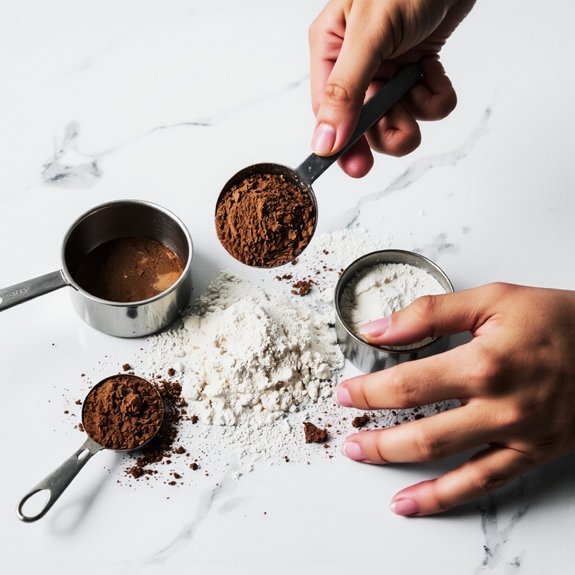
You’ll want to sift your flour through a fine-mesh strainer at least twice to eliminate lumps and aerate the mixture before incorporating it into your batter.
Measure your cocoa powder by spooning it directly into a dry measuring cup and leveling it off with a knife—don’t pack it down, as this’ll throw off your ratios.
Once you’ve sifted the flour, whisk it together with your cocoa powder, salt, and baking soda in a separate bowl to guarantee even distribution of all dry components.
Sifting Flour Properly
Measuring flour by weight rather than volume guarantees consistent brownie texture and prevents the common pitfall of packing too much flour into your mixing bowl.
You’ll want to use a fine-mesh sieve with at least 40 microns to break apart flour aggregates effectively.
Hold your sieve about six inches above your dry ingredient bowl and push flour through using a whisk or the back of a spoon.
This aeration process promotes clump prevention and creates a lighter crumb structure in your finished brownies.
For best sieve maintenance, you should wash and completely dry your equipment immediately after use to prevent flour residue buildup.
Store it flat to avoid warping the mesh.
Sifting takes minimal effort but delivers measurable improvements to your brownie’s texture and rise.
Measuring Cocoa Powder
Like flour, cocoa powder demands precision through weight measurement rather than volume to guarantee consistent chocolate intensity and brownie structure.
You’ll want to use a digital scale for accuracy, as scoop calibration varies considerably between brands and batches.
Volume variability poses real problems—a loosely packed cup differs dramatically from a compressed one. You’re aiming for approximately 43 grams per cup when you must measure volumetrically, but weighing directly eliminates guesswork entirely.
Before measuring, you’ve got options: sift cocoa powder to aerate it, or weigh it as-is for denser results.
Either approach works, provided you’re consistent. Dutch-processed and natural cocoa powders carry different densities, so don’t assume interchangeability. Document your chosen method for reproducible batches.
This disciplined approach gives you complete control over your final product’s depth and richness.
Combining Dry Ingredients
Once you’ve measured your cocoa powder with precision, it’s time to gather and combine all your dry ingredients into a unified mixture.
In a medium bowl, whisk together your flour, cocoa powder, baking soda, and salt. This whisking action aerates the ingredients and distributes the leavening agent evenly throughout.
For allergen separation, use dedicated measuring tools if cross-contamination is a concern. Store your dry mixture in an airtight container to maintain humidity control and prevent moisture absorption that’d compromise texture.
Don’t skip the whisking step—it’s essential for achieving consistent brownie density. Properly combined dry ingredients guarantee even rising and prevent dense pockets in your final product.
Your freedom to create excellent brownies depends on this foundational technique.
Mixing Your Batter
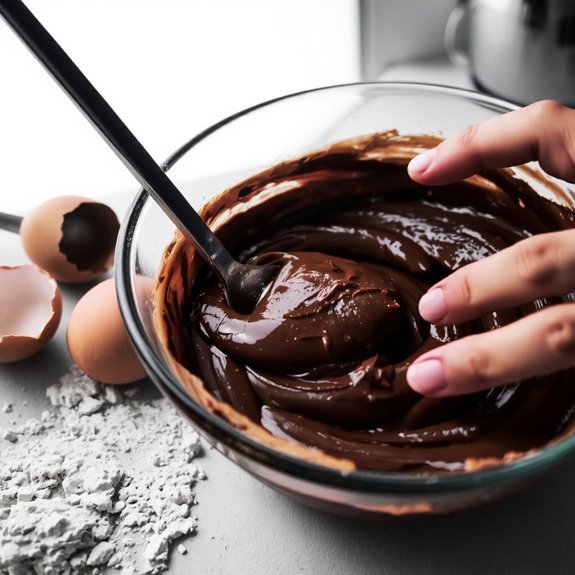
Combine your dry ingredients—flour, cocoa powder, baking soda, and salt—in a medium bowl, whisking them together until they’re evenly distributed. In a separate vessel, cream your butter and sugar, then incorporate eggs one at a time, maintaining a consistent stirring rhythm to achieve proper emulsification.
| Stage | Temperature | Action |
|---|---|---|
| Wet Mix | Room temp | Blend butter, sugar, eggs |
| Dry Combine | Ambient | Whisk flour, cocoa, leavening |
| Integration | Cool | Fold ingredients together |
Alternate adding your dry mixture and vanilla extract to the wet ingredients using a folding technique—this prevents overdevelopment of gluten and preserves your batter’s tender crumb structure. Work methodically, combining until just incorporated. You’re free to customize cocoa intensity or add chocolate chunks at this stage.
Preparing Your Baking Pan
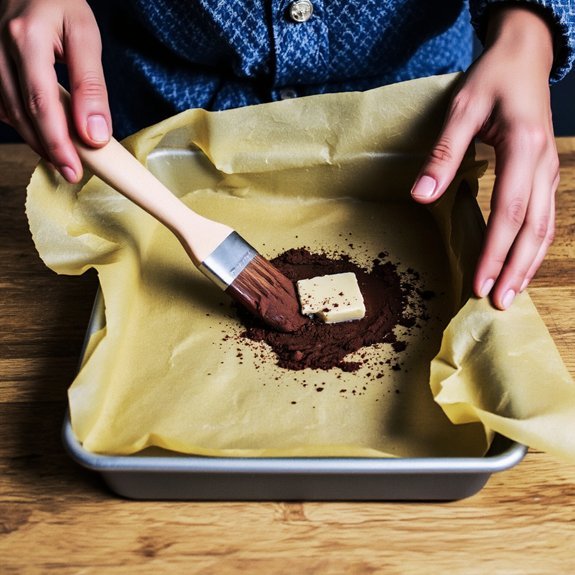
Before you pour your batter, you’ll want to prepare an 8×8-inch or 9×9-inch square baking pan with either parchment paper or a thin layer of nonstick cooking spray, ensuring complete coverage of the bottom and sides to facilitate easy removal post-baking.
For parchment lining, cut a sheet slightly larger than your pan’s dimensions, pressing it firmly into corners to eliminate air pockets.
This method guarantees clean edges and effortless extraction.
Alternatively, apply nonstick spray in thin, even coats, using a pastry brush for precision coverage.
Pan sizing matters notably—these standard dimensions promote uniform heat distribution and ideal baking times.
Undersized pans risk overflow, while oversized pans produce thin brownies with extended baking periods.
Verify your pan’s interior measurements before proceeding.
Your preparation choices directly influence brownie texture and removal ease, making this step foundational to your baking success.
Baking for Perfect Results
After you’ve poured your batter into the prepared pan, preheat your oven to 350°F (175°C) and bake for 25–30 minutes, depending on your desired fudginess and pan thickness.
For ideal results, verify your oven calibration using an independent thermometer, as most domestic ovens deviate 10–25°F from their displayed temperature. This precision directly impacts brownie texture and doneness consistency.
Verify oven calibration with an independent thermometer, as most domestic ovens deviate 10–25°F, directly impacting brownie texture and consistency.
If you’re baking at high altitude, you’ll need altitude adjustments—reduce baking powder by 25%, increase oven temperature by 15–25°F, and extend baking time by 5–10 minutes.
High elevation lowers atmospheric pressure, causing faster moisture evaporation and uneven rising.
Check doneness at the minimum time by inserting a toothpick near the center. It should emerge with moist crumbs, not wet batter.
Remove brownies while slightly underbaked; carryover heat continues cooking as they cool.
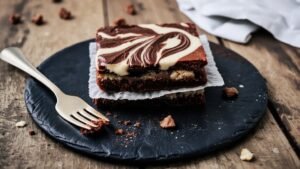
Cooling and Serving Your Brownies
Once you’ve removed the brownies from the oven, let them cool in the pan for 10–15 minutes at room temperature before turning them out onto a wire rack.
This essential cooling technique prevents structural collapse and allows residual heat to distribute evenly throughout the crumb matrix.
After 30–45 minutes on the rack, you’ll achieve ideal texture—firm exterior with fudgy interior.
For presentation ideas, consider these options: dust with powdered sugar, drizzle with ganache, or top with sea salt flakes for contrast. Cut brownies into uniform squares using a hot, wet knife between cuts to guarantee clean edges.
Store cooled brownies in an airtight container at room temperature for three days, or freeze for extended preservation.
Proper cooling and presentation techniques elevate your homemade brownies from ordinary to exceptional.
Frequently Asked Questions
Can I Substitute Ingredients Like Eggs or Butter With Vegan Alternatives?
You’ll absolutely achieve excellent results substituting conventional ingredients. Flax eggs (1 tablespoon ground flaxseed plus 3 tablespoons water per egg) provide superior binding and moisture retention.
Aquafaba swaps—3 tablespoons per egg—create remarkable lift and crumb structure. Replace butter with coconut oil or vegan margarine at 1:1 ratios. These modifications won’t compromise your brownies’ density or chocolate intensity. Your liberated baking technique maintains professional-grade outcomes while respecting your dietary autonomy and values.
How Do I Store Brownies to Keep Them Fresh for Several Days?
You’ll maximize brownie freshness by storing them in airtight containers at room temperature for up to four days.
Control humidity by placing parchment paper between layers, preventing moisture absorption that compromises texture.
For extended preservation, you can freeze brownies for three months in vacuum-sealed bags.
Maintain precise temperature conditions—avoid fluctuations between hot and cold environments.
This methodology preserves structural integrity and prevents staleness, giving you complete control over your baked goods’ longevity.
What’s the Difference Between Fudgy, Chewy, and Cake-Like Brownie Textures?
You’ll achieve fudgy brownies through higher fat ratios and underbaking, creating dense crumb structures with concentrated moisture distribution.
Chewy variants require moderate baking times and egg ratios that establish chewy proteins without excessive air incorporation.
Cake-like brownies demand you increase leavening agents and reduce fat content, producing open crumb structures that distribute moisture evenly throughout, yielding lighter, airier textures you’ll recognize by their rise and tender crumb.
Can I Add Mix-Ins Like Nuts, Chocolate Chips, or Swirls?
You’ll absolutely enhance your brownies with mix-ins.
Fold nuts or chocolate chips into your batter before baking—add them during the final mixing stage to maintain structural integrity.
For swirl techniques, pour your batter into the pan, then drizzle contrasting elements like peanut butter or caramel across the surface.
Use a knife to create marbling patterns.
Strategic flavor pairings—espresso with dark chocolate, sea salt with caramel, or cinnamon with nuts—elevate complexity without compromising your desired texture.
Why Did My Brownies Turn Out Dry or Overbaked?
You’ve likely overbaked your brownies due to inaccurate oven calibration or improper pan size selection.
Invest in an oven thermometer to verify actual temperature versus your dial’s reading. Use standard 8×8-inch or 9×9-inch pans; larger pans distribute heat unevenly, causing overdrying.
Remove brownies when a toothpick inserted near center shows slight moisture—they’ll continue cooking via carryover heat. Don’t rely solely on time; internal temperature should reach 200-205°F maximum for ideal texture.


Leave a Comment