Key Takeaways
- Beat eggs and sugar together until thick and voluminous to incorporate air for a light, airy crumb structure.
- Fold dry ingredients gently using a spatula to combine without deflating the incorporated air bubbles in batter.
- Preheat oven to 350°F and bake for 25–30 minutes until golden; test doneness with a toothpick.
- Cool cakes in pans for 10 minutes, then transfer to wire racks to cool completely before frosting.
- Use room-temperature eggs and softened butter creamed together for 3–5 minutes to achieve optimal cake texture and rise.
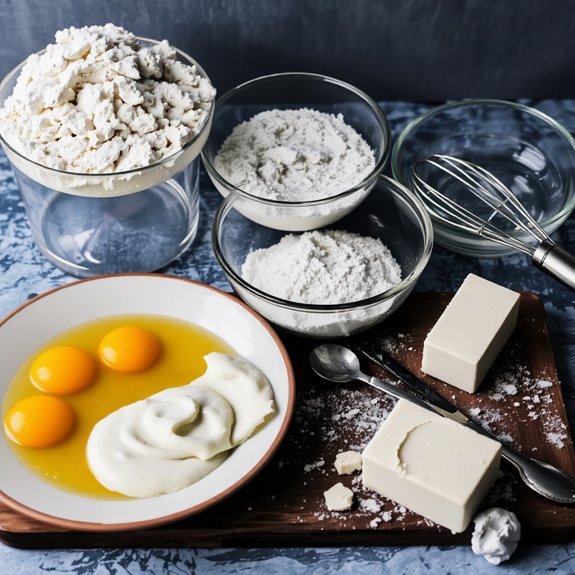
Gathering Your Ingredients

You’ll need to gather several essential ingredients before you start mixing: 225 grams of softened butter, 225 grams of caster sugar, 4 large eggs, 225 grams of self-raising flour, 2 teaspoons of baking powder, and 2 teaspoons of vanilla extract.
Before you begin, organize your pantry to locate these items efficiently.
This pantry organization saves you time and prevents forgotten ingredients mid-bake.
Check expiration dates on your baking powder and flour—stale leavening agents won’t rise properly.
For budget planning, purchase generic brands of sugar and flour; they’re chemically identical to premium alternatives.
Buy eggs from local sources when possible for superior quality at lower costs.
Make sure your butter’s softened to room temperature; cold butter won’t incorporate smoothly into your mixture, compromising your cake’s texture and rise.
Understanding the Role of Each Ingredient
You’ll rely on eggs to provide structure and lift through their proteins and air incorporation.
Flour creates your cake’s texture and crumb structure by developing gluten networks that trap moisture.
Fat and sugar work together to keep your sponge moist and tender while delivering sweetness and richness.
Eggs: Structure and Rise
Beating eggs incorporates air into the batter, creating the tiny bubbles that’ll expand during baking and give your sponge cake its characteristic light, airy crumb.
You’re relying on yolk chemistry and white denaturation to achieve this structure.
Egg whites denature when agitated, forming a stable foam that traps air molecules.
This protein network sets during baking, supporting your cake’s rise.
Yolks contribute fat and emulsifiers, which stabilize the foam and enrich the crumb’s texture.
You’ll achieve ideal volume by beating eggs separately or together, depending on your recipe.
Room-temperature eggs whip more efficiently than cold ones, incorporating air faster.
Avoid any yolk contact with whites—even trace fat undermines foam stability.
Master egg technique, and you’ll command superior rise and structure in every bake.
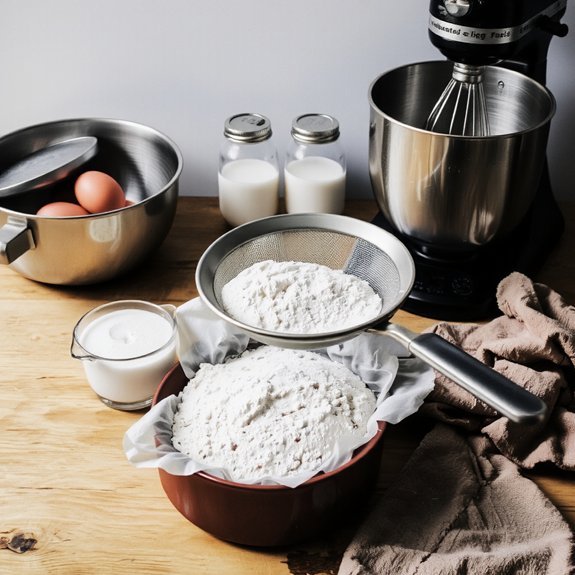
Flour: Texture and Crumb
While eggs provide structure through protein networks, flour establishes the cake’s foundational crumb by developing gluten—a matrix of proteins that traps moisture and stabilizes the air bubbles you’ve worked to incorporate.
You’ll want cake flour specifically; its lower protein content (7-9%) creates a tender crumb compared to all-purpose flour’s density.
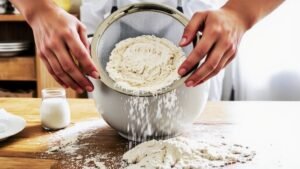
Sifting flour aerates it, reducing compaction and promoting even hydration.
The flour’s starch granules gelatinize during baking, absorbing water and setting the cake’s structure.
Aging effects matter too—aged flour contains oxidizing compounds that strengthen gluten bonds, improving rise and stability.
Enzyme activity within flour breaks down starches gradually, enhancing moisture retention post-baking.
You’ll notice aged flour produces superior volume and finer texture than fresh flour.
This enzymatic process continues throughout storage, making older flour superior for sponge cakes.
Fat and Sugar: Moisture and Sweetness
Incorporating fat and sugar transforms your batter from a structural foundation into a moist, flavorful cake. Fat selection determines your cake’s crumb structure—butter delivers richness, while oil produces tender, uniform crumbs. Sugar alternatives like erythritol or monk fruit let you control sweetness levels without compromising texture.
| Ingredient | Function | Impact |
|---|---|---|
| Butter | Creaming structure | Rich flavor, firmer crumb |
| Oil | Moisture retention | Tender, moist texture |
| White sugar | Crystalline structure | Fine crumb, browning |
| Brown sugar | Hygroscopic moisture | Dense, chewy texture |
| Sugar alternatives | Sweetness control | Reduced calories, varied results |
You’ll cream these components together, incorporating air that leavens your cake. This process breaks down fat into small particles, distributing them evenly throughout. Proper fat selection and sugar ratios guarantee the moisture and sweetness balance you’re after—no compromise.
Preparing Your Baking Equipment
Before you start mixing ingredients, you’ll need to gather your essential baking equipment and prepare your cake tins properly.
Assemble your mixing bowls, measuring tools, electric mixer, and baking pans, then grease and line your tins to prevent sticking.
Proper preparation of your equipment now guarantees smooth baking and clean cake removal later.
Essential Equipment Checklist
You’ll need several key tools to bake a successful sponge cake: two 8-inch round cake pans, a mixing bowl, an electric mixer or whisk, measuring cups and spoons, a spatula, a sifter or fine-mesh strainer, parchment paper, and a wire cooling rack.
Before you start, inspect each item for damage.
Line your pans with parchment paper to prevent sticking.
Clean your mixing bowl thoroughly—any grease residue will compromise your batter.
For budget alternatives, you can substitute a whisk for an electric mixer or use a strainer instead of a sifter.
Establish a maintenance schedule by washing equipment immediately after use and storing it in a dry location.
This approach guarantees consistent results and extends your tools’ lifespan.
Preparing Your Cake Tins
Proper tin preparation directly impacts your cake’s texture and ease of removal.
You’ll want to choose between steel and aluminum tins—steel conducts heat more evenly, while aluminum heats faster.
Both work well; select based on your oven’s behavior.
Grease your tins thoroughly with butter or oil, reaching every corner and crevice.
For patterned tins with decorative designs, take extra care to coat all indentations so your cake releases cleanly.
Line the bottom with parchment paper, then grease again over the paper.
This dual-layer approach prevents sticking and guarantees your cake slides out intact.
If you’re using non-stick pans, you’ll still benefit from this preparation method.
Don’t skip this step—it’s your insurance policy against frustration and wasted batter.
Creaming Butter and Sugar
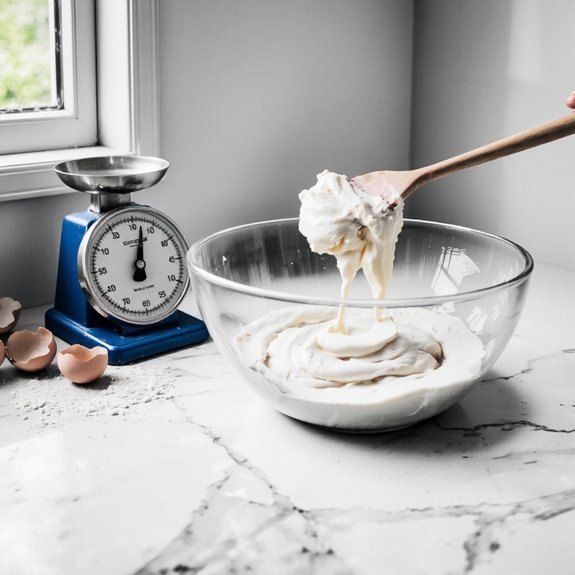
Creaming butter and sugar together is essential for incorporating air into your batter, which creates the light, fluffy texture characteristic of quality sponge cake. You’ll want to use room-temperature butter—this gives you complete control over the process. Start at medium mixing speed for about 3-5 minutes until you achieve the desired consistency.
| Stage | Time | Visual Indicators |
|---|---|---|
| Initial | 1 min | Butter breaks apart |
| Middle | 2-3 min | Pale yellow color |
| Final | 4-5 min | Light, fluffy peaks |
Watch for visual indicators: the mixture should transform from grainy and dense to light and voluminous. You’ve finished when it resembles whipped cream. Don’t rush this step—proper aeration determines your cake’s rise and crumb structure.
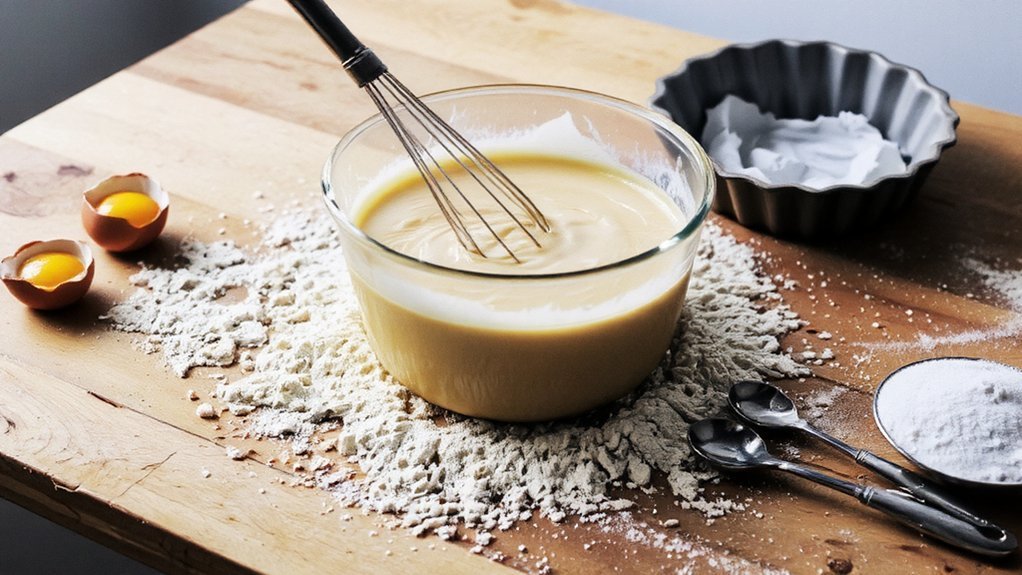
Incorporating Eggs Properly

Once you’ve achieved that light, fluffy butter-sugar mixture, it’s time to add your eggs—but doing so carefully is essential for maintaining the airiness you’ve just created. Begin by tempering eggs to room temperature; cold eggs won’t incorporate smoothly and’ll deflate your batter. Crack each egg individually into a separate bowl, checking for shell fragments and ensuring egg sanitation by discarding any with questionable odors or appearances.
Add eggs one at a time, beating thoroughly after each addition until fully incorporated. This gradual approach prevents the mixture from separating and keeps air bubbles intact. If your batter breaks, don’t panic—a tablespoon of flour helps stabilize it. Patient, methodical incorporation gives you the control needed for superior cake structure and texture.
Folding in Dry Ingredients
You’ll use the folding technique to gently combine your dry ingredients with the egg mixture without deflating the air you’ve incorporated.
To fold properly, you’ll use a spatula to cut down through the center of the bowl, sweep along the bottom, and turn the mixture over itself in one fluid motion. Avoid overmixing and stirring motions, as these common folding mistakes will collapse the foam structure that gives your sponge cake its light, airy crumb.
The Folding Technique
Gently incorporating your dry ingredients into the wet mixture requires a specific folding method that preserves the airiness you’ve worked to build.
Master this technique by controlling your motion speed and establishing a batter rhythm that prevents deflation.
- Use a rubber spatula to cut vertically through the batter’s center, scraping the bowl’s bottom
- Rotate the bowl a quarter turn while lifting the spatula, folding the mixture over itself
- Repeat this cutting-and-rotating cycle, gradually incorporating dry ingredients without overmixing
Your wrist drives this motion—firm yet fluid.
Work deliberately, maintaining consistent speed throughout.
You’ll recognize the batter rhythm when dry streaks disappear and your batter remains light.
Stop immediately; continuing beyond this point collapses your foam structure.
This disciplined approach delivers the tender crumb you’re after, giving you the freedom to bake with confidence.
Common Folding Mistakes
Even with the best intentions, bakers commonly sabotage their sponge cakes during the folding stage by abandoning the deliberate, controlled motions that protect the batter’s structure. You’ll destroy your cake if you rush through uneven strokes, which create pockets of unmixed dry ingredients and deflate surrounding bubbles inconsistently.
Speed control matters enormously—you’re not stirring soup. Work methodically from bottom to top, using deliberate, uniform motions that incorporate flour without aggressive mixing.
Many bakers overfold, continuing long after dry ingredients disappear, which collapses air pockets you’ve worked to preserve. Don’t use circular motions or aggressive downward pressure.
Instead, employ smooth, controlled folding that respects your batter’s delicate structure. Master this restraint, and you’ll achieve the light, tender crumb that defines exceptional sponge cakes.
Pouring and Filling Your Pans
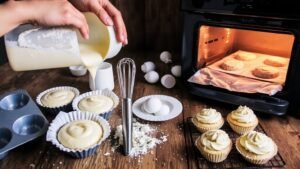
Divide your batter equally between the prepared pans, filling each one about two-thirds full to allow for rise during baking.
Control your pouring height at approximately six inches above each pan to minimize air incorporation and assure even distribution.
Adjust your pour speed to a steady, moderate flow that prevents splashing while maintaining consistent thickness across the pan’s surface.
Follow these critical steps for ideal results:
- Position your pouring vessel directly over the pan’s center, maintaining that six-inch height throughout
- Pour in one continuous motion, rotating the pan slightly to distribute batter uniformly
- Tap each filled pan firmly on your work surface twice to release trapped air bubbles
This technique guarantees level, evenly-baked layers that give you total control over your cake’s foundation.
Baking at the Right Temperature
Once you’ve poured your batter, you’ll need to preheat your oven to 350°F (175°C) and make sure it reaches this temperature before placing your pans inside. Proper oven calibration is essential—use an oven thermometer to verify accuracy, as many ovens run hot or cold. This precision guarantees your sponge cake rises evenly without burning.
Position your pans on the middle rack for ideal heat distribution. Avoid overcrowding the oven, which restricts airflow and creates uneven baking. Don’t open the door during the first 20 minutes; temperature fluctuations collapse your cake’s structure.
Bake for 25-30 minutes until a toothpick inserted in the center emerges clean. The top should be golden and spring back when lightly touched. Accurate temperature management separates mediocre cakes from perfectly baked ones.
Testing for Doneness
How can you tell when your sponge cake’s actually done baking? You’ve got reliable methods to verify completion without guessing.
The Toothpick Test remains your most dependable indicator.
Insert a toothpick into the cake’s center—if it emerges clean or with just a few moist crumbs, you’re done. Wet batter means more time’s needed.
Check these three critical signs:
- The cake’s surface transforms from wet and shiny to matte and set
- Edges begin pulling away slightly from pan sides
- The sponge demonstrates Spring Back—when you gently press the surface, it rebounds immediately rather than leaving an indentation
Temperature verification matters too.
Your cake’s internal temperature should reach 200-210°F when measured at the center with an instant-read thermometer.
Remove your cake promptly once done. Overbaking dries out the crumb structure, compromising your final product’s quality and texture.
Cooling and Storing Your Cake
Proper cooling directly affects your cake’s final texture and structure, so you’ll want to follow this process carefully.
Remove your cake from the oven and let it rest in its pan for ten minutes.
This prevents collapse and cracking.
Transfer your cake to a wire rack placement that allows air circulation underneath.
This essential step prevents moisture from pooling on the bottom, which creates a soggy base.
Cool completely at room temperature—typically one to two hours.
Humidity control matters substantially; avoid cooling in steamy kitchens.
Once cooled, wrap your cake tightly in plastic wrap and store it in an airtight container.
Your cake stays fresh for three days at room temperature, or up to one week refrigerated.
For extended storage, freeze it for three months, wrapped securely.
Frequently Asked Questions
Can I Substitute All-Purpose Flour With Self-Rising Flour in Sponge Cake Recipes?
You can substitute all-purpose flour with self-rising flour, but you’ll need to make critical leavening adjustments. Self-rising flour already contains baking powder and salt, so you must eliminate these from your recipe to prevent over-leavening.
Additionally, self-rising flour has different gluten content ratios than all-purpose flour, which affects your cake’s structure and crumb density. Reduce the total flour amount by about 1-2 tablespoons per cup to compensate for added ingredients.
Why Does My Sponge Cake Sink in the Middle After Baking?
Your sponge cake sinks because you’re likely dealing with an undercooked center or excessive moisture in your batter.
You’ve probably overmixed your ingredients, incorporating too much air that collapses during cooling.
Check your oven temperature with a reliable thermometer—many home ovens run cold. Reduce mixing time, don’t open the oven door prematurely, and make sure you’re using the correct flour-to-liquid ratio. Test doneness with a toothpick before removing your cake.
Can I Make Sponge Cake Without Eggs Using Substitutes?
Yes, you can absolutely make sponge cake without eggs.
You’ll find two reliable substitutes that work brilliantly.
Aquafaba whipping—that’s the liquid from canned chickpeas—creates an airy structure when you whip it thoroughly, mimicking eggs’ binding properties.
Alternatively, a flaxseed egg, made by mixing ground flaxseed with water, provides moisture and binding.
Both methods demand you increase your leavening agents slightly to compensate for reduced lift, ensuring you achieve that coveted light, fluffy crumb you’re after.
How Do I Prevent My Cake From Drying Out During Storage?
You’ll prevent drying by maintaining proper humidity control and using airtight packaging.
Wrap your cooled sponge cake tightly in plastic wrap, then place it in an airtight container.
Store it at room temperature away from direct sunlight and heat sources.
You can also insert a slice of bread in the container—it’ll absorb excess moisture while keeping your cake tender.
These methods preserve your cake’s moisture content effectively for several days.
What’s the Difference Between Sponge Cake and Regular Vanilla Cake?
You’ll find sponge cake relies on whipped eggs and air incorporation, creating an ultra-light crumb texture without chemical leaveners.
Regular vanilla cake contains considerably higher fat content from butter or oil, yielding denser, moister results.
Sponge cake’s minimal fat makes it airier but more prone to drying.
You’re choosing between sponge’s delicate structure and vanilla’s rich, sturdy crumb—each serves distinct baking purposes based on your desired outcome.


Leave a Comment