Key Takeaways
- Use the 1:1:1:1 ratio (butter : sugar : eggs : flour by weight) to scale any batch size consistently.
- Cream softened butter and sugar until pale and fluffy for 3–5 minutes to trap air pockets.
- Preheat oven to 325°F on lower-middle rack; bake 55–70 minutes until golden and center reaches 210°F.
- Alternate dry and wet ingredients gradually, beginning and ending with flour to avoid overmixing the batter.
- Cool in pan for 15 minutes, then transfer to wire rack for complete cooling before serving.
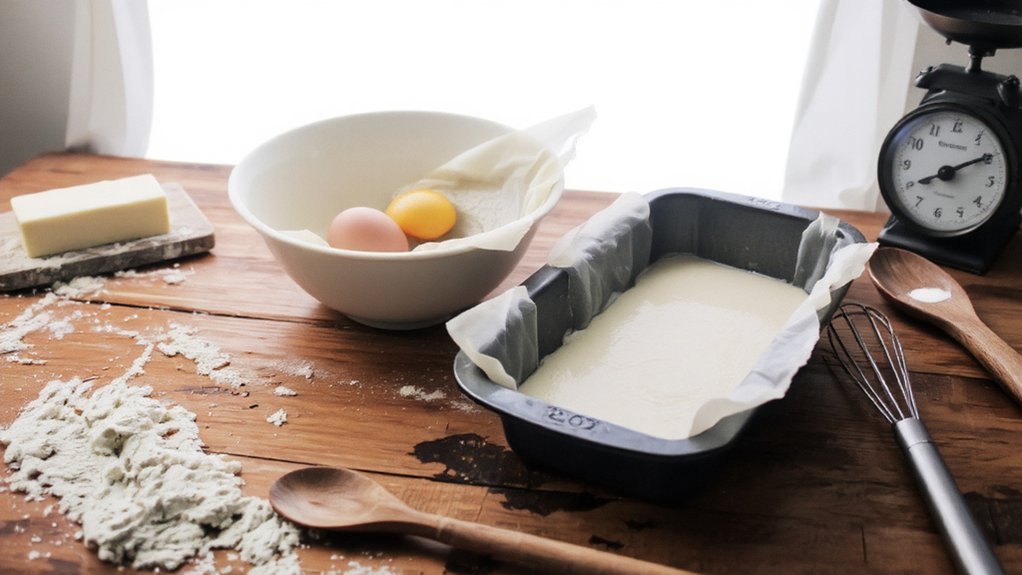
Gathering Your Ingredients
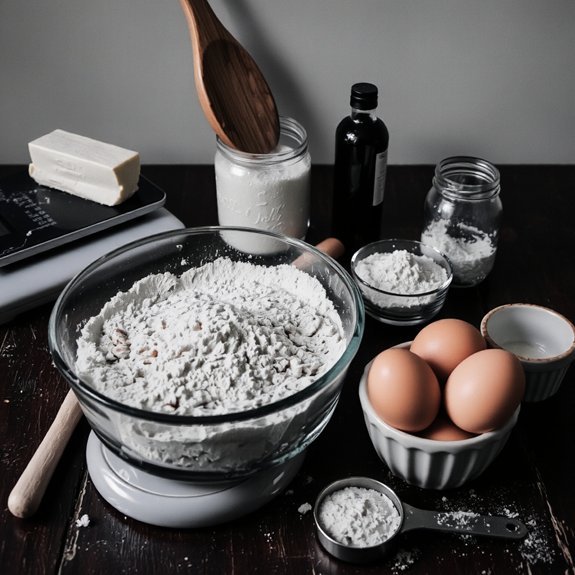
Before you begin mixing, you’ll need to assemble precise measurements of all-purpose flour (2 cups), unsalted butter (1 cup, softened to room temperature), granulated sugar (2 cups), large eggs (4, room temperature), vanilla extract (1½ teaspoons), baking powder (½ teaspoon), and salt (¼ teaspoon).
Use your shopping checklist to verify you’ve gathered everything before starting.
Room temperature ingredients are essential—they’ll blend uniformly and create ideal cake texture.
If you’re missing ingredients, know your pantry substitutions: you can replace unsalted butter with salted butter while reducing salt to ⅛ teaspoon, or substitute vanilla extract with almond extract for variation.
Measure flour by spooning it into your measuring cup, then leveling with a knife for accuracy.
Precision here determines your cake’s structure and crumb.
Avoid scooping directly from the bag, as this compacts flour and throws off measurements, compromising your results.
2. Understanding the Traditional Pound Cake Ratio

Because pound cake’s name derives directly from its original formula, you’ll find that mastering this fundamental ratio—one pound each of butter, sugar, eggs, and flour—gives you the foundation for consistent, reliable results.
This 1:1:1:1 proportion emerged from historical origins in eighteenth-century European baking, when standardized weights weren’t yet available.
Understanding this ratio liberates you from dependency on precise measurements; you can use any weight unit consistently.
For recipe scaling, simply multiply or divide all ingredients proportionally.
Double the ratio for a larger cake; halve it for individual portions.
This mathematical precision eliminates guesswork.
The ratio’s beauty lies in its reliability—whether you’re baking at sea level or high altitude, the proportions remain your constant guide, ensuring professional results every time.
3. Preparing Your Pan and Oven

Now that you’ve mastered the foundational ratio, you’ll want to prepare your equipment to guarantee that ratio translates into a perfectly baked cake.
Your setup determines success.
Here’s what you need:
- Grease methods: Use butter or cooking spray to coat your pan thoroughly, reaching every corner and crevice. Don’t skip this step—it’s your insurance against sticking.
- Rack placement: Position your oven rack in the lower-middle section before preheating. This placement promotes even heat distribution and prevents the top from browning too quickly.
- Temperature calibration: Preheat your oven to 325°F for a full 15 minutes minimum. Use an oven thermometer for accuracy.
You’re not bound by guesswork here.
Precise preparation eliminates variables, giving you complete control over your baking outcome.
Take charge of these fundamentals now, and you’ll earn the pound cake you deserve.
4. Creaming Butter and Sugar to Perfection

You’ll cream your softened butter and sugar together until the mixture reaches a pale, fluffy consistency—typically 3–5 minutes—because this process incorporates air that’s essential for your cake’s rise and crumb structure.
Temperature’s critical here; if your butter’s too cold, you won’t achieve proper aeration, and if it’s too warm, you’ll lose the air bubbles you’ve worked to create. The right texture should resemble wet sand or frosting, signaling that you’ve trapped enough air pockets to support the cake’s lift during baking.
Why Temperature Matters
When butter and sugar are creamed together at the proper temperature—around 65–70°F for the butter— you’re creating thousands of tiny air pockets that’ll give your pound cake its characteristic tender crumb.
Temperature control directly impacts your results through thermal gradients that determine how efficiently air incorporates into the mixture.
- Cold butter resists incorporation, requiring excessive mixing that overdevelops gluten
- Warm butter won’t hold air pockets, collapsing during baking
- Ideal temperature guarantees uniform creaming in 3–5 minutes
You’re not just mixing; you’re engineering leavening activation without chemical agents.
These air pockets expand during baking, creating lift and structure.
Precision here eliminates the need for baking powder, delivering the dense, moist texture pound cake demands.
Master temperature control, and you’ll achieve professional-quality results consistently.
Achieving the Right Texture
Because proper creaming determines whether your pound cake’ll have that signature tender crumb or a dense, gummy interior, you’ve got to understand the mechanics at work.
When you beat softened butter with sugar, you’re incorporating air pockets that create lift and structure.
This process takes approximately three to five minutes—don’t rush it.
The mixture should transform from grainy to pale and fluffy, roughly doubling in volume.
You’re fundamentally building your cake’s foundation here.
Those trapped air bubbles expand during baking, developing your crumb structure.
The sugar crystals cut into butter, creating friction that aerates the batter.
This scientific precision matters because inadequate creaming won’t achieve proper volume, resulting in a cake that absorbs excess syrup soak without maintaining structural integrity.
Your freedom to customize flavors starts with mastering this fundamental technique.
5. Incorporating Eggs and Dry Ingredients
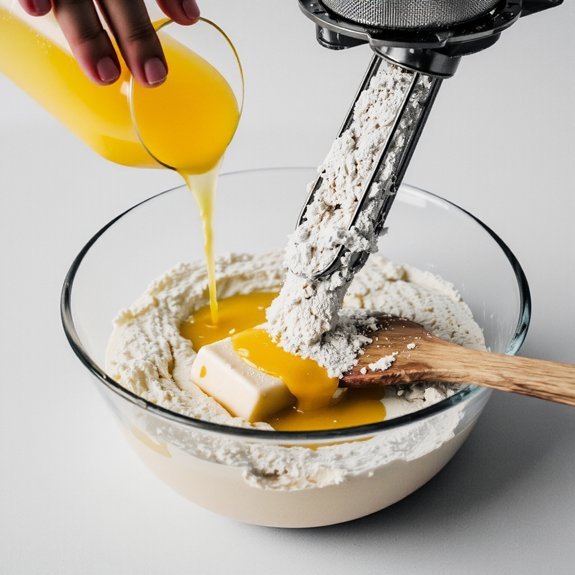
You’ll want to temper your eggs by slowly adding them to the creamed butter and sugar mixture while beating constantly, ensuring each addition fully incorporates before adding the next. This technique prevents the batter from breaking and maintains the emulsion you’ve carefully built.
Alternate adding your dry ingredients with the remaining wet components, beginning and ending with the dry mixture to keep your batter stable and avoid overmixing.
Tempering Eggs Properly
To prevent the eggs from scrambling when you introduce them to the warm batter, you’ll need to temper them gradually by adding small amounts of the mixture to the beaten eggs while whisking constantly. This temperature gradient prevents thermal shock that’d ruin your cake’s structure.
- Add batter in quarter-cup increments to your eggs while maintaining vigorous, continuous whisking motion
- Monitor your mixture’s consistency—it should remain smooth and homogeneous throughout the gradual whisking process
- Stop tempering once your egg mixture reaches approximately 70°F, matching your remaining batter’s temperature
This technique guarantees even heat distribution without coagulating proteins prematurely.
Once tempered, fold this mixture into your remaining batter methodically.
Your independence from culinary mishaps depends on respecting these precise temperature protocols and refusing shortcuts.
Alternating Wet and Dry
Alternating your wet and dry components prevents overmixing, which’d develop gluten strands and compromise your cake’s tender crumb structure. This mixing rhythm demands precision—you’ll control hydration sequencing by adding ingredients in measured intervals.
| Step | Ingredient | Duration |
|---|---|---|
| 1 | Dry mixture | 30 seconds |
| 2 | Wet mixture | 20 seconds |
| 3 | Dry mixture | 30 seconds |
| 4 | Wet mixture | 20 seconds |
Begin with your dry ingredients, folding until barely combined. Add your tempered eggs and liquids in small batches, mixing just until incorporated. This alternating pattern guarantees even distribution without overdeveloping structure. You’ll achieve a batter that’s homogeneous yet maintains its delicate crumb potential. Each addition must fully incorporate before the next one enters, respecting the batter’s integrity and your cake’s final texture.
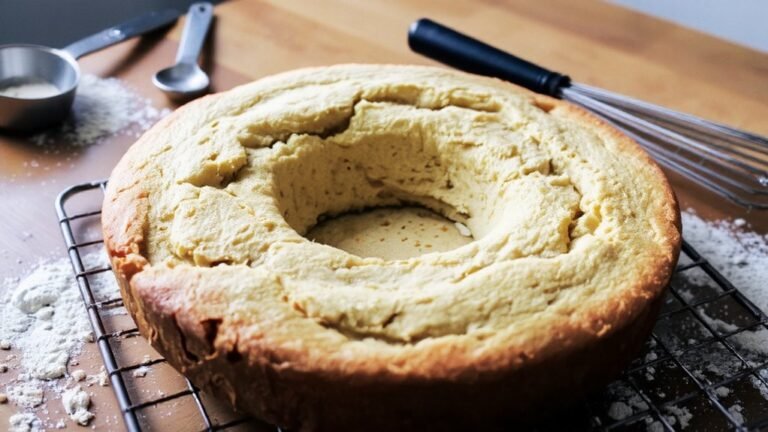
6. Baking and Testing for Doneness
Once your batter’s poured into the prepared pan, place it in your preheated 325°F oven for 55 to 70 minutes, depending on your pan’s size and your oven’s calibration.
Monitor your cake’s progress using these reliable indicators:
- A toothpick or cake tester inserted into the center emerges clean with no wet batter clinging to it
- The cake’s surface turns golden brown with a slight dome rising at the center
- The edges pull away slightly from the pan’s sides
Deploy probe thermometers for precision—your cake’s internal temperature should reach 210°F at its center.
Visual cues matter too: the top shouldn’t jiggle when you gently shake the pan.
Don’t overbake; this dries out your cake’s delicate crumb structure.
Remove it immediately when tests confirm doneness, then cool it in the pan for 15 minutes before turning it out.
7. Cooling and Serving Your Pound Cake
After you’ve removed your pound cake from the oven, you’ll want to resist the urge to slice into it immediately—patience during the cooling process is essential for preserving its tender crumb structure.
Let it cool in the pan for fifteen minutes, then turn it onto a wire rack for complete cooling, typically requiring two to three hours.
Once fully cooled, you’re free to customize your slice presentation. A serrated knife produces clean, uniform slices without crumbling.
Consider serving accompaniments like fresh berries, whipped cream, or a light glaze to enhance flavor without overwhelming the cake’s delicate texture.
Store your pound cake wrapped tightly at room temperature for up to five days, or freeze it for extended preservation.
This versatility makes it an excellent choice for any occasion.
Frequently Asked Questions
Can I Substitute Butter With Oil or Coconut Oil in Pound Cake?
You can substitute butter with oil or coconut oil, but you’ll experience significant texture differences and flavor impact.
Oil creates a denser, moister crumb since it doesn’t aerate like butter does when creamed. Coconut oil adds distinct flavor notes that alter the cake’s traditional taste profile.
You’ll lose the rich, buttery complexity pound cake’s known for. For best results, use a 1:1 ratio, though your cake won’t achieve that classic tender structure butter provides.
How Do I Prevent My Pound Cake From Sinking in the Middle?
You’ll prevent sinking by mastering Proper Mixing—cream your butter and sugar thoroughly until pale, then alternate dry ingredients with eggs to avoid deflating your batter.
Monitor your Oven Temperature religiously; bake at precisely 325°F to guarantee even, gradual rising.
Don’t open that oven door during baking.
You’re looking for a toothpick that comes out clean with just a few crumbs—no wet batter.
These techniques guarantee you won’t compromise your cake’s structural integrity.
What’s the Difference Between Pound Cake and Butter Cake?
You’ll find pound cake and butter cake differ primarily in their texture comparison and ingredient ratios.
Pound cake, originating from 18th-century Britain, traditionally uses equal weights of butter, eggs, sugar, and flour, creating a dense, moist crumb.
Butter cake incorporates less butter and often includes leavening agents, yielding a lighter, airier structure.
Understanding this distinction gives you freedom to choose recipes matching your desired outcome and texture preferences for any occasion.
Can I Freeze Pound Cake, and How Long Does It Last?
You can freeze pound cake for up to three months when you use proper freezer packaging. Wrap your cake tightly in plastic wrap, then aluminum foil, to prevent freezer burn and maintain quality.
When you’re ready to enjoy it, thaw your cake at room temperature for two to four hours, keeping the packaging intact during thawing. This method preserves moisture and flavor effectively.
Why Did My Pound Cake Turn Out Dry, and How Do I Fix It?
You’ve likely overmeasured your flour measurement or overbaked.
To fix it, brush your pound cake with simple syrup while it’s still warm—this restores moisture effectively.
For future bakes, you’ll want to weigh flour rather than scoop it, use room-temperature ingredients, and pull the cake from the oven when a toothpick shows just a few moist crumbs.
These adjustments guarantee you’ll reclaim that tender, luxurious crumb structure you’re after.


Leave a Comment