Key Takeaways
- Select medium to large russet potatoes with firm skin, wash thoroughly, and pat dry before baking.
- Pierce potatoes several times with a fork to allow steam escape and prevent skin splitting.
- Coat potatoes with oil and seasonings, then bake at 400°F for 45–60 minutes on center rack.
- Test doneness using fork test: fork should glide through flesh with initial resistance then complete ease.
- Avoid oven overcrowding and low temperatures, which cause soggy centers; maintain stable temperature throughout baking.
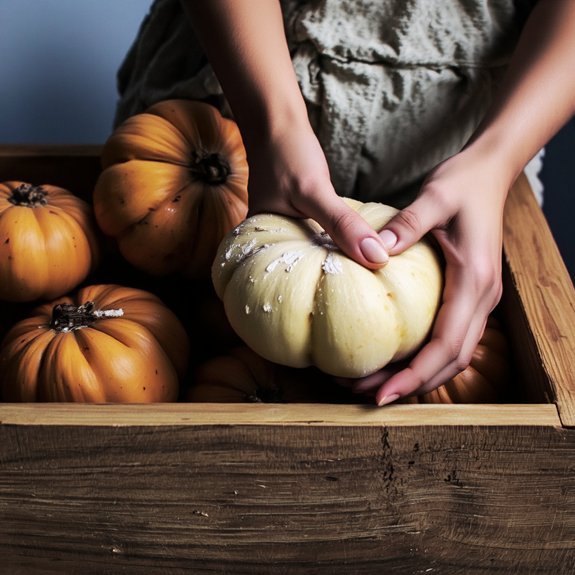
Selecting the Right Potatoes
What makes a potato ideal for baking?
You’ll want russet potatoes, which contain high starch content and low moisture.
This composition creates that fluffy, light interior you’re after.
Avoid waxy varieties like red potatoes or fingerlings, as they won’t achieve the desired texture.
When selecting, choose potatoes that are uniform in size so they bake evenly.
Inspect them for soft spots, sprouts, or blemishes—these indicate decay or improper storage longevity.
You need firm potatoes with unblemished skin.
Pick medium to large russets for best results.
Smaller potatoes may dry out; oversized ones require extended baking time.
Store your selections in a cool, dark place until you’re ready to bake.
Proper selection guarantees superior results and efficient cooking time.
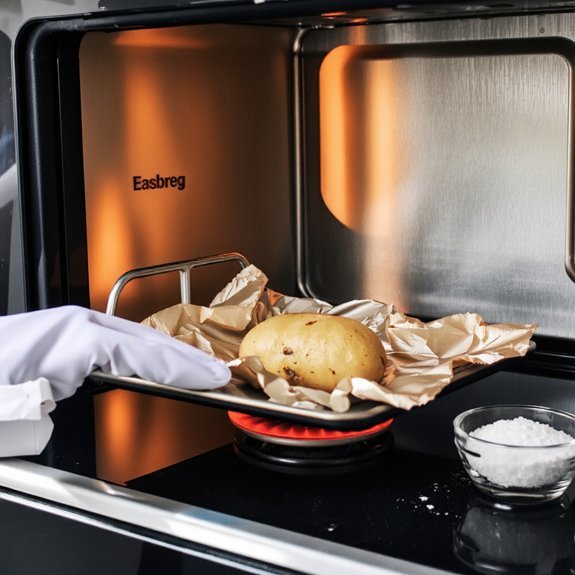
2. Preparing Your Potatoes
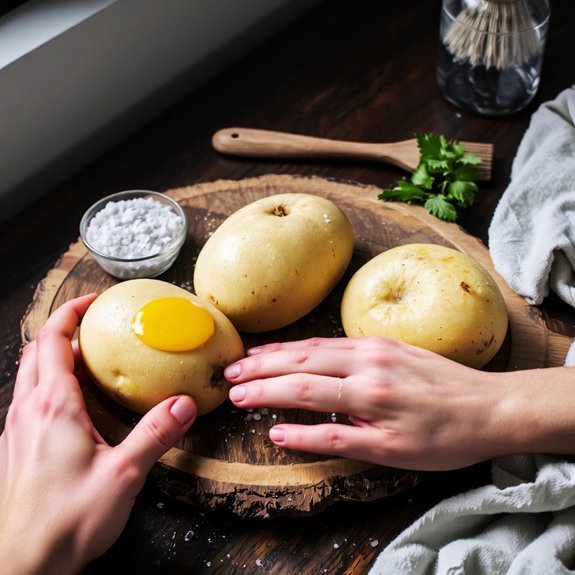
Thoroughly washing your russet potatoes under cool running water is essential before baking.
Use a vegetable brush to remove soil and debris completely.
Pat them dry with a clean towel to prevent excess moisture during cooking.
Next, examine your peeling methods.
You can bake potatoes with skin on for added nutrition and texture, or peel them beforehand if you prefer a smoother finish.
If peeling, use a sharp vegetable peeler for efficiency.
For even cooking, consider your slicing patterns.
Pierce whole potatoes several times with a fork to allow steam escape and prevent bursting.
If cutting potatoes, maintain consistent thickness throughout—roughly half-inch pieces work best.
This uniformity guarantees your potatoes bake at the same rate, delivering perfectly cooked results every time without guesswork.
3. Seasoning and Oil Application
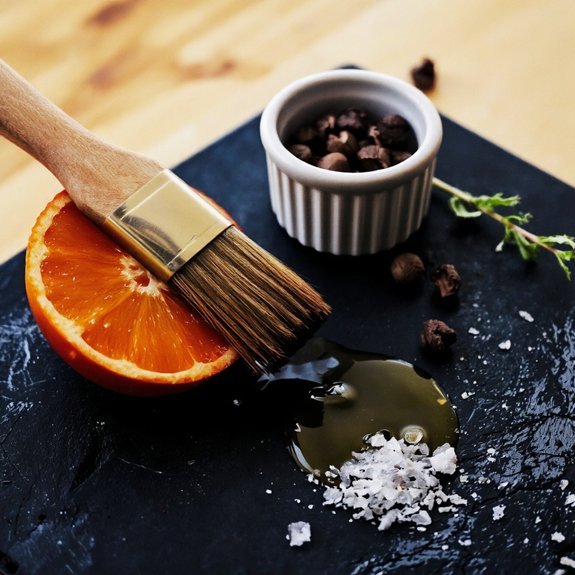
You’ll want to select an oil that complements your potato’s final flavor profile—olive oil offers a robust taste, while vegetable oil provides a neutral base for bolder seasonings.
Establish your seasoning ratios by combining coarse salt, cracked black pepper, and complementary herbs like rosemary or thyme at a 2:1:1 ratio, then adjust based on your preferences.
Coat your potato evenly with your chosen oil before applying the seasoning mixture, ensuring the spices adhere properly and distribute throughout the skin.
Choosing Your Oil Type
Before you apply oil to your potato, consider which type’ll work best for your desired outcome.
Different oils offer distinct advantages depending on your baking preferences and heat requirements.
- Olive oil – Lower smoke point (around 375°F), ideal for moderate temperatures; excellent shelf life and rich flavor
- Avocado oil – High smoke point (520°F), superior for crispy results; shorter shelf life than olive oil
- Vegetable oil – Neutral taste, reliable smoke point (400°F); longest shelf life for pantry storage
Select oils with smoke points matching your oven temperature to prevent degradation and off-flavors.
Check expiration dates since shelf life varies substantially.
High smoke point oils deliver crispier exteriors, while lower options provide subtle flavor enhancement.
Match your choice to your freedom of preference and desired texture outcomes.
Seasoning Combinations and Ratios
Once you’ve selected your oil, the next step involves combining it with seasonings to create a balanced coating that’ll enhance your potato’s flavor profile. You’ll want to establish proper salt ratios—typically one teaspoon per two tablespoons of oil—ensuring even distribution without oversalting. Citrus balances acidity beautifully; incorporate lemon or lime juice at a 1:4 ratio with oil.
| Seasoning | Ratio | Effect |
|---|---|---|
| Salt | 1 tsp per 2 tbsp oil | Enhances natural flavors |
| Garlic powder | ½ tsp | Adds depth |
| Citrus juice | ¼ cup per oil | Brightens profile |
Mix your oil-seasoning blend thoroughly before application. You’ll achieve superior flavor penetration when ingredients combine uniformly. Apply this mixture generously across your potato’s surface, ensuring complete coverage for consistent taste throughout your baked result.
4. Setting Up Your Oven
Proper oven preparation guarantees your potato bakes evenly and develops the desired texture.
You’ll want to take control of your baking environment from the start.
Begin by preheating your oven to 400°F, allowing at least 15 minutes for temperature stabilization.
Check your ventilation setup to confirm adequate airflow, preventing moisture buildup that compromises texture.
Verify all safety features function correctly before proceeding.
Prepare your oven rack positioning:
- Place racks in the center position for ideal heat circulation
- Clear the oven of any obstructions or debris
- Position racks so potatoes sit at least three inches from heating elements
Once preheated, your oven’s ready for baking.
This preparation step eliminates guesswork and delivers consistent results every time you bake potatoes.
You’re now positioned for success.
5. Baking Time and Temperature
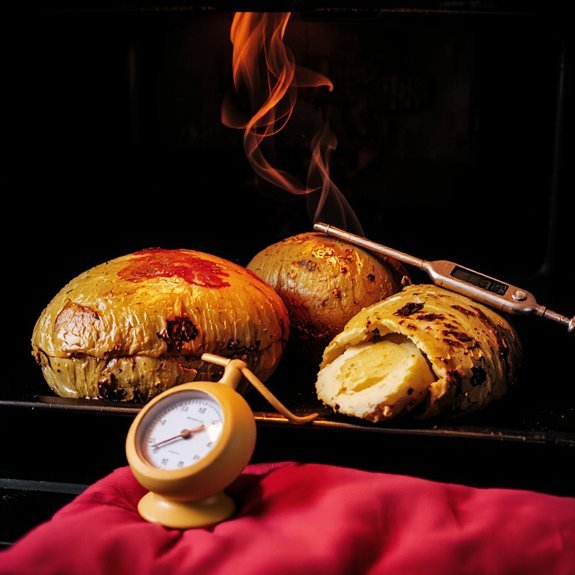
You’ll want to set your oven to 400°F for consistently excellent results.
Bake your potatoes for 45 to 60 minutes, depending on their size—a medium potato typically needs about 50 minutes, while larger ones may require the full hour.
You’ll know they’re done when a fork easily pierces the flesh and the skin yields slightly to pressure.
Optimal Temperature Settings
The ideal temperature for baking potatoes is 400°F (204°C), which balances cooking speed with even heat penetration. This temperature setting optimizes your results without compromising quality.
At 400°F, you’ll achieve:
- Surface caramelization that creates a golden, crispy exterior while maintaining moisture inside
- Starch gelatinization throughout the potato’s interior, ensuring a fluffy, tender texture
- Consistent cooking in approximately 50-60 minutes for medium-sized potatoes
You’re free to adjust slightly based on your preferences. If you prefer crispier skin, increase to 425°F, reducing time to 45 minutes. For softer exteriors, lower to 375°F and extend cooking to 70 minutes.
Always pierce your potatoes with a fork before baking to allow steam escape and prevent bursting. Monitor doneness by inserting a knife—it should slide through easily when ready.
Duration for Perfect Results
Once you’ve set your oven to 400°F, timing becomes your most critical variable for achieving perfectly baked potatoes.
Most medium-sized potatoes require 50-60 minutes of baking time.
You’ll know they’re done when a fork pierces the flesh effortlessly and the skin yields slightly under pressure.
Don’t remove your potatoes immediately upon completion.
Allow for carryover cooking by letting them rest in the oven for 5-10 minutes after turning it off.
This passive heat continues cooking the interior, ensuring even texture throughout.
Once removed, observe a brief cooling time of 2-3 minutes before serving.
This prevents burns and allows the starches to set properly.
You’re free to adjust these timeframes based on your potato size—larger specimens may need an additional 10-15 minutes.
Monitor closely for consistent results.
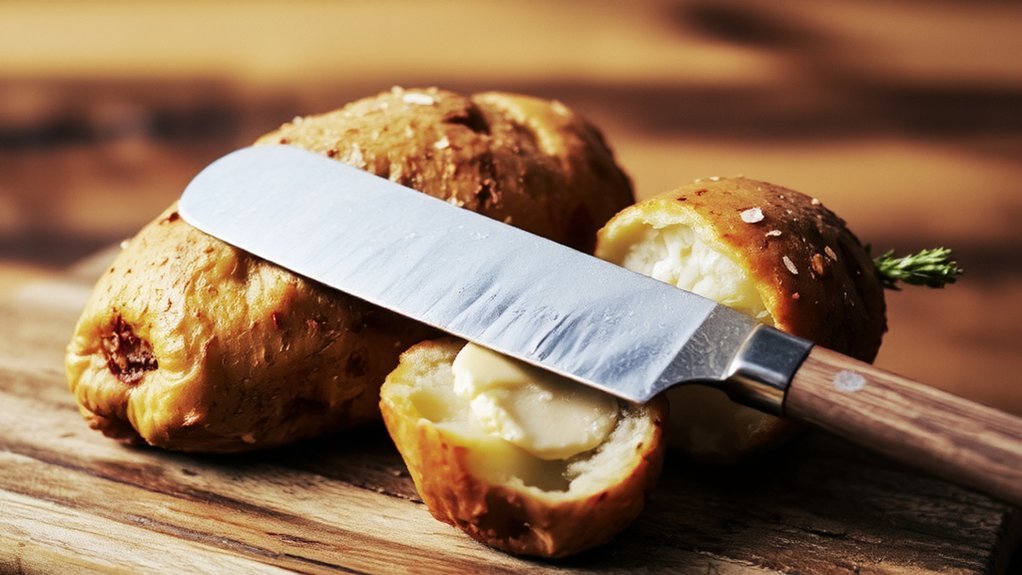
6. Testing for Doneness
After baking for 45 to 60 minutes, check your potato’s doneness by piercing it with a fork or skewer—it should slide through the flesh with minimal resistance.
After 45 to 60 minutes of baking, pierce your potato with a fork—it should glide through effortlessly when fully cooked.
You’ve got two reliable methods to verify completion:
- Fork test: Insert a fork into the thickest part; it’ll glide smoothly when fully cooked
- Squeeze method: Using an oven mitt, gently squeeze the potato—it should yield slightly to pressure without collapsing
- Visual inspection: The skin may wrinkle slightly, indicating interior tenderness
Don’t rely solely on appearance since skin characteristics vary by potato type and size.
The fork test remains your most dependable indicator.
A properly baked potato resists initial piercing, then surrenders completely.
This balance confirms the starch’s full gelatinization.
You’ll develop instinctive timing with practice, but these techniques guarantee consistent results every time you bake.
7. Troubleshooting Common Problems
Even with proper technique, you’ll occasionally encounter issues that prevent perfectly baked potatoes. If you’re experiencing soggy centers, you’re likely overcrowding your oven or baking at too low a temperature. Provide adequate airflow between potatoes and maintain your oven at 400°F minimum.
Split skins indicate excessive moisture escaping too rapidly. This happens when you skip pricking or expose potatoes to temperature fluctuations. Always pierce your potatoes several times before baking, and avoid opening the oven door unnecessarily during cooking. If skins split despite precautions, reduce your oven temperature by 25°F and extend baking time accordingly.
Underbaked potatoes result from insufficient time or temperature—simply return them to the oven. These straightforward adjustments eliminate most common baking problems.
Frequently Asked Questions
Can I Bake Potatoes in a Microwave Instead of a Traditional Oven?
Yes, you can microwave potatoes for faster results. Pierce your potato several times, place it on a microwave-safe plate, and cook on high for 5-10 minutes, depending on size.
You’ll notice the microwave texture differs from traditional baking—it’s softer and less crispy. The cooking time dramatically reduces compared to oven baking.
Rotate halfway through for even heating. You’ve got the freedom to choose whichever method fits your schedule and preference.
How Long Do Baked Potatoes Stay Fresh in the Refrigerator?
You’ll get three to five days storage lifespan when you refrigerate baked potatoes in an airtight container.
You’re free to extend this by freezing them up to three months. Watch for spoilage indicators—soft spots, mold, or off odors—before consuming.
Store them promptly after cooling to prevent bacterial growth. Don’t leave them sitting at room temperature longer than two hours, or you’ll compromise safety and quality considerably.
What Are the Best Toppings for a Baked Potato?
You’ll elevate your baked potato by choosing loaded classics like sour cream, bacon, cheddar, and chives, or exploring global twists with Greek yogurt and za’atar, or Mexican-inspired cotija and cilantro.
Layer your toppings strategically—start with creamy bases, add proteins, then finish with fresh herbs and crispy textures.
You’ve got complete freedom to customize based on your preferences and dietary needs.
Can I Bake Potatoes Ahead of Time for Meal Prep?
Yes, you can absolutely batch roast potatoes for meal prep.
Bake them at 400°F until tender, then cool completely before storing in airtight containers for up to five days.
For portioning tips, cut larger potatoes into uniform chunks to guarantee even cooking and consistent serving sizes.
This approach gives you complete control over your weekly meals without sacrificing quality or taste.
Is It Necessary to Wrap Potatoes in Foil While Baking?
Wrapping isn’t necessary, though it’s optional based on your preference. You’ll achieve even cooking either way.
Unwrapped potatoes develop crispier skin texture and brown exterior. Foil-wrapped potatoes steam slightly, yielding softer skin.
You’re free to choose your method—both work effectively. Simply pierce unwrapped potatoes with a fork to prevent bursting. Bake at 400°F for 45-60 minutes until fork-tender. Your technique determines the final result.


Leave a Comment