Key Takeaways
- Mix 500g bread flour, 10g salt, 7g instant yeast, 300ml water, 10g sugar, and 15ml oil; knead until smooth and elastic dough forms.
- Bulk ferment dough at 75–78°F for 4–6 hours until volume increases 50–75%, then portion, pre-shape, and build surface tension through folding.
- Boil bagels 1–2 minutes per side in 212°F water with baking soda; boiling gelatinizes surface starch, creating chewy interior and sealed crust.
- Apply toppings while bagel surface remains moist after boiling, then bake in covered Dutch oven to control steam and develop final texture.
- Cool completely before wrapping individually in plastic wrap and parchment, then freeze in airtight bags for up to three months storage.
Ingredients You’ll Need
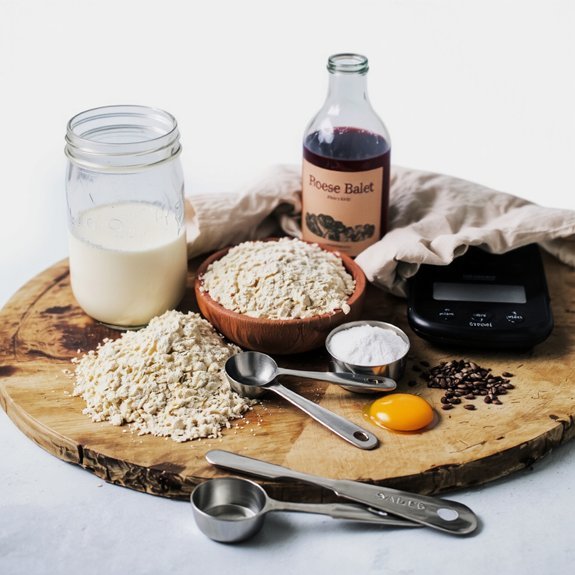
To create authentic bagels, you’ll need 500g bread flour, 10g salt, 7g instant yeast, 300ml water, 10g sugar, and 15ml vegetable oil.
Your flour selection profoundly impacts the final product’s texture and strength.
Bread flour, with its higher protein content, develops superior gluten networks compared to all-purpose alternatives.
This choice gives you the dense, chewy crumb that defines quality bagels.
Regarding yeast varieties, instant yeast activates quickly and reliably, making it ideal for your timeline.
You’re not bound by lengthy fermentation processes; this formula respects your schedule while delivering exceptional results.
Water temperature matters—aim for 20°C for ideal activation.
The sugar feeds your yeast, accelerating fermentation without overwhelming flavor profiles.
Salt controls gluten development and enhances taste complexity.
Vegetable oil contributes moisture and richness to your dough structure.
These precise measurements guarantee consistency across every batch you produce.
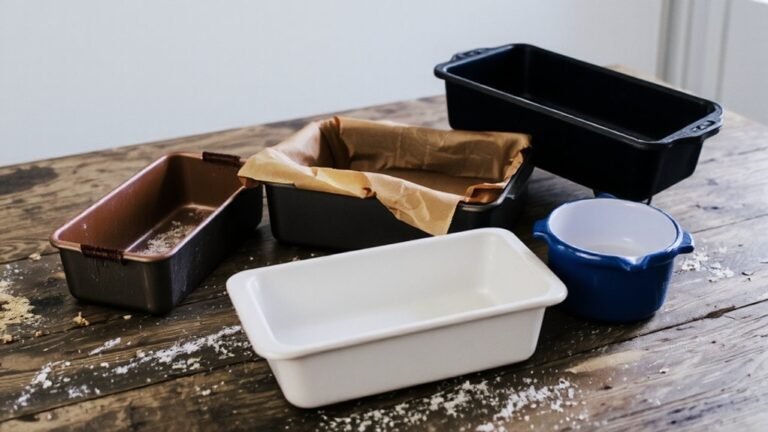
Equipment and Tools
With your ingredients assembled, having the right tools guarantees you’ll execute each step with precision and consistency.
The right tools guarantee precision and consistency in every bagel-making step you execute.
You’ll need a large mixing bowl, a stand mixer with dough hook attachment, and a kitchen scale for accurate measurements.
A Dutch oven or covered baking vessel maintains proper steam during baking, essential for achieving that characteristic bagel crust.
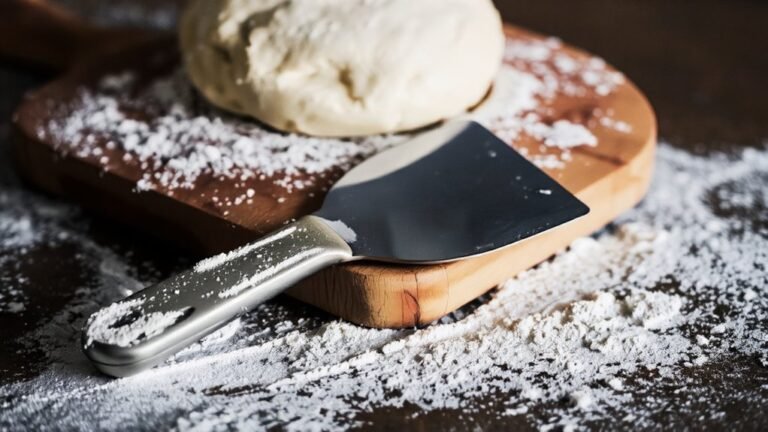
Invest in a slotted spoon for boiling and a bench scraper for handling dough.
Regular tool maintenance extends equipment lifespan—clean your mixer thoroughly after each use and dry components completely.
Calibration tips matter considerably: verify your scale’s accuracy monthly using known weights, and confirm your oven temperature matches displayed settings with an independent thermometer.
These practices eliminate variables, allowing you to replicate results consistently and master bagel-making without compromise.
Preparing the Dough
Combining your dry ingredients sets the foundation for proper gluten development and fermentation.
You’ll weigh out bread flour, salt, and instant yeast with precision, ensuring accurate ratios that won’t compromise your bagels’ structure.
Your mixing techniques matter considerably.
You’re employing the autolyse benefits by letting your flour and water rest for thirty minutes before adding salt and yeast.
This pause strengthens gluten networks naturally, reducing mixing time and effort.
Key preparation steps:
- Weigh all ingredients on a digital scale for consistency
- Mix dry ingredients thoroughly to distribute yeast evenly
- Incorporate water gradually using a stand mixer on low speed
- Perform the autolyse rest period undisturbed
- Knead until you’ve achieved a smooth, elastic dough
You’ll develop a resilient dough that’s ready for bulk fermentation and shaping.
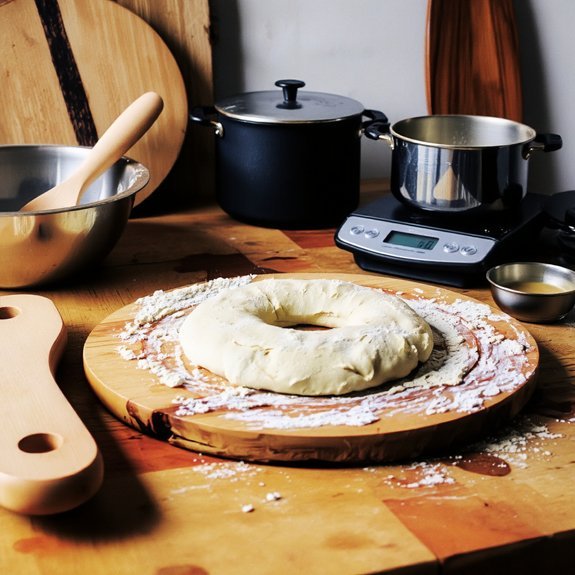
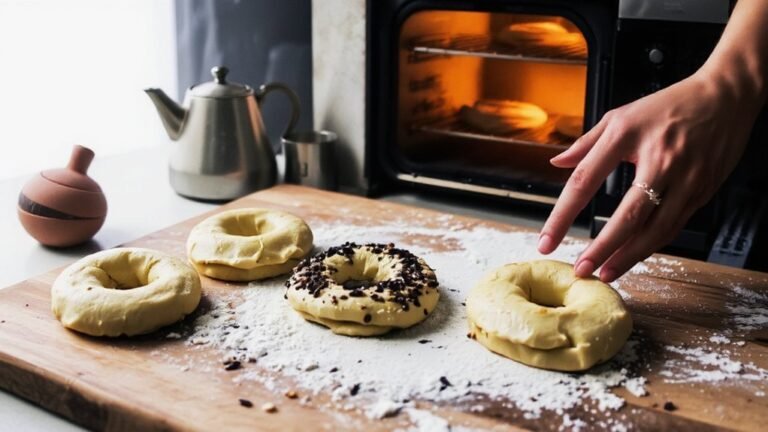
First Rise and Shaping
Once your dough reaches full development, you’ll transfer it to a lightly oiled container for bulk fermentation at 75-78°F for 4-6 hours until it’s increased by 50-75% in volume.
| Shaping Step | Technique |
|---|---|
| Portioning | Divide dough into 100g pieces |
| Pre-shape | Form gentle rounds, rest 10 minutes |
| Tension building | Fold edges toward center, creating surface tautness |
| Final shaping | Roll into tight cylinder |
| Seam sealing | Pinch seam firmly, ensuring closure |
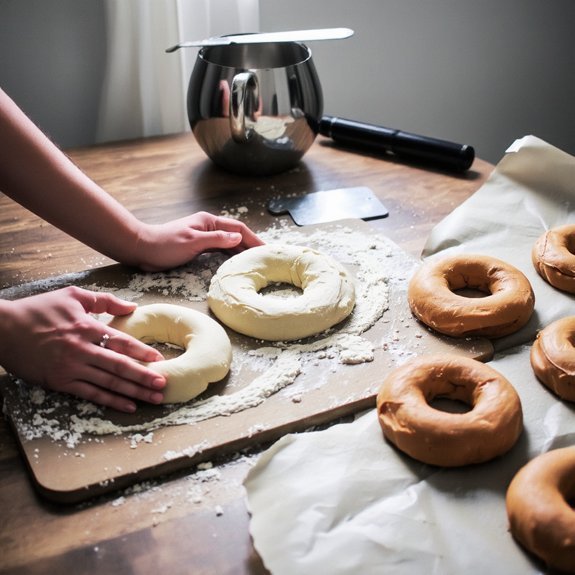
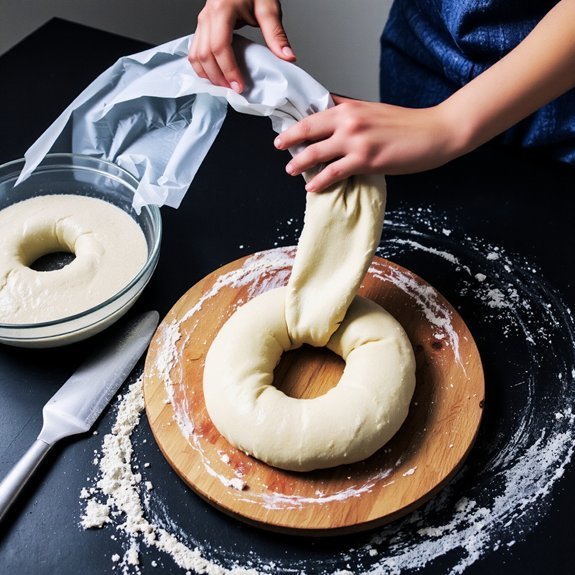
After bulk fermentation, you’ll portion your dough precisely and pre-shape each piece. This brief rest allows gluten relaxation before final shaping. You’ll build tension methodically by folding edges inward, creating structural integrity. Roll each portion into a tight cylinder, then seal the seam completely—this step prevents bagels from splitting during boiling. Handle dough with confidence; proper seam sealing determines your bagel’s final appearance and crumb structure.
The Boiling Process
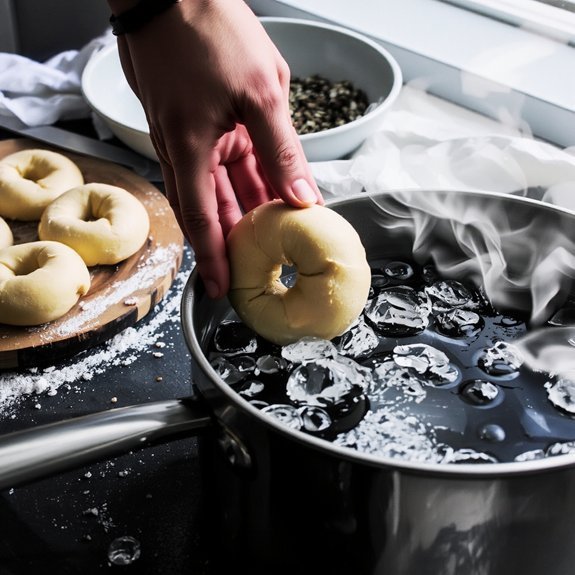
Boiling transforms your shaped bagels by setting the crust and creating that signature chewy exterior you’re after.
You’ll control crust chemistry through water temperature and duration, achieving that distinctive texture independent of commercial constraints.
Heat water to 212°F and maintain rolling boil throughout.
Add baking soda—roughly 1 tablespoon per quart—to raise pH and enhance browning.
The mineral content in your water affects gluten structure and crust formation.
Boil bagels 1-2 minutes per side:
- Water rapidly penetrates the outer dough layer
- Gelatinization occurs, locking moisture inside
- Starch granules swell and set permanently
- Surface proteins denature, creating a sealed barrier
- Maillard reaction readies the crust for baking
Remove bagels with a slotted spoon immediately after boiling.
Transfer to parchment paper, ensuring they don’t stick during the final bake.
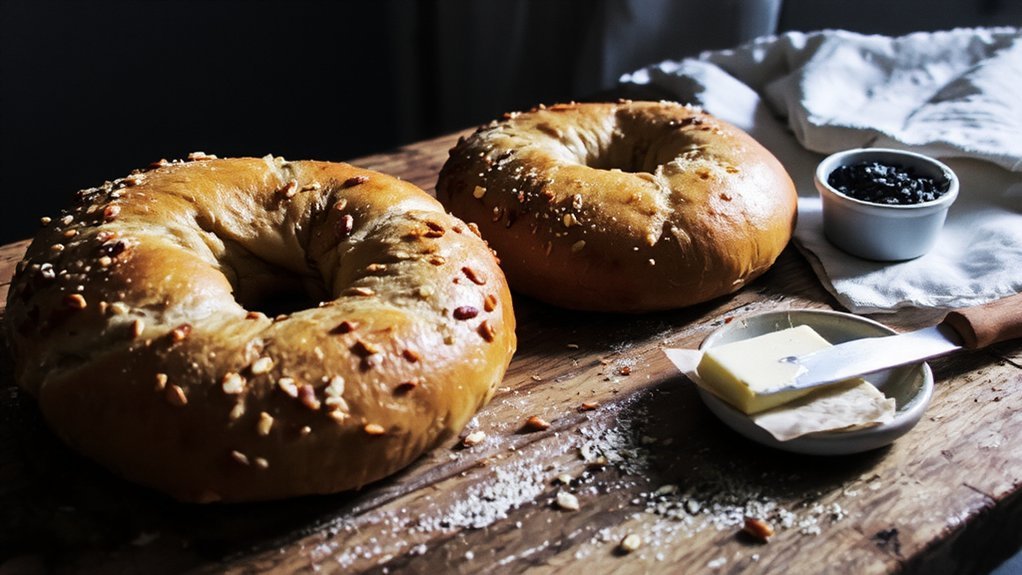
Toppings and Variations
While your bagels are still warm from boiling, you’ll apply toppings to create texture contrast and flavor depth. This critical phase determines your final product’s character.
| Topping Category | Application Method | Ideal Timing |
|---|---|---|
| Seeds (sesame, poppy) | Press firmly into dough | Immediately after boiling |
| Sweet glazes | Brush with pastry brush | Within 2 minutes |
| Herb twists | Sprinkle and press | Before baking |
| Cheese blends | Distribute evenly | 1 minute post-boiling |
| Spice mixtures | Coat uniformly | Just before oven |
You’ll achieve superior adhesion by applying toppings while moisture remains highest. Sweet glazes require precise timing—too early causes runoff, too late prevents proper setting. Herb twists benefit from gentle pressing to secure contact with the dough surface. This methodical approach guarantees consistent, professional results that reflect your craftsmanship and commitment to quality bagel production.
Baking to Perfection
You’ll achieve ideal bagel texture by maintaining your boiling water at 212°F (100°C) and timing each bagel for exactly 1-2 minutes per side—this duration allows the exterior to set while preserving the chewy interior.
Water temperature directly impacts crust development; cooler water produces insufficient gelatinization of starches, while excessively hot water can cause over-expansion and collapse.
Precision in both variables guarantees consistent results across batches.
Water Temperature Matters
Because bagels require precise hydration during the boiling process, maintaining water temperature between 190-210°F is critical for achieving the characteristic chewy crust and dense crumb structure.
You’ll notice that tap variability affects your results noticeably.
Different water sources contain varying mineral content, which influences boiling performance and gluten development.
Control these variables for consistent outcomes:
- Use a reliable thermometer to monitor exact temperatures throughout boiling
- Filter your water to standardize mineral content and eliminate tap variability
- Adjust boiling time based on your bagel’s density and desired chewiness
- Test your tap water’s mineral content for baseline understanding
- Keep water temperature steady by using a large pot with adequate volume
You’re not leaving results to chance—you’re mastering the science behind superior bagels.
Boiling Time Technique
Once your water reaches the ideal 190-210°F range, the boiling duration directly determines your bagel’s final texture and crust development.
You’ll want to boil each bagel for 45-60 seconds per side, controlling the Texture Chemistry that creates that signature chewy interior and slight crust.
This technique isn’t arbitrary—it’s rooted in cultural preferences that distinguish authentic bagels from ordinary bread.
The brief boiling gelatinizes the starch on the bagel’s surface, sealing moisture inside while forming a thin, desirable crust during baking.
You’ve got control here.
Shorter boiling times yield denser, less chewy results.
Longer durations produce chewier bagels with thicker crusts.
Track your timing precisely with a timer, flipping bagels halfway through to guarantee even cooking.
Your freedom to customize texture means experimenting within these parameters until you achieve your preferred result.
Storage and Serving Tips
You’ll preserve your bagels’ quality by freezing them within 24 hours of baking, wrapping each individually in plastic wrap before placing them in airtight freezer bags to prevent freezer burn.
When you’re ready to serve, thaw bagels at room temperature for 30-45 minutes or reheat them directly from frozen at 350°F for 12-15 minutes to restore their chewy texture.
For ideal flavor and texture, you should serve bagels at 140-160°F, which you can achieve by toasting them briefly or warming them in the oven immediately before serving.
Freezing Fresh Bagels
Properly freezing bagels preserves their texture and flavor for up to three months, making it an efficient method for extending shelf life beyond the two-day window of room-temperature storage.
When you freeze bagels, you’re halting ice crystal dynamics and preventing starch retrogradation—the primary culprits behind staleness.
Here’s how to maximize quality:
- Cool bagels completely before wrapping to prevent condensation
- Wrap individually in parchment paper, then aluminum foil for dual protection
- Store in airtight freezer bags, removing excess air to minimize freezer burn
- Label packages with freeze dates for accurate rotation
- Thaw at room temperature for 30-45 minutes before toasting
You’ll reclaim fresh-baked quality by controlling moisture loss during frozen storage.
This method grants you independence from daily baking schedules while maintaining premium texture and taste.
Serving Temperature Guidelines
How does serving temperature affect bagel palatability and textural integrity?
You’ll find that serving temperatures dramatically influence your bagel experience.
Ideal consumption occurs between 160-180°F, where the crumb structure remains tender without becoming gummy.
At this range, your palate sensitivity fully registers the nuanced flavors you’ve developed during fermentation and baking.
For room-temperature bagels (70°F), you’ll experience firmer texture and muted taste profiles.
Conversely, temperatures exceeding 185°F compromise the gluten matrix, creating an undesirable mushy consistency.
You can reheat refrigerated bagels by wrapping them in foil and warming at 350°F for 8-10 minutes, restoring structural integrity without overdrying.
Frozen bagels require 12-15 minutes using identical methods.
Serve immediately after reaching target temperature for maximum enjoyment and textural control.
Frequently Asked Questions
Can I Freeze Bagel Dough Before Boiling, and for How Long?
You can freeze bagel dough before boiling for up to three months.
Use flash freezing by placing shaped bagels on a baking sheet for two hours before transferring to freezer bags.
Your thaw timing should be 24 hours in the refrigerator before boiling.
This method preserves dough integrity, maintains your scheduling flexibility, and eliminates commercial constraints.
Precise temperature control guarantees ideal results without compromising texture or flavor quality.
Why Do My Bagels Turn Out Dense Instead of Light and Fluffy?
Your bagels turn dense because you’re likely over-kneading or using incorrect water temperature.
You’ll want to knead just until the dough’s smooth—overdoing it toughens the gluten structure.
When boiling, you’ll need water between 190-210°F; cooler water won’t gelatinize the exterior properly, creating that dense crumb.
Dial in these technical variables precisely, and you’ll achieve the light, open crumb structure you’re after.
What’s the Difference Between Bagels and English Muffins or Bread Rolls?
You’ll find bagels differ fundamentally in their crust contrast—they’re boiled before baking, creating a chewy exterior and dense crumb. English muffins and bread rolls skip boiling, yielding softer crusts.
Your topping traditions matter too: bagels traditionally feature seeds or plain finishes, while rolls accommodate various toppings. Bagels demand precise hydration ratios and technical fermentation control that bread rolls don’t require. You’ve got complete freedom to customize, but understanding these distinctions guarantees you’re crafting authentic bagels.
How Do I Achieve That Chewy Bagel Texture at Home Successfully?
You’ll achieve that signature chewy texture by using high gluten flour—it’s your foundation for structure and elasticity.
Cold fermentation’s your secret weapon; you’ll retard the dough overnight in the refrigerator, allowing flavor development and gluten strengthening.
This extended cold rest creates that desirable chew you’re after.
Boil your bagels properly, then bake with precision.
You’ll master authentic bagels by respecting these technical steps—no shortcuts compromise your results.
Can I Use Instant Yeast Instead of Active Dry Yeast in Bagels?
You can absolutely use instant yeast instead of active dry yeast in your bagels.
For instant conversion, you’ll need 25% less instant yeast by weight since it’s more concentrated.
However, expect subtle flavor differences—instant yeast ferments faster, potentially yielding less complex taste development.
You’ve got the freedom to adjust fermentation times accordingly, extending bulk or cold fermentation to compensate and maximize that distinctive bagel flavor you’re after.


Leave a Comment