Key Takeaways
- Mix 500g bread flour, 10g salt, 7g instant yeast, and 325ml water; autolyse 20–30 minutes before kneading.
- Knead 8–12 minutes until windowpane stage; maintain dough temperature 75–78°F for proper gluten development and extensibility.
- Bulk ferment 4–6 hours at 75–78°F with stretch-and-folds every 30 minutes until 50–75% volume increase achieved.
- Shape into two portions, bench rest 20 minutes, final proof 60–90 minutes room temperature or overnight refrigerated.
- Bake in preheated Dutch oven at 450–475°F: 20 minutes covered with steam, then 15–20 minutes uncovered.
Ingredients You’ll Need
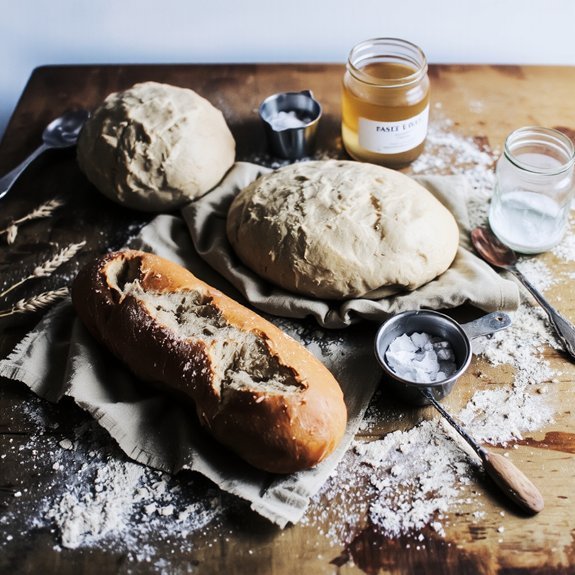
You’ll need just four essential ingredients to craft an authentic French baguette: 500g bread flour (with a protein content of 12-14%), 10g kosher salt, 7g instant yeast, and 325ml filtered water at 20°C.
Understanding ingredient origins matters for quality control.
French bakers traditionally source high-protein wheat varieties from specific European regions, ensuring ideal gluten development.
Kosher salt’s larger crystals dissolve slowly, providing precise fermentation control that table salt can’t match.
For allergen alternatives, you’re not restricted to conventional options.
Gluten-free bread flour blends with added concentrated wheat gluten approximate traditional protein levels.
You can substitute instant yeast with active dry yeast at a 1:1.25 ratio, though fermentation timing adjusts accordingly.
Filtered water removes chlorine that inhibits yeast activity.
These foundational ingredients empower you to execute professional-grade baguettes consistently.
Equipment and Tools
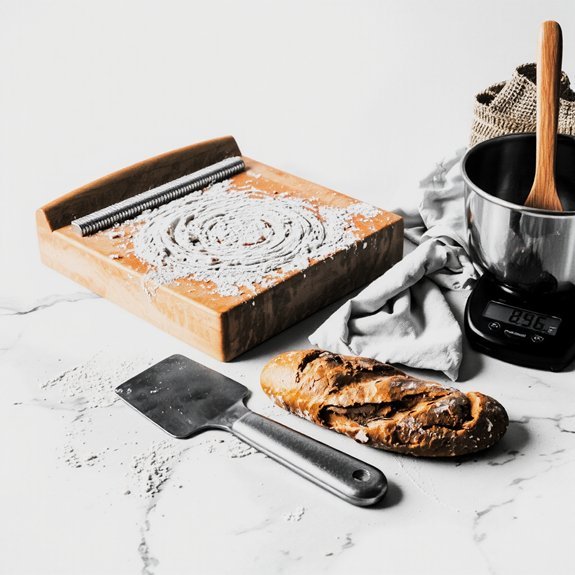
A baker’s scale, Dutch oven, and linen couche form the trinity of essential equipment for authentic baguette production.
You’ll need a scale accurate to 1-gram increments for precise flour and water ratios.
The Dutch oven traps steam during baking, creating the baguette’s characteristic crispy crust.
Your linen couche supports dough during final proofing without deflating your loaves.
You’ll also require a bench scraper, banneton basket, and spray bottle for steam injection.
Invest in a quality oven thermometer; professional standards demand 450-475°F accuracy.
Tool maintenance promotes longevity.
Clean your equipment immediately after use and inspect regularly for wear.
Safety measures include proper knife handling when scoring dough and careful steam management when removing Dutch ovens from high-temperature ovens.
Protect yourself with heat-resistant gloves and maintain clear workspace organization.
Mixing and Kneading the Dough
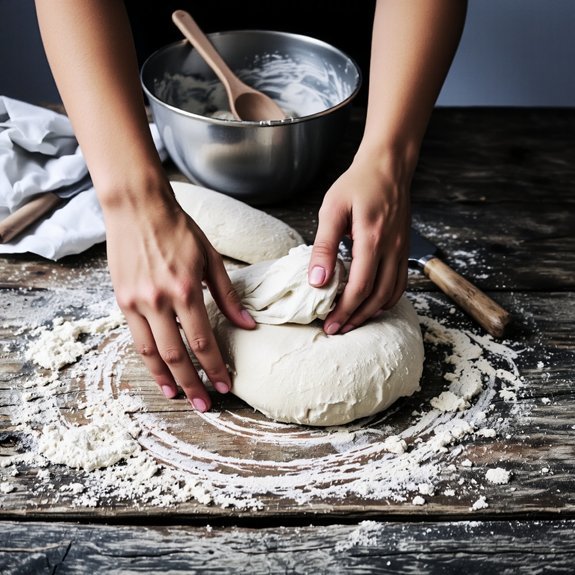
You’ll combine your flour, water, salt, and yeast using the autolyse method—mixing dry ingredients first, then incorporating water gradually to achieve proper hydration.
Knead your dough for 10-12 minutes using the stretch-and-fold technique, developing gluten structure until you reach a smooth, elastic consistency with slight surface tension.
Your final dough should register 75-78°F and feel tacky but not sticky, indicating ideal fermentation readiness.
Proper Flour Incorporation Method
Combining your dry ingredients with the hydrated mixture requires a methodical approach to develop gluten structure effectively.
Start by particle sieving your flour to eliminate lumps and guarantee uniform distribution. This technique promotes even hydration and consistent gluten mapping throughout your dough.
Gradually incorporate sieved flour into your water mixture using a folding motion rather than aggressive stirring. This controlled integration prevents overdevelopment while establishing ideal gluten networks. Maintain a dough temperature between 75-78°F for professional standards.
Once combined, knead for 10 minutes using the heel-of-hand technique. Apply steady pressure, rotating your dough quarter-turns consistently. You’ll notice the dough transforming from shaggy to smooth and elastic—this indicates proper gluten development.
Stop kneading when your dough reaches the windowpane stage: stretch a small portion until light passes through without tearing. You’ve now mastered flour incorporation for authentic French baguettes.
Kneading Technique and Duration
Once your dough reaches that windowpane stage, you’ll shift focus from initial mixing to sustained kneading that develops and strengthens the gluten matrix.
Push the dough away using the heel of your hand with controlled force, then fold it back toward you.
Rotate the dough a quarter turn and repeat this sequence for 8–10 minutes until you’ve achieved ideal elasticity.
Maintain ergonomic posture throughout—keep your shoulders relaxed and work at counter height to prevent strain.
Debunk kneading myths circulating among home bakers: you don’t need excessive force, nor does kneading require 20+ minutes.
Your dough’s texture and responsiveness guide duration, not arbitrary timelines.
Stop when your dough becomes smooth, elastic, and slightly tacky—indicators that gluten development’s complete and you’ve maximized fermentation potential.
Dough Consistency and Texture
The dough’s hydration level—typically 65–68% for French baguettes—determines its initial consistency and dramatically influences kneading dynamics.
You’ll develop a supple, extensible mass through proper technique, achieving ideal gluten networks that support fermentation. The dough should feel tacky yet manageable, never sticky or stiff.
You’re building structure that allows gas retention without excessive elasticity.
Monitor your dough’s sensory lexicon carefully: observe how it shifts from shaggy to smooth, from dense to airy. This mouthfeel mapping guides your assessment—the dough should feel alive under your hands, responsive to pressure yet resilient.
You’ll notice increased extensibility around the 8–10 minute mark, indicating sufficient gluten development. Professional bakers recognize this window through tactile feedback and visual cues.
Your finished dough must feel supple, slightly tacky, and distinctly elastic—hallmarks of properly developed French baguette dough.
Bulk Fermentation and Rising
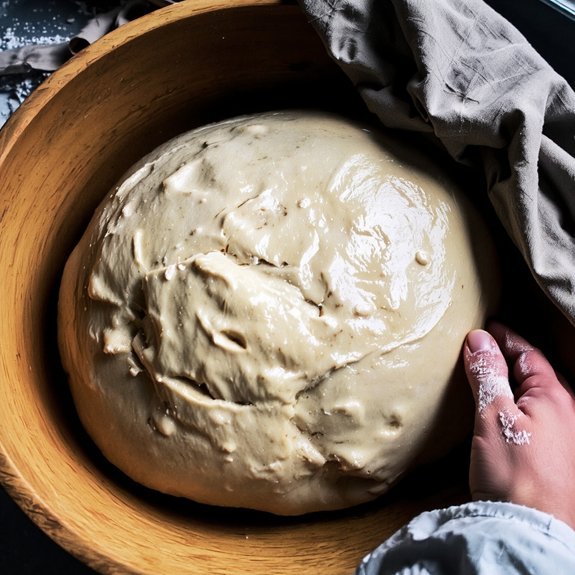
You’ll maintain your dough at 75-78°F during bulk fermentation to achieve ideal gluten development without accelerating fermentation excessively.
Watch for the dough to increase 50-75% in volume and develop a slightly domed surface with visible air pockets, indicating proper strength and extensibility.
Your fermentation should complete in 4-6 hours at room temperature, though you can retard the dough overnight at 38-40°F to enhance flavor development and handling characteristics.
Temperature Control Matters
Since fermentation rate depends directly on temperature, controlling your dough’s environment is essential for achieving proper gluten development and flavor complexity.
You’ll need to maintain precise conditions throughout bulk fermentation.
- Monitor ambient temperature using accurate thermostat placement away from heat sources and drafts
- Account for thermal inertia by understanding your dough mass requires time to reach target temperature
- Target 75-78°F (24-26°C) for ideal fermentation speed and flavor development
- Adjust bulk fermentation duration inversely—warmer temps accelerate fermentation, cooler temps extend it
You can’t achieve authentic French baguette characteristics without temperature precision.
Your dough’s enzymatic activity, gluten cross-linking, and organic acid production all depend on consistent thermal conditions.
Whether you’re using a proofing box or ambient environment, you’ll establish reproducible results through rigorous temperature management.
Dough Development Signs
Observing physical transformation during bulk fermentation tells you far more than elapsed time alone.
You’ll notice your dough increasing 50-75% in volume within 4-6 hours at 75°F (24°C).
Perform the windowpane test by stretching a small portion—it should thin without tearing, indicating gluten development.
Listen for audible bubbles when gently pressing the surface; they indicate active fermentation.
The dough should feel airy yet maintain structure.
You’re seeking ideal fermentation when the dough shows gentle dome formation and slight jiggles when moved.
Don’t over-ferment; excessive rise creates weak gluten networks and flat loaves.
Trust your observations over strict timers.
This tactile assessment guarantees you achieve proper dough readiness before shaping, directly impacting your final baguette’s crumb structure and crust development.
Optimal Fermentation Timing
While physical indicators provide valuable guidance, precise timing parameters establish the foundation for reproducible results in French baguette production.
You’ll achieve workflow optimization by adhering to these fermentation protocols:
- Bulk fermentation: Maintain 75-78°F (24-26°C) for 4-5 hours, performing stretch-and-folds every 30 minutes during the first two hours.
- Autolyse period: Allow 20-30 minutes pre-fermentation to maximize gluten development and extensibility.
- Time budgeting: Factor 8-12 hours total for cold retardation at 38-40°F (3-4°C), enhancing flavor complexity and crust characteristics.
- Fermentation completion: Confirm 50-75% volume increase and slight dome formation atop your dough before shaping.
You’ll control variables systematically, ensuring consistency across batches while maintaining professional standards throughout your production cycle.
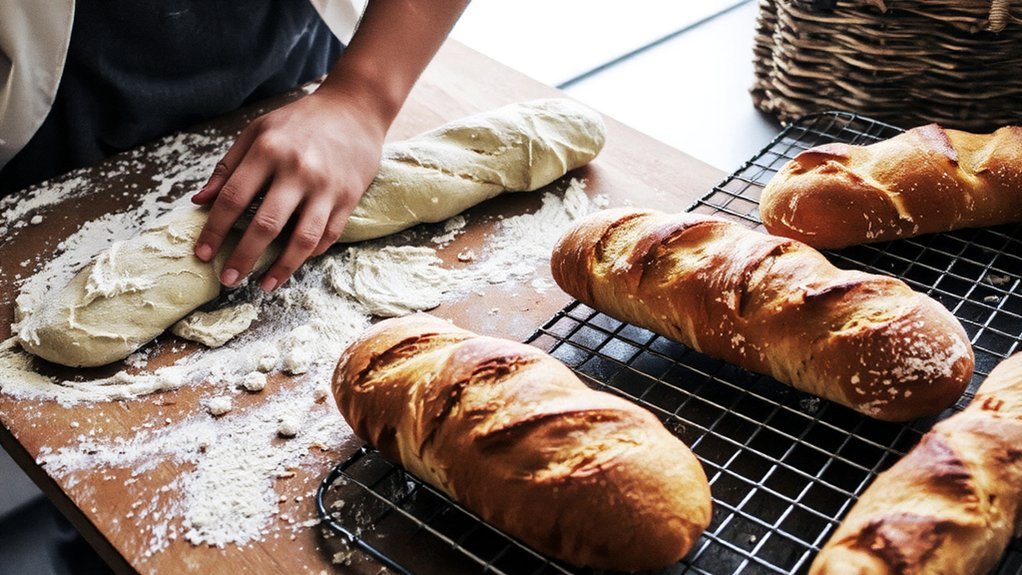
Shaping and Final Proofing
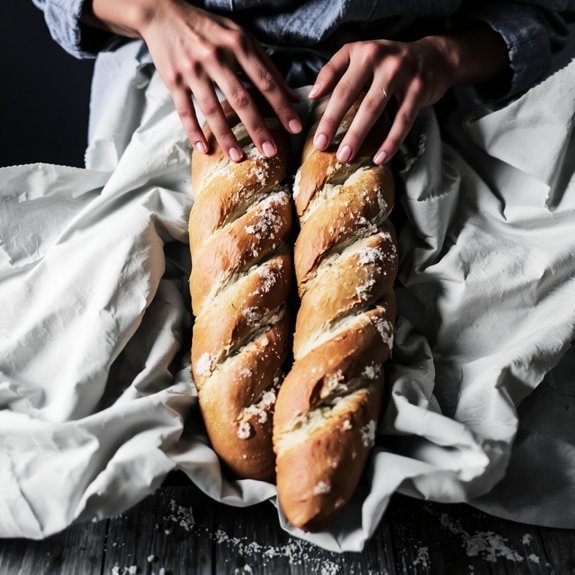
After your bulk fermentation’s complete, you’ll gently turn your dough onto a lightly floured work surface and divide it into two equal portions of approximately 450-500 grams each.
Pre-shape each portion into a round, allowing a 20-minute bench rest for gluten relaxation.
Now you’ll perform your final shaping, creating tension along the dough’s surface while rolling toward you.
This tension creation promotes proper oven spring and crumb structure.
Position the seam placement on the bottom of your loaf, making sure it’s fully sealed.
Place your shaped baguettes seam-side up in a floured banneton or couche for final proofing.
Proof at room temperature (68-72°F) for 60-90 minutes, or refrigerate overnight at 38-40°F for enhanced flavor development.
Your dough’s ready when it springs back slowly after a gentle poke test.
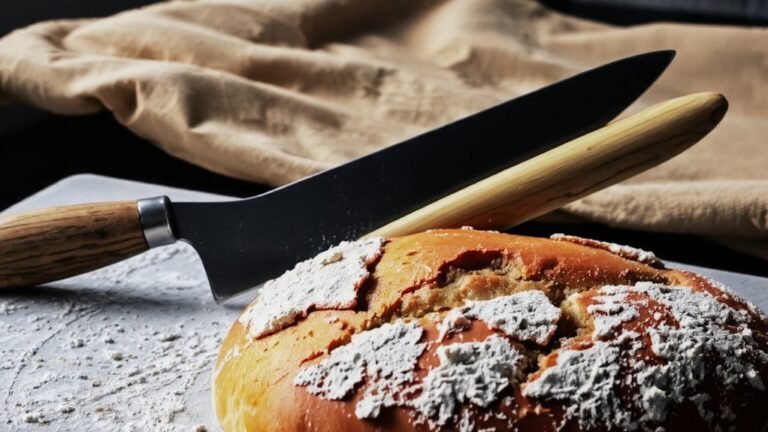
Baking and Achieving the Perfect Crust
Preheating your oven to 450-475°F with a Dutch oven or baking stone inside for 45-60 minutes guarantees you’ll achieve the crispy, caramelized crust that defines an authentic French baguette.
Here’s your baking protocol:
- Score your dough with a sharp blade at 30-degree angles, creating ¼-inch deep cuts that control expansion and enhance crust aesthetics.
- Transfer to the preheated Dutch oven and immediately introduce steam by adding water to the base, initiating the Maillard reaction.
- Bake covered for 20 minutes to trap moisture, then uncover for 15-20 minutes, allowing surface dehydration and browning.
- Cool on a wire rack for at least one hour before slicing, permitting the crumb structure to set completely.
Frequently Asked Questions
What Is the Difference Between French Baguettes and Other Types of Bread?
You’ll discover French baguettes distinguish themselves through their distinctive crisp crust texture, achieved via precise hydration ratios and steam-injection baking techniques.
Their cultural history spans centuries of French artisanal tradition, establishing rigorous professional standards that other breads don’t follow.
You’ll notice the open crumb structure and elongated shape set them apart.
The fermentation process, typically 18-24 hours, develops superior flavor complexity.
You’re getting freedom from commercial additives—authentic baguettes contain only flour, water, salt, and yeast.
How Long Can I Store a Baguette, and What’s the Best Storage Method?
You’ll store your baguette at room temperature for 24-48 hours in a paper bag—never plastic, which accelerates staling.
For extended storage beyond two days, you’re freezing it whole, which halts the staling process indefinitely.
When you’re ready, thaw it completely, then briefly reheat at 375°F for crust preservation.
This method maintains your baguette’s structural integrity and textural quality while preventing moisture loss that compromises that coveted crispy exterior you demand.
Can I Freeze Baguette Dough, and How Do I Thaw It Properly?
You can absolutely freeze your baguette dough.
Flash freeze it on a sheet pan for two hours, then transfer it to an airtment-sealed container.
For best results, implement cold proofing by thawing at 40°F for 12-16 hours, allowing enzymatic activity to continue.
This method preserves fermentation characteristics and gluten development.
Alternatively, thaw at room temperature for 4-6 hours before final proofing.
You’ll maintain superior crumb structure and authentic flavor profiles using these precise techniques.
Why Did My Baguette Turn Out Dense Instead of Light and Airy?
Your baguette’s density stems from insufficient fermentation and improper shaping technique.
You’ve likely rushed bulk fermentation, preventing adequate gluten development and gas retention.
Additionally, aggressive shaping compresses air pockets you’ve worked to create.
Extend your fermentation to 4-6 hours at controlled temperatures, allowing proper extensibility.
Use gentle, precise shaping motions that preserve structure.
Maintain exact hydration ratios—typically 65-68%—for ideal crumb structure and oven spring.
What Type of Flour Produces the Most Authentic French Baguette Results?
You’ll achieve authentic French baguette results using T65 flour, the standard choice in France.
This flour’s moderate protein content—around 11-12%—strikes the ideal balance for developing gluten structure without creating excessive chewiness.
You’re not locked into commercial options; sourcing T65 directly gives you control over your dough’s extensibility and fermentation characteristics.
Higher protein varieties produce denser crumbs, while lower percentages compromise structure integrity.


Leave a Comment