Key Takeaways
- Cream softened butter and sugar for 3 minutes until light and fluffy, then whisk in eggs one at a time with vanilla extract.
- Sift flour, cocoa powder, baking soda, and salt together; fold into wet ingredients until just combined to avoid overmixing.
- Fold in both dark and semi-sweet chocolate chunks for rich double chocolate flavor and even distribution throughout the dough.
- Bake at 350°F for 11–13 minutes with edges set but centers still slightly jiggly for chewy interiors and crispy edges.
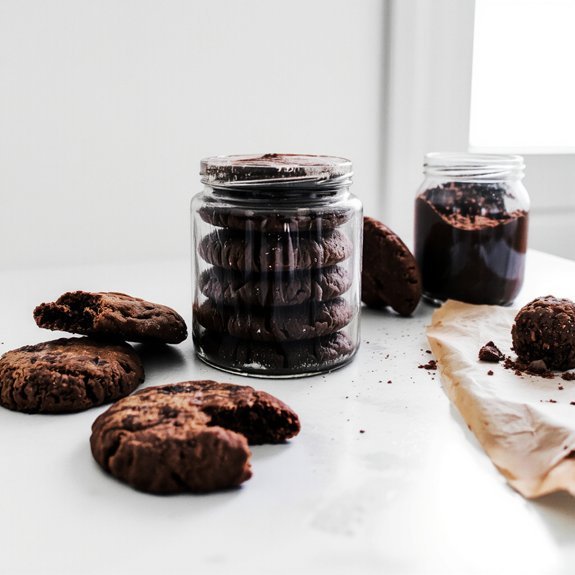
- Store cooled cookies in airtight containers at room temperature for up to 5 days or freeze for 3 months.
Ingredients You’ll Need
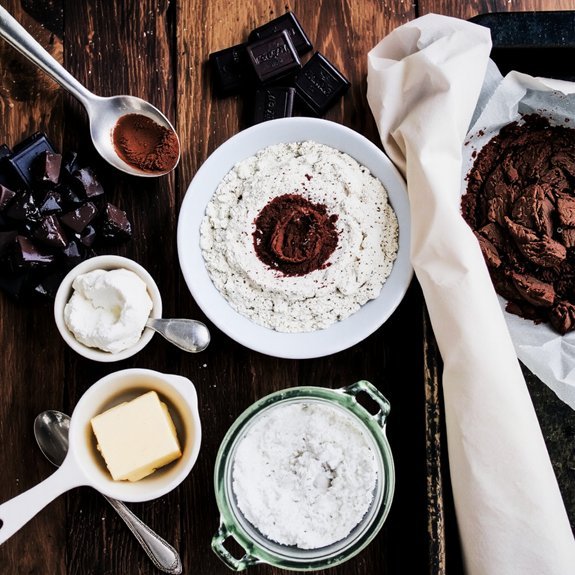
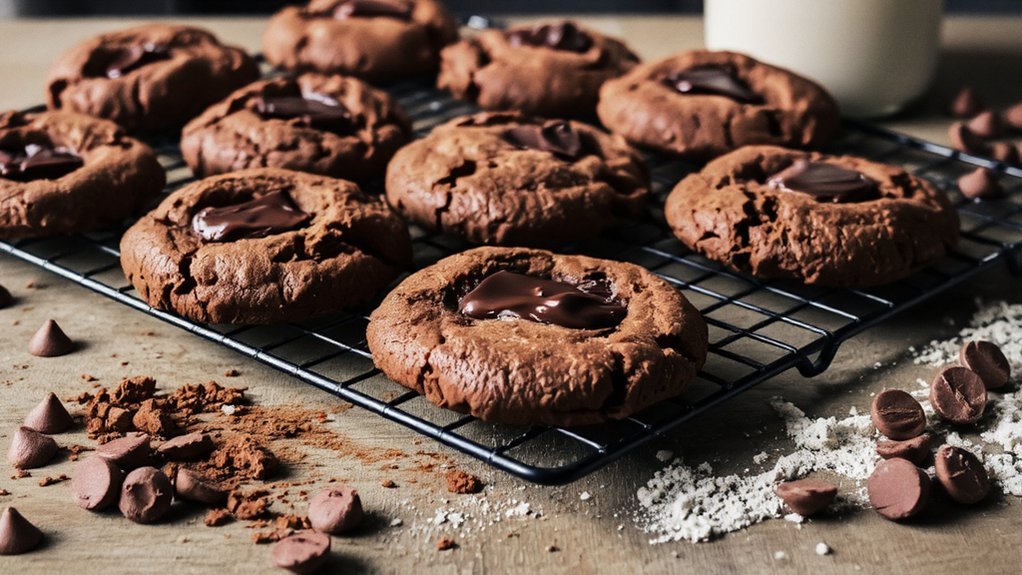
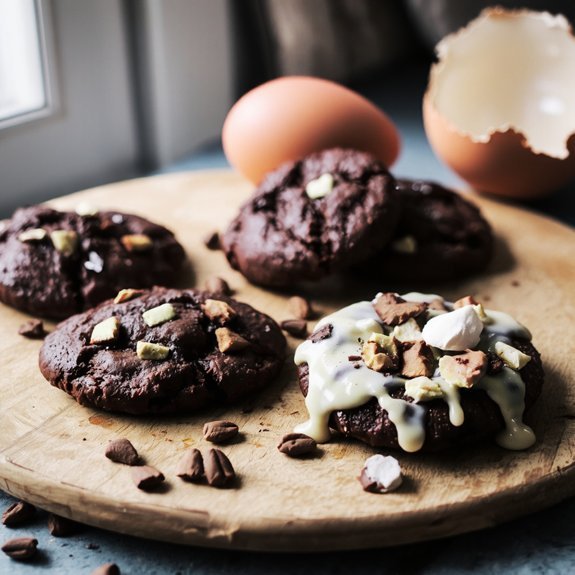
You’ll want to gather cocoa powder that’s deep and rich, along with two types of chocolate—dark and semi-sweet chunks that’ll melt into pockets of fudgy goodness throughout your dough.
For ingredient sourcing, select unsweetened cocoa powder with vibrant color and rich aroma—freshness indicators that guarantee bold flavor.
Choose chocolate chips from quality brands; they’ll hold their shape better than melted bars.
You’ll also need all-purpose flour, butter, sugar, eggs, baking soda, and salt.
Check your baking soda’s expiration date for ideal rise.
Grab vanilla extract with genuine Madagascar vanilla notes.
Don’t settle for mediocre components.
Your freedom in the kitchen starts with premium ingredients that deliver exceptional results.
Fresh eggs and room-temperature butter create superior texture.
These choices transform ordinary cookies into extraordinary indulgences you’ll actually want to make again.
Step-by-Step Instructions
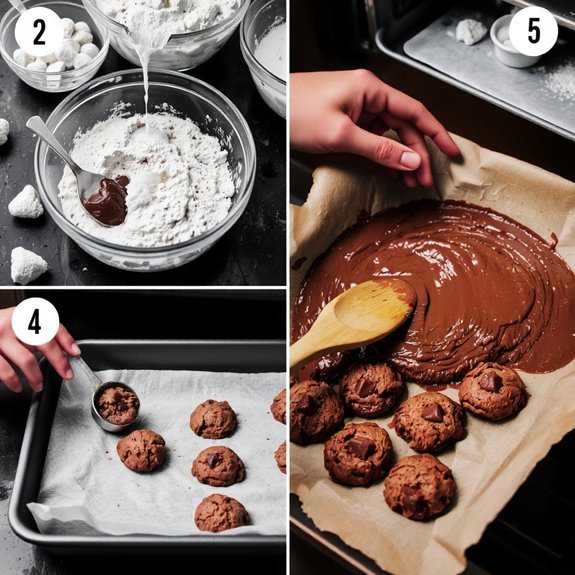
Start by creaming together softened butter and sugar until the mixture’s light, fluffy, and pale—about three minutes of steady beating.
Your action sequencing matters here. Next:
- Whisk in eggs one at a time, letting each fully incorporate before adding the next
- Stir in vanilla extract and watch the batter transform into a silky emulsion
- Sift together flour, cocoa powder, baking soda, and salt—your dry ingredients are ready
- Fold the dry mixture into wet ingredients until just combined; don’t overmix
- Fold in both chocolate chips and chunks for visual checkpoints of chocolate distribution
Drop rounded tablespoons onto baking sheets.
You’ve got freedom in spacing—about two inches apart works best.
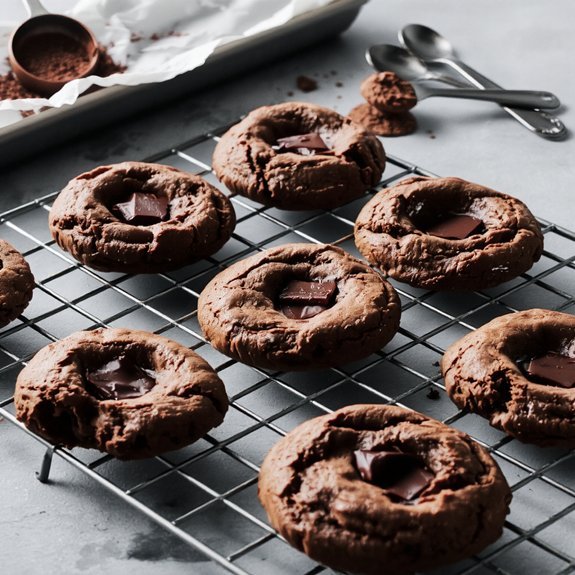
These visual checkpoints—when edges set but centers remain soft—signal perfectly baked cookies.
Slide them into a preheated 350°F oven for 11-13 minutes.
You’ll smell that rich, decadent chocolate aroma signaling they’re done.
Baking Tips for Perfect Results
Getting your cookies into the oven’s just the beginning—what happens next determines whether they’ll emerge as perfectly chewy centers wrapped in crispy edges or disappointing hockey pucks. You’ve got to take control of your baking environment.
Start by verifying your oven calibration with an independent thermometer; most ovens run hot or cold, sabotaging your results before you’ve begun. Don’t ignore altitude adjustments either—higher elevations require slightly lower temperatures and reduced baking times because moisture evaporates faster.
Watch your cookies like a hawk during their final minutes; the difference between golden perfection and burnt disaster happens in seconds. Pull them out when the edges look set but centers still jiggle slightly. They’ll continue cooking on the hot baking sheet, achieving that ideal texture you’re after.
Storage and Make-Ahead Options
Once your cookies have cooled completely, proper storage determines whether they’ll stay wonderfully chewy or turn stale and brittle within days.
Proper storage after cooling determines whether your cookies stay wonderfully chewy or turn stale within days.
You’ll want to take control of your cookie destiny with smart make-ahead strategies.
- Airtight containers preserve that fudgy texture for up to five days
- Freezing baked cookies extends enjoyment for three months without quality loss
- Portion control through pre-portioned dough means you’re baking fresh cookies whenever cravings strike
- Labeling system prevents mystery containers—mark dates and batch details clearly
- Room temperature storage works best; refrigeration paradoxically dries them out faster
You’ve earned the freedom to enjoy these decadent treats on your timeline.
Prepare dough ahead, freeze individual portions, and bake fresh batches whenever you desire.
This approach gives you maximum flexibility without sacrificing that rich chocolate indulgence.
Variations and Flavor Ideas
Beyond the classic double chocolate combination, you can transform these cookies into entirely new creations by layering complementary flavors that’ll delight your palate.
| Variation | Flavor Profile | Serving Suggestions |
|---|---|---|
| Espresso-Infused | Rich, bold coffee notes | Pair with cappuccino |
| Chili-Spiced | Heat with dark richness | Serve with hot chocolate |
| Mint Twist | Cool, invigorating contrast | Enjoy with iced coffee |
Explore Global Inspirations by infusing your dough with cardamom, introducing sea salt layers, or swirling in lavender essence. Each variation reveals distinct sensory experiences—the warmth of cinnamon, the brightness of orange zest, the luxurious depth of tahini.
You’re liberated to experiment boldly. Mix crushed pretzels for crunch, stir in toffee bits for caramel sweetness, or layer white chocolate chunks alongside dark cocoa. These adaptations celebrate your creative freedom while maintaining the satisfying chocolate foundation that makes these cookies irresistible.
Frequently Asked Questions
Can I Use Melted Chocolate Instead of Cocoa Powder in This Recipe?
You can substitute melted chocolate for cocoa powder, but you’ll need to adjust your fat content since chocolate contains cocoa butter. Reduce butter or oil accordingly to prevent greasy, dense cookies.
Melted chocolate delivers richer, smoother flavor intensity than cocoa powder’s sharp bite. You’re trading cocoa’s bold punch for luxurious depth.
Expect darker, fudgier results that demand vigilant baking—watch them closely, as melted chocolate can cause faster browning. Your freedom to experiment yields decadent satisfaction.
How Long Do Double Chocolate Cookies Typically Stay Fresh?
You’ll want to consume your double chocolate cookies within 3-5 days for peak freshness. Store them in an airtight container at room temperature for ideal storage that keeps them from drying out.
Watch for staleness signs like hardened texture or loss of that rich, fudgy taste. They’ll stay chewy and indulgent longer when you shield them from air exposure. Trust your instincts—if they’ve lost their decadent appeal, it’s time to bake fresh.
What’s the Difference Between Using Butter Versus Oil in Cookies?
When you’re baking double chocolate cookies, you’ll discover butter delivers a richer flavor profile and creates that coveted golden edge through the creaming method—where you’ll beat butter and sugar together, trapping air for lift.
Oil, conversely, produces denser, chewier cookies with a more subdued chocolate taste.
You’re choosing between indulgent butteriness and straightforward decadence.
Butter gives you control and complexity; oil offers simplicity and moisture.
Your freedom lies in deciding which texture and taste sensation truly satisfies your chocolate craving.
Can I Freeze Cookie Dough Before Baking for Later Use?
You can absolutely freeze your cookie dough—it’s your baking freedom! Use smart portioning methods by scooping dough into individual portions on a baking sheet before freezing solid, then transfer them to airtight containers.
When you’re ready to bake, you’ve got choices: thaw tips include baking straight from frozen (add a minute or two) or thawing at room temperature for faster results. Your schedule, your rules.
Why Did My Cookies Spread Too Much During Baking?
Your cookies spread excessively because you’ve likely ignored two critical factors.
First, your oven temperature isn’t hot enough—it’s allowing the dough to flatten before setting.
Second, excess dough hydration from too much butter or wet ingredients creates a loose batter that flows freely.
You’re in control here: crank up that oven heat and reduce liquid ratios.
These adjustments’ll give you thick, glorious cookies with defined edges that’ll stay bold and beautiful.


Leave a Comment