Key Takeaways
- Cream butter and sugar, then gradually incorporate dry ingredients and spices for proper dough development and flavor balance.
- Chill dough at least 2 hours or overnight on the middle shelf to develop flavors and ease rolling.
- Roll dough to 1/4-inch thickness using guides, cut with floured cutters pressed straight down for crisp, uniform edges.
- Preheat oven for 15 minutes and bake at calibrated temperature on center racks, watching for sugar caramelization.
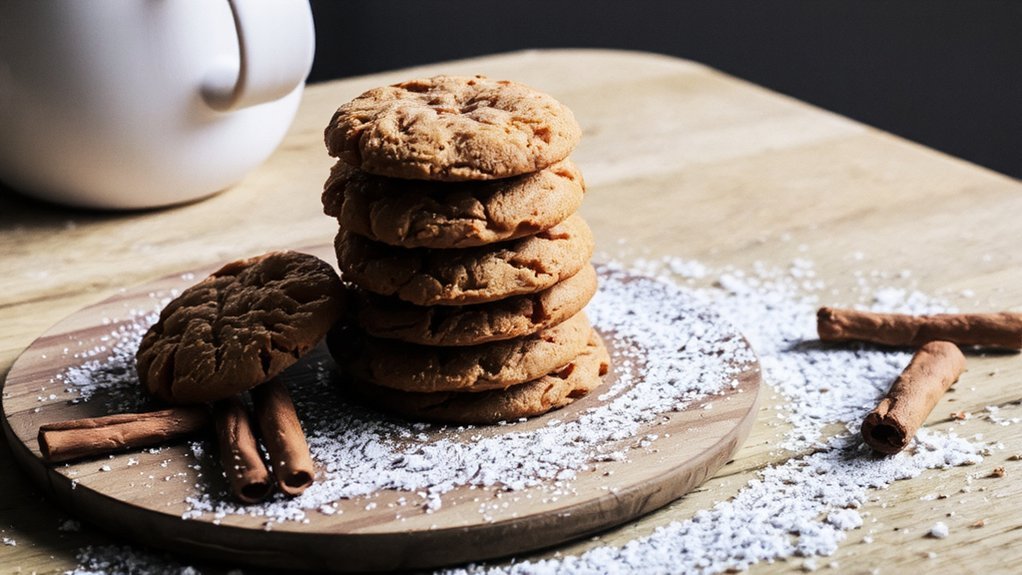
- Cool cookies completely on baking sheets before transferring, then store in airtight containers to preserve signature snap.
Ingredients You’ll Need
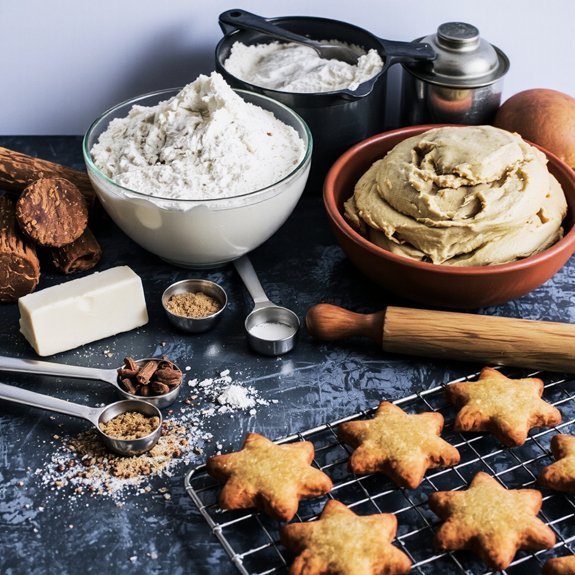
You’ll want to gather these essentials before you begin: two cups of all-purpose flour, one teaspoon of baking soda, three teaspoons of ground ginger, one teaspoon of cinnamon, half a teaspoon of ground cloves, a quarter teaspoon of salt.
three-quarters cup of softened butter, one cup of packed brown sugar, one egg, and a quarter cup of molasses.
I’ve found that using organic molasses elevates your cookies’ depth noticeably. If you’re avoiding gluten, swap regular flour for gluten free flour—you won’t sacrifice that crispy texture you’re after. Quality ingredients matter here; don’t settle for shortcuts.
Quality ingredients elevate your baking—organic molasses deepens flavor, gluten-free flour preserves texture, and shortcuts compromise results.
Gather everything at room temperature for better mixing. I learned this lesson the hard way after my first batch turned dense and disappointing. These components work together to create that perfect balance of spice and sweetness that keeps you reaching for another cookie.
Why These Spices Matter
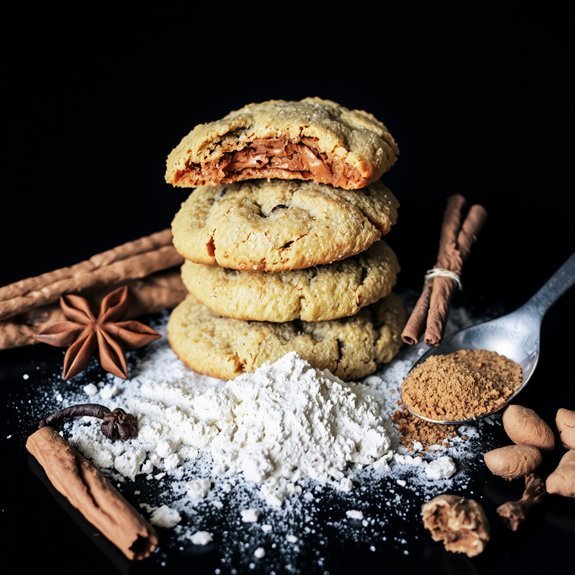
You’ll discover that ginger’s warming properties create that signature heat that makes gingerbread feel like a cozy hug in cookie form.
Cinnamon brings the depth that rounds out the spice blend, preventing any single flavor from overpowering the others.
Clove’s complex flavor adds an almost mysterious note that keeps people guessing what makes your cookies taste so incredibly good.
Ginger’s Warming Properties
Biting into a warm gingerbread cookie that’s been freshly pulled from the oven—there’s a reason that first spicy warmth hits your tongue and seems to radiate through your whole body.
Ginger’s thermogenic effect isn’t just folklore; it’s genuine physiology at work.
When you consume ginger, you’re triggering your body’s natural heating response. Here’s what’s happening:
- Your metabolism kicks into high gear, burning calories more efficiently
- Blood vessels expand, creating a circulation boost throughout your system
- Your digestive fire ignites, enhancing nutrient absorption
- Core body temperature elevates naturally without artificial heat
I’ve noticed that when I bake these cookies during winter, they’re not merely treats—they’re functional fuel. That warming sensation you’ll experience isn’t coincidence; it’s ginger doing what it’s done for centuries: energizing your body from the inside out.
Cinnamon and Depth
While ginger brings that immediate warming punch, cinnamon’s where the real complexity lives.
You’ll notice how cinnamon adds aromatic layers that deepen as your cookies cool—it’s not just sweetness, it’s sophistication. I discovered this years ago when I first experimented with doubling the cinnamon in my batch. The difference was transformative.
Cinnamon carries historical significance that ginger doesn’t quite match.
Ancient trade routes literally revolved around this spice. You’re tapping into centuries of culinary tradition when you measure it out.
Here’s what matters: cinnamon gives your cookies dimension.
It doesn’t shout like ginger does; instead, it whispers underneath, encouraging people to take another bite because they can’t quite name what makes them so irresistible. That’s the real magic you’re after.
Clove’s Complex Flavor
Clove’s the wildcard that separates memorable gingerbread from forgettable versions. You’ll notice this spice brings aromatic compounds that linger long after you’ve finished eating—that’s taste longevity at work.
I learned this the hard way when I skimped on cloves in my first batch; the cookies fell flat despite perfect cinnamon ratios.
Here’s what makes clove essential:
- Warm, slightly bitter notes that balance sweetness
- Aromatic depth that transforms bland dough into something extraordinary
- Lingering finish that keeps flavors interesting bite after bite
- Bold presence requiring careful measurement to avoid overpowering
You don’t need much—just a quarter teaspoon per dozen cookies—but that small amount creates complexity you can’t replicate elsewhere. Clove demands respect. Use it strategically, and you’ll create gingerbread that people actually remember.
Preparing Your Dough
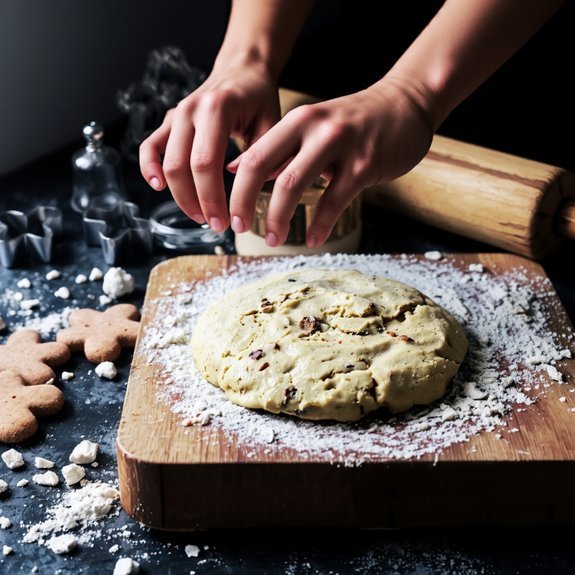
Once you’ve gathered your ingredients, it’s time to bring them together into a cohesive dough. I’ve found that choosing the right equipment selection makes all the difference—a sturdy mixing bowl and electric mixer save your arms from fatigue. Start by creaming your butter and sugar, then gradually incorporate your dry ingredients.
| Stage | Action |
|---|---|
| Mixing | Combine wet ingredients first |
| Blending | Add spices gradually |
| Kneading | Use proper kneading technique |
| Resting | Chill for two hours |
| Testing | Check dough consistency |
Your kneading technique matters tremendously. Work the dough until it’s smooth and pliable, but don’t overwork it. I’ve learned this lesson the hard way—over-kneaded dough produces tough cookies. Once your dough reaches the right texture, wrap it and refrigerate. This chilling period lets flavors develop while making rolling easier. You’re now ready for the next stage.
Chilling for Perfect Results
You’ll want to resist the urge to roll out your dough right away—I learned this the hard way years ago when I skipped the chilling step and ended up with cookies that spread into flat, shapeless discs.
Resist the urge to skip chilling—I learned this the hard way when my cookies spread into flat, shapeless discs.
Here’s what works:
- Chill duration: Refrigerate your dough for at least two hours, though overnight’s ideal
- Fridge placement: Store on the middle shelf where temperature stays consistent
- Dough texture: It’ll firm up, making rolling and cutting effortless
- Shape retention: Chilled dough holds its form during baking, giving you crispy edges and defined details
That patience pays dividends. Your cookies’ll maintain their gingerbread man silhouettes and decorative designs instead of melting into puddles. You’re effectively taking control back—no more cookie chaos. Trust the process, and you’ll achieve bakery-quality results every single time.
Rolling and Cutting Techniques
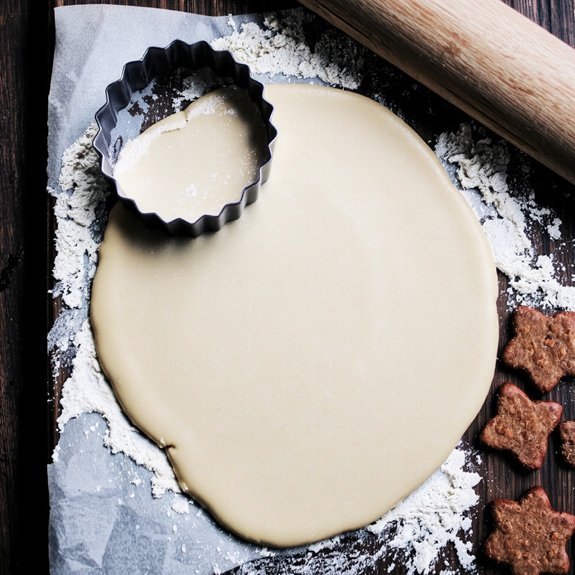
Once you’ve chilled your dough, you’ll want to roll it out to about a quarter-inch thickness—thin enough to get that satisfying snap when you bite into the finished cookie, but thick enough that they won’t break during decorating.
I’ve learned the hard way that using a well-floured surface and rolling between two sheets of parchment paper saves you from sticky frustration and keeps your shapes crisp and uniform.
With your dough prepped, you can now grab your favorite cookie cutters and press them straight down without twisting, which gives you clean, precise edges that’ll showcase your royal icing decorations beautifully.
Achieving the Perfect Thickness
How many times have you pulled gingerbread cookies from the oven only to find some golden and crispy while others remain doughy in the middle?
The culprit? Inconsistent thickness.
I’ve learned that uniform dough thickness determines your cookies’ texture and crispness. Here’s what works:
- Use thickness gauges or wooden dowels as rolling guides—they’ll keep your dough between ¼ and ⅜ inches consistently
- Perform texture testing by pressing the rolled dough; it should spring back slightly
- Invest in a quality rolling pin with ball bearings for even pressure distribution
- Rotate your dough frequently to prevent thin, stretched spots
You’ll notice the difference immediately.
Your batch bakes uniformly, delivering that satisfying snap in every bite. No more gingerbread roulette—just reliably delicious cookies that honor your effort and independence in the kitchen.
Cutting Shapes With Precision
Because consistent thickness means nothing without clean, precise cuts, I’ve discovered that your cookie cutter technique can make or break the final presentation.
You’ll want to dip your cutters in flour before each press—this prevents sticking and yields crisp edges.
Press straight down without twisting; any rotation creates jagged borders that’ll disappoint you.
Pay attention to template alignment when spacing your shapes.
You’re maximizing yield and minimizing waste by planning your layout thoughtfully.
The negative space between cookies matters as much as the cookies themselves.
I learned this lesson the hard way after wasting dough on poorly planned cuts.
Now I sketch my pattern mentally, making sure each shape sits confidently on the dough.
This deliberate approach transforms your baking from frustrating to genuinely enjoyable.
Your presentation will reflect this precision.
Baking to Crispy Perfection
Achieving that perfect snap when you bite into a gingerbread cookie is where the magic really happens—it’s what separates a mediocre cookie from one you’ll crave all winter long.
That perfect snap when you bite into gingerbread—that’s where the magic happens and mediocrity ends.
You’ve got to nail your oven calibration because even five degrees makes the difference between crispy and chewy.
- Preheat your oven thoroughly for at least 15 minutes
- Position racks in the center for even heat distribution
- Watch for sugar caramelization around the edges—that’s your signal
- Cool cookies completely on the baking sheet before transferring
I learned this the hard way, pulling out batches too early and getting disappointing soft cookies.
Now I trust the process.
When those edges turn golden and the centers set firm, you’ve won.
That satisfying crunch? That’s freedom in cookie form.
Decorating Your Creations
Once you’ve achieved that perfect crunch, it’s time to transform your cookies into edible art.
I’ll never forget the year my kids went wild decorating gingerbread—they’d discovered their creative freedom, and there was no stopping them.
Start with royal icing as your foundation.
It’s forgiving and dries hard, letting you build whatever vision you’ve got.
You can pipe intricate designs or keep things simple; the choice is yours.
For sprinkle placement, you’ve got options.
Apply them while the icing’s still wet so they’ll stick, or wait until it sets for more control.
I prefer strategic placement—focused clusters rather than chaotic coverage—which lets each cookie’s personality shine through.
Your decorations shouldn’t feel like obligations.
Make it fun, experiment boldly, and don’t stress perfection.
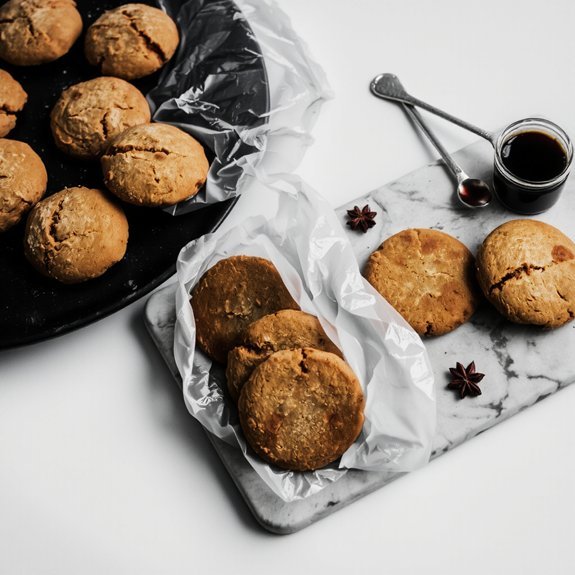
Storage and Freshness Tips
Now that your gingerbread masterpieces are complete, you’ll want them to stay fresh and delicious for as long as possible.
I’ve learned the hard way that proper storage makes all the difference.
Here’s what actually works:
- Store cooled cookies in airtight containers at room temperature for up to two weeks
- Freeze portions in freezer-safe bags for up to three months without losing that signature snap
- Keep moisture and air out by sealing containers tightly immediately after cooling
- Separate layers with parchment paper to prevent sticking
Your creations deserve respect.
I’ve watched batches deteriorate fast in humidity, so don’t take chances with casual storage.
Those airtight containers aren’t just recommendations—they’re your guarantee that your labor stays rewarding.
Whether you’re enjoying them fresh or pulling frozen portions for unexpected guests, you’ve got total control over your stash.
Creative Variations to Try
While keeping your gingerbread cookies perfectly preserved is one victory, the real fun starts when you’re ready to break the mold.
I’ve experimented with adding cardamom, black pepper, and even a hint of cayenne—each twist transforms your batch into something uniquely yours. You’re free to swap molasses for honey or dust them with cinnamon sugar instead of plain glaze.
Consider beverage pairings when crafting your flavor profile. Spiced cookies shine alongside hot mulled cider or dark coffee.
For gift packaging, I’ve tucked variations into decorated boxes with personalized labels describing each flavor—friends genuinely appreciate knowing what they’re biting into.
Don’t fear experimentation. Swap extracts, try different spices, or dip half your cookies in dark chocolate. Your kitchen, your rules.
Frequently Asked Questions
Can I Make This Recipe Without Molasses or With a Substitute?
You’ve got options!
Molasses alternatives like honey, maple syrup, or dark corn syrup’ll work great in your batch.
For sweetener swaps, try brown sugar mixed with a bit of extra spice—it’ll keep that rich depth you’re after.
I’ve personally swapped in blackstrap molasses substitutes when I’m out, and honestly, the cookies turn out just as crispy and delicious.
Experiment freely; you’ll nail it.
How Do I Fix Dough That’s Too Sticky or Too Dry?
You’ve got this! If your dough’s too sticky, dust in flour gradually—a tablespoon at a time—while mixing.
Too dry? Add milk or water drop by drop. The hydration balance is everything here.
I learned this the hard way, kneading for what felt like forever. Do texture testing by pinching the dough; it should hold together without sticking to your fingers.
Trust your instincts—you know your kitchen better than any recipe does.
What’s the Difference Between Soft and Crispy Gingerbread Cookies?
You’ll notice the crumb comparison’s dramatic—soft cookies stay chewy inside, while crispy ones snap clean.
I’ve found that baking time’s your freedom fighter here.
Leave them in longer, and you’re cranking up that Maillard reaction, turning edges golden-brown and creating that satisfying crunch.
Pull them early, and you’ve got tender centers.
I personally push mine past golden to amber for maximum crispness.
Your oven’s heat does the real work transforming moisture into that coveted snap.
Can I Freeze the Dough and Bake Later?
You can absolutely freeze gingerbread dough—I’ve done it countless times.
I prefer portioning methods like rolling balls before freezing; they thaw faster and bake more evenly.
Pop ’em straight from freezer to oven, adding just a minute or two to baking time.
For thawing techniques, you’ve got options: overnight in the fridge or quick countertop thawing works great.
Takes the pressure off baking schedules, giving you total control over when you indulge.
Why Did My Cookies Spread Too Much While Baking?
Your cookies spread too much because you’re likely using warm ingredients—they’ll soften the dough before baking even starts.
I’ve been there, frustrated watching my gingerbread blobs merge into one giant cookie sheet mess.
Here’s what worked for me: chill your dough thoroughly, use greased pans sparingly (less butter means less sliding), and keep everything cool.
You’ve got this—take control of your baking destiny.


Leave a Comment