Key Takeaways
- Pound cake uses a 1:1:1:1 ratio by weight of butter, sugar, eggs, and flour for consistent, tender crumb structure.
- Cream butter and sugar at medium speed for 3–5 minutes until pale and fluffy, increasing volume approximately 50%.
- Add eggs one at a time, beating 20–30 seconds each, then fold flour in three additions using minimal mixing.
- Bake at 325°F for 60–70 minutes in a prepared loaf pan on the lower-middle oven rack until toothpick emerges clean.
- Cool in pan 15 minutes, then transfer to wire rack for complete cooling; store wrapped in plastic wrap and foil.
Why Pound Cake Is a Baker’s Essential

Whether you’re refining your foundational skills or scaling production, pound cake’s straightforward 1:1:1:1 ratio—equal parts butter, sugar, eggs, and flour by weight—makes it an indispensable reference point.
You’ll find this formula serves as your textural benchmark for understanding crumb structure, moisture retention, and emulsification techniques.
Understanding pound cake’s historical roots reveals why bakers still rely on it.
The formula’s elegance lies in its precision: you’re not guessing proportions or adjusting for variables.
You’re mastering fundamental chemistry.
You gain freedom through this knowledge.
Once you control the base recipe, you’ll confidently modify it—adjusting ratios for density, incorporating flavoring agents, or experimenting with fat compositions.
Pound cake isn’t just a dessert; it’s your technical foundation, your compass for steering more complex formulations.
3. Gathering Your Ingredients

Now that you’ve grasped pound cake’s foundational chemistry, you’re ready to assemble the precise ingredients this formula demands. You’ll need four components in equal weight: butter, sugar, eggs, and flour—typically one pound each. Source high-quality, unsalted butter for superior flavor control. Select granulated sugar and large eggs at room temperature to optimize emulsification.
| Ingredient | Quantity | Specification |
|---|---|---|
| Butter | 1 lb | Unsalted, room temperature |
| Granulated sugar | 1 lb | Fine crystals |
| Large eggs | 8 | Room temperature |
Ingredient sourcing matters considerably. Purchase eggs from pasture-raised sources and unbleached flour when possible. For seasonal substitutions, incorporate almond extract during winter months or citrus zest during spring harvests. Gather everything beforehand—mise en place guarantees precision and prevents measurement errors during mixing.
4. Essential Tools and Equipment
You’ll need mixing bowls and electric beaters to properly cream your butter and sugar to the correct consistency.
Gather your measuring cups and spoons to guarantee accurate ingredient ratios, which are critical for pound cake’s dense crumb structure.
Line your cake pans with parchment paper and position cooling racks nearby so you can immediately transfer the cake after baking to prevent condensation.
Mixing Bowls and Beaters
The right mixing bowl and beater combination’ll make the difference between dense, uneven batter and a light, properly aerated pound cake.
You’ll want stainless steel bowls—they’re durable and won’t absorb flavors.
Electric mixers beat hand whisking every time for incorporating air efficiently.
Consider these essentials:
- Stand mixer with paddle attachment – provides consistent speed and frees your hands for precision measuring
- Stainless steel bowls in multiple sizes – accommodates wet and dry ingredients separately, following traditional methodology
- Wire whisk – essential backup for manual incorporation when specific control’s required
Select equipment matching your kitchen’s color trends and your preferred brand history.
KitchenAid and Cuisinart dominate the market for reliable performance.
You’re investing in tools that deliver independence from guesswork—accurate mixing directly correlates to predictable, superior results.
Quality equipment eliminates variables, ensuring your pound cake achieves ideal texture and crumb structure every single time.
Measuring Cups and Spoons
While your mixer handles the heavy lifting, accurate measuring cups and spoons become your foundation for pound cake success. You’ll want dry measuring cups for flour and sugar, alongside liquid measures for butter and eggs.
Stainless steel options provide superior durability and material safety compared to plastic alternatives that can leach chemicals when exposed to heat.
Calibration tips guarantee precision: level dry ingredients with a knife’s edge rather than packing them down. Verify your tools against standard weights annually. Liquid measurements require eye-level reading to eliminate parallax errors.
Invest in marked increments—¼, ⅓, ½, and 1 teaspoon—along with matching cup sizes. Quality equipment grants you control over your baking outcomes, empowering you to achieve consistent, reliable results every single time.
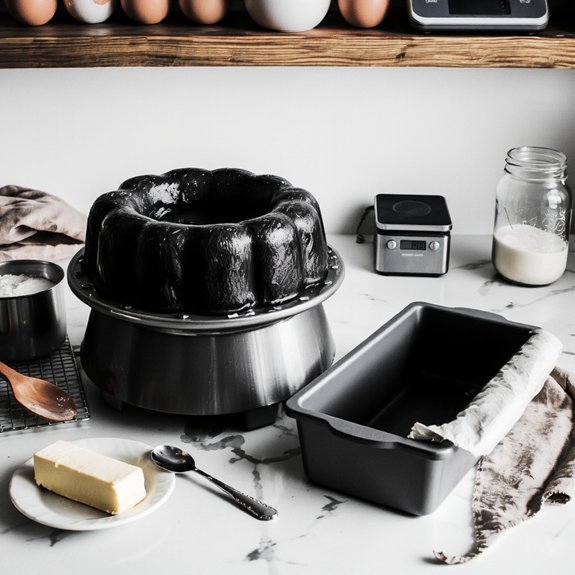
Cake Pans and Cooling Racks
Since pound cake’s dense crumb structure requires even heat distribution, selecting the proper pan becomes critical to your baking success.
You’ll want to invest in quality aluminum or steel loaf pans that conduct heat uniformly, preventing burnt edges and undercooked centers.
Consider these essentials:
- Pan collecting allows you to bake multiple cakes simultaneously, maximizing your oven space and yield
- Aluminized steel construction resists warping at high temperatures, ensuring consistent results across batches
- Cooling rack restoration prevents rust and maintains structural integrity for proper air circulation
After baking, transfer your pound cake to a wire cooling rack immediately.
This prevents condensation from creating a soggy bottom crust.
Position your rack on a heat-resistant surface, allowing air to flow underneath.
You’ll achieve superior texture and crumb definition by respecting this essential step.
5. Preparing Your Pan and Oven
Before you’ll mix your batter, you’ll need to properly prepare your baking vessel and heat source. Preheat your oven to 325°F, allowing 15-20 minutes for complete oven calibration and thermal stabilization. Use an oven thermometer to verify accuracy—don’t rely solely on your oven’s dial.
Position your oven rack in the lower-middle position, approximately 6-8 inches from the heating element. This rack positioning guarantees even heat distribution and prevents excessive browning on top.
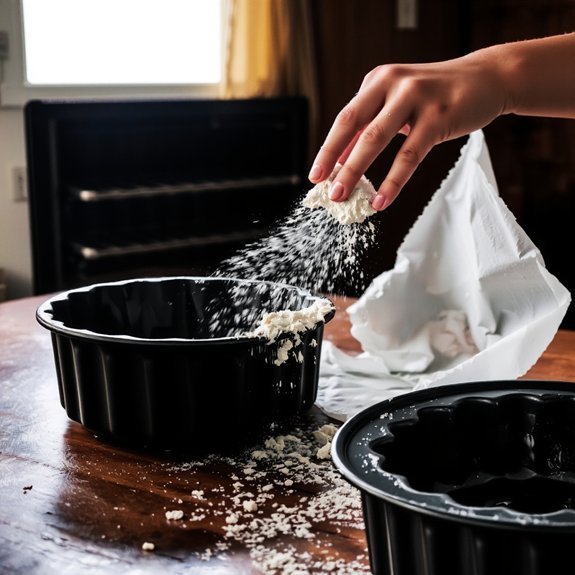
Grease your loaf or bundt pan thoroughly with unsalted butter, coating every crevice. Dust with flour, tapping out excess. This dual-layer preparation prevents sticking and promotes even rising.
| Step | Temperature | Time |
|---|---|---|
| Preheat | 325°F | 15-20 min |
| Calibrate | Verified | Essential |
| Position Rack | Lower-middle | Fixed |
| Grease Pan | Thorough | 2 min |
| Dust Flour | Complete | 1 min |
6. Mixing the Perfect Batter
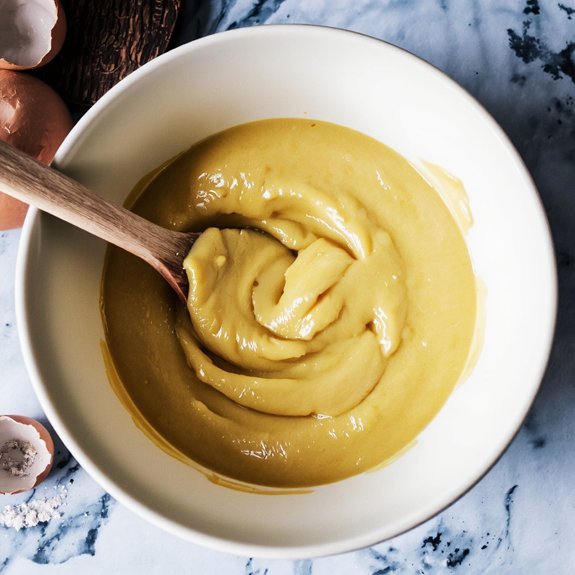
You’ll start by creaming together softened butter and granulated sugar at medium speed for 3-5 minutes until the mixture reaches a pale, fluffy consistency.
Next, you’ll incorporate room-temperature eggs one at a time, beating thoroughly after each addition to guarantee proper emulsification before adding the next egg.
Finally, you’ll fold in your sifted flour in three additions using a spatula, mixing just until combined to avoid overdeveloping the gluten.
Cream Butter and Sugar
Creaming butter and sugar together is essential for incorporating air into your batter, which creates the cake’s tender crumb structure.
This foundational technique has historical origins in traditional British baking methods, where achieving the proper texture demanded precision and skill.
You’ll want to follow these steps for ideal results:
- Beat softened butter (65–70°F) with granulated sugar for 3–5 minutes until pale and fluffy
- Make sure proper aeration through vigorous mixing, which develops microscopic air pockets
- Monitor sensory science indicators: the mixture should increase 50% in volume and feel light
This process activates emulsification, allowing your dry ingredients to distribute evenly.
You’re building the structural foundation that gives pound cake its characteristic density and crumb.
Don’t rush this critical step—proper creaming determines your cake’s final quality and texture.
Incorporate Eggs Gradually
Once your butter-sugar mixture reaches peak volume and pale color, it’s time to add eggs one at a time, beating for 20–30 seconds after each addition until fully incorporated.
This methodical approach prevents emulsion breakdown and guarantees uniform batter consistency.
Use room-temperature eggs—they’ll blend seamlessly without shocking your mixture.
A historical technique across regional customs, gradual egg incorporation creates the dense crumb structure pound cake’s known for.
Each egg should fully integrate before you add the next, creating a homogeneous batter.
Don’t rush this step.
Proper incorporation aerates your mixture, trapping air bubbles that’ll expand during baking, yielding that characteristic tender texture.
You’re building structural integrity that’ll support your cake’s weight without compromising its delicate crumb.
Fold in Flour Gently
Folding in your flour requires a deliberate technique that preserves the air you’ve carefully incorporated into your batter. This step directly impacts your pound cake’s final texture and crumb formation.
Use a rubber spatula and follow this methodical approach:
- Sift your dry ingredients—flour, baking powder, and salt—together to eliminate lumps and maximize air retention
- Add one-third of the flour mixture, folding gently with an J-stroke motion until barely combined
- Alternate remaining flour with your reserved liquid, folding minimally between additions
Work deliberately and don’t overwork the batter.
Each unnecessary fold deflates those precious air pockets you’ve built through careful egg incorporation. Your goal is complete integration without agitation.
This controlled technique guarantees ideal rise, tender crumb, and that signature pound cake density you’re after.
7. Baking Your Pound Cake to Perfection
After you’ve poured your batter into a prepared loaf pan, you’ll want to tap it gently on the counter a few times to release any air pockets before transferring it to a preheated 325°F oven.
Bake for 60-70 minutes, establishing your timing rituals by checking at the lower threshold.
The cake’s done when a toothpick inserted near the center emerges clean.
Don’t rely solely on appearance—aroma indicators matter considerably.
You’ll notice a rich, buttery fragrance intensifying around minute 50, signaling the Maillard reaction’s progression.
Maintain consistent oven temperature throughout.
Avoid opening the door before minute 45, as temperature fluctuations compromise rising.
If browning excessively, loosely tent with foil.
Once golden and springy to touch, remove immediately.
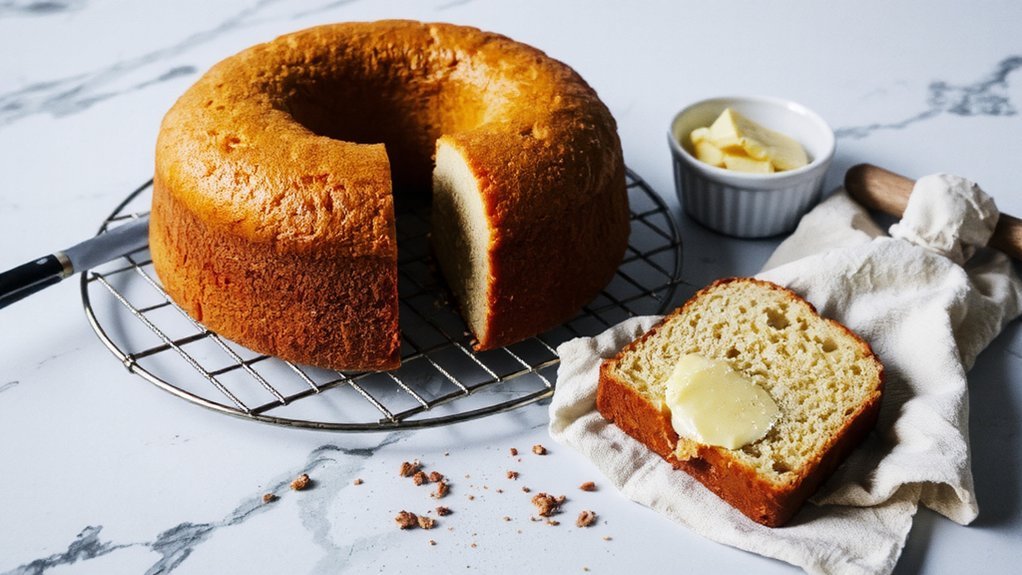
Cool in the pan 15 minutes before turning out onto a wire rack for complete cooling.
8. Cooling and Storing Your Cake
Proper cooling directly determines your pound cake’s final texture and structural integrity. You’ll need patience here—allow your cake to cool in the pan for 15 minutes before turning it out onto a wire rack.
Proper cooling determines your pound cake’s final texture and structural integrity—allow 15 minutes in the pan before turning out.
Complete cooling takes approximately two hours at room temperature.
For ideal crumb protection and longevity, follow these storage methods:
- Wrap cooled cake in plastic wrap, then aluminum foil for freezer wrapping to prevent freezer burn and moisture loss
- Store at room temperature in an airtight container for up to three days
- Refrigerate for extended freshness, maintaining quality for five to seven days
You’re free to customize your storage approach based on consumption timelines.
Properly stored pound cake maintains its dense crumb structure and subtle flavor profile, delivering consistent results whenever you’re ready to serve.
9. Serving Suggestions and Variations
How’ll you elevate your pound cake once it’s cooled and stored?
Consider applying seasonal toppings that complement your cake’s dense crumb structure.
Spring calls for fresh berries and lemon glaze; summer demands stone fruits with honey drizzle; autumn suits spiced streusel and caramel sauce; winter pairs beautifully with chocolate ganache and candied citrus.
Experiment with flavor modifications by incorporating extracts—almond, vanilla, or rum—directly into your batter.
Substitute one-quarter cup of flour with cocoa powder for a chocolate variant, or fold in finely grated citrus zest.
Master beverage pairings to enhance your tasting experience.
Strong black tea, espresso, and aged whiskey complement the cake’s butter-forward profile.
Sweet dessert wines and cream sherry balance richness effectively.
These strategic combinations maximize your pound cake’s versatility and enjoyment.
10. Troubleshooting Common Baking Issues
Even with meticulous technique, you’ll occasionally encounter issues that compromise your pound cake’s texture and rise.
Address common problems systematically:
- Humidity effects – Reduce liquid by 1-2 tablespoons per cup of flour in high-humidity environments; moisture interferes with gluten development and creates dense crumbs.
- Altitude adjustments – Increase oven temperature by 15-25°F and reduce baking powder by 25% at elevations above 3,000 feet; lower atmospheric pressure accelerates moisture evaporation.
- Underbaking or overbaking – Insert a toothpick near the center; it should emerge with minimal crumbs, not wet batter. Overbaking dries out your cake irreversibly.
You’ll master pound cake by understanding these variables.
Monitor internal temperature (205-210°F) for precision.
Document your adjustments to replicate success consistently.
Frequently Asked Questions
Can I Substitute Butter With Oil or Margarine in Pound Cake?
You can substitute butter with oil or margarine, though you’ll experience notable Flavor Impact and Texture Changes.
Oil produces a denser, moister crumb since it doesn’t cream with sugar like butter does.
Margarine works better, mimicking butter’s emulsification properties more closely.
For ideal results, you’ll reduce oil by 25% (use 3/4 cup oil per 1 cup butter) to prevent excessive moisture.
Your pound cake’s structural integrity depends on precise measurements—don’t skip this critical step.
How Long Does Homemade Pound Cake Stay Fresh at Room Temperature?
You’ll keep your homemade pound cake fresh at room temperature for 3-4 days when you store it properly.
The staling timeline accelerates with humidity effects—moisture causes rapid degradation of crumb structure.
You’ll achieve ideal preservation by wrapping the cake tightly in plastic wrap, then placing it in an airtight container.
Higher humidity environments compress your freshness window considerably, so you’ll want to monitor storage conditions meticulously for best results.
Can Pound Cake Batter Be Made Ahead and Refrigerated Overnight?
You can refrigerate pound cake batter overnight without compromising results. The resting effects actually benefit your cake’s crumb structure.
However, you’ll need to adjust your leavening schedule—add fresh baking powder or soda right before baking to restore rise. Use precise measurements when incorporating these leavening agents.
This freedom to prep ahead means you’re not bound to baking day constraints, allowing you maximum flexibility in your kitchen operations.
What’s the Difference Between Pound Cake and Butter Cake Recipes?
You’ll find pound cake uses a 1:1:1:1 ratio of butter, sugar, eggs, and flour, creating a dense, moist texture.
Butter cake recipes vary their ingredient ratios, incorporating more liquid and leavening agents like baking powder.
This texture comparison reveals butter cake’s lighter, airier crumb structure.
You’re basically choosing between pound cake’s rich, compact density and butter cake’s tender, fluffy alternative—both legitimate approaches to cake-making freedom.
Can I Freeze Pound Cake, and How Long Does It Last Frozen?
You can absolutely freeze your pound cake for up to three months.
Wrap it tightly in plastic wrap, then aluminum foil, or use vacuum sealing for ideal preservation.
When you’re ready, thaw it at room temperature for two to three hours, still wrapped to prevent condensation.
This method maintains your cake’s moisture and texture, giving you complete control over your baking schedule without compromising quality.


Leave a Comment