Key Takeaways
- Use two pounds of firm, tart Granny Smith apples (or mix with Honeycrisp) peeled and sliced uniformly into quarter-inch pieces.
- Combine three-quarters cup granulated sugar, one-quarter cup brown sugar, one and one-half teaspoons cinnamon, and one-quarter teaspoon nutmeg with apples.
- Macerate sweetened apples for fifteen minutes, then distribute one to two tablespoons cornstarch evenly across layers during assembly.
- Layer half the apples in unbaked crust, sprinkle thickener, add remaining apples mounded slightly, seal with top crust, and crimp edges.
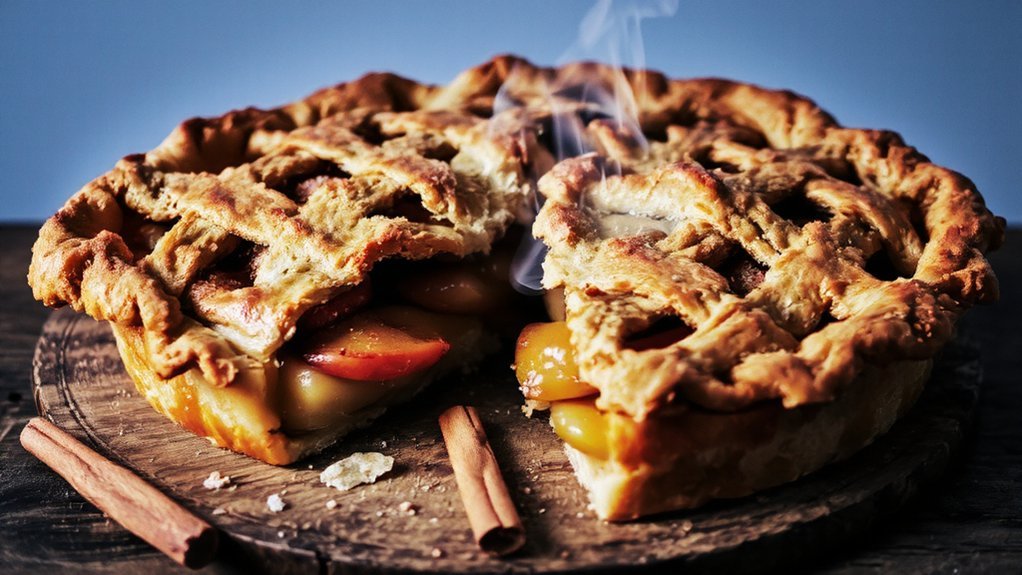
- Preheat oven and bake pie at appropriate temperature until golden brown with bubbling filling visible at vents before cooling completely.
Ingredients You’ll Need

You’ll need nine essential components to bake a traditional apple pie: two pounds of Granny Smith apples (about six medium apples), one nine-inch unbaked pie crust, three-quarters cup granulated sugar, one-quarter cup brown sugar.
Two tablespoons all-purpose flour, one tablespoon cornstarch, one-half teaspoon ground cinnamon, one-quarter teaspoon ground nutmeg, and one-half teaspoon salt.
These pantry staples work together to create the perfect filling consistency and flavor profile.
Pantry staples combine seamlessly to achieve the ideal filling consistency and rich, balanced flavor profile in every slice.
You’ll combine your sugars and spices to coat your apples evenly.
The flour and cornstarch thicken the filling, preventing a soggy bottom crust.
For substitute suggestions, you can swap brown sugar with maple syrup or use whole wheat flour for standard flour.
You’re free to adjust spice ratios based on your preferences.
Make sure all ingredients are room temperature before mixing for best results.
Selecting the Best Apples
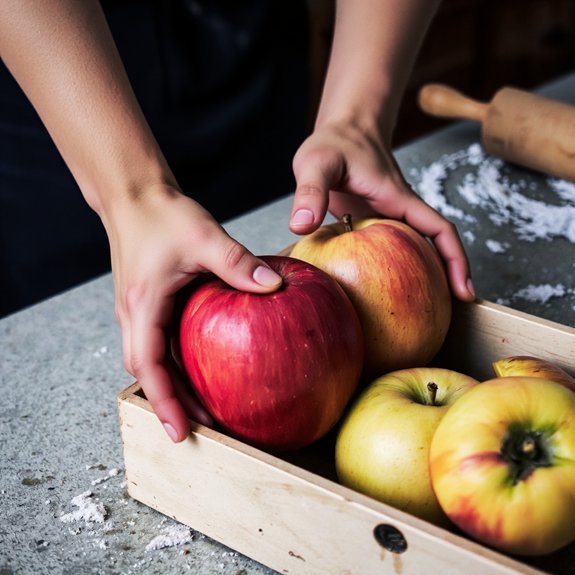
Now that you’ve gathered your ingredients, picking the right apples makes all the difference in your pie’s success.
You’ll want varieties that balance tartness with natural sweetness, offering structural integrity during baking.
Consider these apple characteristics:
- Granny Smith: High acidity, firm flesh, resists breakdown
- Honeycrisp: Sweet-tart profile, maintains shape when baked
- Pink Lady: Complex flavor, excellent texture retention
Apple terroir—the environmental conditions where apples grow—directly impacts their flavor complexity and sugar content.
Research your local orchard practices; apples from sustainable, well-managed orchards typically demonstrate superior quality.
You’re not locked into commercial varieties.
Local growers often cultivate heirloom selections offering unique taste profiles unavailable in supermarkets.
Mix two complementary varieties for dimensional flavor.
This approach gives you freedom to customize your pie’s taste intensity while ensuring your filling achieves the perfect consistency.
Making the Perfect Pie Crust

Crafting a flaky, tender crust requires understanding how fat, flour, and water interact during mixing and baking.
You’ll want to cut cold butter into your flour mixture until it resembles coarse breadcrumbs—this creates pockets that steam during baking, producing layers.
The lamination method involves folding dough repeatedly to build structure.
You’re fundamentally creating thin fat sheets between flour layers, which separate during heat and yield that coveted flakiness.
For your rolling technique, work quickly on a floured surface.
Don’t overwork the dough; excessive handling develops gluten and toughens your crust.
Roll from the center outward, rotating your dough frequently to maintain an even thickness.
Chill your rolled dough before fitting it into your pie pan.
This prevents shrinkage during baking and guarantees your crust holds its shape beautifully.
Preparing the Filling
You’ll start by selecting firm, tart apples like Granny Smiths or Honeycrisps, peeling and slicing them into uniform quarter-inch pieces to guarantee even cooking.
Next, you’ll combine your sweetening and spicing mix—typically brown sugar, cinnamon, nutmeg, and a pinch of salt—tossing it thoroughly with the apples to coat them evenly.
Finally, you’ll add a thickening agent such as cornstarch or flour to absorb the apples’ released juices, preventing a soggy crust.
Selecting Quality Apples
Because the filling’s flavor and texture depend entirely on your apple selection, it’s crucial to choose varieties that balance tartness with natural sweetness and maintain their structure during baking.
You’ll want to source apples thoughtfully, considering sourcing ethics and building direct farm relationships when possible. This approach guarantees you’re getting peak-ripeness fruit while supporting sustainable practices.
Optimal apple varieties for pie include:
- Granny Smith: Tart, firm, resists mushiness
- Honeycrisp: Sweet-tart balance, excellent texture retention
- Pink Lady: Complex flavor, structural integrity during heat
You’ll need roughly 6-8 medium apples (about 3 pounds) for a standard 9-inch pie.
Avoid mealy or overripe specimens. Inspect each apple for bruises, soft spots, and firmness.
Your filling’s success hinges on this selection phase—quality apples deliver superior results.
Sweetening and Spicing Mix
Once your apples are prepped and sliced, it’s time to build the filling’s flavor foundation with a balanced sweetening and spicing mix.
Combine three-quarters cup of granulated sugar with one-quarter cup of brown sugar for depth and caramel notes.
Add one-half teaspoon each of cinnamon, nutmeg, and allspice—these warm spices’ll enhance natural apple sweetness without overpowering it.
Incorporate one-eighth teaspoon of cloves for complexity.
A quarter teaspoon of salt balances flavors and amplifies spice perception.
Mix two tablespoons of cornstarch to thicken your filling properly during baking.
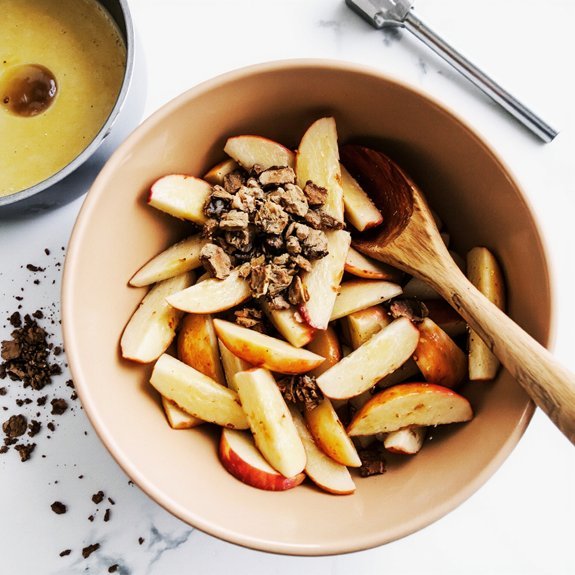
Toss your apple slices thoroughly with this mixture until evenly coated.
Let them sit fifteen minutes to macerate and release juices.
This technique guarantees your pie’s flavor profile pairs beautifully with complementary cocktail pairings and makes an impressive gift packaging centerpiece.
Thickening the Filling
The cornstarch you’ve already incorporated into your spiced sugar mixture serves as your primary thickening agent, but understanding how it functions during baking guarantees ideal filling consistency.
Heat activates cornstarch’s thickening properties, absorbing excess moisture released by apples during cooking.
Consider these options for your filling:
- Cornstarch alternatives: Tapioca starch or arrowroot powder work effectively, offering similar results with subtle texture variations
- Gelatin use: Optional addition of unflavored gelatin enhances stability, particularly useful if you prefer firmer filling that slices cleanly
- Ratio precision: Maintain 1-2 tablespoons cornstarch per pound of apples for best consistency
You’ll achieve thickened filling without lumps by ensuring even distribution throughout your apple mixture before pouring into the pie crust.
Don’t skip this essential step—proper thickening prevents runny filling and maintains structural integrity during baking and cooling.
Spices and Flavoring
While cinnamon forms the aromatic foundation of apple pie, you’ll want to combine it with complementary spices to build complexity and depth. Understanding aroma chemistry helps you craft balanced flavor profiles that honor apple pie’s historical origins while establishing your signature version.
| Spice | Quantity | Function |
|---|---|---|
| Cinnamon | 1½ tsp | Primary warmth and sweetness |
| Nutmeg | ¼ tsp | Earthy undertones and depth |
| Allspice | ⅛ tsp | Clove and cinnamon notes |
| Vanilla extract | 1 tsp | Flavor amplification and smoothness |
| Lemon zest | ½ tsp | Brightness and acidity balance |
You’ll layer these ingredients directly into your thickened filling, distributing them evenly. Add spices gradually, tasting as you adjust. This methodical approach lets you control intensity and create the pie you want without excessive sweetness masking apple’s natural character.
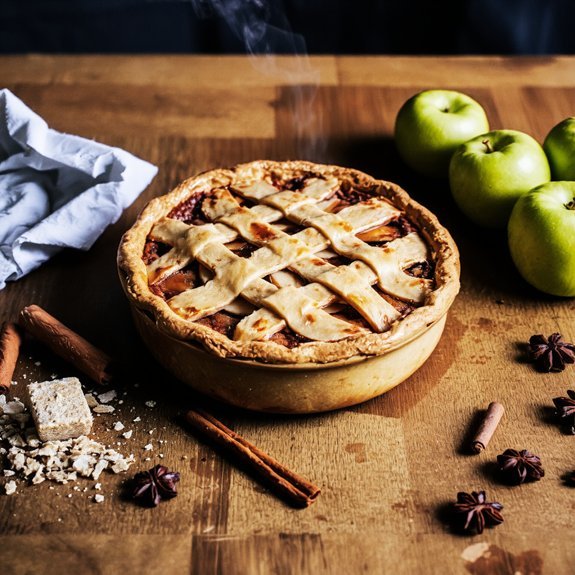
Assembling Your Pie
Carefully transfer your prepared pie dough to a 9-inch pie pan, pressing it gently into the bottom and sides without stretching.
Then trim the overhang to 1 inch and crimp the edges with your fingers or a fork for both structural integrity and visual appeal.
Now you’re ready to build your filling.
Organize your tools efficiently—have your spiced apples, sugar mixture, and thickening agent within arm’s reach.
Organize your tools efficiently—have spiced apples, sugar mixture, and thickening agent within arm’s reach before assembly.
Follow this layer sequence for ideal texture and flavor distribution:
- Pour half your apple mixture into the crust
- Distribute thickener evenly across the layer
- Top with remaining apples, mounding slightly toward center
Place your top crust over the filling, seal the edges by pressing firmly, and cut steam vents.
You’ve now assembled a structurally sound pie ready for baking.
Crimping and Decorating the Edges
Now that you’ve sealed your pie’s perimeter, it’s time to transform those edges into both a functional seal and a decorative element.
Use your thumb and forefinger to create uniform crimps every half-inch around the crust’s border. This technique simultaneously strengthens the seal and creates visual appeal.
For holiday motifs, consider fork impressions or fluted patterns that complement your filling.
You can also sculpt small dough cutouts—leaves, stars, or pumpkins—and press them onto the crimped edge with egg wash for adhesion.
Before decorating, make sure your tool maintenance is current; clean your implements thoroughly to prevent dough buildup.
A sharp, well-maintained fork or crimper produces cleaner, more professional results.
These decorative crimps aren’t merely aesthetic—they allow steam to escape while maintaining the crust’s structural integrity throughout baking.
Baking Tips for Golden Perfection
You’ll achieve a golden crust by maintaining your oven at a consistent 375°F throughout baking, checking the temperature with an oven thermometer since many ovens run hotter or cooler than their dial suggests.
Position your pie on the lower oven rack during the first 20 minutes to set the bottom crust, then move it to the middle rack for the remaining 25-35 minutes so the top browns evenly without burning.
If your crust edges darken too quickly, tent them loosely with aluminum foil to shield them while the filling and top continue cooking to the proper doneness.
Crust Temperature Control
Maintaining precise oven temperature throughout the baking process is essential for achieving an evenly golden crust without burning the edges before the filling sets.
You’ll need to master chill timing and thermal mapping to control your results effectively.
Here’s how you take command of your baking:
- Preheat your oven 25 minutes before baking to guarantee stable internal temperatures and accurate thermal mapping across all zones
- Use an oven thermometer to verify actual temperatures, since most ovens vary substantially from their dial settings
- Rotate your pie 180 degrees halfway through baking to compensate for hot spots and uneven heat distribution
Your chill timing determines how quickly the crust sets.
A properly chilled crust resists spreading and maintains structural integrity.
Reduce your oven temperature by 25°F if edges brown too quickly, protecting the crust while your apple filling cooks completely.
Oven Rack Positioning
Because heat rises unevenly through your oven’s interior, positioning your pie on the lower-middle rack guarantees that bottom heat reaches the crust before top heat browns the edges excessively.
You’ll want to follow installation techniques specific to your oven model—check your manual for rack configuration options.
Measure clearance measurements carefully: you’ll need at least three inches between your pie’s top and the heating element above.
This spacing prevents the filling from bubbling over onto the upper heating coil.
Position your rack so the pie sits centered horizontally, ensuring even heat circulation around all sides.
If your oven runs hot, drop the rack one position lower.
You’re taking control of your baking environment, eliminating guesswork and guaranteeing consistent, golden-brown results every time you slide that pie in.
Cooling and Serving Suggestions
After you’ve removed the apple pie from the oven, let it cool on a wire rack for at least 15-20 minutes before slicing; this resting period allows the filling’s starches to set, preventing a runny interior and ensuring clean, intact slices.
You’ll appreciate how this step transforms your pie’s structure and presentation.
Consider these serving enhancements:
- Vanilla ice cream or whipped cream – These dairy-based toppings complement the tart apples and buttery crust perfectly
- Beverage pairings – Serve alongside black coffee, chai tea, or crisp apple cider for balanced flavor profiles
- Garnish options – Dust with cinnamon sugar, add candied apple slices, or drizzle with caramel sauce for visual appeal
You’ve earned the freedom to customize your pie however you prefer. Store leftovers covered at room temperature for two days or refrigerate for up to five days.
Storage and Make-Ahead Options
Your apple pie’s shelf life depends on how you’ve stored it, but you can extend its enjoyment well beyond those initial five days by freezing.
Wrap your cooled pie tightly in plastic wrap, then aluminum foil, to prevent freezer burn and flavor degradation. You’ll maintain peak quality for up to three months using this freezing method.
For make-ahead convenience, you can freeze your unbaked pie. Assemble it completely, freeze unwrapped until solid, then wrap and store for up to two months.
When ready to enjoy, apply these reheating tips: thaw frozen baked pie in your refrigerator overnight, then warm at 350°F for 15-20 minutes.
Unbaked pies go directly from freezer to oven—add 15 minutes to your standard baking time. You’ll reclaim that fresh-baked quality you demand.
Frequently Asked Questions
Can I Make Apple Pie Without a Bottom Crust?
You can absolutely skip the bottom crust and embrace a rustic slab or galette style instead. Layer your spiced apples directly onto parchment paper, fold up the dough edges, and let them naturally crimp around the filling.
This approach gives you complete control over your crust-to-fruit ratio. You’ll get caramelized edges, a structurally sound dessert, and fewer dishes.
Your freedom to customize the filling—adjusting sugar, spices, and apple varieties—remains entirely yours.
What’s the Difference Between Apple Pie and Apple Crisp?
You’ll find apple pie and apple crisp differ fundamentally in topping texture and cultural origins. Apple pie features a pastry crust—bottom and top—with roots in European baking traditions.
Apple crisp, conversely, uses a crumbly oat-based topping with origins in British steamed puddings. You’re choosing between buttery pastry versus crunchy streusel.
Both showcase spiced apples, but crisp demands less precision; you’re simply layering ingredients without rolling dough, giving you straightforward freedom in preparation.
How Do I Prevent My Pie Crust From Shrinking?
You’ll prevent shrinkage by chilling your dough thoroughly before baking—at least thirty minutes.
When you trim edges, leave some overhang for contraction.
Don’t stretch the dough when fitting it into your pan; let it relax naturally.
Use a fork to dock the bottom, reducing air pockets that cause lifting.
Chill the assembled pie again before baking.
These techniques give you maximum control over your crust’s final dimensions and structure.
Can I Use Frozen Apples Instead of Fresh Apples?
You can absolutely use frozen apples for your pie.
Thaw them completely beforehand to drain excess moisture—this prevents a soggy crust.
Choose varieties with good tartness, like Granny Smith or Honeycrisp, which maintain structure better when frozen.
Since thawing releases water, you’ll want to reduce added liquid in your filling.
Pat the apples dry before combining with your sugar and spices.
This method gives you complete control over your ingredient quality year-round.
Why Is My Apple Pie Filling Watery or Runny?
Your apple pie filling’s runny because you’re likely skipping proper thickening agents or using insufficiently ripe fruit. Cornstarch, tapioca, or flour absorb excess moisture that apples release during baking.
Underripe apples don’t break down properly, creating watery filling. You’ll want to macerate your apples with sugar beforehand, drain excess liquid, then add your thickener choice directly to the fruit.
This technique guarantees you’ll get the custard-like consistency you’re after.


Leave a Comment