Key Takeaways
- Cream softened butter and sugars until fluffy and pale, then fold in premium chocolate chips for best flavor and texture.
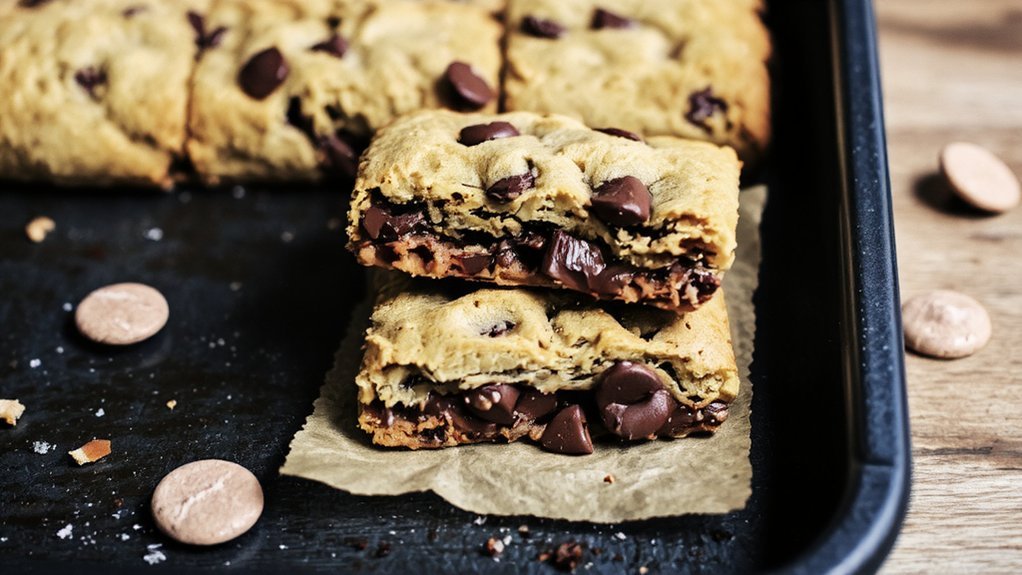
- Bake at preheated 350°F for 25–30 minutes until edges are golden but centers remain slightly soft for fudgy texture.
- Pull bars from oven when edges are golden and a toothpick shows a few moist crumbs; they set while cooling.
- Store cooled bars in airtight containers at room temperature for up to five days or freeze for three months.
- Enhance with mix-ins like sea salt, espresso powder, toasted coconut, or nuts; serve warm with ice cream or chilled for portability.
Ingredients You’ll Need
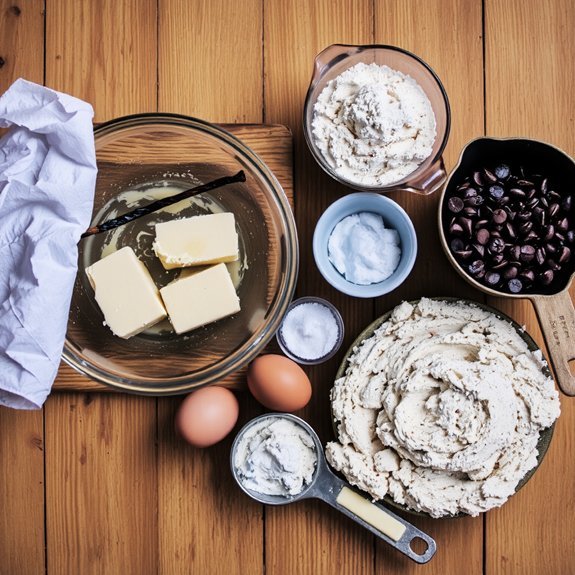
You’ll want to gather your dry ingredients first—all-purpose flour, baking soda, and salt—whisking them together in a medium bowl to distribute the leavening evenly.
This foundation matters because quality indicators like protein content directly impact your bars’ texture and structure.
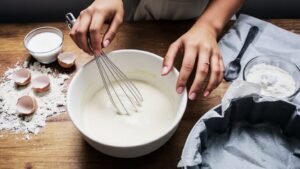
Next, assemble your wet components: softened butter, brown sugar, and granulated sugar.
You’re creating a creamed base that’ll hold everything together.
Crack in your eggs one at a time, then add vanilla extract for depth.
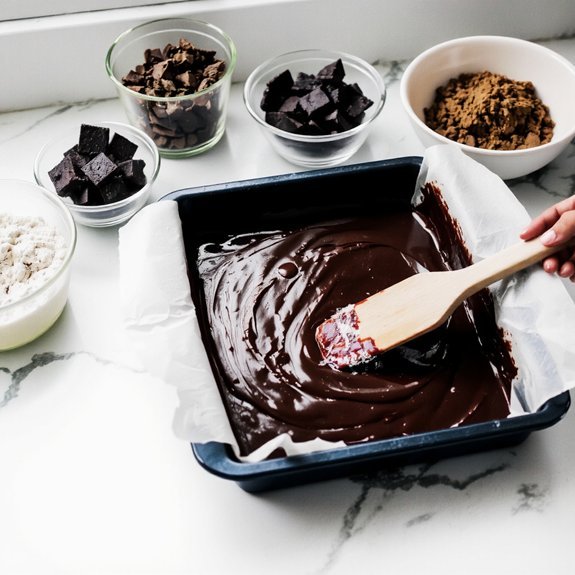
For chocolate chips, seek out premium brands—ingredient origins matter here.
Belgian or Swiss varieties deliver superior flavor compared to mass-produced alternatives.
Finally, gather your mix-ins: chopped nuts or sea salt, if desired.
Don’t skip steps.
Each ingredient plays an essential role in creating bars that’ll taste as bold as your independence demands.
Step-by-Step Instructions
You’ll start by gathering your butter, eggs, brown sugar, and vanilla—everything ready within arm’s reach so you’re not scrambling mid-mix.
Once you’ve creamed your butter and sugar into a fluffy, pale mixture, you’ll fold in your chocolate chips and watch them nestle into the batter like jewels.
Then you’ll pour this golden mixture into your prepared pan and slide it into a preheated oven, where the magic happens as the edges turn golden-brown and the center bakes to that perfect chewy-yet-set texture.
Prepare Your Ingredients
Before the mixing begins, gather everything you’ll need on your counter—this simple act transforms baking from chaotic to seamless.
- Measure your dry ingredients with precision—flour, baking soda, and salt demand accuracy for consistent results
- Soften your butter to room temperature, ensuring it’ll cream properly with sugar and incorporate air
- Crack your eggs into a separate bowl, checking for shells and achieving room temperature for better emulsification
- Organize chocolate chips and any mix-ins within arm’s reach
Temperature control matters here.
Cold butter won’t blend smoothly; cold eggs won’t bind effectively.
Grab your vanilla extract and have your measuring spoons ready.
This prep work isn’t busy work—it’s your foundation for success.
You’re setting yourself up to move through mixing with confidence and control, no scrambling, no forgotten ingredients derailing your bake.
Bake to Perfection
Watching your batter transform into golden-brown bars is where all that prep work pays off.
Slide your pan into that preheated 350°F oven and set your timer for 25-30 minutes.
You’ll know you’re hitting that sweet spot when aroma signals fill your kitchen—that irresistible chocolate-nutty fragrance tells you you’re getting close.
Watch for doneness cues: the edges should turn light golden while the center stays slightly soft.
Don’t overbake; you want bars that are fudgy, not dry. Trust your instincts here. When a toothpick inserted near the center comes out with just a few moist crumbs clinging to it, you’ve nailed it.
Pull them out and let that victory sink in. Your chocolate chip cookie bars are ready to conquer.
Baking Tips for Perfect Results
Getting chocolate chip cookie bars right comes down to a few essential details that’ll transform your baking from mediocre to magnificent.
You’ve got this.
1) Calibrate your oven — invest in an oven thermometer.
Temperature swings wreck your results, so verify that 350°F actually means 350°F in your kitchen.
2) Account for altitude adjustments —
if you’re baking above 3,000 feet, you’ll need to reduce baking soda, increase liquids slightly, and raise your oven temperature by 15-25°F.
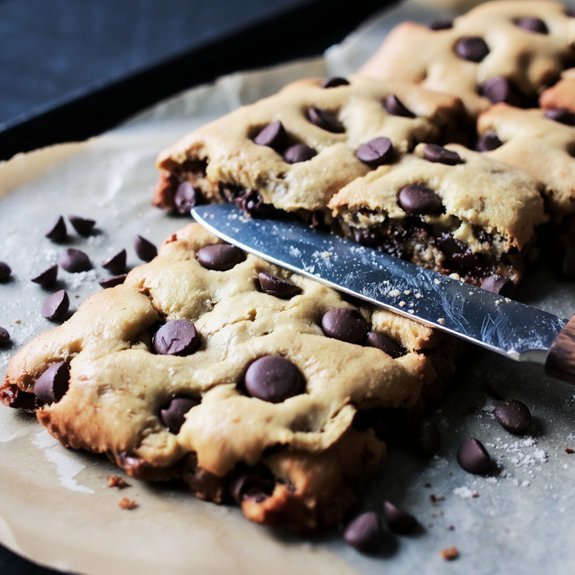
3) Don’t overbake — pull your bars when edges’re golden but centers still look slightly underdone.
They’ll set as they cool.
4) Use room-temperature ingredients —****
cold butter and eggs won’t blend properly, creating dense, uneven bars.
Master these tactics, and you’re breaking free from cookie bar disappointments.
Storage and Shelf Life
Once you’ve pulled those perfectly golden bars from the oven, you’ll want to preserve that fresh-baked magic for as long as possible.
Store your cooled bars in best containers—airtight ones keep them chewy and delicious for up to five days at room temperature.
Airtight containers keep your bars chewy and delicious for up to five days at room temperature.
You’re in control of the texture: sealed containers maintain softness, while open storage creates a crispier bite.
For extended enjoyment, freeze your bars.
They’ll stay pristine for three months when wrapped individually in plastic wrap, then placed in freezer-safe containers.
Freezer thawing takes just an hour at room temperature, and you’ll reclaim that just-baked quality without any compromise.
This freedom to bake ahead makes entertaining effortless and stress-free.
Variations and Customizations
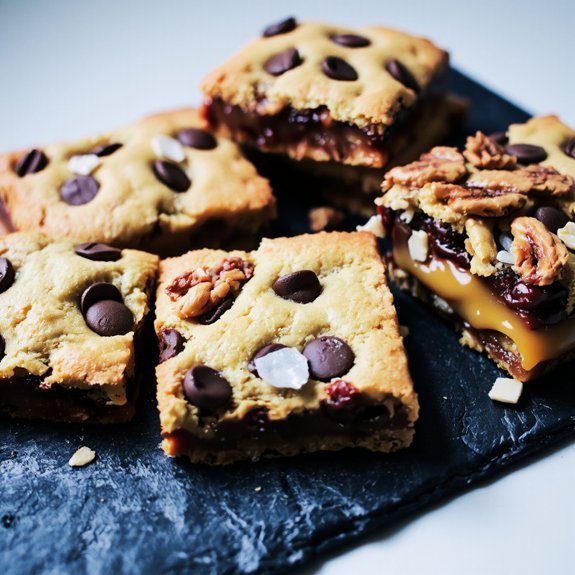
You’ll discover endless ways to customize your chocolate chip cookie bars by layering in mix-ins like crushed pretzels, toasted coconut, or espresso powder that transform each bite into something uniquely yours.
If you’re managing dietary restrictions, you can swap traditional butter for coconut oil, use almond flour blends, or substitute chocolate chips with carob pieces and still achieve that satisfying, indulgent texture you’re craving. These simple tweaks let you craft bars that match your preferences while maintaining the chewy, golden-brown character that makes this treat irresistible.
Mix-In Flavor Combinations
While the classic chocolate chip cookie bar never fails to satisfy, swapping out ingredients opens up a world of possibilities that’ll transform your batch into something entirely new.
You can craft sensory contrasts that electrify your palate:
- Sea salt and dark chocolate – sharp minerality against rich cocoa depths
- Espresso and white chocolate – bitter coffee notes with creamy sweetness
- Cinnamon and brown butter – warm spice layered with nutty complexity
- Dried cranberry and orange zest – tart brightness cutting through richness
Draw inspiration from regional inspirations too.
Think chai spices reminiscent of Indian bakeries or matcha hints inspired by Japanese confections.
You’re not just baking—you’re creating bold flavor experiences that break free from ordinary expectations and deliver genuine taste adventures.
Dietary Substitution Options
Everyone’s got different dietary needs, and that shouldn’t mean missing out on chocolate chip cookie bars.
You can swap allergen-heavy ingredients without sacrificing taste or texture.
Replace regular flour with almond flour or oat flour for a gluten-free version that’s equally satisfying.
Can’t do dairy? Coconut oil or plant-based butter works beautifully.
Label reading becomes your superpower here—check every ingredient, especially chocolate chips, which sometimes hide dairy or soy.
For nut allergies, sunflower seed butter replaces peanut varieties seamlessly.
You might substitute chocolate chips with carob chips if you’re avoiding caffeine entirely.
Vegan? Flax eggs bind everything together perfectly.
The beauty of cookie bars is their flexibility—you’re not just accommodating restrictions, you’re creating something authentically yours that everyone at your table can actually enjoy.
Serving Suggestions
How do you want to enjoy these bars?
You’ve got freedom here. Take charge of your experience with these simple serving strategies:
- Pair with bold beverages—strong coffee cuts through richness, while cold milk creates classic comfort. Try dark tea for sophistication.
- Plate strategically—dust with powdered sugar, add fresh berries alongside, or drizzle warm chocolate sauce for elegance that impresses.
- Temperature matters—serve them warm with vanilla ice cream melting into crevices, or chilled for structured, portable indulgence.
- Go unconventional—stack them high for dramatic presentation, crumble over yogurt, or pack them for adventure.
Don’t settle for ordinary plating ideas.
Your beverage pairings and presentation choices transform these bars from simple treat to memorable moment.
Own it.
Frequently Asked Questions
Can I Use Margarine Instead of Butter in This Chocolate Chip Cookie Bar Recipe?
You can substitute margarine, though you’re sacrificing richness for convenience.
Here’s the truth: margarine’s melting behavior differs markedly from butter, potentially yielding greasier, less flaky bars.
Health implications matter too—butter contains natural fats while margarine relies on processed oils and additives.
Your bars won’t achieve that golden, buttery flavor or crisp texture butter delivers.
If you’re choosing freedom from dairy, go for it, but expect noticeably different results.
Real butter elevates these bars considerably.
What’s the Difference Between This Bar Recipe and Traditional Chocolate Chip Cookies?
You’ll notice bar recipes give you that glorious texture contrast—crispy edges yielding to chewy centers—that individual cookies can’t quite match.
You’re not fussing with portioning dough balls either; you’ve got complete freedom to cut whatever size you want.
Bars stay moister longer, demand zero shaping skills, and you’ll bake one pan instead of dozens of cookies.
It’s liberation in dessert form, my friend.
Can I Make This Recipe Without Eggs for Dietary Restrictions or Allergies?
You’ve absolutely got options here.
Try a flax replacement—mix one ground flaxseed with three tablespoons water per egg, letting it sit five minutes until it thickens into a binding powerhouse.
Want something quicker? Aquafaba options work brilliantly too; three tablespoons of that chickpea liquid replaces one egg seamlessly.
You’re not sacrificing anything—you’re liberating your baking from restrictions, creating bars that taste decadent without compromise.
How Do I Prevent My Chocolate Chip Cookie Bars From Becoming Too Dry?
You’ll keep your bars moist by using brown sugar—it’s your secret weapon, holding onto moisture like nobody’s business.
Don’t overbake; pull them from the oven when the edges set but the center still jiggles slightly.
Lower your oven temperature by 25 degrees if you’re burning them. Check at the minimum time listed. You’re in control here—trust your instincts and remove them early. Underbaked beats dry every single time.
Can I Freeze Chocolate Chip Cookie Bars Before or After Baking Them?
You’ve got total freedom here—freeze ’em raw or baked, whatever suits your schedule.
Unbaked dough bars last up to three months; baked ones stay fresh for two.
Thaw unbaked bars at room temperature for thirty minutes before popping them in the oven.
For baked bars, let ’em sit out an hour.
You’re taking control of your baking timeline, enjoying warm, homemade cookies exactly when you want them.


Leave a Comment