Key Takeaways
- Combine 2 cups flour, 1 cup wheat bran, sugar, and leavening agents; fold in wet ingredients gently to avoid overdeveloping gluten.
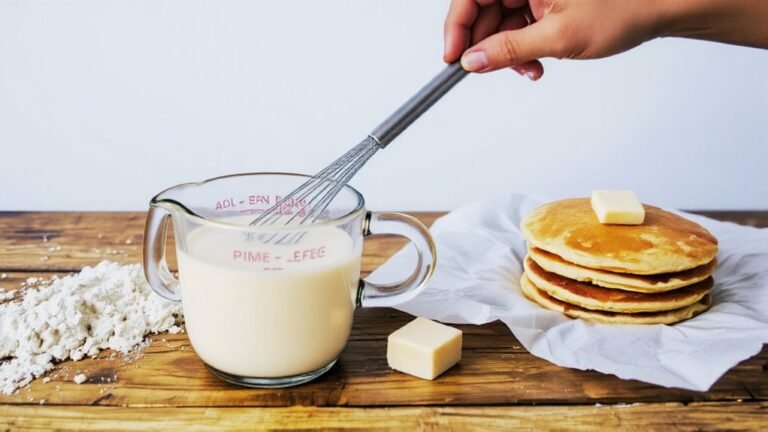
- Use room-temperature eggs, buttermilk, vegetable oil, and vanilla extract; blend wet ingredients separately before folding into dry mixture.
- Fill muffin cups two-thirds full and bake until a toothpick inserted in the center emerges clean for optimal results.
- Measure dry ingredients by scale rather than cups to eliminate volume variation and ensure consistent muffin quality and texture.
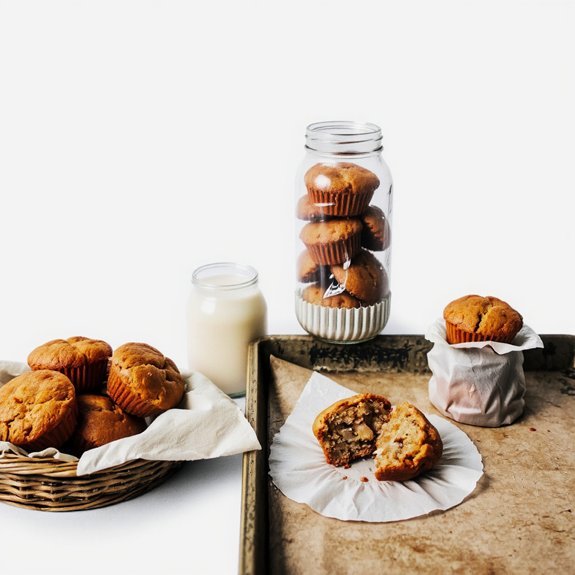
- Store cooled muffins in airtight containers at room temperature three days, refrigerate five days, or freeze individually up to three months.
Ingredients You’ll Need
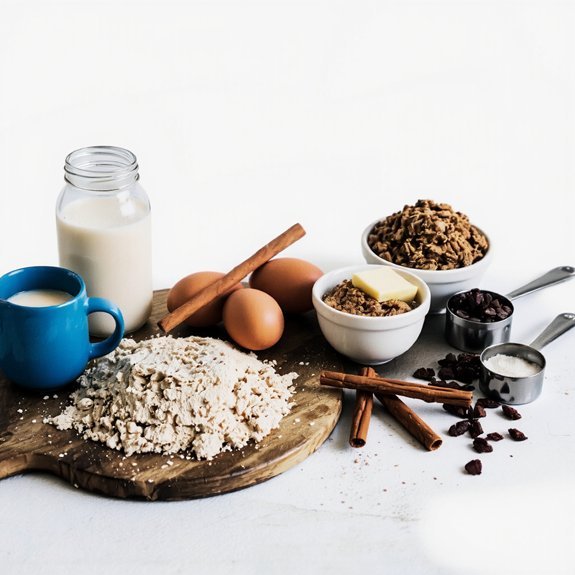
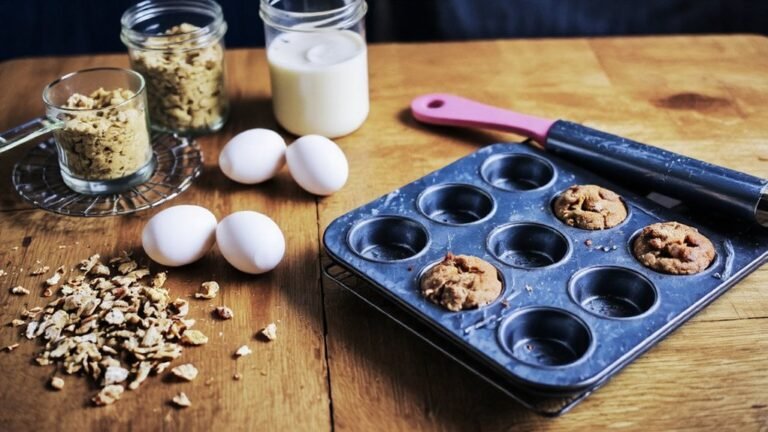
You’ll need to gather 2 cups all-purpose flour, 1 cup wheat bran, ¾ cup granulated sugar, 2 teaspoons baking powder, ½ teaspoon baking soda, ¼ teaspoon salt, 2 large eggs, 1 cup buttermilk, ⅓ cup vegetable oil, and 1 teaspoon vanilla extract before beginning the mixing process.
For ideal ingredient sourcing, you’ll want to select premium wheat bran from reputable suppliers to achieve maximum fiber content.
Your nutritional breakdown benefits notably from this choice, delivering approximately 3 grams of dietary fiber per muffin.
All-purpose flour should meet standard protein specifications around 10-12%.
You’ll find that buttermilk’s lactic acid activates your leavening agents, creating superior crumb structure.
Room-temperature eggs emulsify more effectively with your oil, establishing a stable batter composition.
This methodical approach guarantees consistent results while maintaining nutritional integrity throughout your baking process.
Step-by-Step Instructions
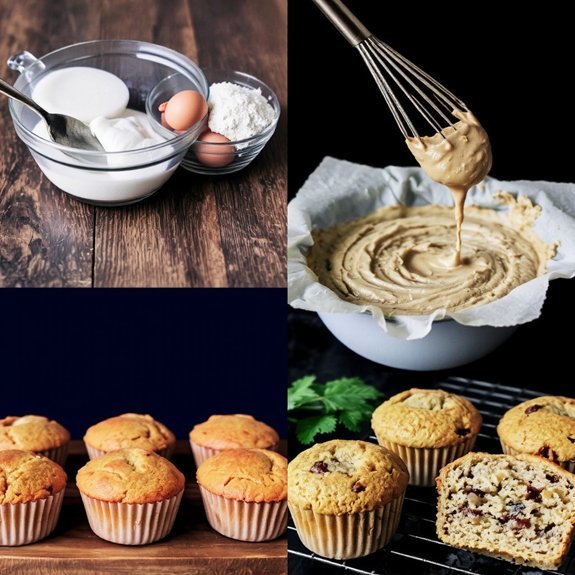
With your ingredients properly prepared, it’s time to execute the mixing process.
First, combine your dry ingredients in a large bowl, whisking thoroughly to distribute the leavening agents evenly. This creates visual checkpoints for uniform texture.
Next, blend your wet ingredients separately until fully incorporated.
Gradually fold the wet mixture into the dry ingredients, mixing until just combined—overmixing develops gluten and compromises your muffin’s tender crumb structure.
Divide the batter equally among your prepared muffin cups, filling each approximately two-thirds full.
Safety reminders: confirm your oven’s been preheated to the specified temperature and position your rack at the center.
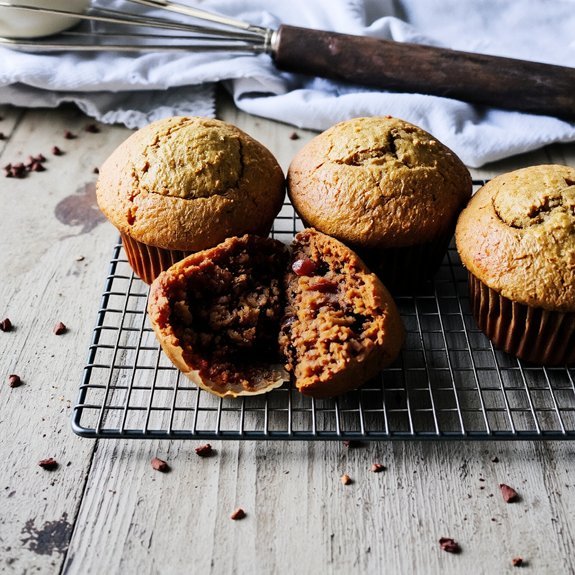
Bake for the recommended duration, checking doneness at the midpoint. A toothpick inserted into the center should emerge clean, indicating proper moisture levels.
Remove from the oven and cool briefly before demolding.
Tips for Perfect Muffins Every Time
Because bran muffins’ success hinges on precise technique and ingredient quality, mastering several key principles’ll elevate your results consistently. You’ll achieve ideal texture by measuring dry ingredients with a scale rather than cups—this eliminates volume variation. Confirm your oven calibration accuracy using an independent thermometer; many home ovens deviate 25°F from displayed temperatures. Account for altitude adjustments: above 3,000 feet, reduce baking powder by 25% and increase liquid by 2-3 tablespoons per cup of flour.
| Factor | Action | Result |
|---|---|---|
| Temperature | Calibrate oven | Consistent rise |
| Mixing | Fold gently | Tender crumb |
| Timing | Set alarm | Even doneness |
| Cooling | Immediate removal | Proper texture |
You’ll master bran muffin production by adhering to these exacting standards and technical protocols.
Storage and Make-Ahead Options
Proper storage extends your bran muffins’ shelf life while preserving their moisture content and structural integrity.
You’ll want to store cooled muffins in airtight containers at room temperature for up to three days, or refrigerate them for five days maximum.
For extended preservation, you’ve got freedom with portion freezing.
Wrap individual muffins in parchment paper, then seal them in freezer-safe bags.
This method prevents freezer burn and allows you to thaw only what you need.
Always implement labeling dates on all containers.
Write the freezing date clearly—frozen muffins maintain peak quality for up to three months.
Thaw muffins at room temperature for two hours or microwave them for 45 seconds.
You can also bake batter ahead by refrigerating it overnight in your muffin tin, then baking fresh whenever you’d like.
Variations to Try

How can you elevate your bran muffins beyond the basic formula? Experiment with international twists and bold flavor combinations. Modify your base recipe by adjusting leavening agents, fat ratios, and hydration levels to achieve desired crumb structure.
| Variation | Key Modification | Pairing Beverages |
|---|---|---|
| Chai Spice | Add cardamom, ginger, cloves | Chai tea, oat milk latte |
| Mexican Chocolate | Incorporate cinnamon, cocoa, cayenne | Espresso, Mexican hot chocolate |
| Scandinavian Berry | Substitute bran with oat flour, add lingonberries | Black coffee, aquavit |
| Middle Eastern Date | Include tahini, reduce sugar, add pistachios | Turkish coffee, strong black tea |
You’re free to manipulate ingredient proportions strategically. Increase fat content for moisture retention or boost fiber percentages for digestive benefits. These systematic adjustments yield muffins tailored to your specifications while maintaining structural integrity throughout the baking process.
Frequently Asked Questions
Are Bran Muffins Healthy, and What Nutritional Benefits Do They Provide?
You’ll benefit from bran muffins’ substantial fiber content, which supports digestive health and satiety.
They’ve got a lower glycemic impact than conventional muffins, preventing rapid blood sugar spikes.
You’re consuming approximately 3-5 grams of fiber per serving, promoting metabolic efficiency.
The bran delivers B vitamins and minerals that’ll enhance your nutritional intake.
You’ll experience sustained energy without the crash.
These aren’t restrictive foods—you’re gaining nutritional density while enjoying genuine satisfaction.
Can I Substitute All-Purpose Flour With Whole Wheat Flour in This Recipe?
Yes, you can substitute all-purpose flour with whole wheat flour.
You’ll need to adjust your ratios—whole wheat absorbs more liquid due to its bran content, affecting baking chemistry.
Source high-quality whole wheat flour for ideal results.
Use a 1:1 ratio initially, then increase liquid by 2-3 tablespoons per cup of flour.
This technical adjustment maintains your muffins’ structure while giving you complete control over your ingredients’ sourcing and nutritional profile.
What Is the Difference Between Wheat Bran and Oat Bran for Muffins?
You’ll find wheat bran and oat bran differ notably in culinary uses and processing methods. Wheat bran—the outer layer separated during grain milling—delivers nutty flavor and coarse texture, creating denser muffins.
Oat bran, processed from oat groats, yields finer consistency and milder taste, producing moister crumbs.
Wheat bran contains more fiber but less fat; oat bran offers superior binding properties. Your choice determines final texture: choose wheat for robust structure, oat for tender crumb.
How Do I Prevent My Bran Muffins From Becoming Dry or Dense?
You’ll prevent dense, dry muffins by mastering your mixing techniques and leavening balance.
Don’t overmix your batter—fold ingredients until just combined to avoid gluten development.
Use proper leavening ratios: typically 1-1.5 teaspoons baking powder per cup flour.
Add moisture with oil or yogurt instead of butter alone.
Measure bran accurately; excess absorbs liquid excessively.
Bake at precise temperatures, checking doneness with a toothpick.
You’ve got the freedom to experiment with hydration levels until you achieve your ideal texture.
Can I Freeze Bran Muffin Batter, and for How Long Is It Safe?
You can freeze bran muffin batter for up to three months without compromising quality.
Pour your prepared batter into freezer-safe containers, leaving 1/2-inch headspace for expansion.
Label with the freezing duration date.
When you’re ready to bake, thaw batter overnight in your refrigerator—don’t skip this step.
Avoid refreezing risks by not re-freezing thawed batter.
Bake according to your original recipe specifications.


Leave a Comment