Key Takeaways
- Dark chocolate (50–90% cocoa) delivers superior flavor depth, reliable tempering, and structural integrity for professional baking results.
- Prioritize couverture chocolate containing cocoa butter over compound chocolate; cocoa butter ensures better fluidity, glossy finish, and snap.
- Read ingredient labels for cocoa solids, cocoa butter, and minimal additives; avoid hidden fillers, lecithin, and artificial flavorings.
- Maintain precise melting temperatures: dark 45–50°C, milk 40–43°C, white 40–42°C to prevent bloom and preserve texture.
- Select consistent cocoa percentages across purchases and choose single-origin varieties for predictable flavor complexity and baking performance.
Understanding Cocoa Content and Its Impact
When you’re selecting chocolate for baking, cocoa content—the percentage of cocoa solids and cocoa butter in the finished product—fundamentally determines the chocolate’s flavor intensity, sweetness level, and how it’ll perform in your recipe. Label interpretation becomes essential: higher cocoa percentages deliver deeper, more complex flavors and less sugar dependency.
Dark chocolate (70-90%) offers robust cocoa notes and superior antioxidant levels, making it ideal for sophisticated applications. Milk chocolate (30-40%) provides creaminess and sweetness for accessible results.
White chocolate contains only cocoa butter, lacking cocoa solids entirely. Understanding these distinctions empowers you to make deliberate choices aligned with your baking objectives, ensuring you’re not compromising flavor or nutritional value for convenience.
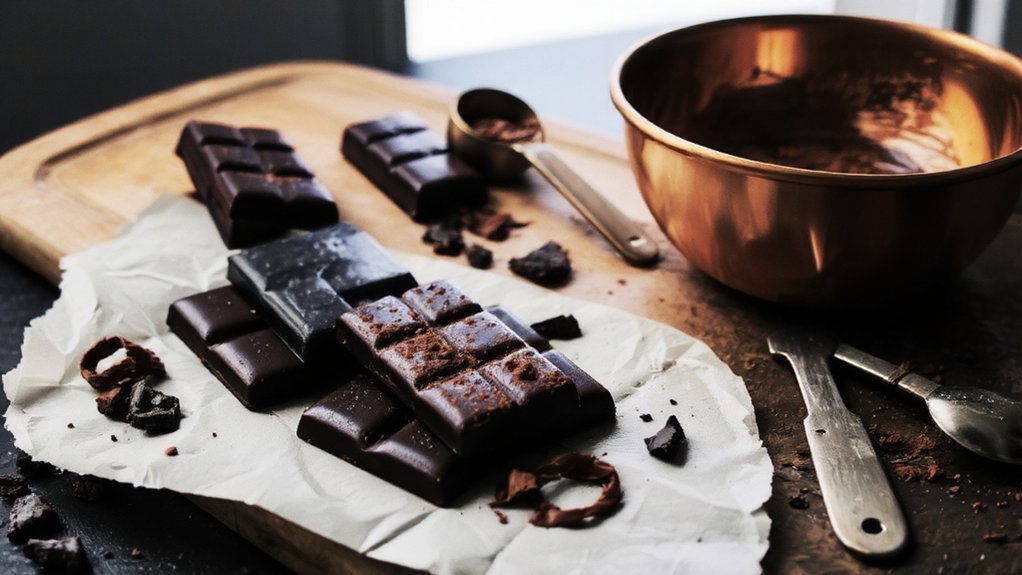
Dark Chocolate: The Baker’s Favorite
Dark chocolate consistently emerges as the preferred choice for professional and home bakers alike, delivering uncompromising flavor depth and functional versatility that lighter chocolates can’t match.
You’ll appreciate dark chocolate‘s superior cocoa butter content, which guarantees reliable tempering and structural integrity in your baked goods.
When you select dark chocolate, you’re choosing ingredient control.
Premium varieties highlight specific bean origins—whether Madagascar’s fruity notes or Ecuador’s earthy undertones—allowing you to craft distinctive flavor profiles.
You’re not locked into generic formulations.
Dark chocolate’s health benefits shouldn’t escape your notice either.
Its antioxidant properties and lower sugar content align with contemporary baking trends.
You’ll achieve better moisture retention in cakes while maintaining professional-grade results that compromise neither taste nor quality, making it indispensable for serious bakers.
Milk Chocolate: Balancing Sweetness and Richness
While dark chocolate commands the spotlight in professional kitchens, milk chocolate offers you a distinctly different proposition—one that doesn’t sacrifice depth for approachability.
You’ll find that milk chocolate’s cocoa butter content, typically between 10-50%, creates remarkable texture contrast against dense batters and fillings. This composition allows you complete creative freedom when balancing sweetness with cocoa complexity.
Milk chocolate’s 10-50% cocoa butter content creates texture contrast, offering creative freedom to balance sweetness with cocoa complexity.
Regional varieties deserve your attention. Belgian milk chocolate provides superior cocoa flavor, while Swiss varieties offer unmatched smoothness.
Dutch chocolate delivers earthier notes. Choose based on your recipe’s demands—lighter varieties work beautifully in delicate cakes, whereas richer options enhance cookies and brownies.
You’ll notice milk chocolate tempers more forgivingly than dark counterparts, making it ideal for coating and molding. Its lower melting point requires careful handling but rewards precision with glossy, snappable results that elevate finished products substantially.
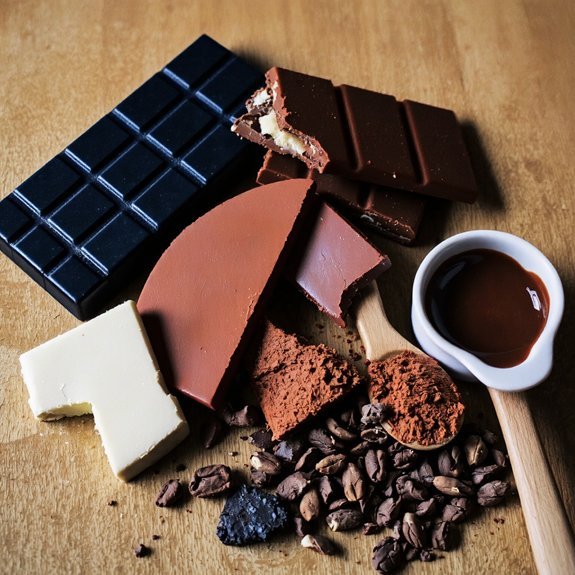
White Chocolate: Tips for Success
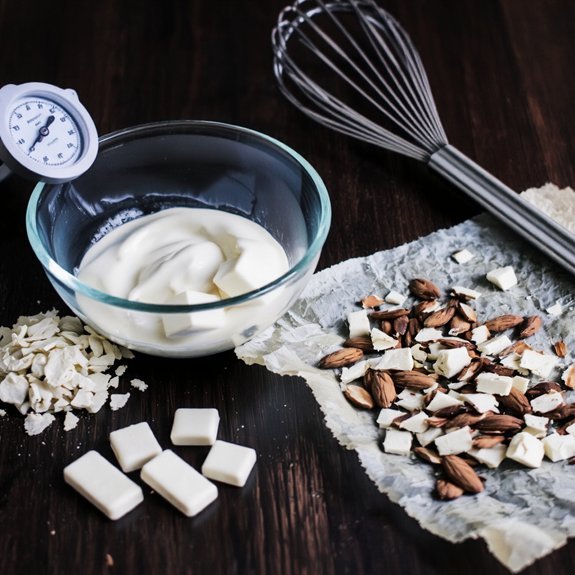
Though white chocolate lacks cocoa solids, you’ll find it presents distinct technical challenges that demand careful attention to composition and handling.
Select products with cocoa butter content above 20% to achieve proper tempering and snap. Watch your temperatures carefully—white chocolate scorches easily, so keep heat below 110°F when melting.
Your vanilla balance proves critical; quality vanilla extract enhances rather than overwhelms. Consider citrus pairing for sophisticated flavor profiles—lemon or orange zest complements white chocolate’s delicate sweetness without competing.
Avoid products containing vegetable oil substitutes, which compromise texture and workability. Add cocoa butter if your chocolate seems too thick, never water or milk. Stir constantly during cooling to achieve that coveted glossy finish. These fundamentals grant you the control to create exceptional white chocolate confections.
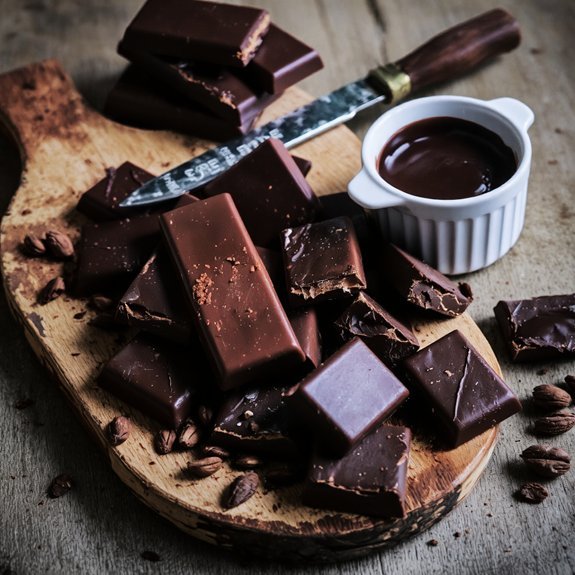
Couverture vs. Compound Chocolate: What’s the Difference
Understanding the structural difference between couverture and compound chocolate directly impacts your baking results.
Couverture contains cocoa butter—the natural fat extracted from cacao beans—giving you superior fluidity and a glossy finish.
Compound chocolate replaces cocoa butter with vegetable oils, making it cheaper and more forgiving.
Manufacturing techniques differ substantially.
Couverture requires tempering to achieve proper crystalline structure, demanding precision.
Compound chocolate doesn’t need tempering since stabilizers prevent bloom.
Consider environmental impact too.
Couverture production supports cacao farmers directly, though it demands more energy during processing.
Compound chocolate’s reliance on vegetable oils raises sustainability concerns depending on sourcing.
Choose couverture for professional-quality results and authentic chocolate flavor.
Use compound chocolate when budget constraints matter or you’re seeking convenience without sacrificing decent outcomes.
How to Choose Quality Chocolate for Baking
You’ll want to prioritize cocoa content as your first quality indicator, since it directly affects flavor intensity and how your chocolate performs in recipes.
Next, examine the ingredient list carefully—you’re looking for cocoa solids, cocoa butter, and minimal additives, which distinguish premium chocolate from inferior alternatives.
Finally, decide between dark and milk chocolate based on your baking needs, as each offers distinct flavor profiles and cocoa butter ratios that influence your final product’s texture and taste.
Cocoa Content Matters
The percentage of cocoa solids in chocolate fundamentally determines its flavor intensity, sweetness level, and performance in baked goods.
You’ll encounter label confusion when comparing brands, as manufacturers use varying terminology—dark, semi-sweet, and bittersweet lack standardized definitions across producers.
Your taste perception directly influences your cocoa content selection.
If you prefer robust chocolate flavor, choose 70% cacao or higher.
For milder profiles, 50-60% cacao delivers balanced sweetness.
Lower percentages (35-45%) work well in cakes where chocolate complements rather than dominates.
You should verify actual cocoa solids percentages on packaging, not just marketing claims.
Higher cocoa content requires recipe adjustments since it contains less sugar and more cocoa butter, affecting moisture and texture in your finished products.
Check Ingredient Lists
What separates premium baking chocolate from inferior products often comes down to what’s actually listed on the ingredient label.
You’ll want to scrutinize each component carefully, identifying hidden additives like lecithin, artificial flavorings, or unnecessary fillers that compromise your baking results.
Quality chocolate contains cocoa solids, cocoa butter, and sugar—nothing more.
Check allergen warnings thoroughly; manufacturers must disclose milk, soy, and tree nuts prominently.
You’re entitled to know exactly what you’re purchasing and consuming.
Avoid products with vague terminology like “natural flavors” or excessive additives.
Compare labels between brands to recognize patterns.
Premium chocolates typically boast shorter ingredient lists with recognizable components.
This scrutiny guarantees you’re investing in chocolate that’ll deliver superior texture and flavor to your baked goods while maintaining complete transparency about what you’re using.
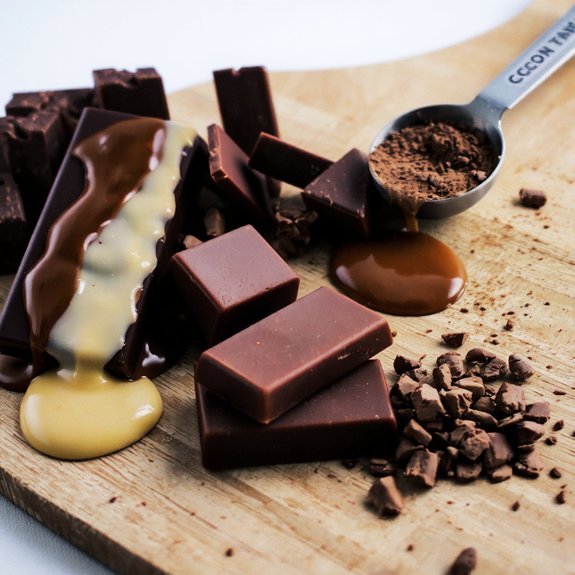
Dark vs. Milk Chocolate
Once you’ve mastered label reading, understanding the fundamental differences between dark and milk chocolate becomes essential for selecting the right product for your specific baking needs.
Dark chocolate contains higher cocoa solids—typically 50-90%—delivering intense flavor and superior structure in baked goods.
Milk chocolate, containing 10-50% cocoa solids with added dairy, produces softer, sweeter results.
Your choice depends on your recipe’s demands. Dark chocolate‘s robust cocoa content works brilliantly in brownies and sophisticated desserts, while milk chocolate suits cookies and lighter applications.
Ignore health myths suggesting one’s nutritionally superior; focus instead on cocoa percentage and cocoa butter content for baking performance.
Consider pairing wines with your finished desserts when selecting chocolate types. This strategic choice enhances your entire culinary experience, allowing you complete creative control over your baking outcomes.
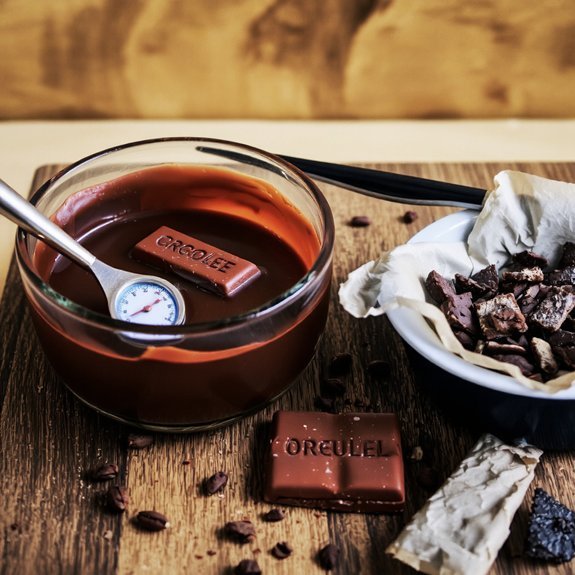
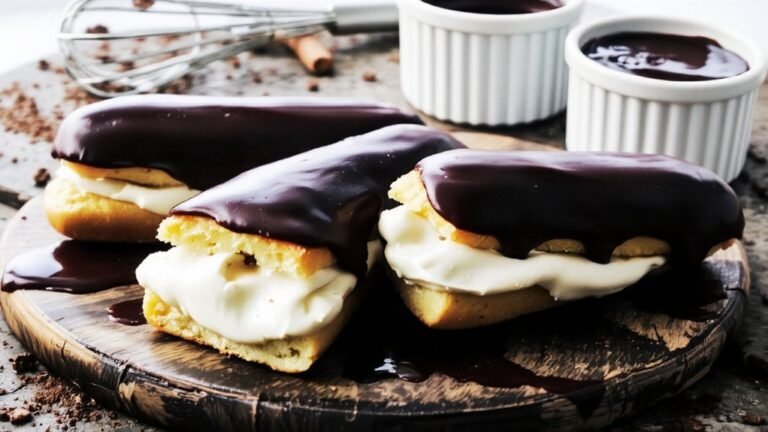
Tempering Chocolate for Professional Results
You’ll need to master the melting process first, heating your chocolate to precise temperatures—typically 45-50°C for dark chocolate—to dissolve cocoa butter crystals evenly without scorching.
Once melted, you’ll cool your chocolate to a working temperature of 31-32°C for dark varieties, then reheat it slightly to 32-33°C, a technique that establishes the stable beta crystal structure essential for that professional snap and shine.
Your setting techniques determine the final product’s quality, so you’ll cool tempered chocolate on marble slabs or use cooling tables to achieve the rapid, controlled solidification that prevents bloom and guarantee a flawless finish.
The Melting Process
Achieving a glossy finish and crisp snap in your finished chocolate requires understanding tempering—the controlled melting and cooling process that stabilizes cocoa butter’s crystalline structure. You’ll master heat transfer by monitoring precise temperatures during phase changes, ensuring proper crystal formation.
| Temperature Range | Chocolate Type | Action |
|---|---|---|
| 110-113°F | Dark Chocolate | Heat to melt |
| 105-110°F | Milk Chocolate | Heat to melt |
| 104-108°F | White Chocolate | Heat to melt |
| 81-82°F | All Types | Cool to working temp |
You’ll seize control over your chocolate’s molecular behavior by respecting these thermal boundaries. Proper heat transfer prevents undesirable crystal formations, delivering superior texture and appearance. Your finished products won’t bloom or crack—they’ll showcase professional-grade results. This technical precision separates amateur work from exceptional baking.
Cooling and Setting Techniques
After you’ve heated your chocolate to the precise temperatures we’ve outlined, the cooling phase determines whether your work achieves that coveted snap and shine or falls flat.
Controlled cooling requires patience and precision—you’ll guide your chocolate from working temperature down gradually, avoiding thermal shock that clouds the finish.
You’ve got freedom in your method: use marble slabs, silicone mats, or seeding techniques.
What matters is consistency.
Humidity management becomes critical here; excess moisture degrades your chocolate’s surface quality and compromises structural integrity.
Work in environments below 65% humidity when possible.
You’ll know you’ve succeeded when your chocolate snaps cleanly and displays a mirror-like gloss.
This transformation separates amateur attempts from professional results.
Mastering these cooling techniques unleashes the technical excellence your baking deserves.
Storage and Handling Best Practices
Since chocolate’s cocoa butter content makes it susceptible to temperature fluctuations and moisture, proper storage directly affects its performance in baking applications.
You’ll want to store your chocolate in a cool, dark place between 60-70°F, maintaining consistent conditions that prevent bloom and flavor degradation.
Implement humidity control by keeping chocolate in airtight containers away from moisture sources.
You’re protecting the cocoa butter’s crystalline structure, which determines snap and texture in your finished baked goods.
Practice inventory rotation to make sure you’re using older stock first, preventing cocoa butter oxidation that compromises flavor complexity.
Don’t store chocolate near strong-smelling foods—it’ll absorb odors readily.
Avoid refrigerators unless absolutely necessary; condensation ruins chocolate.
You control your chocolate’s integrity through deliberate, disciplined storage practices that guarantee reliable baking results.
Chocolate Selection by Recipe Type
You’ll want to select dark chocolate for desserts where you’re seeking depth of flavor and cocoa solids ranging from 50% to 90%, as these percentages provide both structure and richness to your final product.
White chocolate baking applications require you to prioritize cocoa butter content and quality vanilla, since white chocolate lacks cocoa solids and needs these components to contribute properly to texture and taste.
Your recipe type determines which chocolate you’ll choose—darker formulations work best for flourless cakes and ganaches, while white chocolate performs ideally in mousse-based recipes and delicate frostings.
Dark Chocolate for Desserts
When you’re crafting desserts that demand depth and sophistication, dark chocolate‘s cocoa solids and cocoa butter composition fundamentally shape your results.
You’ll find that higher cacao percentages—typically 70% and above—deliver intense, complex flavors ideal for flourless cakes, mousses, and ganaches.
You should prioritize ethical sourcing when selecting your dark chocolate, ensuring quality while supporting responsible farming practices.
The cocoa origin matters notably; single-origin chocolates from Ecuador, Madagascar, or Ghana each bring distinctive tasting notes.
Consider flavor pairing strategically. Dark chocolate complements bold ingredients like espresso, sea salt, chili, and berries.
You’re not limited to traditional combinations—experiment with herbs like lavender or mint to elevate your desserts.
Quality matters. Choose chocolate with minimal additives for superior texture and taste in your finished creations.
White Chocolate Baking Applications
Although white chocolate lacks cocoa solids, its cocoa butter base and milk solids create distinct opportunities for specific dessert applications.
You’ll find white chocolate excels in delicate pastries, mousses, and ganaches where its creamy texture enhances rather than dominates.
Citrus pairings leverage white chocolate’s subtle sweetness—pairing it with lemon, lime, or passion fruit creates balanced, sophisticated flavors.
You can incorporate citrus zest directly into white chocolate ganache or use it as a complementary coating for tarts and cheesecakes.
Savory pairings challenge conventional baking.
You’re not limited to sweets; white chocolate works with sea salt, herbs, or even black pepper in unconventional applications.
These combinations create unexpected complexity in your dessert repertoire, offering freedom to experiment beyond traditional boundaries.
Budget-Friendly Options Without Sacrificing Quality
Finding quality chocolate for baking doesn’t require emptying your wallet if you’re strategic about your selections.
Quality chocolate for baking needn’t drain your budget with strategic, informed selections and smart shopping approaches.
You’ll discover excellent alternatives that deliver superior results without premium pricing.
Consider these proven approaches:
- Store brand swaps: Select retailer-exclusive chocolate lines featuring cocoa butter and minimal additives, matching specialty brands’ performance
- Bulk purchasing: Buy from warehouse suppliers to reduce per-unit costs while maintaining consistent cocoa percentages
- Direct sourcing: Purchase from chocolate manufacturers offering wholesale pricing on premium couverture
- Seasonal sales: Stock up during holiday promotions when quality brands discount inventory
You’re not compromising flavor or texture when you choose wisely.
Focus on cocoa solids content, cocoa butter presence, and ingredient transparency rather than packaging prestige.
These factors determine baking success, not brand recognition or price tags.
Frequently Asked Questions
Can I Substitute Cocoa Powder for Chocolate Chips in Baking Recipes?
You can substitute cocoa powder for chocolate chips, though you’ll need precise measurement conversions—typically three tablespoons of cocoa powder plus one tablespoon of fat equals one ounce of chocolate chips.
You’ll require fat adjustments since cocoa powder lacks chocolate’s cocoa butter content.
Add butter, oil, or shortening to restore moisture and richness.
This substitution works best in recipes where you control the final texture, giving you the freedom to create your desired chocolate intensity while maintaining structural integrity.
What Causes Chocolate to Seize, and How Can I Fix It?
You’ll seize chocolate when moisture contamination occurs—even a single drop causes cocoa solids and cocoa butter to clump irreversibly. Temperature control matters too; overheating breaks down chocolate’s structure.
To fix it, add fat like coconut oil or cocoa butter gradually, stirring constantly. You’re effectively loosening the seized mass.
Prevent seizure by keeping all equipment bone-dry and melting chocolate slowly over low heat or using a double boiler setup.
Is It Safe to Eat Raw Cookie Dough With Chocolate Chips?
You can’t safely eat raw cookie dough without taking precautions. Standard flour carries a salmonella risk, so you’ll want heat-treated flour instead—it’s pasteurized and safe raw.
Raw eggs pose additional concerns, so consider pasteurized eggs or egg replacements.
Your chocolate chips are fine; they’re shelf-stable. By choosing heat-treated flour and pasteurized eggs, you’re taking control of your kitchen safety while enjoying that raw dough experience you’re after.
How Do I Know if Chocolate Has Gone Bad or Expired?
You’ll spot expired chocolate through visual signs like bloom—that whitish coating indicating cocoa butter separation.
Conduct odor checks; rancid or off smells signal degradation.
Check your packaging’s expiration date, though quality chocolate stays viable years beyond it if stored properly.
You’re free to consume it past the date if it passes sensory tests, though flavor and texture may suffer.
Trust your senses as your ultimate guide.
Can I Melt Chocolate in a Microwave Instead of Double Boiler?
Yes, you can absolutely melt chocolate in a microwave using the microwave technique.
Heat your chocolate in short 30-second intervals, adjusting stirring frequency between each burst to prevent scorching.
This method gives you complete control—you’re not beholden to double boiler setup requirements.
Check your chocolate’s cocoa butter content; higher percentages demand lower power settings.
Your results depend entirely on monitoring and technique, not equipment restrictions.


Leave a Comment