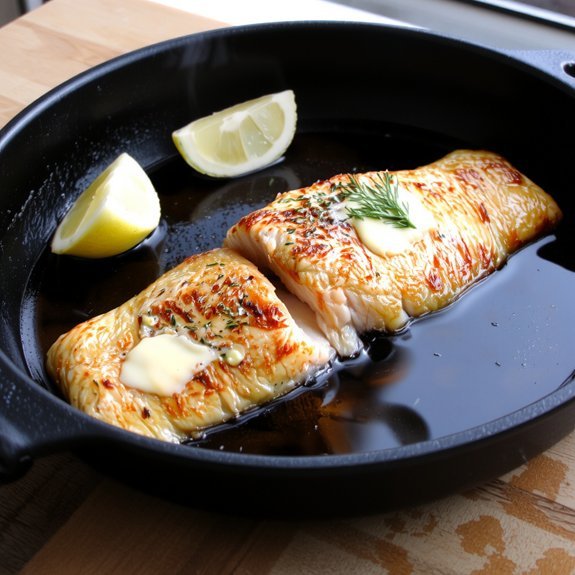
You’ll get a reliable baked salmon with dill that’s flaky, moist, and bright. Start with fresh fillets, olive oil, lemon, and plenty of chopped dill. I’ll show you precise timings, a creamy dill sauce, and plating tips that elevate a weeknight dinner to restaurant quality—plus the small mistakes to avoid so it turns out right every time.
Ingredients and Measurements
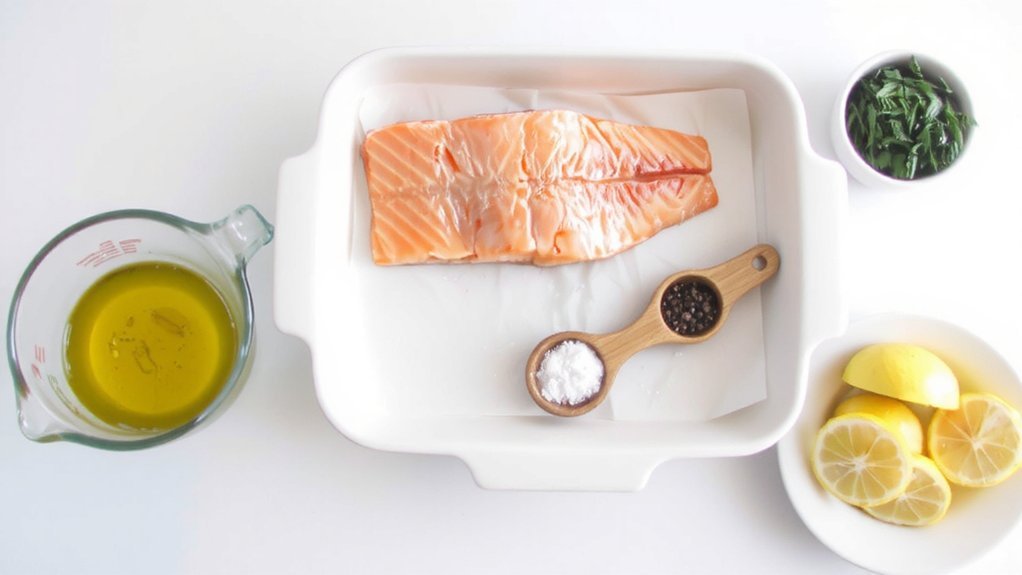
For four servings, plan on either four 6-ounce individual salmon fillets (about 24 ounces total) or a single 1½–2 pound whole fillet; choose skin-on to help retain moisture.
For best results, bake salmon filets at 400 degrees Fahrenheit for 12–16 minutes.
You’ll use 1–2 tablespoons olive oil or up to 1/4 cup if a mayo-based coating; measurement conversions are straightforward (1/4 cup = 4 tablespoons).
For herb and acid, measure 1½–3 tablespoons fresh dill, 1½–2 tablespoons lemon juice and ½–1 teaspoon lemon zest. Use 3 minced garlic cloves or 1 teaspoon granulated garlic, plus ½–1 teaspoon kosher salt and black pepper to taste.
Ingredient variations include swapping Greek yogurt and mayo for a creamy dill sauce (e.g., 1/3 cup yogurt + 2 tablespoons mayo).
Finish with lemon wedges and optional toasted breadcrumbs. Garnish with fresh dill sparingly.
Equipment You’ll Need
Once you’ve measured the ingredients, gather the right gear so your salmon cooks evenly and cleanup stays easy. Before baking, let the salmon rest at room temperature for 20-30 minutes. Choose baking tools: rimmed non-stick sheet, glass or ceramic dish, or aluminum-foil lined or disposable foil pans for easy cleanup.
Verify oven temp with an oven thermometer and use an instant-read or probe thermometer to hit 145°F precisely. Have measuring cups, spoons, a sharp knife, silicone brush, and spatula for handling and saucing. Position racks mid-oven; keep oven mitts handy.
- Rimmed non-stick sheet or glass dish
- Instant-read thermometer and oven thermometer
- Measuring tools, silicone brush, spatula
Keep cleaning supplies nearby: paper towels, food-safe sponges, sanitizing wipes, and designated containers for raw fish.
You’ll also want trash bags or compost bins for waste disposal and towels too.
Preparing the Salmon Fillets
Choose fresh salmon with shiny skin, firm flesh, and a mild ocean scent to guarantee peak flavor and texture.
Trim ragged edges and remove the dark bloodline for a cleaner appearance and taste.
Pat the fillets thoroughly with paper towels so they’ll sear evenly and won’t stick.
For best results, cook until the internal temperature reaches 120–125°F, using a thermometer to ensure perfect medium doneness.
Selecting Fresh Salmon
How can you tell if a salmon fillet is truly fresh? You check visual, tactile and smell cues: flesh should be firm, glossy, and uniform in color; muscle layers intact; no dull or leaking areas. Also look for brightly colored flesh, as bright orange salmon often indicates quality and freshness.
Smell for a mild, ocean-like scent — avoid fishy, ammonia or metallic odors. For fresh salmon selection prioritize reputable vendors and clear labeling that confirms fresh versus previously frozen and indicates sustainable sourcing.
- Firm, glossy flesh with cohesive muscle layers.
- Mild, oceanic smell; flesh springs back when pressed.
- Proper refrigeration, intact packaging, and clear origin labeling.
Confirm portion size and pin bones by running your fingers along the flesh before purchase.
Note that wild and farmed salmon differ in color and fat; choose type that suits flavor and cooking method preferences.
Trimming and Patting Dry
While the fillet is still well chilled, run your fingers along the thickest part to locate and remove pin bones with fish tweezers (pulling at a 45° angle toward the head).
Note that pin bones are calcified nerve endings.
Trim away excess belly fat and any rib bones with a sharp fillet knife, then gently pat the flesh dry with paper towels so seasoning sticks and the surface browns instead of steaming.
Work methodically from one end to the other to avoid missed bones and minimize flesh damage; chilled flesh holds shape for precise trimming techniques.
Use a sharp knife to cut away belly and ribs along natural separations.
Follow careful drying methods—pat, don’t press—to remove surface moisture so seasoning adheres and the fillet roasts, not steams.
Keep fillets chilled until roasting.
Making the Dill Sauce
When you’re making the dill sauce, start by combining full‑fat Greek yogurt or sour cream (or a blend) with plenty of fresh chopped dill, lemon juice and zest, grated garlic, and an optional tablespoon of mayonnaise for extra richness. For best flavor and texture, use full‑fat sour cream. Whisk or pulse in a food processor until smooth; taste and adjust salt, pepper, extra dill or lemon. For texture, fold in finely chopped cucumber or omit it for a classic cream. Keep it chilled until serving.
- Use fresh dill for brightest dill flavor.
- Blend for uniform creaminess; hand-whisk for a chunkier texture.
- Try herb swaps and cucumber for simple sauce variations.
Store covered in the fridge; stir before using and consume within a few days.
Avoid over-thinning with cold water please.
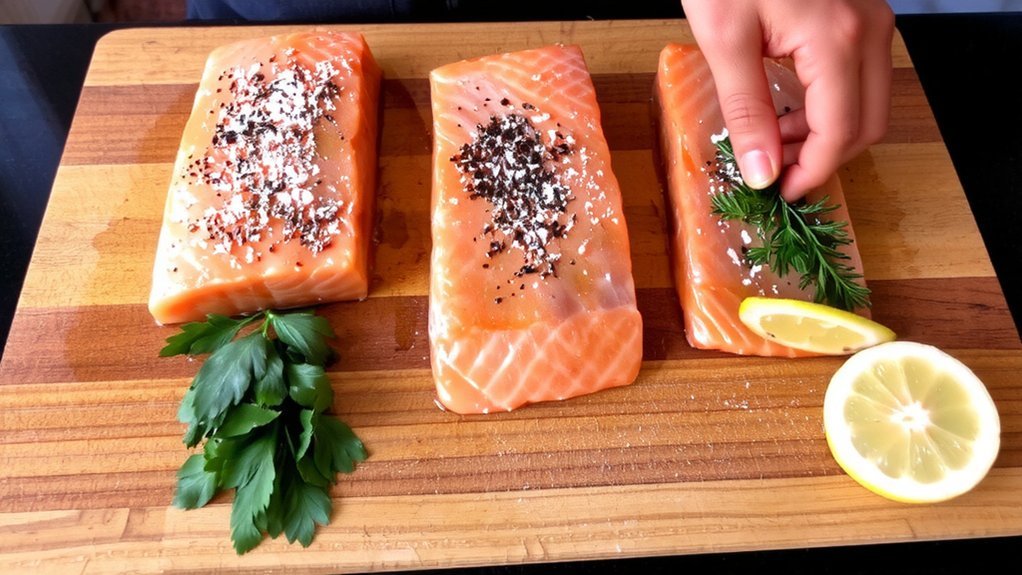
Seasoning and Assembly
Before baking, let the salmon come to room temperature and pat it dry; this helps oil and seasonings adhere and promotes even cooking.
You’ll brush olive oil or melted butter over fillets, then apply salt and freshly ground pepper. Use mustard—Dijon or whole-grain—mixed with garlic and a little olive oil for a spreadable rub.
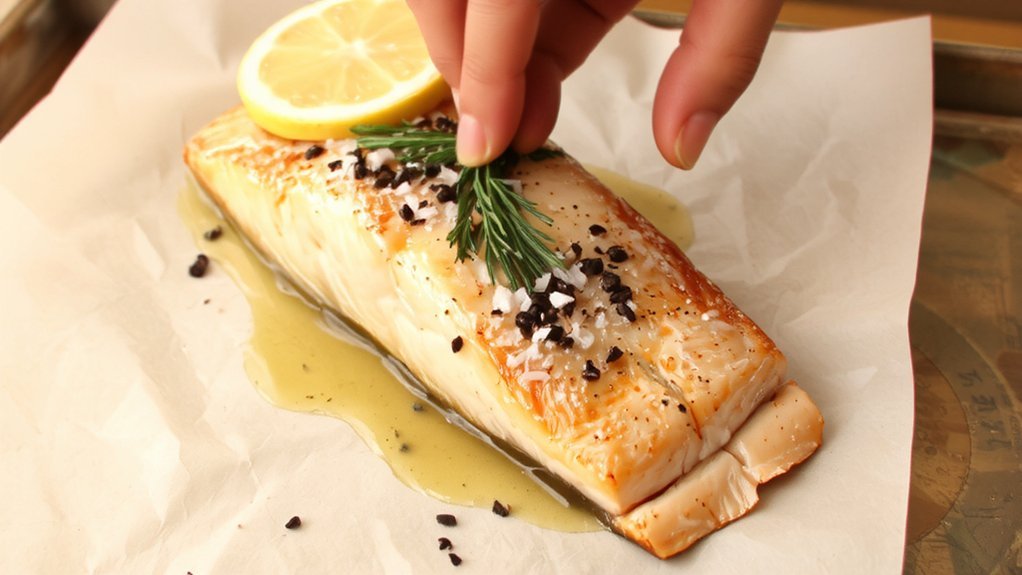
Press chopped fresh dill under the skin and lay sprigs or lemon slices atop for aroma. For dry-dill options, fold dried or freeze‑dried dill into a spice mix.
Assemble on parchment or foil for easy cleanup. Salt in advance when time allows to improve texture.
Balance is key: use generous but measured amounts, focusing on simple seasoning techniques and thoughtful flavor pairing so the salmon’s natural taste remains central uncompromised. For best results, choose a mild, fatty salmon such as Atlantic salmon.
Baking Times and Temperatures
Set your oven between 275°F and 425°F depending on the texture you want — low and slow for tender flakes or higher heat for a buttery exterior.
Adjust baking time to the fillet’s thickness — about 6 minutes per half‑inch at 425°F, 12–16 minutes around 400°F, and 20–25 minutes at 375°F for very thick cuts.
Pull salmon at about 135°F to allow carry‑over to 145°F (or 120–130°F for medium‑rare), and confirm doneness with a thermometer or the flake test.
This preparation also yields a nutritious meal that’s high in omega-3s and protein.
Oven Temperature Range
Aim for 325–400°F depending on the texture you want:
Baked salmon uses a foil pouch to seal in moisture, steaming the fish for a flaky, tender result.
325°F delivers gentle, moist results in about 15–17 minutes;
375°F is a reliable middle ground (around 15 minutes and ideal for foil pouches);
and 400°F cooks faster (12–16 minutes) and yields flakier, slightly crisp edges.
You’ll choose oven settings and cooking techniques based on moisture versus texture.
Use a food thermometer and pull salmon around 135°F so carryover heat reaches 145°F while it rests.
Foil at 375°F traps steam; open baking at 400°F crisps.
325°F keeps flesh tender.
- 375°F: foil pouches, balanced time and moisture
- 400°F: quicker, flakier, slight crisp
- 325°F: slow, moist, tender
Broil 2–3 minutes for browning if desired. Use oil or butter.
Monitor carryover and rest ten minutes to finish doneness precisely.
Thickness-Based Timing
Although ovens vary, use thickness as your primary guide: measure at the thickest part and plan about 4–5 minutes per ½-inch at 375°F (roughly 10–20 minutes total), adjusting up for lower temperatures and down for higher ones.
You should measure salmon thickness at the thickest point, place fillets in a single layer, and cut similarly sized pieces so baking is uniform.
At 350–450°F adjust minutes per inch: about 12–15 at 350, 10–12 at 375, 8–10 at 400, 6–8 at 425, and 5–7 at 450.
Account for fillet size, wild versus farmed, and whether you cover with foil. Use these cooking techniques to avoid overcooking or drying; tweak time to actual thickness for consistent results.
Let the salmon rest briefly after baking to retain moisture.
For most home ovens, aim for common settings around 350–425°F to balance cooking time and texture.
Internal Temperature Target
When you bake salmon, the internal temperature you target determines both safety and texture: USDA recommends 145°F (63°C) to kill pathogens, but many cooks prefer 120–130°F for medium-rare to medium results that stay moist and silky.
You’ll use an instant‑read thermometer at the thickest part, and you’ll pull the fish a few degrees low to allow carryover that preserves juiciness. For safe cooking you can also hold lower temperatures briefly to achieve pasteurization.
Follow these clear targets:
- 120–125°F for medium-rare, buttery, moist flesh
- 130–135°F for medium, opaque but still juicy texture
- 145°F for USDA-recommended safe cooking, firmer and drier
Rest the fillet, monitor closely at higher oven temps, and avoid overshoot. Use thickness-based timing and thermometer checks for reliable results always. Always check doneness with a food thermometer to ensure accuracy.
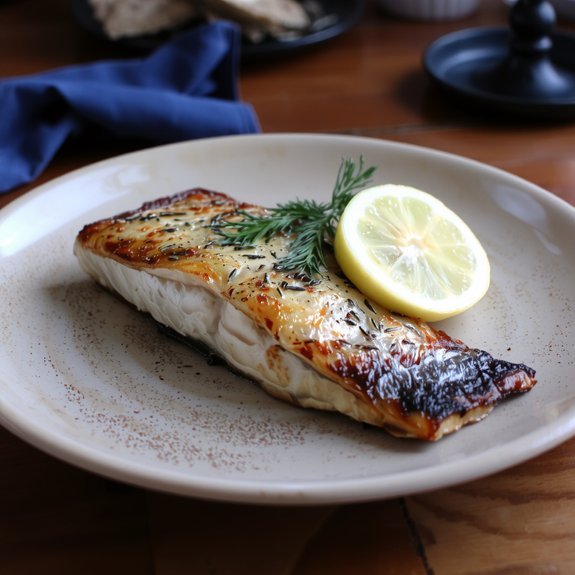
Resting and Serving Suggestions
You should let baked salmon rest for 10–30 minutes in a warm, draft-free spot so residual heat raises the internal temperature to the safe 145°F without overcooking; a fillet taken out near 135°F will finish cooking while resting, retain moisture, and develop a flaky texture. Because fresh salmon requires minimal embellishment, keep flavors light to let the fish shine.
Use resting benefits to justify timing: moisture retention, gentle carryover cooking, and surface texture preservation.
Rest uncovered or lightly tented, on a clean plate away from drafts. For serving, plate warm but not piping hot, brush with lemon-dill butter or yogurt sauce just before presenting, and garnish with lemon wedges and herb sprigs.
Employ simple serving techniques: a wide spatula to lift fillets, let guests add lemon to taste, and pair with light sides to complement dill without overpowering.
Storage and Reheating
After letting the salmon rest and finishing it with butter or sauce, plan proper storage and reheating to preserve its texture, flavor, and safety. Cool fillets completely, then use storage methods: airtight containers or wrap tightly before refrigerating; cooked salmon keeps 3 to 4 days.
For longer storage, wrap in plastic or foil and place in a freezer bag—frozen salmon lasts up to 3 months though texture may change. If you marinate and freeze salmon, it can be stored for six months.
Use gentle reheating techniques: low oven (275°F for 10 minutes) or microwave bursts, checking often. Add lemon or butter to retain moisture and guarantee even heating.
Label containers and prevent cross-contamination. Store promptly after cooling.
- Airtight containers for short-term
- Wrap plus freezer bag for long-term
- Low oven or careful microwave for reheating
Tips and Troubleshooting
While ovens and fillet thickness vary, rely on an instant‑read thermometer and pull the salmon at about 135°F so it can rest to 145°F and stay juicy. The recipe is quick to prepare, typically ready in about 20 minutes. Use 125–135°F as a guide for thinner or rarer results; thicker fillets need higher pull temp.
Season generously with dill, lemon, salt and pepper — undersalting is one of the most common mistakes.
Season generously with dill, lemon, salt and pepper — don’t undersalt; it’s the most common mistake.
Don’t rinse fish or remove skin before cooking; they lock moisture and flavor.
If surface browning is weak, broil briefly after baking, watching closely.
If salmon is dry, you overcooked it; next time lower oven temp or shorten time and check with a thermometer.
Keep these troubleshooting tips in mind, rest the fish, and serve with fresh dill and lemon.
Plate immediately for best results.


Leave a Comment