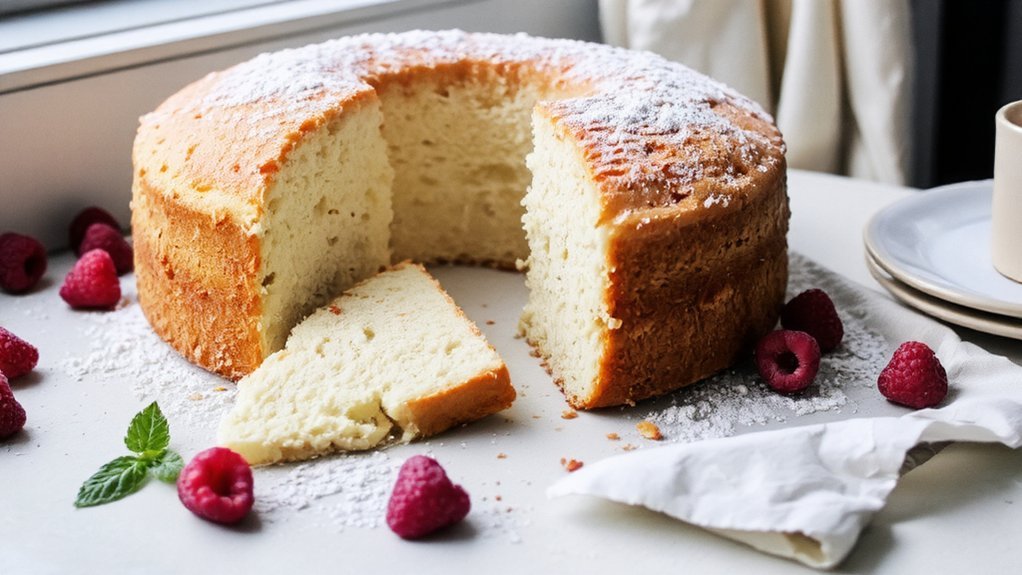
Key Takeaways
- Combine 12 room-temperature egg whites with cream of tartar and salt; beat until stiff, glossy peaks form in 7–10 minutes.
- Fold sifted cake flour and sugar into meringue using vertical sweeping motions with a rubber spatula; stop at uniform consistency.
- Bake in an ungreased 10-inch tube pan at 375°F for 35–40 minutes until golden and a toothpick emerges clean.
- Immediately invert the hot pan onto a cooling rack or bottle neck; allow complete cooling before releasing from pan.
- Frost with stabilized whipped cream or Swiss meringue buttercream; store airtight at room temperature up to two days or freeze three months.
Ingredients You’ll Need
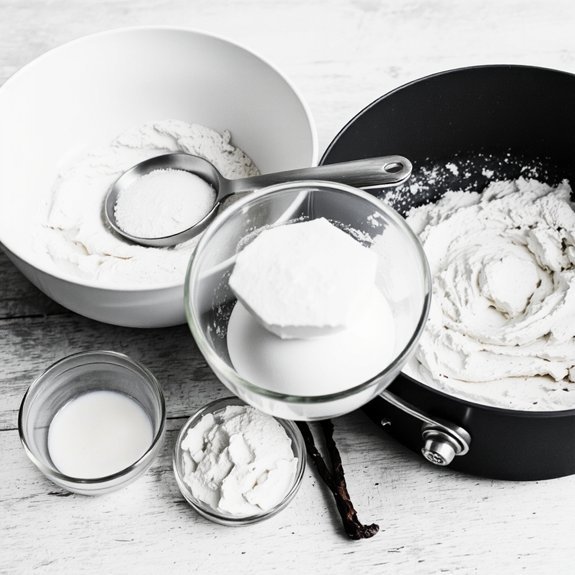
To create an authentic angel food cake, you’ll need 1 cup cake flour, 1½ cups granulated sugar (divided), 12 large egg whites at room temperature, 1½ teaspoons cream of tartar, ¼ teaspoon salt, and 1½ teaspoons vanilla extract.
You’ve got flexibility with organic alternatives—sourcing organic eggs and unrefined cane sugar enhances nutritional value without compromising structure.
For allergen substitutes, you can replace traditional cake flour with cornstarch blends or gluten-free flour, though you’ll adjust ratios accordingly.
Cream of tartar’s essential; it stabilizes your egg whites while preventing overbeating.
Room-temperature egg whites whip more efficiently, generating superior volume and foam stability.
This precise formulation guarantees ideal lift, texture, and that signature tender crumb.
Your ingredient selection determines your cake’s success, so prioritize quality sourcing and exact measurements throughout the process.
Essential Equipment and Tools
Since you’re working with delicate egg whites and precise folding techniques, you’ll need specialized equipment that’s absolutely critical to success.
Delicate egg whites and precise folding techniques demand specialized equipment that’s absolutely critical to success.
Invest in a copper or unlined metal mixing bowl—these surfaces prevent egg whites from deflating during beating.
You’ll require an electric mixer with balloon whisk attachments for ideal volume and stability.
A rubber spatula designed for folding preserves air incorporation without crushing bubbles.
You’ll also need an ungreased 10-inch tube pan; the textured surface prevents cake slippage during baking.
For safety equipment, wear protective eyewear when handling raw eggs and maintain proper kitchen ventilation.
Regular tool maintenance—washing bowls thoroughly to remove any grease residue and checking mixer functionality—ensures consistent results.
These instruments aren’t luxuries; they’re prerequisites for achieving that signature light, airy texture that defines authentic angel food cake.
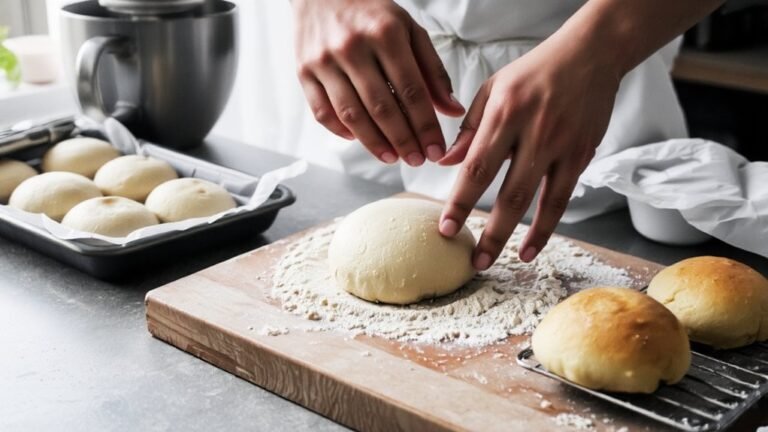
Preparing Your Pan and Ingredients
You’ll need an ungreased 10-inch tube pan with a removable bottom and feet—the dry surface prevents the batter from sliding during baking.
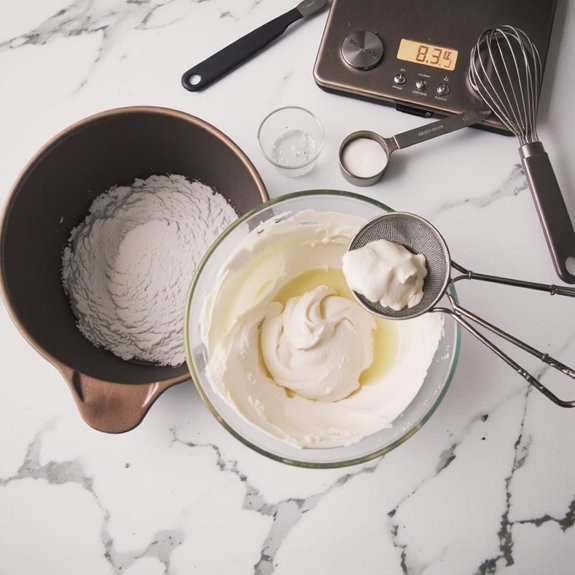
Gather your dry ingredients (cake flour, granulated sugar, and salt) and measure them precisely by weight for ideal results; similarly, separate your room-temperature egg whites into a grease-free bowl, as even trace amounts of fat will inhibit proper volume during whipping.
Have your vanilla extract, cream of tartar, and any desired flavorings measured and ready before you begin mixing.
Choosing the Right Pan
The success of an angel food cake hinges on selecting an ungreased 10-inch tube pan with a removable bottom, as this specific design allows the batter to climb the pan’s walls during baking while preventing the delicate cake from slipping out prematurely. You’ll want aluminum construction, which conducts heat uniformly and promotes even browning for an aesthetic finish. Avoid nonstick coatings—they compromise the batter’s grip on the pan walls, resulting in a dense, flat cake.
The removable bottom facilitates cleaning ease after baking and prevents accidental damage to your finished cake. Verify your pan’s dimensions precisely; undersized pans create overflow, while oversized ones produce inadequate rise. This investment in proper equipment directly determines your cake’s structural integrity and visual appeal.
Gathering Essential Ingredients
Before mixing begins, you’ll need to prepare both your pan and ingredients with meticulous attention to detail.
Gather ten large eggs at room temperature, separated meticulously to prevent yolk contamination.
You’ll require one cup of cake flour, one and a half cups of granulated sugar, and one and a half teaspoons of cream of tartar.
Add half a teaspoon of salt and one and a half teaspoons of vanilla extract.
Consider seasonal sourcing for the freshest eggs available, maximizing rise and structure.
For budget substitutions, lemon juice works equally well as cream of tartar at three-quarter teaspoon per batch.
Be sure your mixing bowl remains completely grease-free; even minimal residue compromises the foam structure essential to angel food cake’s signature texture.
Beating Egg Whites to Perfection
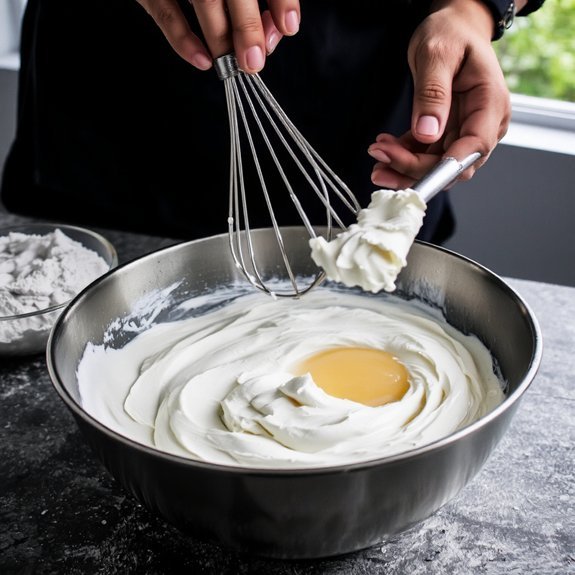
Since egg whites form the structural foundation of angel food cake, achieving the proper consistency is critical to your cake’s success. You’ll need room-temperature eggs to maximize protein denaturation, which transforms liquid albumin into stable foam. Start beating at medium speed until soft peaks form, then increase to high speed for stiff, glossy peaks—roughly 7-10 minutes total.
Your control matters here. You’re creating countless microscopic air bubbles surrounded by denatured protein, which provides foam stability throughout baking. Don’t overbeat, or you’ll risk breaking down the structure and losing volume. Even a single drop of yolk will sabotage your efforts, since fat destabilizes foam formation.
This meticulous technique separates successful angel food cakes from dense failures. Master this stage, and you’re already winning.
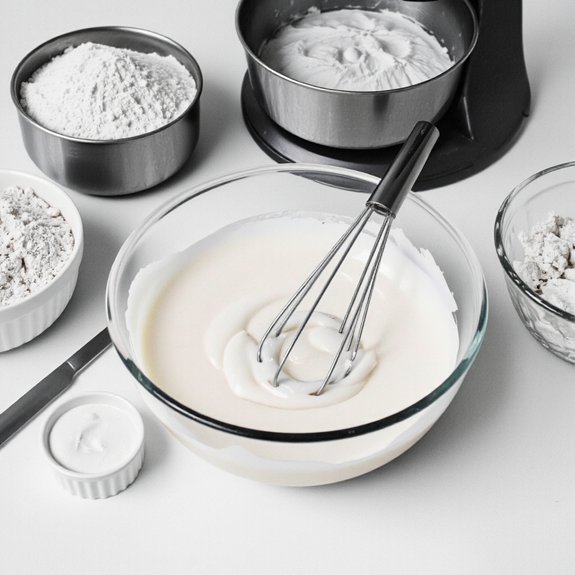
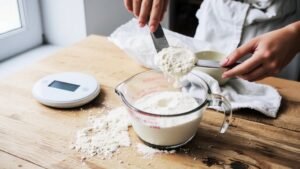
Folding in Dry Ingredients

Your perfectly beaten egg whites represent only half the battle—now you’ll protect that airy structure by incorporating flour without deflating it. Ingredient timing proves critical—sift your dry mixture (cake flour, powdered sugar, salt) directly before folding to prevent moisture absorption. Use a rubber spatula, cutting vertically through the center, sweeping along the bowl’s bottom, and rotating the bowl continuously. Fold gently yet decisively, roughly 15-20 passes total.
| Folding Stage | Texture Testing | Technique |
|---|---|---|
| Initial | Batter flows sluggishly | Use full-sized spatula strokes |
| Mid-process | Slight streaking visible | Reduce pressure gradually |
| Final | Uniform consistency achieved | Complete incorporation confirmed |
| Over-folding | Dense, deflated batter | Stop immediately; batter’s compromised |
Precision here determines your cake’s rise and crumb structure. Don’t rush this phase—technical mastery demands patience and control.
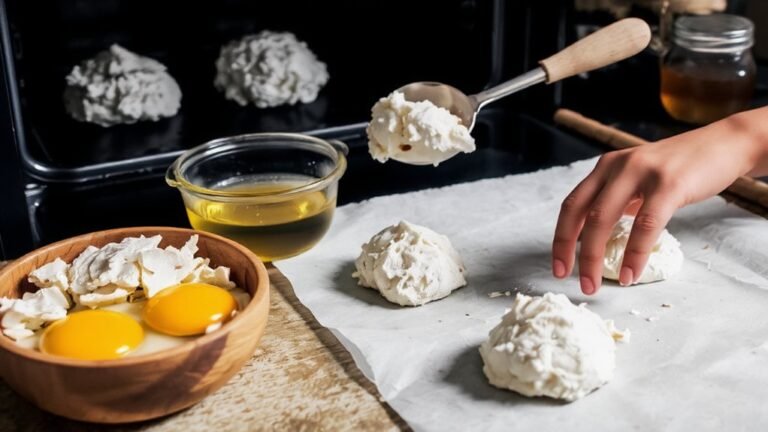
Baking Your Angel Food Cake
You’ll need a 10-inch ungreased tube pan with a removable bottom and feet, along with an oven preheated to 375°F, to achieve the proper rise and structure.
Pour your batter into the prepared pan, filling it three-quarters full, then bake for 35–40 minutes until the cake’s surface turns golden and springs back when lightly touched. Immediately invert the pan onto a cooling rack or bottle neck to prevent the cake from collapsing as it cools completely.
Essential Equipment and Ingredients
Mastering angel food cake requires specialized equipment and precisely measured ingredients that work in concert to create its signature structure.
You’ll need a 10-inch ungreased tube pan, which prevents the batter from sliding during baking.
An electric mixer guarantees proper egg white incorporation and volume.
You’ll require twelve large room-temperature egg whites, all-purpose flour, granulated sugar, cream of tartar, vanilla extract, and salt.
Source ingredients sustainably when possible—organic eggs from ethical producers and fair-trade vanilla enhance both quality and conscience.
Precise measurements matter: one cup flour, one-and-a-half cups sugar.
You’ll need proper tool maintenance; clean your mixer thoroughly between uses to prevent residual grease from compromising egg white peaks.
This technical precision directly determines your cake’s success.
Step-by-Step Baking Instructions
Begin by preheating your oven to 375°F, allowing it to reach full temperature before mixing.
You’ll combine egg whites, cream of tartar, and salt, beating until stiff peaks form.
Gradually fold in sugar and vanilla extract using precise movements to maintain airiness.
Safety Checklist:
- Verify oven rack positioning at lower-middle level
- Confirm proper ventilation in your kitchen
- Check all equipment for grease residue
- Make sure electrical cords aren’t obstructing workspace
Pour batter into your ungreased tube pan—the friction prevents collapse during baking.
Bake for 35-40 minutes until golden and springy.
Your troubleshooting guide: if cake sinks, you’ve deflated the mixture; if edges brown too quickly, lower temperature to 350°F.
Invert the pan immediately and cool completely inverted.
This method preserves the structure you’ve worked to develop, delivering that signature light, airy texture you’re after.
Cooling and Removing From the Pan
Once the cake’s internal temperature reaches 210°F and a toothpick inserted near the center emerges clean, it’s critical to invert the pan immediately onto a cooling rack or the neck of a bottle—a step that prevents the delicate crumb structure from collapsing under its own weight. You’ll maintain structural integrity through proper Temperature Indicators and positioning.
| Phase | Duration | Action |
|---|---|---|
| Inversion | Immediate | Flip onto cooling rack |
| Initial Cool | 1-2 hours | Maintain inverted position |
| Partial Release | 2 hours | Loosen edges gently |
| Sticking Prevention | Throughout | Avoid greased surfaces |
| Complete Release | 4+ hours | Invert and remove fully |
Allow complete cooling before applying Sticking Prevention techniques. Run a thin offset spatula around interior walls, liberating the cake from pan constraints with deliberate precision. You’ve earned your freedom from dense, collapsed results.
Frosting and Decoration Ideas
Selecting the right frosting requires understanding how your cake’s structure demands specific stabilization methods.
Angel food cake’s delicate crumb necessitates stabilized whipped cream or Swiss meringue buttercream rather than traditional American varieties.
You’ll want to master these decorating approaches:
- Piping techniques: Use fine-tipped pastry bags for precise rosettes and borders without compromising structural integrity
- Edible flowers: Apply pesticide-free botanicals immediately before serving for maximum visual impact
- Glazing methods: Employ poured fondant or thin royal icing for controlled coverage
- Geometric patterns: Execute clean lines using offset spatulas or specialized combs
You’re free to experiment with complementary flavor profiles—lemon curd fillings, almond extracts, or berry compotes work exceptionally well.
Apply decorations minimally; this cake’s natural elegance requires restraint rather than excessive embellishment.
Storage Tips and Serving Suggestions
Angel food cake’ll stay fresher longer when you store it in an airtight container at room temperature for up to two days, or frozen for up to three months at 0°F or below. You’ll maximize shelf life by maintaining ideal humidity levels and preventing oxidation.
| Serving Method | Temperature | Time |
|---|---|---|
| Room temperature | 68-72°F | 30 minutes |
| Chilled | 40°F | 2 hours |
| Frozen | -18°C | Thaw 4 hours |
| Toasted | 350°F | 8 minutes |
| À la mode | Varies | Immediate |
For plate styling, you’ll achieve professional presentation by implementing proper portioning techniques and strategic garnish placement. Slice with a serrated knife using gentle sawing motions to preserve structural integrity. Position your cake sections on chilled plates, incorporating complementary sauces and fresh berries. This approach guarantees you maintain textural contrast and visual appeal while delivering exceptional dining experiences that affirm your culinary independence.
Frequently Asked Questions
Can I Substitute Cake Flour With All-Purpose Flour in Angel Food Cake?
You can substitute all-purpose flour for cake flour, but you’ll need to adjust your protein content.
All-purpose flour contains roughly 12% protein versus cake flour’s 8%, which’ll affect your cake’s structure.
Compensate by replacing 2 tablespoons of all-purpose flour per cup with cornstarch.
Employ the sifting method meticulously—sift your flour-cornstarch blend at least five times with your dry ingredients.
This technical adjustment guarantees you’ll achieve the delicate, airy crumb you’re after without compromising your angel food cake’s characteristic lightness and tender structure.
Why Does My Angel Food Cake Sink in the Middle After Baking?
Your angel food cake sinks because you’ve likely undermixed your meringue or didn’t achieve proper oven temperature stability.
Undermixed egg whites won’t trap sufficient air, causing structural collapse during cooling.
Conversely, inadequate oven heat prevents proper protein coagulation.
You’ll want to whip whites to stiff peaks and maintain consistent 325°F temperatures.
Don’t open your oven door prematurely—this causes thermal shock and deflation.
How Long Can I Store Angel Food Cake at Room Temperature Safely?
You can safely store your angel food cake at room temperature for up to two days.
Beyond this shelf life limit, microbial proliferation accelerates markedly.
Implement rigorous moisture control by storing it in an airtight container away from direct sunlight and humidity sources.
Don’t compromise on these technical parameters—they’re non-negotiable for food safety.
For extended preservation beyond forty-eight hours, you’ll need refrigeration or freezing to maintain structural integrity and prevent contamination.
Can I Make Angel Food Cake Without a Tube Pan Successfully?
You can successfully bake angel food cake without a tube pan using the loaf method or bundt adaptation.
However, you’ll sacrifice the traditional tall, airy structure that defines this cake.
The loaf method requires adjusting bake times and temperatures for proper interior crumb development.
A bundt adaptation demands careful pan preparation and monitoring.
You’re effectively compromising structural integrity and heat distribution, yielding denser results despite precise measurements and technical execution.
What Causes a Rubbery Texture in Angel Food Cake, and How Do I Prevent It?
You’ll get a rubbery texture when you’re overbeaten whites—they break down during baking, releasing moisture that compromises crumb structure.
Improper cooling causes similar issues; you must invert your pan immediately after baking to maintain structural integrity while cooling completely.
Don’t skip this step.
Achieve stiff peaks precisely, fold gently incorporating dry ingredients, and cool inverted for six hours minimum.
These technical parameters guarantee the delicate, tender crumb you’re after.


Leave a Comment