Key Takeaways
- Cream 1 cup softened butter with sugars for 3–5 minutes until pale and fluffy to create air pockets for chewy texture.
- Bake at 350°F for 11–13 minutes until centers appear slightly underdone; residual heat continues cooking to lock in moisture.
- Fold dry ingredients in three additions and stir in oats and raisins gently to avoid overworking and developing excess gluten.
- Cool cookies on baking sheet for 2–3 minutes before transferring to wire rack to set tender interior without hardening.
- In dry climates reduce flour by one tablespoon per cup; in humid environments add 1/4 tsp cornstarch to maintain chewiness.
Ingredients You’ll Need
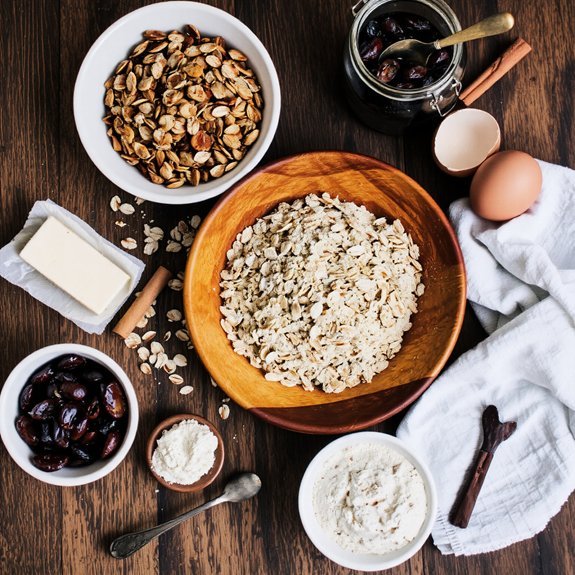
You’ll need two cups of rolled oats, one cup of all-purpose flour, three-quarters cup of unsalted butter (softened), three-quarters cup of packed brown sugar, one-quarter cup of granulated sugar, two large eggs, one teaspoon of vanilla extract, one teaspoon of baking soda, one-half teaspoon of salt, one teaspoon of ground cinnamon, and one cup of raisins.
For best results, you’ll want to prioritize quality indicators when selecting your ingredients.
Prioritize quality indicators when selecting your ingredients for superior results in baking.
Choose organic options whenever possible—they’ll give you better flavor and texture without unnecessary additives.
Look for butter with higher butterfat content and eggs from pasture-raised hens.
Your rolled oats should be certified organic and finely ground.
Select raisins that appear plump and moist, avoiding those with added oils or excessive sugar coating.
Premium vanilla extract delivers superior taste compared to imitation versions.
These specific choices directly impact your cookie’s final quality, ensuring you’re creating something genuinely worthwhile from scratch.
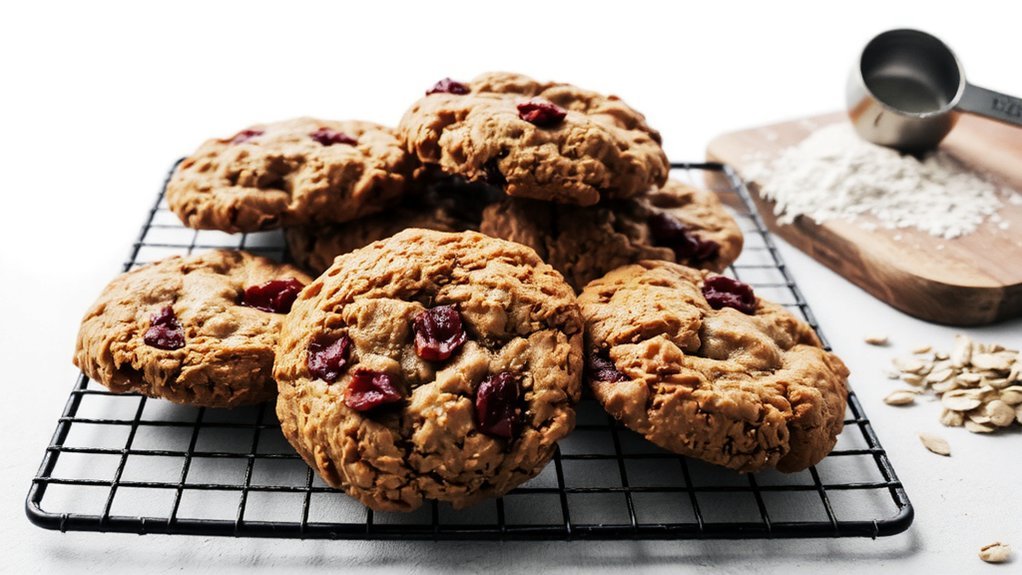
Why Oatmeal Raisin Cookies Are a Classic
Once you’ve assembled these quality ingredients, it’s worth understanding what makes oatmeal raisin cookies endure as a beloved staple.
These cookies tap into cultural nostalgia, evoking childhood memories and simpler times that resonate across generations.
Their staying power stems from the precise balance you’ll achieve—oats providing hearty texture, raisins delivering concentrated sweetness without refined sugar dependence, and butter creating that signature chew.
You’ll find oatmeal raisin cookies referenced in literary mentions throughout American food writing, cementing their status as an iconic comfort food.
The recipe’s flexibility appeals to freedom-minded bakers who customize ratios and add-ins to suit personal preferences.
Whether you’re using old-fashioned or steel-cut oats, adjusting raisin quantity, or experimenting with brown sugar ratios, these cookies adapt to your specifications while maintaining their essential character.
Preparing Your Ingredients
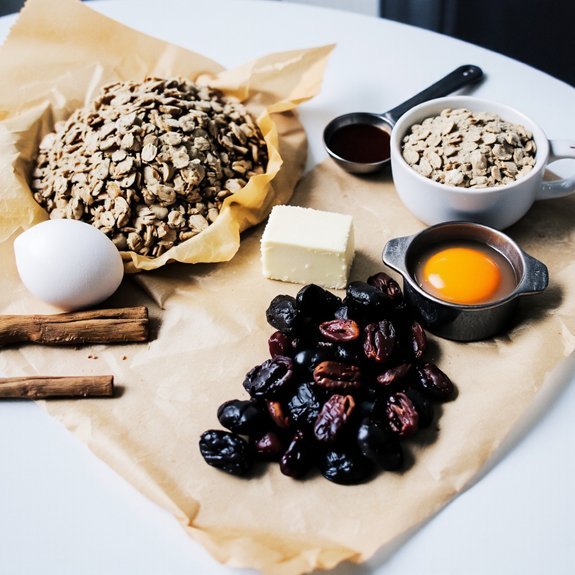
You’ll need to gather your dry ingredients—rolled oats, all-purpose flour, baking soda, cinnamon, and salt—and measure each component precisely by weight or leveled cups for consistent results.
Next, measure your wet components: softened butter, brown sugar, granulated sugar, eggs, and vanilla extract, ensuring your butter reaches room temperature for proper creaming.
Accurate measurements of both dry and wet ingredients will directly impact your cookies’ texture and flavor.
Gathering Your Dry Ingredients
Before you combine wet and dry components, gather 1¾ cups all-purpose flour, 1 teaspoon baking soda, 1 teaspoon ground cinnamon, ½ teaspoon salt, and ½ teaspoon ground nutmeg in separate small bowls or ramekins.
| Ingredient | Measurement | Container |
|---|---|---|
| All-purpose flour | 1¾ cups | Small bowl |
| Baking soda | 1 tsp | Ramekin |
| Ground cinnamon | 1 tsp | Ramekin |
| Salt | ½ tsp | Ramekin |
| Ground nutmeg | ½ tsp | Ramekin |
You’ll maintain precision by labeling containers clearly, preventing cross-contamination and measurement errors. Implement shelf rotation practices to guarantee ingredient freshness and potency. Store these dry components in airtight containers away from moisture and heat. Accurate portioning depends entirely on your preparation discipline here. Don’t compromise your cookie quality through careless ingredient assembly.
Measuring Your Wet Components
Gather ¾ cup unsalted butter (softened to room temperature), ¾ cup packed brown sugar, ¼ cup granulated sugar, 1 large egg, and 1 teaspoon vanilla extract in separate small bowls or measuring cups.
You’ll want precision here.
For the butter, make sure it’s genuinely softened—it should yield slightly to pressure without melting.
When measuring brown sugar, pack it firmly into your measuring cup, leveling the top with a knife.
For vanilla extract, use a spoon for accurate pouring, avoiding the spout pouring method that invites splashing and measurement errors.
When measuring your egg, crack it into a small bowl first.
Read liquid measurements at eye level, checking the meniscus reading at the bottom of the curve for accuracy.
Keep each component separate until you’re ready to combine them.
Creaming Butter and Sugar for the Perfect Base
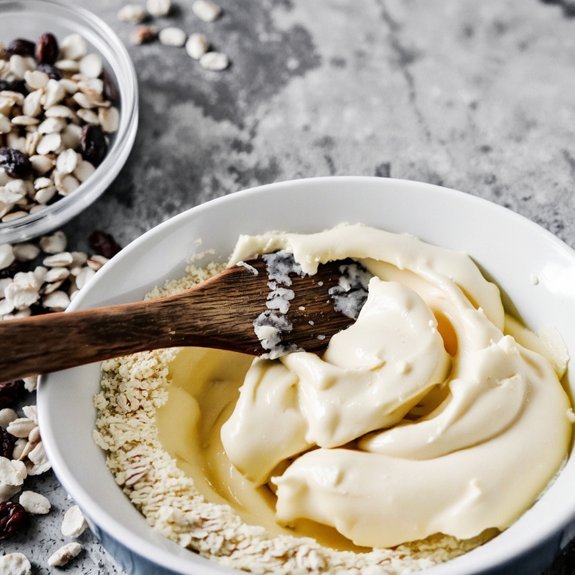
Creating the ideal foundation for oatmeal raisin cookies starts with creaming together 1 cup (2 sticks) of softened butter—at approximately 65-70°F—with 3/4 cup of granulated sugar and 3/4 cup of packed brown sugar. You’ll beat these components for 3-5 minutes until the mixture becomes pale and fluffy. This process incorporates air through aeration science, creating tiny pockets that’ll expand during baking for ideal texture.
The granulated sugar cuts through butter crystallization more efficiently than brown sugar alone, while brown sugar contributes moisture and molasses depth. Use an electric mixer on medium speed to prevent overworking.
You’ll know you’ve achieved the right consistency when the mixture resembles wet sand and increases noticeably in volume. Don’t skip this critical step—proper creaming determines your cookie’s final structure and chewiness.
Combining Dry Ingredients
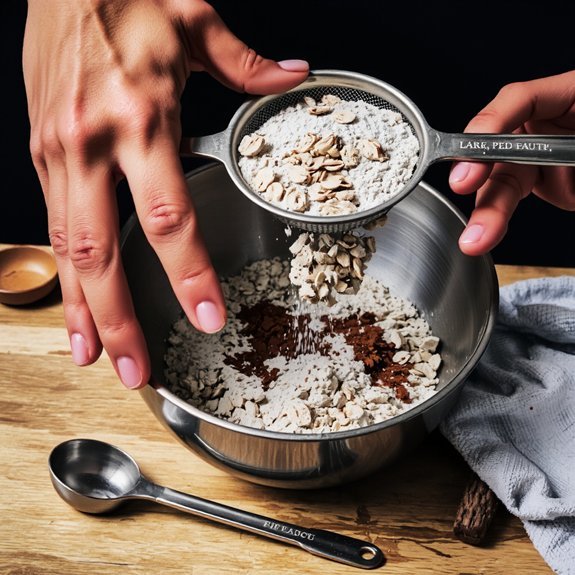
While your creamed butter and sugar mixture rests briefly, you’ll whisk together 2 cups of all-purpose flour, 1 teaspoon of baking soda, 1 teaspoon of ground cinnamon, 1/2 teaspoon of fine sea salt, and 1/4 teaspoon of ground nutmeg in a separate bowl.
Whisking these ingredients creates sifting benefits that aerate your flour and distribute leavening agents evenly. This technique prevents dense pockets in your final cookies. Spice layering matters tremendously—each measurement contributes distinct flavor notes that’ll develop complexity as they bake.
| Ingredient | Benefit |
|---|---|
| All-purpose flour | Structure and texture |
| Baking soda | Rise and browning |
| Ground cinnamon | Warmth and depth |
| Ground nutmeg | Subtle earthiness |
Don’t skip the whisking step. You’re building your cookie’s foundation with precision, ensuring every bite delivers balanced spice and lift you deserve.
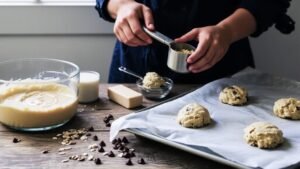
Mixing Everything Together
You’ll now fold your dry mixture into the creamed butter and sugar base, adding the flour blend in three additions to guarantee even distribution without overworking the dough.
After each addition, mix until just combined—overmixing develops gluten, resulting in tough cookies.
Stir in your oats and raisins with deliberate strokes, folding gently to incorporate without crushing.
The dough should hold together without appearing dense or compact.
Turn up your kitchen playlist and invite family to witness this satisfying stage—mixing everything together transforms separate components into cohesive dough.
This bonding moment reminds everyone why homemade cookies matter.
The final dough should be thick, textured, and ready for portioning.
You’ve successfully merged all measurements and ingredients into one unified batch, prepared for baking.
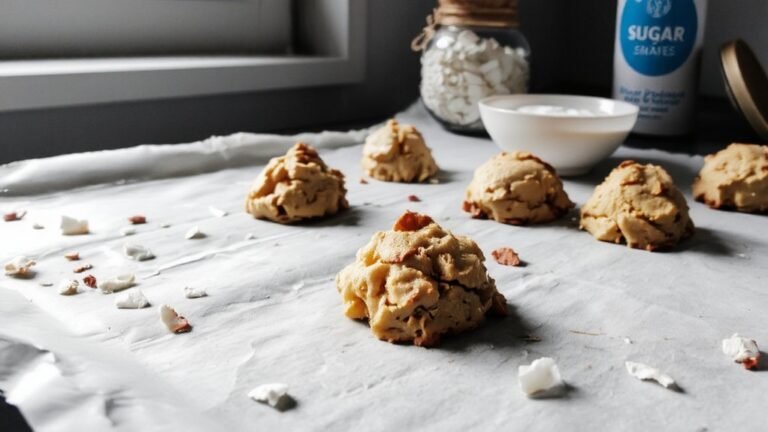
Baking Tips for Chewy Texture
Because oatmeal raisin cookies can easily shift from chewy to crispy, baking temperature and timing demand precise attention.
Set your oven to 350°F and bake for 11-13 minutes—the centers should appear slightly underdone when you remove them.
This residual heat continues cooking the cookies, locking in moisture.
Humidity control markedly impacts your results.
In dry climates, reduce flour by one tablespoon per cup to maintain chewiness.
In humid environments, add a quarter teaspoon of cornstarch to prevent excess moisture absorption.
Altitude adjustments are essential for consistent outcomes.
At elevations above 3,000 feet, increase oven temperature by 25°F and reduce baking soda by one-eighth teaspoon per teaspoon called for.
Cool cookies on the baking sheet for five minutes before transferring to a wire rack.
This essential step allows them to set while retaining their tender interior.
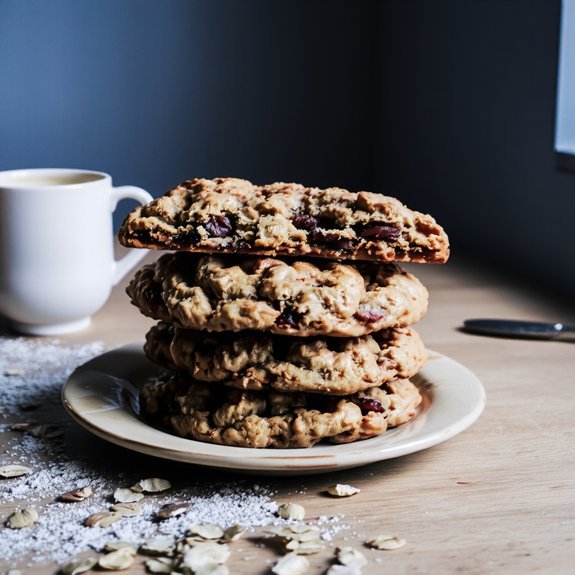
Cooling and Storing Your Cookies
Once you’ve removed your cookies from the oven, you’ll want to let them cool on the baking sheet for 2-3 minutes before transferring them to a wire rack, which prevents them from becoming too soft or breaking apart.
After they’ve cooled completely to room temperature—roughly 30 minutes—you can store them in an airtight container at room temperature where they’ll maintain their chewy texture for up to 5-7 days.
For extended storage, you can freeze your oatmeal raisin cookies in a freezer-safe container for up to 3 months, and they’ll thaw to their original consistency within 15-20 minutes.
Cooling Methods and Timing
Proper cooling’s essential for developing the ideal texture in your oatmeal raisin cookies.
You’ll want to transfer them to a rack cooling surface immediately after baking, allowing air circulation beneath each cookie.
This prevents moisture from trapping underneath, which would soften your cookies excessively.
Leave your cookies on the baking sheet for 2-3 minutes initially.
This carryover timing lets residual heat set the structure without hardening them completely.
Then transfer them to a wire rack for 15-20 minutes until they’re completely cool.
You’re in control of your cookie’s final texture through cooling duration.
Shorter rack times yield chewier results, while extended cooling produces firmer cookies.
Once completely cool, store them in an airtight container with parchment paper between layers, keeping your oatmeal raisin cookies fresh for up to five days.
Storage Tips and Longevity
After your cookies have cooled completely, you’ll want to focus on storage conditions that’ll preserve their texture and flavor.
Store your oatmeal raisin cookies in an airtight container at room temperature for up to five days.
The oats and raisins retain their moisture content best when sealed properly, preventing ingredient shelf life degradation.
For extended storage, freeze them for three months in a freezer-safe container with parchment between layers.
Cold temperatures substantially slow nutrient degradation and oxidation of the oats’ beneficial compounds.
Avoid humid environments, which’ll soften the cookies excessively and compromise their structure.
If you’re storing multiple batches, label containers with dates to track freshness.
Chewy cookies stay ideal when protected from air exposure and temperature fluctuations.
Variations and Flavor Additions
Customizing your oatmeal raisin cookies lets you tailor the recipe to your preferences while maintaining the cookie’s structural integrity.
You can experiment with seasonal pairings like adding 1/2 teaspoon of cinnamon and nutmeg during fall months, or incorporating 1 teaspoon of lemon zest for spring freshness.
For global twists, you might blend 1/4 teaspoon of cardamom for an Indian-inspired variation, or mix in 2 tablespoons of chopped candied ginger for complexity.
Replace half your raisins with dried cranberries or chopped dates to shift flavor profiles entirely.
You can also substitute 1/4 cup of the flour with almond flour for nutty undertones.
These modifications won’t compromise texture if you maintain your wet-to-dry ingredient ratios.
Frequently Asked Questions
Can I Substitute Butter With Coconut Oil or Applesauce in This Recipe?
You can substitute butter with coconut oil at a 1:1 ratio; you’ll maintain the fat content and achieve similar texture, though you’ll notice a subtle coconut flavor profile shift.
Applesauce won’t work well—it’ll reduce fat content dramatically, yielding dense, cake-like cookies instead of chewy ones.
For best results, stick with coconut oil if you’re switching.
You’ve got freedom here, but understand the trade-offs before you commit to substitutions that compromise your desired outcome.
How Do I Prevent My Oatmeal Raisin Cookies From Spreading Too Much?
You’ll prevent excessive spreading by chilling your dough for at least 30 minutes before baking.
Keep your oven temperature precise at 350°F—don’t go higher.
Roll dough balls to consistent 1-inch thickness, spacing them 2 inches apart on your baking sheet.
Use a 2:1 ratio of oats to flour for structure.
You’ve got the freedom to bake for exactly 11-13 minutes; pull them out when edges set but centers stay slightly soft.
This technique guarantees chewy results without uncontrolled spreading.
What’s the Best Way to Plump up Raisins Before Baking?
You’ll plump your raisins through a warm soak method. Submerge 1 cup raisins in ½ cup hot water or bourbon for 15-20 minutes. This flavor infusion rehydrates them while you control the liquid choice.
Drain thoroughly before folding into your dough—excess moisture’ll compromise your cookies’ texture. You’re taking charge of your baking outcome, ensuring juicy, tender raisins throughout every bite without sacrificing structural integrity.
Can I Freeze Cookie Dough for Baking Later?
You can absolutely freeze your oatmeal raisin cookie dough. Portion your dough into individual balls and freeze them on a baking sheet for two hours before transferring to airtight containers. Your freezing duration extends up to three months.
For thawing methods, you’ve got two options: thaw dough overnight in your refrigerator, or bake directly from frozen, adding two to three minutes to your baking time.
You’re in complete control of your baking schedule.
Why Are My Cookies Turning Out Cake-Like Instead of Chewy?
Your cookies aren’t chewy because you’re likely overmixing your dough, which develops gluten and creates a cake-like crumb structure.
You’re also probably adding excess flour—measure by weight, not cups, to stay precise. Use 2¼ cups (280g) flour maximum.
Mix until just combined, then stop. Underbake slightly; pull them out when edges set but centers look barely underdone. This gives you that desirable chewy texture you want.


Leave a Comment