You’ll assemble a tuna melt dinner plate that balances creamy tuna, melty cheese, and crispy grilled bread. You’ll follow precise ingredient ratios, quick techniques for even grilling, and smart side pairings. You can make it weeknight-fast or elevated for guests. Next, decide which cheese and side you’ll choose.
Ingredients Needed for a Perfect Tuna Melt Dinner Plate
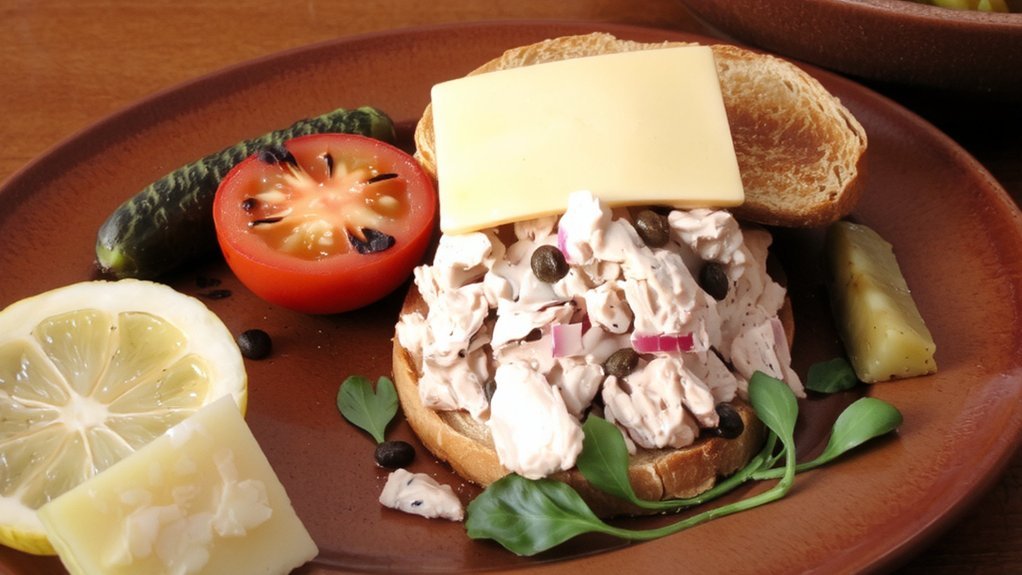
You’ll need canned tuna (5–7 oz), about 1/3 cup mayo, 2 Tbsp each finely chopped celery and sweet onion, 1 Tbsp lemon juice, salt and pepper; four slices of bread (white or sourdough) with 2 Tbsp butter for grilling, cheddar slices (2 per sandwich), and a sliced tomato, plus optional pickles, parsley, or red pepper flakes for extra flavor.
You mix tuna, mayo, celery, onion, lemon, salt and pepper into a balanced tuna salad that holds together without being gummy.
Spread it on the unbuttered side of bread, layer cheddar and tomato, and top with the second slice.
Choose cheese types based on melt and flavor—sharp cheddar for tang, mild for creaminess—or combine varieties for depth.
Serve hot and crisp. Enjoy immediately for best. Preheat a large nonstick skillet over medium heat before grilling to ensure even cooking and a preheat skillet.
Essential Equipment and Prep
Gather essential cookware—cast‑iron or nonstick skillet (or griddle), oven‑safe sheet, heat‑resistant spatula and butter knife—so you can toast bread and melt cheese evenly.
Set up a tidy prep station with a large mixing bowl, colander, cutting board, measuring spoons and a timer within reach.
Practice mise en place by draining and seasoning the tuna, measuring condiments, and laying out bread and butter before you start cooking.
The classic sandwich pairs creamy tuna salad and melted cheese as a single comforting dish called a Tuna Melt.
Required Cookware
Make certain you have a non-stick panini maker, a rimmed baking sheet and access to an oven or broiler, plus a cutting board and a small saucepan for prep and warming. Keep a can of tuna on hand as it is a convenient source of lean protein.
Choose cookware types that match tasks: non-stick for panini plates, stainless steel or aluminum for sauce heating, cast iron for heat retention, and ceramic for neutral reactions.
Check heat resistance and electrical safety before use. Operate the panini and broiler with oven mitts and maintain ventilation to avoid fumes.
For cookware maintenance, avoid abrasives, wipe non-stick plates while warm, and verify dishwasher compatibility only when manufacturer allows.
Store items dry and secure to prevent damage.
These choices guarantee predictable results and safe, efficient cooking. You’ll get consistent browning and easier cleanup every time.
Prep Station Setup
After confirming your cookware and heat sources, set up a prep station that keeps ingredients cold, organized, and sanitary.
You’ll position refrigerated prep tables or refrigerated countertops within reach so tuna and perishable components stay below 40°F (4°C). Use airtight containers and labeled, dated tubs; keep separate bins for raw versus ready‑to‑eat items to prevent cross‑contamination.
Arrange color‑coded boards, spatulas, tongs, peelers, graters, commercial processor and measuring tools on a clean stainless work table with undershelf storage. Keep sanitizer solution, disposable towels, gloves and handwashing access available to enforce hygiene.
Add scales, instant‑read thermometers and labeling supplies for portion control and traceability. This layout maximizes prep station efficiency and ingredient organization while maintaining strict food safety. Include equipment that ensures reliable temperature control to maintain ingredient freshness.
Mise En Place for Tuna
When prepping tuna, you’ll set up purpose-built stations that keep product cold, clean, and consistently portioned: sharp flexible fillet knives and cutting saws for precise butchery, conveyor-fed washing and skinning machines to minimize handling, vacuum cookers and steam or brine blanchers for controlled precooking, and NSF‑certified stainless mise en place pans and refrigerated bins for safe staging.
You’ll arrange tuna cutting and portioning tools—band saws, block makers, mechanical de-heading units—at workflow points to guarantee uniform loins and reduce touch. Use vacuum tuna cookers and rapid coolers for texture control and tuna presses to adjust moisture.
Prioritize closed-system washing, conveyor sanitation, and labeled refrigerated bins to maintain traceability tied to tuna sourcing and sustainable fishing practices, securing quality, safety, and regulatory compliance every service step. These systems increase throughput by automating key stages of processing, exemplified by Fishbam machines.
Step-by-Step Assembly and Cooking Method
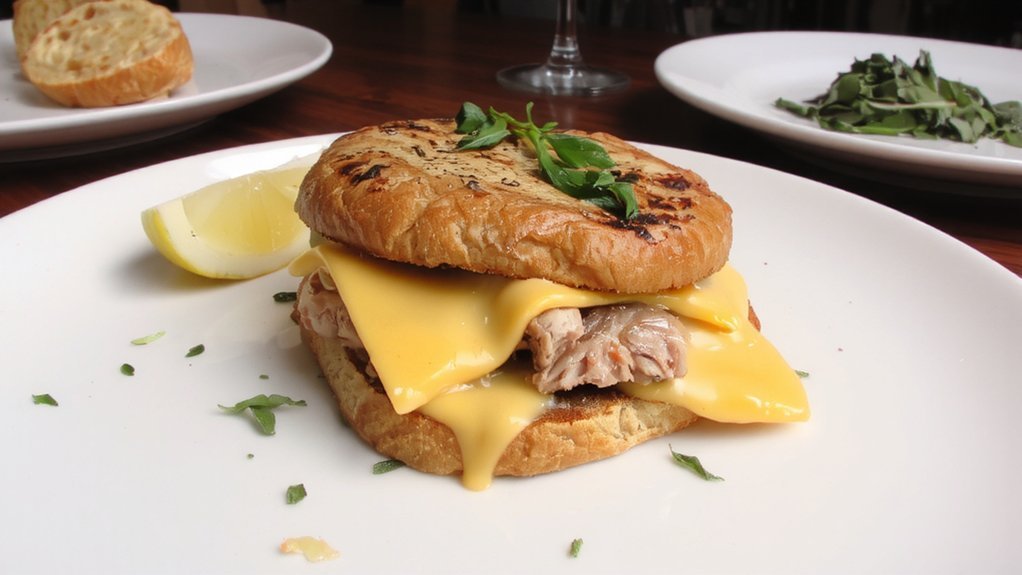
You’ll assemble the tuna melt by buttering and toasting the bread, piling a generous scoop of seasoned tuna, and topping with cheese and any optional veggies. Plan on using about 5 oz of tuna per sandwich.
For single sandwiches or small batches, use a preheated buttered griddle over medium heat to brown the first side and flip once it’s golden so the cheese melts evenly.
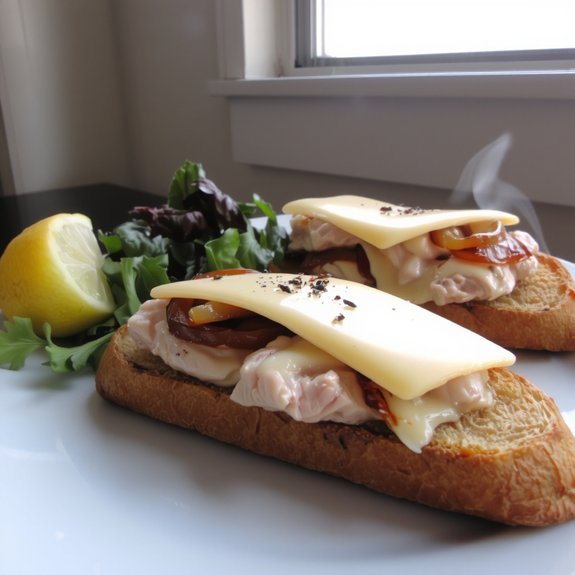
For open‑faced melts or larger batches, finish under the broiler or in a 350°F oven until the cheese is bubbly and edges are crisp.
Assembling the Sandwich
While keeping your buttered sides facing out, set the bottom slice butter-side down on the work surface and spread about ½ cup of thoroughly drained, well-mixed tuna salad evenly across the unbuttered side; layer optional veggies (tomato, cucumber, avocado, greens) as desired, top with one or two slices of a meltable cheese, then close with the top slice butter-side up. Make sure to drain tuna thoroughly to prevent sogginess.
Press gently to compact the filling so tuna texture becomes uniform and the sandwich stability improves. Check that fillings are evenly distributed and not overstuffed to avoid spills during cooking.
Use two thin cheese slices for consistent melt and coverage. If using muffins, assemble on toasted halves for extra structure. Trim any overhang for easier flipping. You’re now ready to proceed to cooking confidently.
Griddle and Oven Techniques
Before you heat the griddle or oven, preheat equipment—set the griddle to medium‑high for about 5 minutes and the oven to 375°F—and butter the outside of each bread slice. This dish is high protein.
For griddle cooking, toast both bread sides briefly on the hot, buttered surface, then assemble with cheese down; cook 2–3 minutes per side, using a lid to coax melting.
For oven techniques, arrange sandwiches on a baking sheet, bake 5–7 minutes, then broil for up to a minute for a crisp top.
- Sear for crunch.
- Melt for comfort.
- Broil for showstopper finish.
You’ll monitor temperature, adjust timing, and choose griddle or oven based on speed, browning, and batch size.
Use flavorful bread and melty cheese to maximize taste and texture every time.
Cheese and Bread Pairing Options
When choosing cheese and bread for a tuna melt, match meltability and flavor so neither overpowers the other. You’ll pick cheese types like cheddar, provolone, or Swiss for melting qualities and flavor balance; mozzarella and American work when you want creaminess. Choose bread varieties—sourdough, ciabatta, rye, or whole grain—based on crust and crumb. Toast or butter bread first to prevent sogginess and use thick slices. Broil briefly to finish melting while watching closely. Below is a quick pairing guide.
Also, using salted butter on the outside of the bread helps achieve a golden, crispy exterior and prevents sogginess.
| Cheese | Bread |
|---|---|
| Cheddar | Sourdough |
| Provolone | Ciabatta |
| Mozzarella | Whole grain |
Use these combinations to guarantee structure, even melt, and complementary flavor without masking tuna. Adjust proportions and toasting level to preference; firmer breads hold up best, while lower-moisture cheeses prevent a soggy, greasy result every time.
Flavor Variations and Add-Ins
After you’ve chosen the right cheese and bread, focus on the flavor elements and add-ins that define your tuna melt. Start by preparing tuna fish salad. You’ll balance creamy mayo with Dijon and lemon for brightness, add capers or shallots for brine and bite, or add crushed red pepper for heat. Use chopped celery, pickles or red onion for contrast.
For vegetarians, swap chickpea “tuna” to keep texture. Think about creative toppings and flavor fusion:
- Crunch that wakes you
- Tang that cuts richness
- Melt that comforts
Layer cheddar and American for depth; broil for caramelized edges; butter the bread for crust. Season with salt and pepper.
Decide on add-ins that sharpen, freshen, or spice — then assemble confidently. Trust your palate and adjust quantities until balance feels unmistakably yours now.
Serving Suggestions and Side Dishes
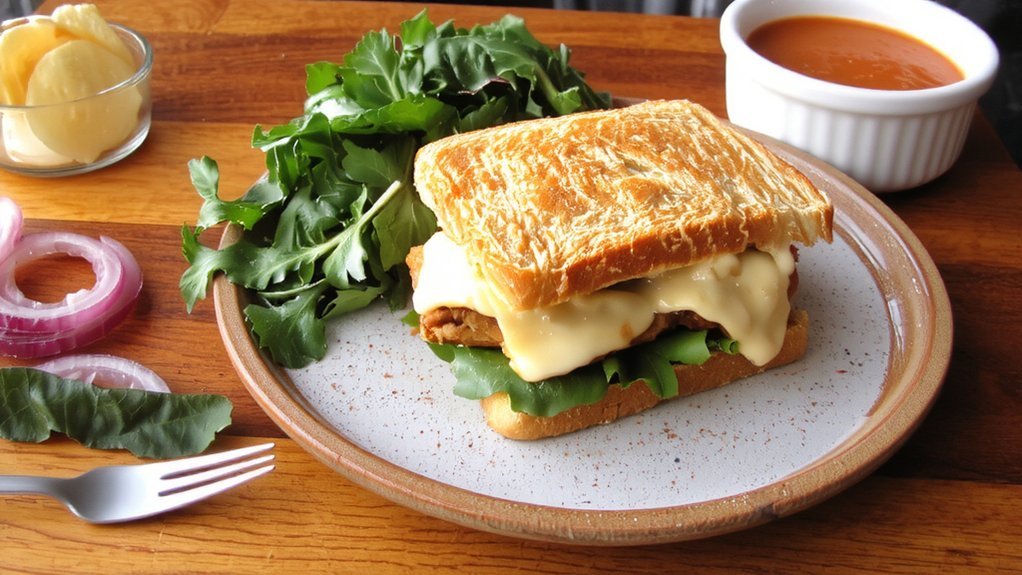
If you want a balanced tuna melt plate, choose sides that contrast texture and cut richness: pick crispy fries or chips for crunch; a bright cucumber, garden, or avocado-corn salad for freshness; and a tangy slaw, pickles, or dill-pickle pasta salad to slice through the mayo-and-cheese richness.
Build plates with deliberate taste pairings and texture contrasts: serve fries or roasted sweet potato fries for salty crispness, or roasted Brussels sprouts for caramelized bite.
Offer a cool tomato basil soup or cucumber salad for palate refreshment and garlic bread or crackers for dunking.
Add optional protein or indulgent sides—wings, bacon, or guacamole—when you want heft.
Arrange portions so each bite balances richness, acidity, and crunch for a satisfying meal. Keep servings proportionate to avoid overwhelm.
For an indulgent option, consider serving crispy chicken wings on the side crispy wings.
Nutrition, Storage, and Reheating Tips
Along with choosing complementary sides, you should factor in nutrition, safe storage, and proper reheating to keep your tuna melt both satisfying and safe to eat.
You’ll get strong nutritional benefits, including 24–35g protein, omega‑3s, vitamins A and C, calcium and iron, while calories range 311–529 depending on bread, cheese and mayo.
For storage advice, refrigerate leftovers up to 24 hours, freeze tuna salad up to three months, and always use airtight containers and date labels to avoid cross‑contamination.
Reheat in a 350°F oven about 10 minutes, or use a toaster oven or skillet; avoid the microwave for uneven heating.
Balance meals with whole grains and veggies to boost fiber and control fat and cholesterol.
- Chill promptly
- Label clearly
- Reheat evenly
Note that the tuna melt contains trans fat, so moderate consumption is advised.

Leave a Comment