Key Takeaways
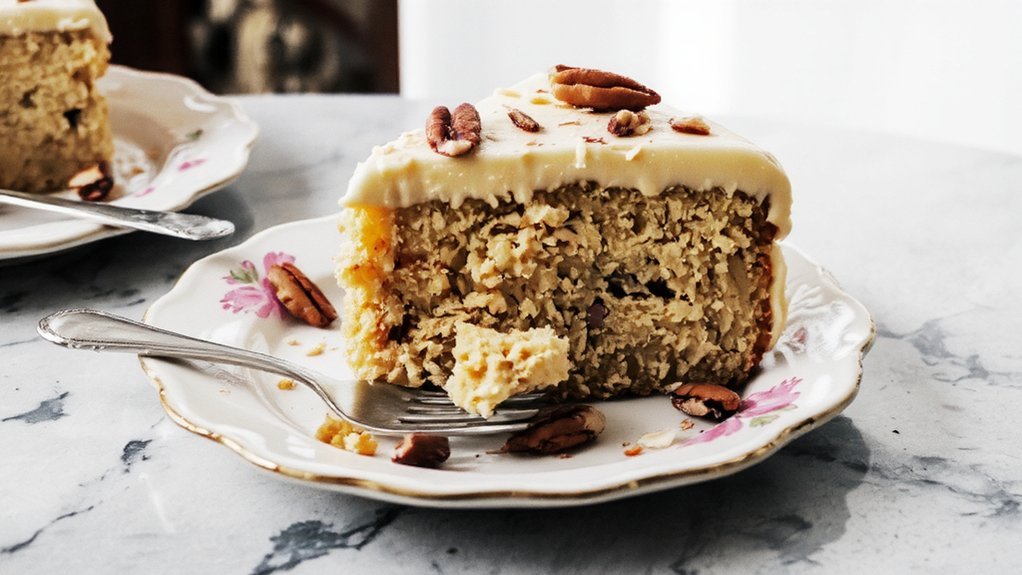
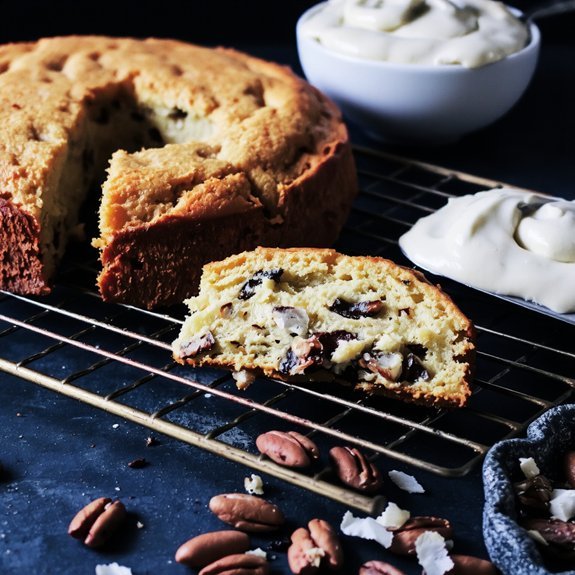
- Two-layer cake combines 2 cups flour, baking soda, butter, sugar, eggs, shredded coconut, and chopped pecans for rich flavor.
- Bake prepared batter at 350°F for 30–35 minutes in two 9-inch round pans until toothpick emerges with moist crumbs.
- Cool cake layers completely (~2 hours) on wire racks before frosting to ensure proper structure and flavor development.
- Cream cheese frosting uses softened cream cheese, butter, powdered sugar, vanilla extract, and salt beaten until light and fluffy.
- Assemble cooled layers with frosting, chill finished cake 2 hours before serving to meld flavors and set structure completely.
Ingredients You’ll Need
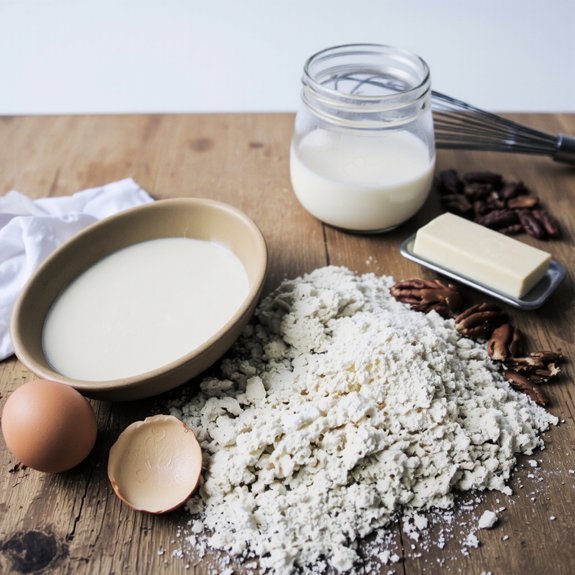
You’ll need two cups of all-purpose flour, two teaspoons of baking soda, one-half teaspoon of salt, one cup of unsalted butter (softened), two cups of granulated sugar, five large egg yolks, one cup of buttermilk, one teaspoon of vanilla extract, one cup of sweetened shredded coconut, and one cup of chopped pecans for the cake layers.
These pantry staples form your foundation.
You can gather substitution options if needed: use salted butter and reduce salt accordingly, or swap buttermilk with Greek yogurt mixed with milk.
For the nuts, macadamia or walnuts work equally well.
Toast your pecans beforehand to intensify flavor.
Measure ingredients precisely—weight measurements trump volume for consistency.
Soften your butter to room temperature; this guarantees proper creaming with sugar, creating the light texture your cake demands.
Have all components ready before mixing.
Essential Equipment and Tools
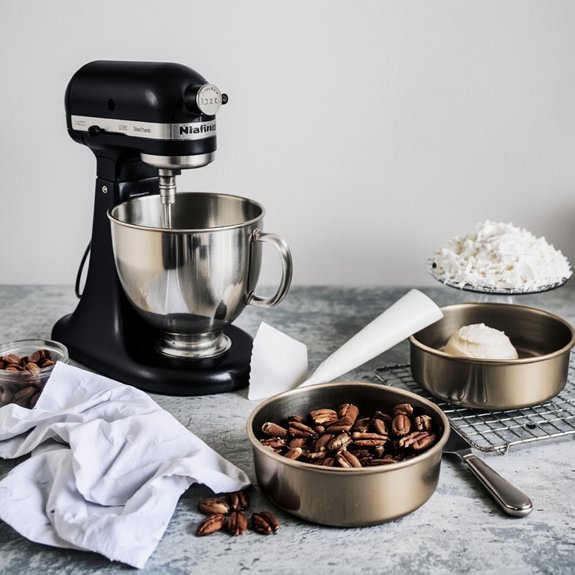
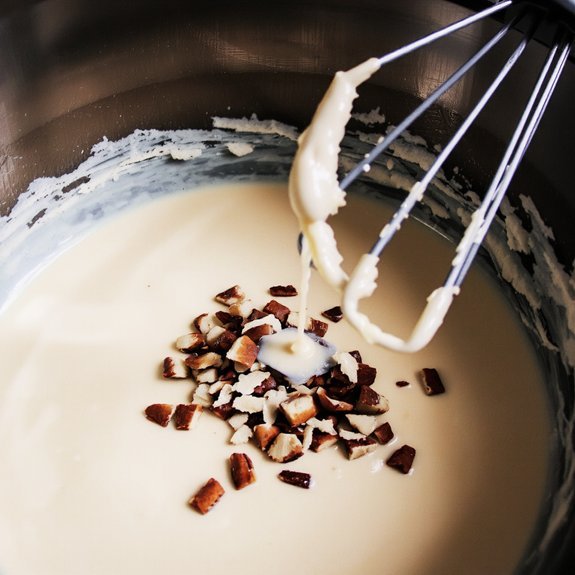
You’ll need two large mixing bowls and sturdy utensils—a whisk for incorporating air into egg whites and a wooden spoon for folding the coconut and pecans without deflating your batter.
Gather two 9-inch round cake pans, which you’ll grease and flour to prevent sticking, along with parchment paper for added insurance.
Prepare a cooling rack so your layers can set properly before you assemble and frost this multi-layer cake.
Mixing Bowls and Utensils
The right mixing bowls and utensils make the difference between a properly emulsified batter and one that’s separated before it hits the pan.
You’ll want stainless steel or glass bowls—they’re nonreactive and won’t absorb flavors or oils that compromise your cream cheese frosting.
For bowl materials, choose wide-rimmed designs that give you leverage and control.
You’re not confined to one size; grab multiple bowls for separating eggs and wet ingredients.
Regarding utensil ergonomics, invest in sturdy wooden spoons and silicone spatulas with heat-resistant handles.
Your hand’ll thank you during extended mixing sessions.
Offset spatulas work brilliantly for scraping bowl sides without wasting batter.
A reliable whisk aerates your egg whites efficiently, creating those essential air pockets that make this Italian classic tender and moist.
Baking Pans and Preparation
Since Italian Cream Cake demands even heat distribution and precise baking, selecting the right pans becomes non-negotiable. You’ll want two 9-inch round cake pans with at least 1.5-inch sides for ideal rise and structure.
| Pan Material | Conductivity | Best For |
|---|---|---|
| Aluminum | High | Even browning |
| Steel | Medium | Durability |
| Dark nonstick | Very high | Quick baking |
| Glass | Low | Observation |
| Ceramic | Low | Moisture retention |
Prepare your pans by greasing thoroughly with butter and dusting with flour. Position your racks in the lower-middle section of your oven—this placement makes certain your cake bakes evenly without over-browning the top. Don’t skip parchment paper; it prevents sticking and guarantees clean release. Your batter’s delicate cream cheese mixture demands controlled, consistent heat. Quality pan materials directly impact your cake’s texture and rise.
Preparing Your Cake Pans
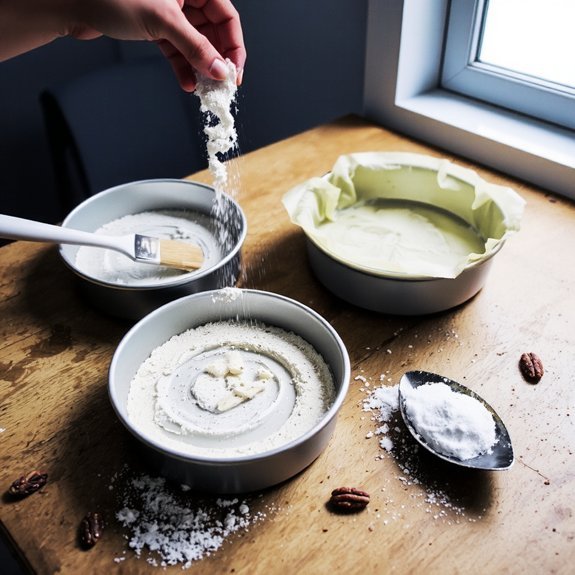
Greasing and flouring your pans prevents the cake from sticking while ensuring even baking.
Greasing and flouring your pans prevents sticking while ensuring your Italian cream cake bakes evenly and releases cleanly.
You’ll want to use either butter or oil—both work equally well for this Italian cream cake.
For allergen prevention, consider your flour choice carefully.
All-purpose flour is standard, but you can substitute with gluten-free alternatives if needed.
Apply your chosen fat generously, coating every crevice of your 9-inch round pans.
Dust thoroughly with flour, tapping out excess.
Alternatively, you can use parchment paper circles cut to fit your pan bottoms—an eco alternative that simplifies removal and cleanup.
This preparation method guarantees your cake releases cleanly while developing an evenly golden crust.
Don’t skip this step; proper pan preparation directly impacts your final product’s texture and appearance.
Making the Cake Batter
You’ll start by whisking together your dry ingredients—flour, baking soda, and salt—in a medium bowl to achieve even distribution.
Next, you’ll combine your wet components, which include buttermilk, oil, eggs, and vanilla extract, in a separate bowl until fully incorporated.
Finally, you’ll blend the two mixtures together, folding the dry ingredients into the wet until you’ve achieved a smooth, lump-free batter.
Mixing Dry Ingredients
To build the cake’s structure, combine 2 cups all-purpose flour, 1 teaspoon baking soda, and 1/2 teaspoon salt in a medium bowl, whisking until the leavening agent and salt distribute evenly throughout the flour.
You’ll achieve particle uniformity by breaking apart any clump dispersal that forms during mixing. This critical step guarantees your cake rises predictably and bakes evenly. Your whisk becomes your primary tool—use it aggressively, making multiple passes through the mixture.
Consider these key points:
- Sift if needed for compromised flour storage conditions
- Whisk thoroughly to eliminate leavening agent pockets
- Check consistency by running your finger through the mixture
- Avoid overmixing after achieving uniformity
- Use immediately to preserve incorporation results
This dry foundation directly impacts your cake’s crumb structure and rise potential. Don’t skip this preparation phase—it’s non-negotiable for professional results.
Combining Wet Components
While your dry mixture rests, combine 1/2 cup unsalted butter (softened to room temperature), 1 cup granulated sugar, and 3 large eggs in a separate bowl, then beat on medium-high speed for 3–4 minutes until the mixture reaches a pale, fluffy consistency.
This emulsification technique incorporates air into your batter, creating the cake’s tender crumb structure.
Next, add 1/2 cup buttermilk and 1/4 cup coconut milk, alternating with your dry ingredients. Begin and end with dry components, adding buttermilk first.
This temperature matching—keeping all ingredients near room temperature—ensures proper incorporation without separation.
Fold in 1 cup shredded coconut and 1/2 cup chopped pecans until just combined. Avoid overmixing, which develops gluten and toughens your cake.
Your batter’s ready for panning.
Blending Until Smooth
Combining your wet and dry ingredients requires a deliberate, methodical approach to achieve a homogeneous batter.
- Fold dry ingredients into your wet mixture using a spatula with controlled, deliberate strokes
- Monitor viscosity changes as you incorporate flour—your batter should shift from pourable to thick
- Temperature effects matter; make sure ingredients hover around 70°F for ideal incorporation and consistent texture
- Mix until no flour streaks remain, typically 30–45 seconds of gentle folding
- Stop immediately once combined; overmixing develops gluten, toughening your final cake
You’re building structure without compromising tenderness.
The batter’s consistency should resemble thick pancake batter—smooth, lump-free, and flowing slightly when tilted. This balance between complete hydration and restraint ensures you’ll achieve the moist, tender crumb Italian cream cake demands.
Baking and Cooling Instructions
Once you’ve divided the batter evenly between your prepared pans, you’ll bake at 350°F for 30-35 minutes until a toothpick inserted in the center emerges with just a few moist crumbs.
Monitor the internal temperature—you’re targeting around 205-210°F for ideal doneness.
Don’t overbake; you’ll sacrifice the cake’s tender crumb structure.
After removing from the oven, let the layers rest in their pans for 10 minutes.
This brief interval allows the crumb structure to set without becoming tough.
Next, invert the cakes onto wire cooling racks in a neutral cooling environment away from drafts and direct heat.
Room temperature conditions prevent thermal shock that’d crack your delicate layers.
Allow complete cooling—approximately two hours—before frosting.
Rushing this step compromises your cake’s structural integrity and frosting adhesion.
Creating the Cream Cheese Frosting
Your cooled cake layers now need a frosting that’ll complement their tender crumb and rich flavor. Cream cheese frosting demands precision for ideal results.
- Beat softened cream cheese and butter until completely smooth and lump-free
- Gradually incorporate powdered sugar to avoid incorporating excess air
- Add vanilla extract and a pinch of salt for depth
- Employ stability techniques by chilling the frosting before application
- Explore flavor variations with coconut extract, lemon zest, or rum
Temperature control matters—work with room-temperature ingredients for seamless blending.
Whip until light and fluffy, roughly 3-4 minutes.
This frosting’s stability techniques prevent weeping during storage.
The balance between tanginess and sweetness creates the perfect foil for Italian cream cake’s nutty, coconky layers.
You’ve got complete control over your frosting’s consistency and taste profile.
Assembling and Decorating Your Cake
With your cake layers cooled and frosting chilled, you’re ready to construct the final dessert through deliberate layering and finishing techniques.
With cooled layers and chilled frosting, you’re prepared to construct your final dessert through deliberate layering and finishing techniques.
Place your first cake layer on a turntable, then spread an even frosting coat using an offset spatula.
Stack your second layer, repeating the process.
Apply a crumb coat—a thin frosting layer sealing in loose particles—then refrigerate fifteen minutes.
Add your final frosting coat, smoothing it across all surfaces.
Your presentation styling options include classic swirls, rustic texture, or polished finishes.
For decorating techniques, consider toasted coconut flakes pressed into the frosting sides, creating texture and visual interest.
Crown the top with candied pecans or chocolate shavings.
Chill your finished cake for two hours before serving, allowing flavors to meld and structure to set completely.
Storage and Serving Tips
How long can you store an Italian cream cake?
You’ll keep it fresh for up to three days in an airtight container at room temperature.
For extended storage, use these freezing instructions: wrap unfrosted layers individually in plastic wrap, then foil, and freeze for up to three months.
- Thaw frozen cake layers at room temperature for two hours before frosting
- Store frosted cakes refrigerated for five days maximum
- Reheating tips: bring chilled cake to room temperature thirty minutes before serving
- Don’t microwave; use gentle ambient warming instead
- Separate layers before freezing for easier portioning
You’ll achieve ideal texture and cream cheese frosting consistency by following precise temperature management.
Avoid temperature fluctuations that compromise the cake’s structural integrity and flavor profile.
Frequently Asked Questions
Can I Make Italian Cream Cake Ahead of Time for an Event?
You can absolutely make Italian cream cake ahead.
Here’s your timing schedule: bake layers three days prior, store them wrapped airtight.
Prepare frosting two days out.
Assemble the cake one day before your event.
For transport tips, refrigerate the assembled cake until departure, then place it on a stable, flat surface in your vehicle.
Keep it cool and avoid bumpy routes.
This technique-driven approach guarantees your frosting stays firm and layers maintain structural integrity throughout transport.
What’s the Difference Between Italian Cream Cake and Regular Vanilla Cake?
You’ll find Italian cream cake delivers dramatic texture contrast that vanilla cake won’t match. Your layers incorporate coconut and pecans, creating complexity vanilla skips entirely.
The cream cheese frosting you’d use provides tangy richness versus vanilla’s typical buttercream sweetness. You’re building depth through ingredient choices—crushed pineapple adds moisture, while toasted nuts deliver crunch.
These components give you a sophisticated, multi-dimensional dessert that transcends vanilla’s straightforward approach.
Can I Freeze Italian Cream Cake Layers Before Assembling?
Yes, you can freeze Italian cream cake layers before assembling.
You’ll want to wrap each layer tightly in plastic wrap, then use airtight freezer containers for ideal texture preservation.
This packaging method prevents freezer burn and moisture loss.
Freeze for up to three months.
When you’re ready, thaw layers at room temperature for two hours before frosting.
The coconut and pecan ingredients maintain their structural integrity when you follow proper freezing techniques, ensuring your final cake tastes fresh.
How Do I Fix a Collapsed or Sunken Cake Layer?
You can’t truly fix a collapsed layer, but you’ve got options. Try steam rescue: gently hover the layer over boiling water for texture restoration—the moisture may slightly revive it.
Alternatively, level it with a serrated knife and use it as your bottom layer where imperfections won’t show. Your best move? Bake a fresh layer. Don’t settle for compromised structure when you’re building something that matters.
What Can I Substitute for Coconut if I Have Allergies?
You’ll want nut free alternatives like finely shredded white chocolate or crushed freeze-dried pineapple for your texture substitutes.
Replace the coconut one-to-one with either ingredient.
White chocolate mimics the moisture and sweetness, while pineapple delivers tropical notes without allergen concerns.
Both options maintain your cake’s structural integrity and richness.
You’re not sacrificing flavor or texture—you’re adapting the recipe to suit your dietary freedom.
Leave a Comment