Key Takeaways
- Use Dutch-processed cocoa powder combined with coffee to amplify chocolate flavor through complementary aromatic compounds and depth.
- Sift dry ingredients twice and whisk vigorously to ensure even leavening distribution and proper cake structure and rise.
- Grease and line pans thoroughly with parchment paper, then grease again to prevent sticking and ensure clean release.
- Bake at 350°F for 30–35 minutes until a toothpick shows few moist crumbs and edges pull slightly from sides.
- Finish with 2:1 chocolate-to-cream ganache ratio using 70% dark chocolate for dense, matte texture and dramatic presentation.
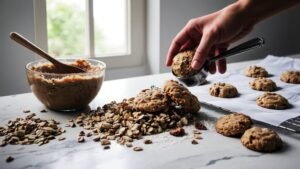
Ingredients You’ll Need
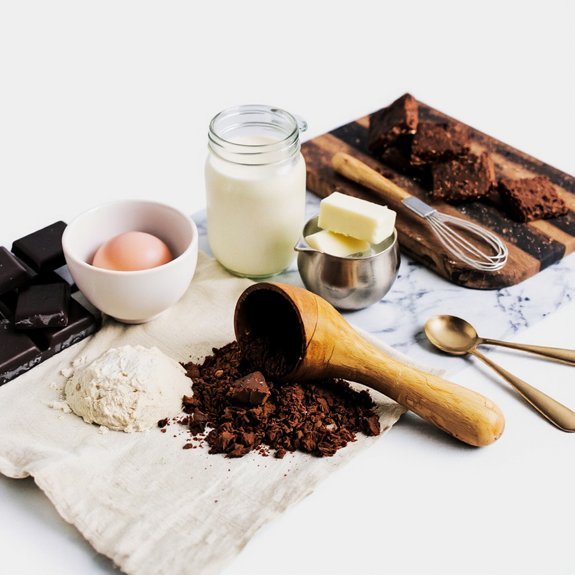
You’ll need flour, cocoa powder, sugar, eggs, butter, baking soda, baking powder, salt, vanilla extract, and buttermilk to create a rich, moist chocolate cake.
Master a rich, moist chocolate cake with essential ingredients: flour, cocoa, sugar, eggs, butter, leavening agents, and buttermilk.
When sourcing ingredients, prioritize quality cocoa powder—Dutch-processed varieties deliver deeper flavor profiles than natural options.
For allergen alternatives, substitute all-purpose flour with gluten-free blends maintaining 1:1 ratios.
Replace eggs with flax eggs (one tablespoon ground flaxseed plus three tablespoons water per egg) for vegan adaptations.
Dairy-free bakers can use plant-based buttermilk by combining non-dairy milk with apple cider vinegar.
Consider sourcing fair-trade cocoa and organic butter to align with your values.
Brown sugar intensifies chocolate notes; use it interchangeably with granulated sugar.
These ingredient choices directly impact your cake’s texture and flavor complexity, giving you complete control over your final product.
Why Coffee and Cocoa Make the Perfect Pair
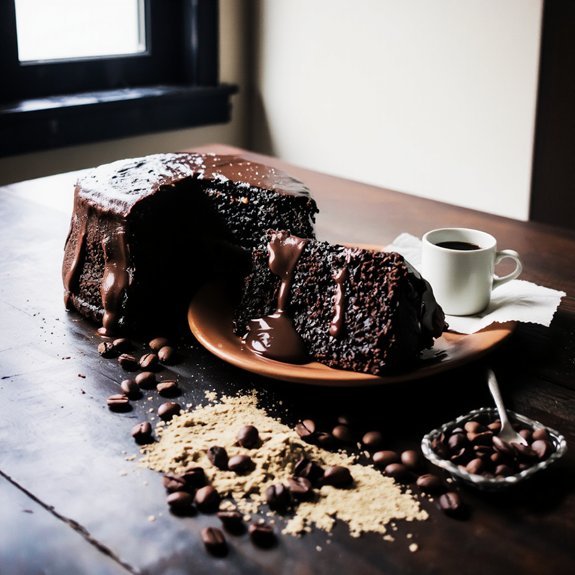
While cocoa delivers rich, complex chocolate notes, coffee amplifies those flavors through complementary biochemistry.
You’ll discover that coffee’s volatile compounds create aromatic synergy with cocoa’s natural bitterness, elevating both elements simultaneously.
The bitter balance you achieve combines cocoa’s tannins with coffee’s roasted compounds, creating depth without harshness.
Coffee doesn’t mask chocolate—it sharpens and extends its flavor profile.
You’re leveraging chemistry: caffeine and polyphenols in coffee interact with cocoa’s phenolic compounds, producing sophisticated taste complexity.
This pairing gives you control over intensity.
Stronger coffee intensifies chocolate notes; milder coffee emphasizes cocoa’s subtlety.
You’ll notice how this combination transforms standard chocolate cake into a multidimensional dessert.
The synergy between these two ingredients liberates your palate from one-dimensional sweetness, offering genuine flavor sophistication.
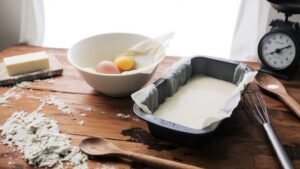
Preparing Your Baking Pans
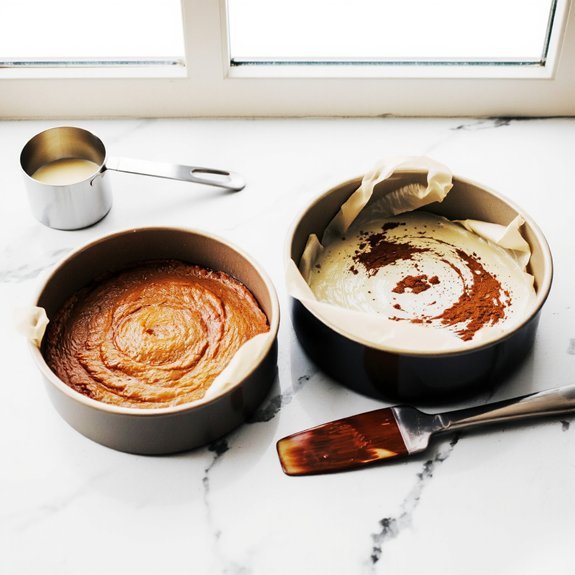
Proper pan preparation sets the foundation for even baking and effortless cake removal.
You’ll want to master two essential techniques: pan greasing and parchment lining.
Start by selecting your baking pans—typically 9-inch round or square varieties work best for chocolate cake.
Grease them thoroughly with butter or cooking spray, ensuring every crevice receives coverage.
Don’t skip this step; it prevents sticking and guarantees clean releases.
Next, cut parchment paper to fit your pan’s bottom.
Press it firmly against the greased surface, then apply another layer of grease over the parchment.
This dual-layer approach provides maximum insurance against adherence.
You’re now free to pour your batter confidently.
Your cake will bake evenly and release perfectly, allowing you to focus on achieving that ideal crumb structure and rich chocolate flavor your recipe demands.
Mixing the Dry Ingredients
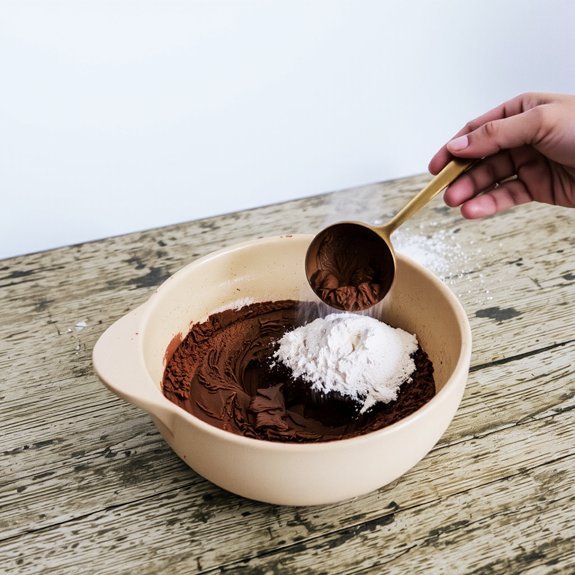
Combine your dry ingredients in a medium mixing bowl: 1¾ cups all-purpose flour, ¾ cup unsweetened cocoa powder, 2 teaspoons baking soda, 1 teaspoon baking powder, and 1 teaspoon salt.
You’ll want to use a sifting technique to guarantee even distribution and eliminate lumps.
Sift these ingredients together twice for ideal results.
Measuring accuracy matters greatly—use level measures rather than scooping directly from containers, which compacts flour and throws off ratios.
Whisk the mixture vigorously for about one minute after sifting.
This aerates your dry blend and distributes leavening agents uniformly throughout, guaranteeing consistent rise and texture in your final cake.
Don’t skip this step.
Proper dry ingredient preparation directly impacts your cake’s structure, crumb, and overall quality.
You’re building the foundation for success.
Combining the Wet Ingredients
You’ll combine your eggs, buttermilk, vanilla extract, and melted butter in a separate bowl, whisking them together until you’ve achieved a uniform consistency.
The order matters crucially—add your wet ingredients in this sequence to guarantee proper emulsification and prevent the batter from breaking.
Keep your wet mixture at room temperature so it combines smoothly with your dry ingredients without causing temperature shock that could affect the cake’s crumb structure.
Mixing Order Matters
Because chocolate cakes rely on proper emulsification for tender crumb structure, the sequence in which you incorporate wet ingredients directly affects your final result. You’ll want to start with eggs, as their lecithin content creates the emulsion foundation.
Add oil next—its gradual incorporation prevents separation. Then introduce your milk mixture.
This equipment sequence matters substantially. Use a stand mixer on medium speed to maintain consistent aeration impact throughout the process.
Rapid mixing at this stage incorporates air bubbles that create lift, while erratic speeds collapse them, compromising texture.
You’re not simply combining liquids; you’re building a stable emulsion that suspends cocoa particles evenly. Each ingredient timing decision determines crumb tenderness and moistness.
Respect this order, and you’ll achieve professional-quality results every time.
Temperature and Consistency
While proper mixing sequence establishes your emulsion’s foundation, the temperature of your wet ingredients determines how effectively that emulsion actually forms.
You’ll want your eggs and buttermilk between 70-75°F for ideal incorporation.
Cold ingredients resist blending, creating lumps and compromising your cake’s crumb structure.
Room temperature eggs emulsify more readily with oil, trapping air bubbles that generate lift.
Warm buttermilk promotes even distribution of cocoa solids and leavening agents throughout your batter.
Climate effects markedly impact your results.
In cooler environments, ingredients naturally sit colder—you’ll need extra time for temperature adjustment.
Hot climates accelerate ingredient warming, potentially affecting shelf stability if you’re not careful.
Consistency matters equally.
Your combined wet mixture should flow smoothly without separation.
This balanced state guarantees uniform crumb development and prevents dense, dry cake.
Creating the Batter
Combining your dry ingredients—all-purpose flour, cocoa powder, baking soda, baking powder, and salt—requires whisking them together in a large bowl to guarantee even distribution.
Whisk dry ingredients together in a large bowl to ensure even distribution and proper aeration for consistent baking results.
Whisking also aerates the mixture, which promotes consistent rise during baking.
Next, cream your softened butter and sugar using your equipment choices—whether an electric mixer or manual whisk—until the mixture’s pale and fluffy texture indicates proper incorporation of air.
Add eggs individually, ensuring complete integration before each addition.
Alternate adding your dry mixture and buttermilk to the wet ingredients, beginning and ending with dry components.
This prevents overmixing and maintains batter structure.
Stir in vanilla extract and melted chocolate, folding gently until just combined.
Resting batter for five minutes allows flour to fully hydrate and air bubbles to stabilize, resulting in superior cake texture and crumb structure.
Baking Time and Temperature
Once you’ve allowed your batter to rest, you’ll want to preheat your oven to 350°F (175°C) and prepare your cake pans with parchment paper or a light coating of butter and flour.
Oven calibration matters substantially—use an independent thermometer to verify your oven’s accuracy, as variations can compromise your cake’s crumb structure.
Pour batter evenly into prepared pans and bake for 30-35 minutes, depending on pan size and your oven’s characteristics. You’ll know you’re done when a toothpick inserted in the center emerges with minimal crumbs.
Account for carryover baking by removing your cakes when they’re just set but still slightly tender in the center. They’ll continue cooking as they cool, developing perfect moisture and density. This precision prevents overbaking and guarantees you maintain control over your final product’s quality.
Testing for Doneness
How can you reliably determine when your chocolate cake has reached ideal doneness without relying solely on time?
The toothpick method gives you direct control over your baking outcome. Insert a toothpick into the cake’s center—you’re looking for moist crumbs, not wet batter or complete dryness.
| Test Method | Expected Result |
|---|---|
| Toothpick insertion | Few moist crumbs clinging |
| Cake spring-back | Slight resistance when touched |
| Crumb structure | Set but tender interior |
Your chocolate cake’s crumb structure develops as cocoa solids and eggs set through heat. You’ll notice the edges pulling slightly from the pan’s sides—a reliable visual indicator. The cake’s center should feel springy, not jiggly. Don’t overbake; residual heat continues cooking after removal. This precision guarantees your chocolate cake maintains its luxurious, moist character while achieving structural integrity.
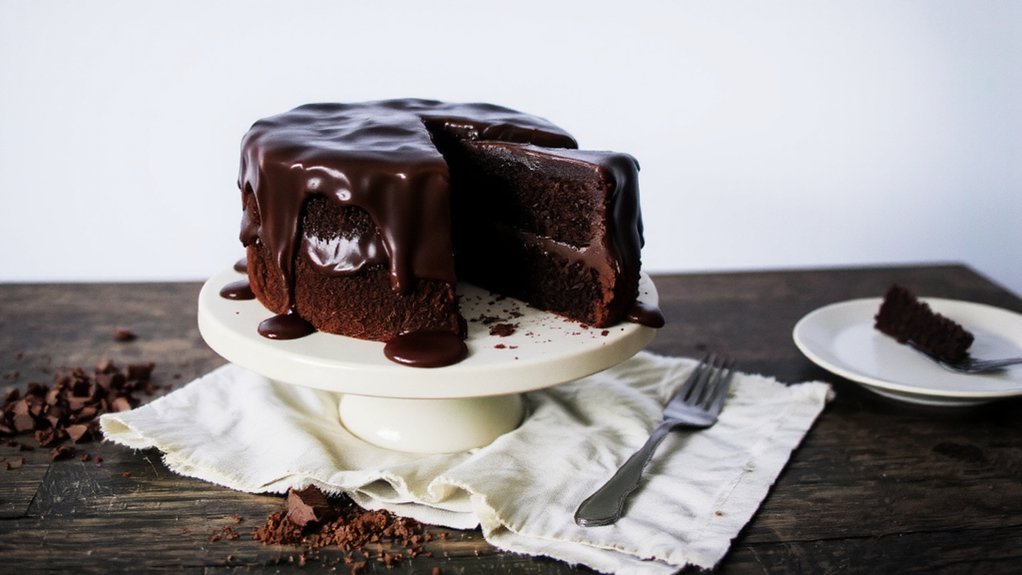
Frosting and Serving Suggestions
You’ll elevate your chocolate cake with a silky classic chocolate ganache made from quality dark chocolate and heavy cream, or customize the flavor profile using buttercream variations infused with espresso, raspberry, or salted caramel.
Your plating and presentation choices—from minimalist elegance to layered architectural designs—transform the cake’s visual impact and guide your serving strategy.
Consider your ganache’s consistency, buttercream’s texture, and garnish selections when determining whether you’re plating individual slices or presenting the whole cake as a centerpiece.
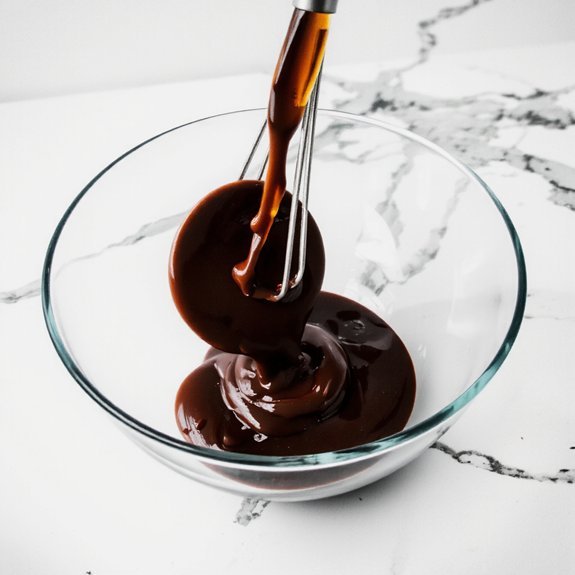
Classic Chocolate Ganache
The perfect ganache relies on a precise ratio of chocolate to cream—typically 2:1 by weight—which creates a luxuriously smooth consistency that’s ideal for both frosting and glazing. You’ll achieve professional results by heating cream to just below boiling, then pouring it over chopped chocolate, allowing it to sit undisturbed for two minutes before whisking until glossy.
| Chocolate Type | Texture | Best Use |
|---|---|---|
| Dark (70%) | Dense, matte | Dramatic coating |
| Milk (38%) | Silky, forgiving | Versatile frosting |
| White | Delicate, rich | Elegant contrast |
Your pouring techniques determine final appearance—slow, deliberate movements yield clean glazes. For storage methods, keep ganache in airtight containers at room temperature for three days, or refrigerate for two weeks. You’re free to customize ratios based on your desired consistency and cocoa preference.
Buttercream Flavor Variations
Mastering buttercream variations starts with understanding how fat content and flavorings interact to create distinct taste profiles and textures.
You’ll discover that Lavender Honey buttercream combines floral notes with natural sweetness, requiring careful temperature control to prevent separation.
This variation works beautifully with dark chocolate layers.
Cardamom Citrus buttercream offers you a sophisticated alternative, blending warm spice with bright acidity.
You’ll need to add zest gradually, adjusting ratios to maintain proper consistency.
Both variations demand room-temperature butter and precise whisking times.
You’re free to customize these profiles by adjusting extract concentrations and ingredient ratios.
Apply either variation between layers and as exterior frosting.
These buttercreams hold firm at room temperature for approximately four hours, making them ideal for celebration cakes demanding bold flavor statements without compromise.
Plating and Presentation Tips
Once your cake’s layers are assembled and crumb-coated with buttercream, you’ll want to apply your final frosting layer with deliberate, even strokes using an offset spatula—this foundation determines how well your presentation holds.
Your plate selection matters particularly; choose contrasting colors that make your chocolate cake pop visually.
White, cream, or slate plates complement dark chocolate beautifully.
Position your slice slightly off-center for dynamic composition.
Lighting techniques elevate your presentation dramatically.
Natural diffused light flatters chocolate’s rich texture better than harsh fluorescent bulbs.
Angle light from the side to highlight frosting ridges and cake layers’ definition.
Garnish strategically with cocoa powder, chocolate shavings, or fresh berries.
These elements add visual interest without overwhelming your cake’s star quality.
Serve immediately while frosting remains at ideal temperature.
Frequently Asked Questions
Can I Substitute All-Purpose Flour With Cake Flour in This Recipe?
Yes, you can substitute all-purpose flour with cake flour.
You’ll need to adjust your measurements since cake flour’s lower protein content—around 7-9% versus all-purpose’s 10-12%—affects gluten development and texture.
Reduce cake flour by approximately 2 tablespoons per cup of all-purpose flour called for.
This adjustment guarantees you’ll achieve the tender, delicate crumb you’re after without compromising your chocolate cake’s structural integrity or moisture balance.
How Long Does This Chocolate Cake Stay Fresh After Baking?
Your chocolate cake’ll stay fresh for 3-4 days when you store it properly at room temperature in an airtight container.
The shelf life depends on your ingredient ratios—higher fat and moisture content slows the staling process substantially.
You’ve got freedom to extend freshness by refrigerating it up to a week or freezing it for three months.
Proper storage prevents moisture loss and keeps your cake’s crumb structure intact, maintaining that desirable texture you’re after.
Can I Make This Cake Ahead and Freeze It?
Yes, you can freeze your chocolate cake effectively.
Wrap it tightly in plastic wrap, then aluminum foil for ideal freezer packaging.
You’ll maintain quality for up to three months.
For thawing tips, remove the cake from freezing conditions and let it sit at room temperature for two to three hours before serving.
This gradual thawing process preserves the cocoa’s integrity and prevents condensation from compromising your cake’s crumb structure and frosting appearance.
What’s the Best Frosting to Pair With This Chocolate Cake?
You’ll find that Salted Caramel frosting delivers sophisticated contrast—the salt cuts through cocoa richness while caramel’s deep notes complement dark chocolate layers.
Alternatively, Espresso Buttercream intensifies chocolate’s complexity; espresso powder dissolves seamlessly into butter and powdered sugar, creating depth without bitterness.
Both options demand quality ingredients: European butter, pure vanilla extract, and freshly ground espresso beans. Choose Salted Caramel for bold sweetness or Espresso Buttercream for refined earthiness. Either pairs exceptionally well, giving you complete freedom to match your flavor preference.
How Do I Prevent My Chocolate Cake From Sinking in Middle?
You’ll prevent your cake from sinking by ensuring your batter temperature stays between 68-72°F before pouring.
Calibrate your oven with an independent thermometer—you can’t trust built-in gauges.
Don’t open the door during baking’s first 25 minutes.
Use room-temperature eggs and cocoa powder; they’re essential for even rise.
Mix your dry ingredients thoroughly to distribute leavening agents uniformly.
These techniques give you complete control over your cake’s structure.


Leave a Comment