Key Takeaways
- Set oven to 375–425°F depending on breast thickness; reduce by 25°F for convection ovens.
- Space chicken breasts at least half an inch apart on a middle oven rack for even heat circulation.
- Bake for 12–15 minutes at 425°F for thin breasts or 20–25 minutes for thicker cuts.
- Insert a meat thermometer into the thickest part and remove chicken immediately at 165°F.
- Rest chicken for 5–10 minutes before slicing to preserve juiciness and allow carryover cooking to cease.
Selecting Quality Chicken Breast
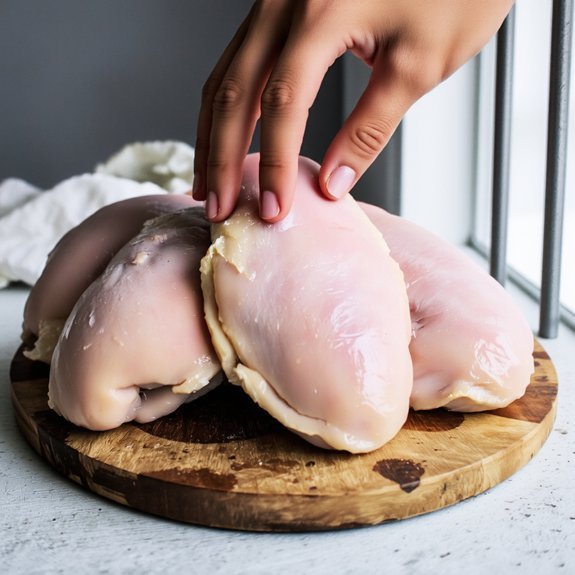
Before you heat your oven, you’ll want to select chicken breasts that’ll yield ideal results when baked.
Look for breasts with consistent thickness and a pale pink color—indicators of proper handling and freshness.
Consider sourcing poultry with organic certification, ensuring birds weren’t raised on synthetic antibiotics or feed additives that compromise flavor and nutritional profile.
Breed differences considerably impact your final dish.
Heritage breeds like Cornish or Heritage Red Rangers develop superior muscle structure and marbling compared to conventional commercial varieties, resulting in more flavorful, tender meat when baked.
Check packaging dates and choose the freshest option available.
If purchasing frozen chicken, verify proper vacuum-sealing with no ice crystals present.
Proper selection at this stage directly influences moisture retention, texture, and overall cooking success.
Preparing Your Chicken Breast

You’ll want to trim any visible fat from your chicken breast using a sharp knife, removing the thin layer along the edges and any pockets of fat within the meat.
Once trimmed, pat the breast dry with paper towels to guarantee proper browning during baking.
Season your chicken generously with salt, pepper, and your choice of herbs or spice blends, distributing the seasonings evenly across both sides and any crevices.
Trimming Excess Fat
Once you’ve selected quality chicken breasts, remove any visible fat deposits and silverskin—the thin, translucent connective tissue that runs along the breast’s surface.
Use a sharp boning knife for precision; proper tool maintenance promotes clean cuts and better results. Work methodically along the breast’s edges, angling your blade slightly upward to separate fat without removing excessive meat.
For trimmed scraps, you’ll have composting options available. Most fat and connective tissue break down efficiently in backyard compost systems, reducing waste and returning nutrients to your garden.
Alternatively, you can freeze trimmings for homemade stock production.
Clean your knife between breasts to prevent cross-contamination and maintain cutting efficiency.
This preparation step yields uniformly-sized, leaner breasts that cook evenly and absorb seasonings more effectively, setting the foundation for superior baked results.
Seasoning Your Chicken
With your trimmed breasts ready, it’s time to build flavor through strategic seasoning that’ll penetrate the meat during baking.
Understanding seasoning science helps you maximize flavor impact. Salt dissolves into muscle fibers, enhancing moisture retention and taste perception. Apply salt 40 minutes before baking—this allows adequate penetration time.
| Seasoning | Application Method |
|---|---|
| Kosher salt | Even distribution across surface |
| Black pepper | Coarse grind for texture |
| Garlic powder | Light coating for depth |
| Paprika | Thin layer for complexity |
| Fresh herbs | Press firmly into flesh |
Sensory psychology reveals that layered seasonings create more satisfying experiences than single-note profiles. Combine aromatics with umami-rich components for sophisticated results. Your freedom in seasoning choices reflects personal preference—experiment with ratios until you’ve developed your signature technique.
Seasoning and Flavoring Options
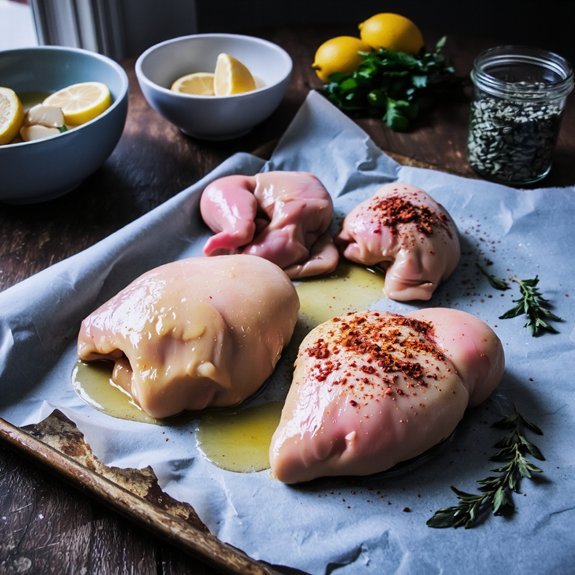
What’ll transform your baked chicken breast from bland to memorable? Strategic seasoning and flavor layering.
You’ve got complete control over your culinary direction when you master these techniques:
- Herb Profiles – Deploy Mediterranean blends, Asian aromatics, or Latin spice combinations to establish distinct flavor foundations
- Acid Balancing – Incorporate citrus, vinegar, or wine to brighten flavors and enhance moisture retention during baking
- Dry Rubs and Marinades – Build complexity through salt, pepper, garlic, paprika, and complementary spices applied 15-30 minutes pre-baking
Your freedom lies in experimentation.
Combine herbs with quality olive oil, mustard, or yogurt bases to create personalized flavor profiles.
This approach guarantees your chicken breast emerges tender, flavorful, and precisely suited to your preferences.
Master these fundamentals, and you’ll elevate every baked chicken dish.
Choosing the Right Baking Temperature
Perfecting your seasoning means nothing if you don’t nail the oven temperature—this single variable determines whether your chicken emerges juicy or dry, tender or tough. You’ll want to set your conventional oven to 375–425°F, depending on thickness and your desired cooking speed. Thicker breasts benefit from 375°F to guarantee even heat penetration, while thinner cuts cook through at 425°F without drying out.
Oven temperature is the single variable determining whether chicken emerges juicy or dry—set your conventional oven to 375–425°F based on thickness.
If you’re using convection benefits, reduce the temperature by 25°F since circulating air accelerates cooking.
You’ll also need altitude adjustments—add roughly 15–25°F for every 3,000 feet above sea level to compensate for lower atmospheric pressure and faster moisture evaporation.
Use an instant-read thermometer to verify doneness at 165°F internally. This disciplined approach gives you complete control over your results.
Determining Accurate Cooking Time
How long you’ll leave chicken in the oven depends on thickness, mass, and your chosen temperature—there’s no universal timeline that works for every breast.
You’ll achieve precision by understanding these variables:
- Thickness matters: A half-inch breast cooks in 12-15 minutes at 425°F, while thicker cuts require 20-25 minutes
- Internal temperature verification: You’re done when the thickest part reaches 165°F using an instant-read thermometer
- Oven variability adjustments: Your unit’s actual temperature may differ from the dial reading, so monitor progress at the lower end of your estimated timeframe
Altitude adjustments also influence cooking duration—higher elevations require extended time due to lower atmospheric pressure affecting heat transfer.
Don’t rely solely on appearance; thermometer readings guarantee food safety and ideal juiciness. Check early and adjust accordingly rather than overcooking.
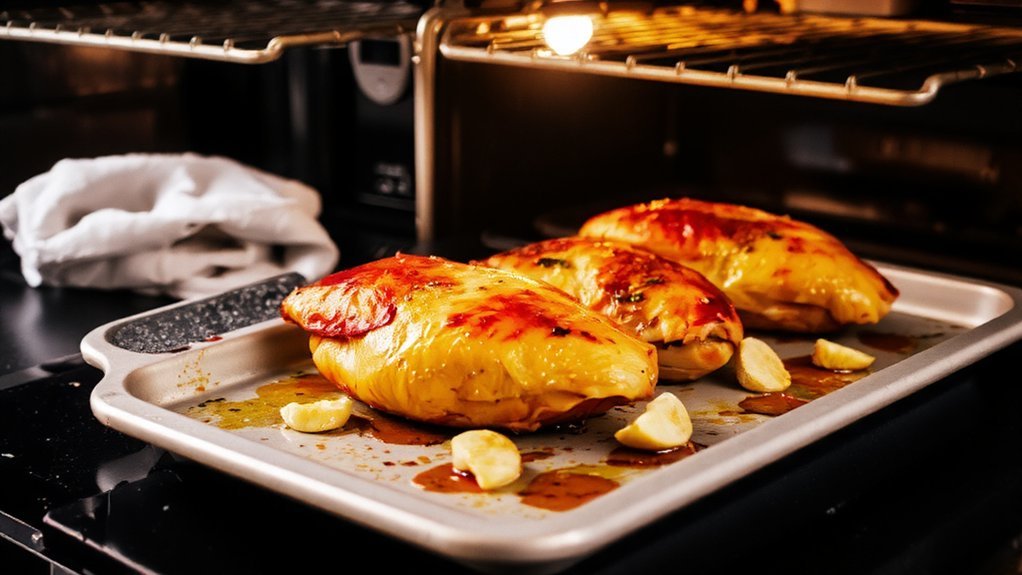
Arranging Chicken on Your Baking Sheet
Position your chicken breasts on a rimmed baking sheet lined with parchment paper or a light coating of oil, spacing them at least half an inch apart to promote even heat circulation.
Position chicken breasts at least half an inch apart on a parchment-lined baking sheet to ensure even heat circulation and uniform browning.
This spacing guideline prevents moisture buildup and guarantees uniform browning across all pieces.
For ideal results, place your baking sheet on the middle oven rack, which provides balanced heat exposure without risk of burning the top or undercooking the bottom.
Avoid overcrowding—you’ll want breathing room between each breast.
If you’re cooking multiple batches, resist the urge to stack breasts or place them too closely together. Proper arrangement directly impacts your final product’s texture and doneness.
You’re establishing the foundation for perfectly baked chicken by respecting these spacing parameters and rack placement standards.
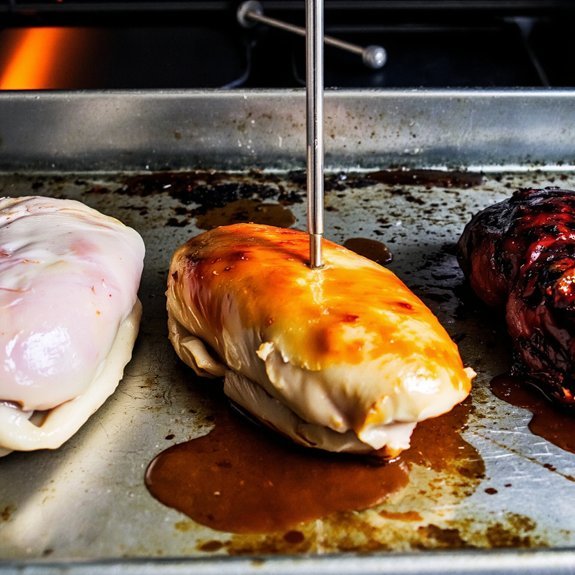
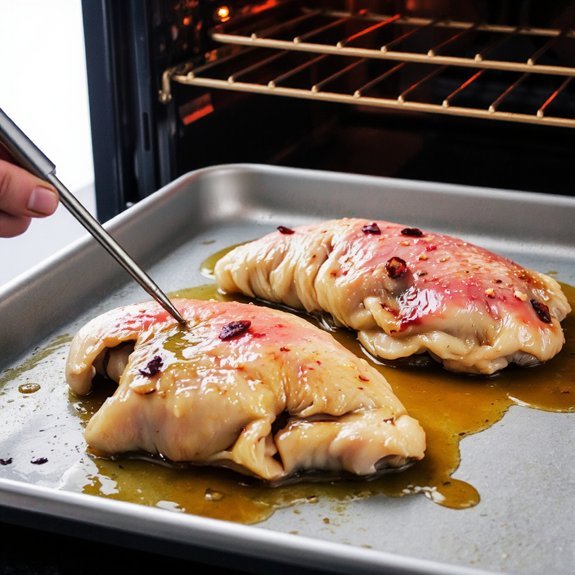
Monitoring Doneness Without Cutting Into the Meat
Once your chicken’s been in the oven for about 12–15 minutes, you’ll want to employ a meat thermometer—the most reliable method for verifying doneness without compromising the meat’s integrity.
This thermometer technique guarantees accuracy that visual inspection alone can’t provide.
Here’s your approach:
- Insert the thermometer into the thickest part of the breast, avoiding bone contact
- Verify the internal temperature reaches 165°F (74°C) for food safety
- Remove chicken immediately upon hitting this threshold
Alternatively, you can employ the touch test method.
Press the chicken’s surface with your finger; properly cooked meat feels firm yet slightly yielding.
This tactile assessment develops with practice and serves as a secondary confirmation when thermometer access is limited.
Both techniques preserve your meat’s moisture and flavor while ensuring safety.
Resting Your Chicken Breast After Baking
Now that you’ve confirmed your chicken’s doneness, resist the urge to serve it immediately. Instead, let your chicken breast rest for five to ten minutes at room temperature.
Let your chicken breast rest for five to ten minutes at room temperature before serving to preserve juiciness.
During this critical window, carryover cooking ceases, and the muscle fibers relax, redistributing moisture throughout the meat.
This resting period directly impacts juiciness retention. Without it, you’ll lose significant moisture when cutting, resulting in a dry, disappointing product.
The residual heat gradually equilibrates, allowing proteins to reabsorb expelled liquids.
For ideal slice presentation, use a sharp knife and cut against the grain. The rested meat yields clean, uniform slices that showcase your technical skill.
This technique separates competent cooking from mediocre results.
Your patience during these final minutes determines whether your baked chicken breast delivers the tender, succulent experience you’ve worked to achieve.
Storage and Reheating Tips
Your baked chicken breast’ll stay fresh for three to four days when you store it properly in an airtight container at 40°F or below.
Labeling dates on your container prevents foodborne illness and guarantees peak quality.
When reheating, you’ve got reliable options:
- Microwave techniques: Place chicken on a microwave-safe plate, cover loosely, and heat at 50% power for 1-2 minutes, stirring halfway through to distribute heat evenly
- Oven method: Reheat at 350°F for 10-15 minutes, covered with foil to retain moisture
- Stovetop approach: Warm in a skillet over medium heat with a splash of broth for 3-4 minutes
Don’t overcook during reheating—this’ll dry out your protein.
For maximum food safety and palatability, consume within the recommended timeframe.
Frequently Asked Questions
Can I Bake Chicken Breast From Frozen Without Thawing It First?
Yes, you can bake frozen chicken breast directly. You’ll need to increase your cooking times by approximately 50%, typically 45-50 minutes at 375°F instead of 20-30 minutes for thawed poultry.
Follow USDA safety guidelines meticulously: make sure internal temperature reaches 165°F using a meat thermometer. This method works, though thawing first yields superior moisture retention and more uniform doneness. You’re free to choose convenience over ideal texture, but understand the trade-offs involved.
What’s the Difference Between Baking and Poaching Chicken Breast?
When you’re baking chicken breast, you’re applying dry heat in an oven, yielding a firmer exterior and more pronounced browning.
Poaching, conversely, submerges your protein in simmering liquid, producing a moister, more tender texture comparison.
You’ll achieve superior flavor infusion through poaching since your chicken absorbs the broth’s aromatics and seasonings directly.
Baking delivers caramelized surfaces and concentrated natural flavors, while poaching prioritizes moisture retention and subtle seasoning integration.
Choose based on your desired outcome.
How Do I Prevent My Chicken Breast From Drying Out While Baking?
You’ll prevent dryness by employing brining benefits—salt infiltration enhances moisture retention and protein structure.
Utilize butter basting throughout the cooking cycle, applying melted butter every five minutes to maintain surface hydration.
Monitor internal temperature precisely at 165°F; overcooking causes moisture loss.
Consider using a meat thermometer for accuracy.
You’re mastering technique by controlling variables independently.
These methods guarantee ideal juiciness and textural integrity in your finished product.
Can I Bake Multiple Chicken Breasts of Different Sizes Together?
You can bake multiple chicken breasts of varying sizes simultaneously by employing staggered timing techniques.
Position larger breasts on the lower rack placement where heat concentrates, while smaller portions occupy upper positions. Introduce larger pieces five to ten minutes before smaller ones, ensuring uniform doneness.
This strategic approach optimizes your oven’s thermal efficiency and grants you complete autonomy over your cooking process. Monitor internal temperatures independently for precision results.
Is It Safe to Bake Chicken Breast at Lower Temperatures Overnight?
No, you shouldn’t bake chicken breast overnight at lower temperatures.
You’d risk pathogen growth in the danger zone—40°F to 140°F—where bacteria proliferate rapidly.
Extended low-heat cooking fails to achieve safe internal temperatures quickly enough.
You’re exposing yourself to foodborne illness.
Instead, bake at 375°F minimum for 20-30 minutes until your thermometer reads 165°F internally.
Proper technique eliminates risk.
Leave a Comment