Key Takeaways
- Prepare a graham cracker crust using 2 cups crushed crackers, ½ cup butter, and 2 tablespoons sugar; prebake at 325°F for 8–10 minutes until golden.
- Blend softened cream cheese (32 oz), sugar (1 cup), and room-temperature eggs (4) at medium speed for two minutes to prevent curdling.
- Pour filling onto cooled crust, smooth the surface, and bake at 325°F for 25–30 minutes until edges set with slightly jiggly center.
- Cool gradually by leaving bars in a partially opened oven for one hour, then counter-cool for two hours before refrigerating minimum four hours.
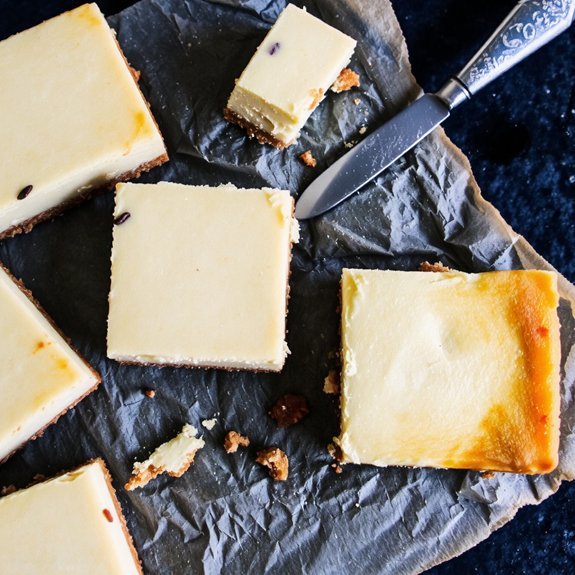
- Cut bars with a hot knife wiped between slices to achieve clean portions; serve chilled between 50–65°F for optimal texture and structure.
Gathering Your Ingredients and Equipment
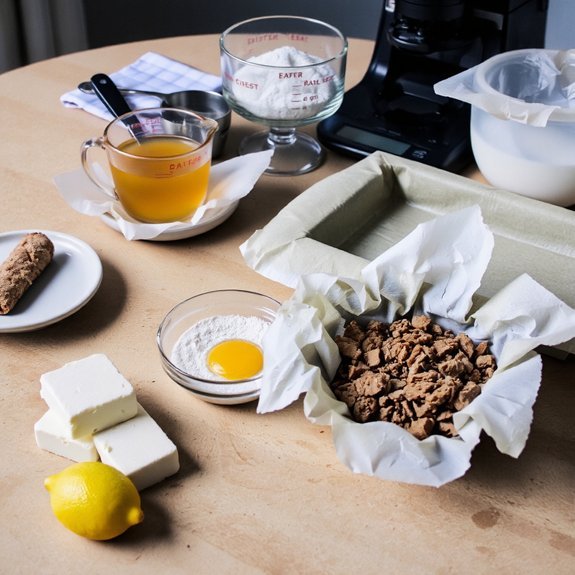
Before you begin baking cheesecake bars, you’ll need to gather specific ingredients and equipment. Start with your ingredient quality—source premium cream cheese, butter, and eggs to achieve superior results.
Source premium cream cheese, butter, and eggs from the start—ingredient quality makes the difference in superior cheesecake bars.
You’ll also need graham cracker crumbs, sugar, vanilla extract, and sour cream.
For your equipment checklist, assemble a 9×13-inch baking pan, mixing bowls, an electric mixer, measuring cups and spoons, and a whisk.
Include a springform pan liner or parchment paper for easy removal. You’ll want a water bath pan for even baking and an oven thermometer to verify accurate temperatures.
Don’t overlook a rubber spatula for thorough mixing and a cooling rack for proper air circulation.
Having everything prepared beforehand—known as mise en place—streamlines your process and prevents interruptions during the baking sequence.
Preparing the Graham Cracker Crust
You’ll combine 2 cups of crushed graham crackers with ½ cup melted butter and 2 tablespoons granulated sugar, ensuring even distribution of the wet ingredients throughout. Press this mixture firmly into your prepared baking pan using the bottom of a measuring cup, creating a uniform ¼-inch-thick layer across the entire surface.
Bake the crust at 325°F for 8-10 minutes until it’s light golden brown, then allow it to cool while you prepare your cheesecake filling.
Ingredient Ratios and Measurements
A proper graham cracker crust requires precise ratios to achieve the ideal structural integrity and flavor balance. You’ll combine 2 cups crushed graham crackers (approximately 200 grams by weight conversions) with 6 tablespoons melted butter and 3 tablespoons sugar.
This 10:3:1.5 ratio guarantees ideal moisture distribution and binding.
For scaling formulas, maintain these proportions consistently. If you’re doubling your batch, multiply each component accordingly—400 grams crackers, 12 tablespoons butter, 6 tablespoons sugar.
You should press this mixture firmly into your prepared pan, creating an even ¼-inch thickness across the bottom.
The butter-to-cracker ratio prevents your crust from becoming either dry or greasy. Precision here directly impacts your final product’s structural integrity and eating experience.
You’ll notice the difference when you bite into well-executed cheesecake bars with a perfectly balanced crust foundation.
Pressing and Baking Technique
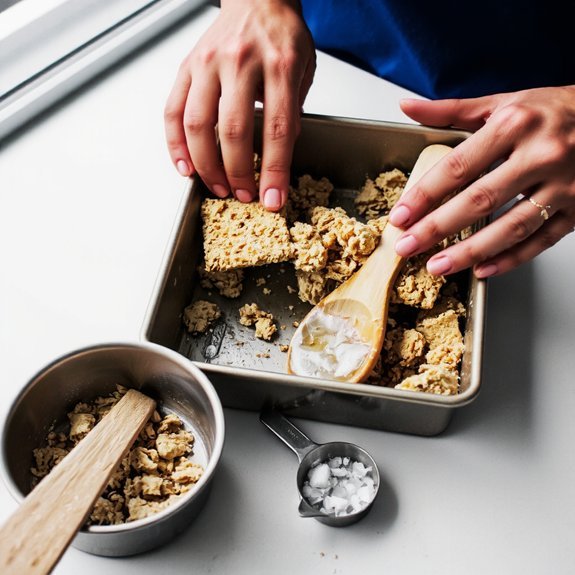
Once you’ve combined your graham cracker mixture, it’s time to transfer that blend into your prepared baking pan.
Press the mixture firmly across the bottom surface using the bottom of a measuring cup or your hand, maintaining consistent pressure throughout.
This promotes even density and prevents air pockets that compromise structural integrity.
Work methodically from the center outward, applying uniform force.
The goal is achieving a compact, level foundation approximately one-quarter inch thick.
After pressing, place your pan in a preheated 350°F oven for eight to ten minutes.
This brief bake sets the crust, preventing sogginess when you pour the filling.
Rotate the pan halfway through baking to guarantee even heat distribution.
Remove once the crust’s edges turn golden brown.
Allow it to cool briefly before proceeding with your cheesecake layer.
Making the Creamy Cheesecake Filling
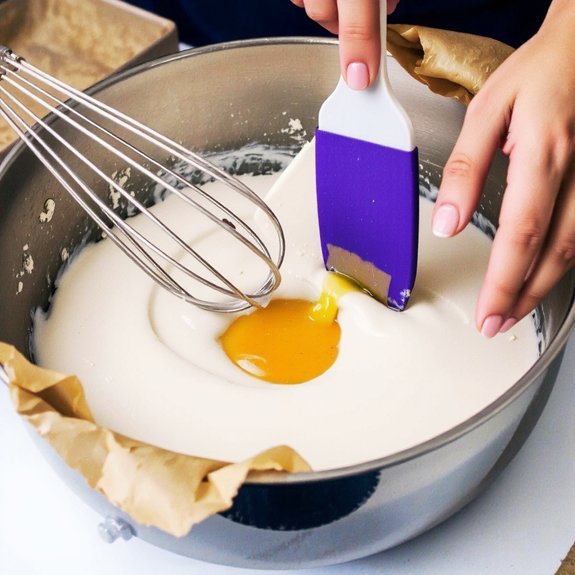
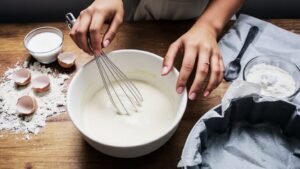
Combining your softened cream cheese with sugar and eggs creates the foundation for a dense, velvety filling. You’ll blend these ingredients at medium speed for two minutes, ensuring complete incorporation without excessive air incorporation, which can cause undesirable texture. Add vanilla extract and your choice of flavorings while maintaining consistent mixing.
| Ingredient | Quantity | Temperature |
|---|---|---|
| Cream cheese | 32 oz | Room temperature |
| Granulated sugar | 1 cup | Ambient |
| Large eggs | 4 | Room temperature |
| Vanilla extract | 2 tsp | Ambient |
For curdling prevention, keep all components at room temperature before combining. Scrape bowl edges frequently to guarantee uniform blending. Pour your mixture onto the prepared crust, spreading evenly across the surface for consistent baking results.
Layering and Preparing for Baking

With your cheesecake filling spread evenly across the crust, you’re ready to prepare the bars for baking.
With your cheesecake filling spread evenly across the crust, you’re ready to prepare the bars for baking.
Make sure the layer sequencing is correct: crust foundation, then cheesecake filling distributed uniformly.
This visual contrast between golden crust and pale filling indicates proper assembly.
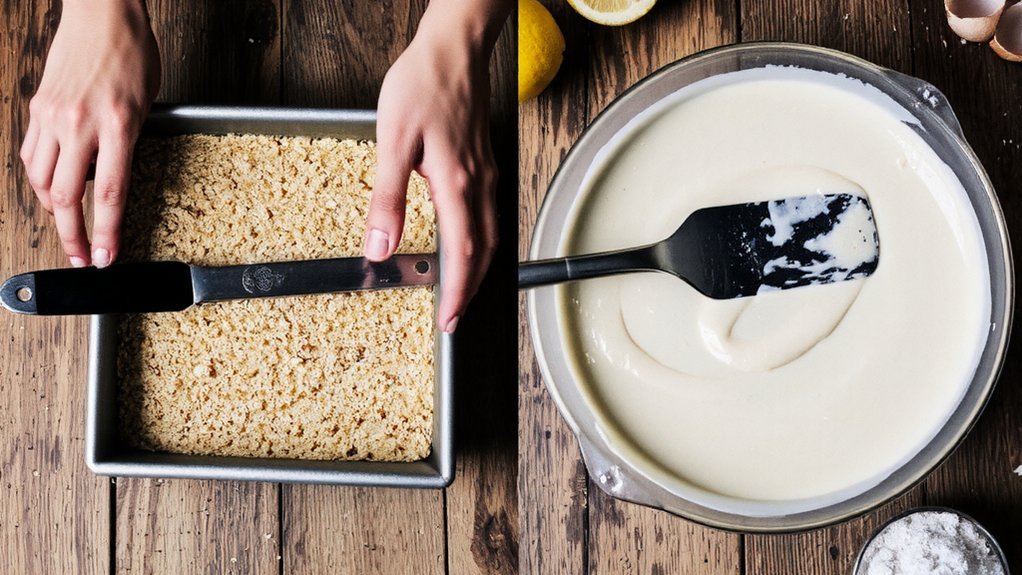
Smooth the filling’s surface using an offset spatula, creating an even 1/4-inch thickness.
Check for air pockets by gently tapping the pan on your work surface.
Preheat your oven to 325°F.
Position the rack to the center, allowing adequate heat circulation around the pan’s perimeter.
Place your prepared pan on a sturdy baking sheet for stability and even heat distribution.
You’re now positioned to bake with confidence, knowing your bars are properly constructed and ready for the oven’s transformative heat.
Baking Your Cheesecake Bars to Perfection
As your oven reaches 325°F, place the prepared pan directly into the center rack and bake for 25-30 minutes.
Proper oven calibration guarantees consistent results, so verify your temperature with an internal thermometer if you’ve experienced inconsistent baking previously.
The cheesecake surface should set while the interior remains slightly jiggly—approximately a one-inch radius from the center will wobble gently when you shake the pan.
This indicates ideal doneness without overcooking, which causes cracks and dryness.
Humidity effects substantially impact baking outcomes.
In high-humidity environments, reduce baking time by two to three minutes to prevent excess moisture absorption.
Conversely, dry climates may require an additional minute.
Turn off the oven and crack the door open slightly.
Allow the bars to cool gradually for one hour, preventing thermal shock that causes structural failure.
This controlled cooling method preserves your cheesecake’s integrity.
Cooling and Setting Your Bars
After you’ve turned off the oven, you’ll allow the cheesecake bars to rest undisturbed for a full hour within the partially opened oven cavity, which gradually equilibrates the internal temperature and prevents the structural fissures that rapid cooling generates.
| Cooling Phase | Duration | Temperature | Purpose |
|---|---|---|---|
| Oven resting | 60 minutes | 200-212°F | Gradual cooling initiation |
| Counter cooling | 120 minutes | Room temperature | Continued equilibration |
| Refrigeration | Minimum 4 hours | 35-40°F | Complete setting and firmness |
| Serving temperature | Variable | 50-65°F | Ideal texture release |
Subsequently, transfer your bars to the countertop for two hours of ambient temperature exposure. This methodology guarantees crack prevention through controlled thermal shift. Finally, refrigerate for minimum four hours, enabling complete structural stabilization. You’ll achieve superior texture and appearance by respecting these cooling protocols without compromise.
Cutting and Serving Your Cheesecake Bars
Achieving clean, uniform cuts requires you to use a sharp knife dipped in hot water and wiped clean between each slice, as the warmth temporarily softens the filling and reduces drag that causes cracking or uneven edges.
Cut into nine or sixteen equal portions, depending on desired serving size, maintaining consistent measurements for professional presentation.
Implement strategic plating techniques by positioning bars on chilled plates to maintain structural integrity. Garnish minimally with berry compote or coulis to enhance visual appeal without compromising flavor balance.
Consider pairing beverages thoughtfully: strong coffee complements rich, dense formulations, while dessert wines like Moscato d’Asti provide elegant contrast. Alternatively, serve with sparkling water for palate cleansing between bites.
Store individual portions in airtight containers at 35-40°F for peak freshness and shelf stability up to five days.
Storage Tips and Make-Ahead Options
While proper serving enhances your cheesecake bars’ immediate enjoyment, strategic storage extends their quality considerably.
You’ll maximize shelf life by refrigerating your bars in an airtight container at 40°F or below for up to five days.
For extended preservation, freeze them individually wrapped in plastic wrap, then aluminum foil, for up to three months.
When you’re ready to enjoy frozen bars, follow these thawing instructions: transfer them to your refrigerator for four to six hours before serving.
This gradual temperature shift prevents condensation and maintains structural integrity.
You can also prepare your cheesecake bars two days ahead, allowing the flavors to mature while you manage your schedule independently.
This make-ahead flexibility guarantees you’re never constrained by time limitations when serving guests.
Frequently Asked Questions
Can I Make Cheesecake Bars Without a Graham Cracker Crust as a Substitute?
Yes, you can absolutely substitute graham cracker crust. Cookie crusts—such as Oreo or digestive biscuit varieties—provide excellent structural integrity and flavor complexity. Alternatively, nut crusts utilizing crushed pecans, almonds, or walnuts deliver superior textural contrast.
You’ll maintain consistent moisture content by adhering to a 1:1 weight ratio of your chosen base ingredient to melted butter, ensuring ideal compaction and binding. Both alternatives yield professional-grade results with enhanced customization freedom.
What Causes Cracks on Top of Cheesecake Bars and How Do I Prevent Them?
You’ll prevent cracks by maintaining precise temperature control and utilizing a water bath during baking.
Overbaking causes moisture loss, resulting in surface fissures.
Keep your oven at 325°F—no higher.
The water bath regulates heat distribution, preventing rapid temperature fluctuations that crack your bars.
Cool your cheesecake gradually in the oven with the door cracked open for 30 minutes.
This controlled cooling method assures you’re in command of your baking outcome.
Can I Freeze Cheesecake Bars and How Long Do They Last Frozen?
You can absolutely freeze cheesecake bars using proper freezing methods.
Wrap individual pieces tightly in plastic wrap, then aluminum foil, storing them in airtight containers at 0°F or below for up to three months.
For ideal results, thawing tips recommend transferring bars to your refrigerator for 4-6 hours before serving. This gradual thawing preserves texture and prevents condensation accumulation, ensuring you maintain complete control over your dessert quality.
Why Did My Cheesecake Bars Turn Out Gummy or Undercooked in the Middle?
You’ve likely undercooked centers because you didn’t bake long enough or set your oven temperature too low.
Overmixed batter incorporates excess air, preventing proper setting.
You’ll want to mix until just combined—don’t overwork the cream cheese mixture.
Bake until the edges set firmly while the center jiggles slightly when you shake the pan.
Use a thermometer to verify internal temperature reaches 150°F for ideal results.
What’s the Best Way to Get Clean Cuts When Slicing Cheesecake Bars?
You’ll achieve clean cuts by dipping your knife in hot water between each slice, then wiping the blade thoroughly with a paper towel. This technique melts the cheesecake’s surface slightly, allowing you to cut through without dragging or crumbling.
Use a long, sharp chef’s knife and employ one decisive downward motion per cut. Work methodically from one end, maintaining consistent pressure throughout your slicing operation for uniform, professional results.


Leave a Comment