Key Takeaways
- Use a crusty baguette or Italian loaf sliced lengthwise or into 3/4″ pieces for optimal texture and butter absorption.
- Blend softened unsalted butter (≥80% butterfat) with 4–6 minced fresh garlic cloves, fresh parsley, salt, and pepper evenly.
- Spread garlic butter uniformly across bread surfaces using fingertip or palm-base technique to ensure consistent flavor distribution.
- Wrap butter-coated bread tightly in aluminum foil to trap moisture while crisping the exterior during baking.
- Bake at 375°F (190°C) for 8–15 minutes until edges show light browning and crust sounds hollow when tapped.
Choosing the Perfect Bread
What makes the difference between garlic bread that’s crispy outside and tender inside versus bread that’s either dense or soggy?
You’ll want to examine crumb structure carefully. Choose breads with open, airy networks—they’ll absorb garlic butter evenly without becoming waterlogged.
You’re not restricted to one option.
Regional varieties offer distinct advantages. Italian ciabatta delivers authentic crispness with its irregular holes. French baguettes provide consistent texture and reliable structural integrity. Sourdough works excellently if you prefer tangier profiles.
Avoid densely crumbed sandwich breads; they won’t crisp properly and’ll trap moisture. You need a crust substantial enough to resist oil absorption while remaining breakable. Check your bread’s weight—lighter loaves typically indicate better aeration.
Temperature matters too. Select room-temperature bread; it’ll accept garlic butter more uniformly than cold varieties.
Gathering Your Ingredients
You’ll need to gather your essential ingredients: quality bread, softened butter, fresh garlic, salt, and optional herbs like parsley or oregano.
Select butter with at least 80% butterfat content, as it’ll provide superior flavor and browning compared to lower-fat spreads.
Measure your garlic minced or pressed rather than powdered to make sure you’re working with fresh, potent aromatics that’ll deliver authentic garlic bread results.
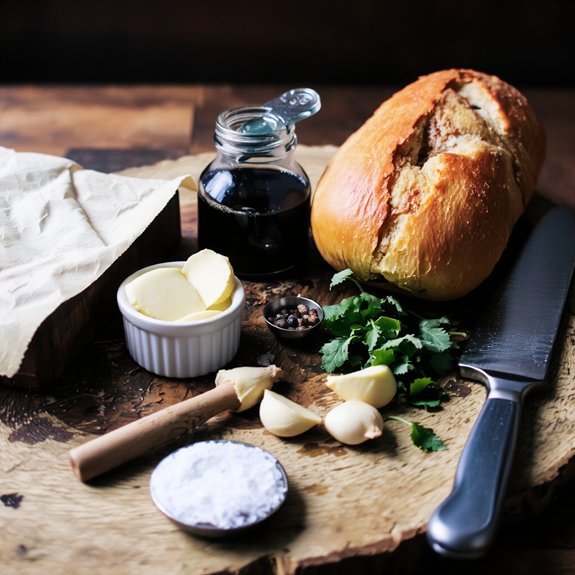
Essential Ingredients List
Several key components form the foundation of exceptional garlic bread: a crusty baguette or Italian loaf, softened butter, fresh garlic cloves, fresh parsley, salt, and black pepper.
You’ll want to prioritize measurement accuracy when combining your ingredients.
Use one-quarter cup of softened butter per loaf, minced with four to six garlic cloves depending on your preference.
Fresh parsley—roughly two tablespoons chopped—adds brightness without overpowering.
For sustainable sourcing, source your garlic and parsley from local farmers’ markets or suppliers committed to ethical practices.
This guarantees quality while supporting responsible agriculture.
Your baguette should be fresh, ideally within twenty-four hours of baking.
Gather everything before you begin.
Precision in preparation prevents mistakes during assembly, giving you complete control over your final product’s flavor profile and texture.
Quality Butter Selection
Because butter comprises one-quarter of your garlic bread’s fat content, selecting the right type directly impacts flavor and texture.
You’ll want unsalted butter to control sodium levels and prevent masking garlic’s natural notes.
Consider grass fed benefits when possible—butter from grass-fed cows contains higher levels of beta-carotene and omega-3 fatty acids, delivering richer flavor profiles.
Check the packaging impact carefully; opaque packaging protects butter from light degradation, preserving quality during storage.
You’re making a choice between standard and European-style butter.
European varieties contain 86% butterfat versus standard’s 80%, yielding denser, more luxurious results.
Your local grocery store likely stocks quality options; don’t settle for margarine or spreads.
Superior butter elevates your garlic bread from acceptable to exceptional.
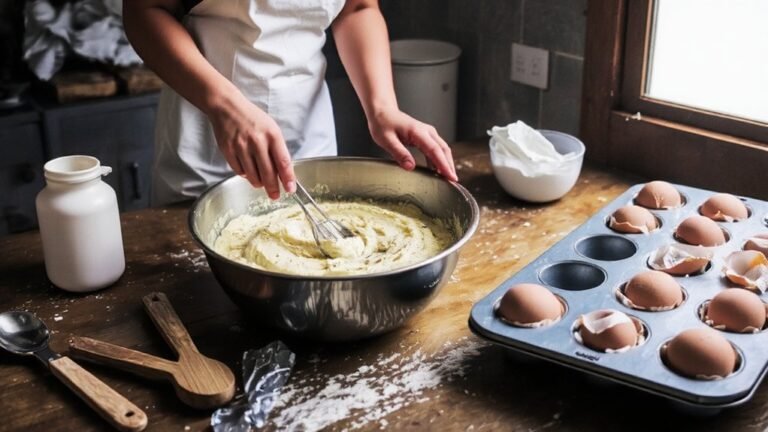
Preparing the Garlic Butter Mixture
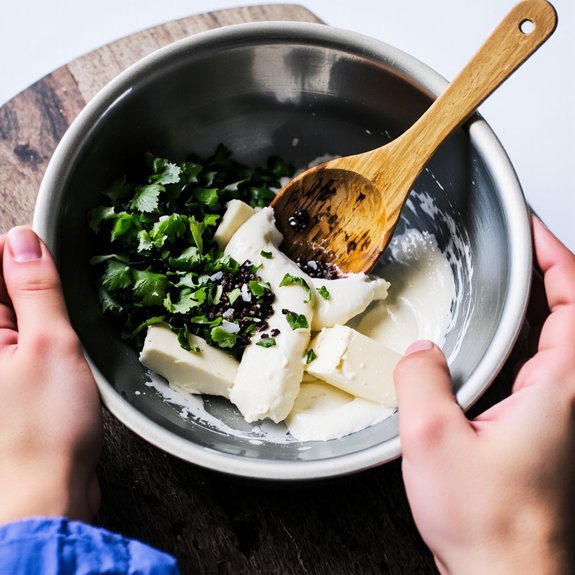
You’ll want to select fresh, firm garlic cloves and mince them finely to guarantee even distribution throughout your butter.
Your butter should reach room temperature—soft enough to blend smoothly with the garlic but still hold its structure without becoming greasy.
Mix these components together until you’ve achieved a consistent, spreadable paste that’ll coat your bread evenly.
Selecting Quality Garlic
What makes garlic butter truly exceptional?
You’ve got to start with quality garlic.
Fresh bulbs matter more than you’d think—they’ll determine your bread’s flavor profile.
Look for firm, unblemished bulbs with papery skin intact.
Varietal differences markedly impact taste; softneck varieties offer milder notes, while hardneck types deliver bolder, more complex flavors.
Choose based on your preference and regional availability.
Check freshness indicators carefully.
Avoid sprouted cloves or any soft spots indicating decay.
Squeeze gently—quality garlic feels dense and heavy for its size.
Store your selection in cool, dark conditions before use.
You’ll notice fresher garlic produces sweeter, more vibrant butter.
This foundation elevates your entire garlic bread outcome, transforming standard bread into something genuinely remarkable.
Don’t compromise here.
Butter Consistency Matters
Since butter’s temperature and texture directly influence how evenly it incorporates garlic and seasonings, you’ll want to soften it to room temperature before mixing.
Cold butter resists blending, creating uneven garlic distribution throughout your bread.
Test spreadability by pressing your finger into the butter—it should yield easily without leaving a greasy residue.
You’re aiming for a consistency that holds its shape but compresses under minimal pressure.
Don’t leave butter sitting too long; it’ll become too soft and won’t maintain proper structure when spread.
Approximately 30-45 minutes at room temperature achieves ideal consistency for most kitchens.
Once you’ve verified the texture through spreadability testing, you’re ready to fold in your minced garlic and seasonings.
This approach guarantees uniform flavor distribution and superior crust adhesion on your finished garlic bread.
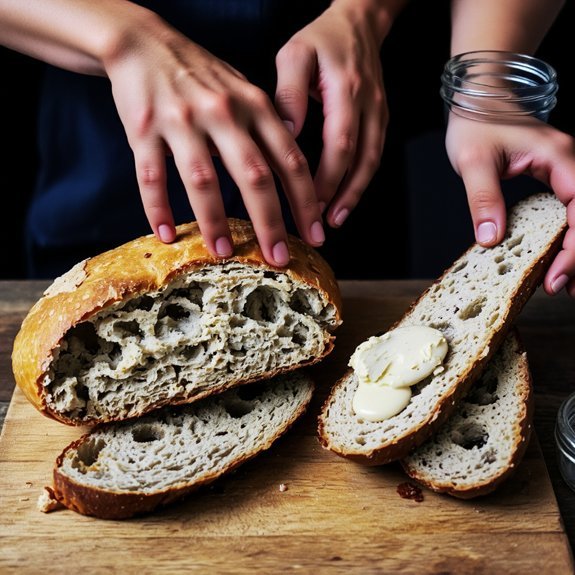
Slicing Your Bread

A serrated bread knife works best for achieving uniform slices without crushing the loaf’s structure. Your knife technique directly impacts the final product’s quality and garlic distribution.
| Slice Thickness | Butter Coverage | Garlic Distribution |
|---|---|---|
| ¼ inch | Light | Uneven |
| ½ inch | Moderate | Consistent |
| ¾ inch | Generous | Ideal |
| 1 inch | Maximum | Superior |
| 1¼ inches | Excessive | Wasteful |
You’ll want to use a sawing motion rather than pressing downward—this preserves the bread’s integrity. Maintain consistent pressure and angle throughout each cut for slice uniformity. Space your cuts deliberately; thicker slices accommodate more butter and garlic infusion. Work decisively; hesitation creates jagged edges that’ll compromise your bread’s structural integrity during baking and toasting.
Spreading the Garlic Butter

Distributing your garlic butter evenly across each slice requires a methodical approach that guarantees ideal flavor penetration and textural consistency.
You’ll control the application through two critical grip methods: the fingertip technique for precision work and the palm-base method for broader coverage. Adjust your spreading angles between 45 and 90 degrees depending on your bread’s density and butter consistency. Apply moderate pressure, allowing the butter to penetrate without compressing the crumb structure.
Work systematically from the bread’s center outward, ensuring complete edge coverage. Don’t overload any single section—aim for uniform thickness across all surfaces. You’re building flavor layers, not drowning your bread. This deliberate approach prevents hot spots and cold zones, delivering consistent garlic intensity throughout your final product.
Adding Herbs and Seasonings
Once you’ve established an even butter foundation, you’re ready to layer in the aromatic compounds that’ll elevate your garlic bread from simple to sophisticated.
Start with dried Italian seasoning or oregano as your base—these herb pairings complement garlic naturally. Add freshly cracked black pepper and kosher salt to taste, adjusting quantities based on your butter’s saltiness.
Consider seasoning swaps tailored to your preference: substitute oregano with thyme for earthiness, or introduce red pepper flakes for heat.
Parmesan cheese adds umami depth and textural contrast. Fresh parsley scattered atop before baking brightens the final result.
Mix herbs thoroughly into your butter before application. This guarantees even distribution and prevents burnt spots from concentrated seasonings.
Your customized blend transforms standard garlic bread into a personalized creation that respects your palate’s demands.
Wrapping and Preparing for Baking
Now that your herb-infused butter’s ready, you’ll slice your bread lengthwise and apply the mixture evenly across both cut surfaces, ensuring full coverage to the edges.
You’ve got two solid wrapping options: foil techniques or parchment methods.
For foil techniques, wrap your buttered bread halves tightly in aluminum foil, sealing all edges to trap moisture and heat.
This method keeps your garlic bread soft inside while crisping the exterior.
Alternatively, parchment methods offer you flexibility.
Wrap the bread in parchment paper, then loosely wrap foil around it.
This combination prevents butter from seeping through while allowing controlled steam circulation.
Place your wrapped bread directly on the oven rack or baking sheet.
You’re now ready to bake at your predetermined temperature, achieving that perfect golden exterior and aromatic interior.
Setting the Right Oven Temperature
Your oven temperature makes or breaks garlic bread’s texture and flavor development.
You’ll want to preheat to 375°F for ideal results—hot enough to crisp the exterior without burning the garlic, cool enough to allow butter absorption into the bread’s interior.
You’ve got options for energy efficiency.
Start at 400°F for five minutes to achieve rapid crust formation, then drop to 350°F for the remainder.
This strategy cuts baking time while maximizing texture contrast.
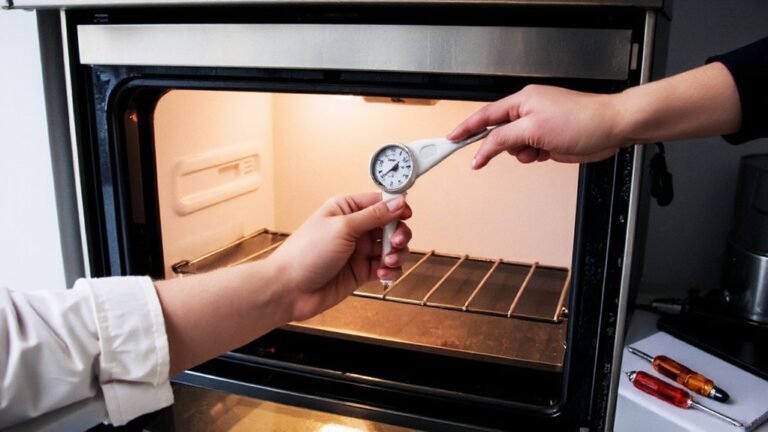
Safety precautions matter here.
You’ll use an oven thermometer to verify accuracy since many home ovens run ten to twenty degrees off.
Don’t skip this step—it’s your safeguard against undercooked centers or charred edges.
Position your rack in the middle third, ensuring even heat circulation around your wrapped foil packet.
Baking Your Garlic Bread
You’ll place your garlic bread in the preheated oven at 375°F for 8-12 minutes, depending on your bread’s thickness and desired crispness.
Monitor the top surface closely during the final minutes—you’re aiming for a golden-brown exterior while maintaining a soft interior beneath the garlic-butter layer.
Remove the bread immediately once the edges show light browning to prevent the garlic from burning and becoming bitter.
Temperature and Timing
Once your garlic bread’s prepared, preheat your oven to 375°F (190°C) and let it reach full temperature before baking—this guarantees even heat distribution and prevents the exterior from browning before the interior warms through.
Bake for 12-15 minutes, depending on your bread’s thickness and garlic butter saturation. Watch for golden-brown edges as your visual cue. Remove the bread when the garlic butter’s fully absorbed and the crust develops that characteristic crispness.
Don’t skip timing windows; pulling it too early leaves you with soggy results, while over-baking dries out the interior. Account for carryover heat—the bread continues cooking briefly after removal, so extract it slightly before reaching your ideal doneness. This precision prevents wasted ingredients and provides ideal texture.
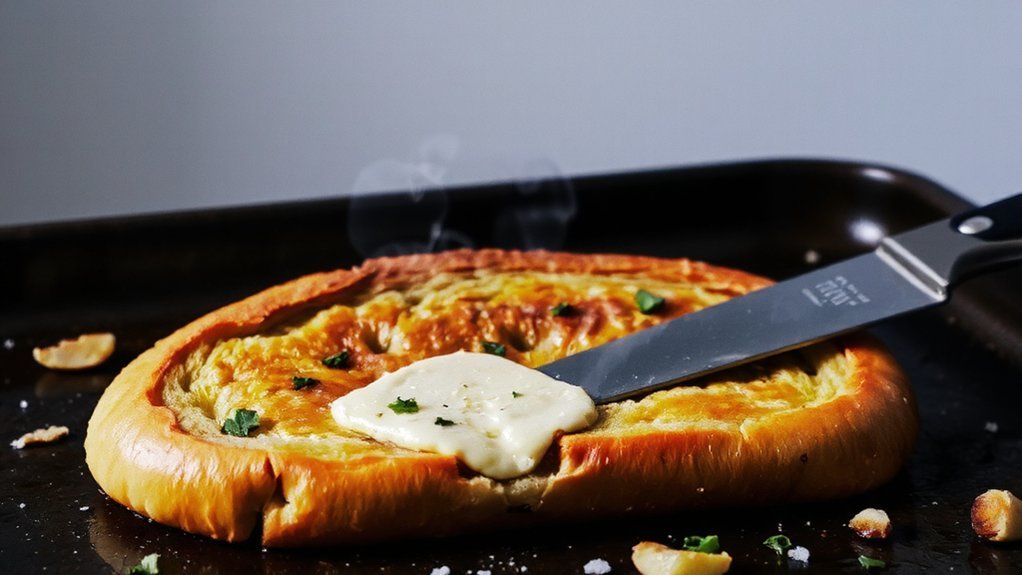
Achieving Golden Perfection
As the oven reaches 375°F (190°C), the garlic butter’s aromatic compounds begin their transformation through dry heat, creating the foundation for that coveted golden exterior.
You’ll monitor your bread’s progress by watching for critical visual indicators: the initial pale yellow shifts to warm amber within 8-10 minutes.
The surface gloss from melted butter gradually diminishes as moisture evaporates, revealing a matte finish that signals completion.
Don’t rely solely on time—your eyes determine doneness. The garlic bread’s edges should show light browning, never charring.
Pull it from the oven when the top displays uniform golden-brown coloring and the garlic-infused butter has fully set into the bread’s structure. This precision guarantees you’ll unleash maximum flavor complexity while preserving the bread’s tender crumb beneath its crispy, buttery crust.
Achieving the Perfect Golden Crust
The butter-to-bread ratio and oven temperature directly determine your crust’s color and texture. You’ll want to apply enough butter to promote Maillard chemistry—the browning reaction that develops complex flavors—without oversaturating your bread. Aim for 2-3 tablespoons per loaf.
Set your oven to 375°F for ideal results. This temperature initiates browning within 8-12 minutes while preventing burning. Monitor your bread closely using visual indicators: you’re seeking a deep golden-brown exterior, not pale yellow or charred edges.
Position your rack in the upper-middle section for direct heat exposure. Rotate your bread halfway through baking to guarantee even crust development.
You control the outcome by adjusting these variables. Remove your bread when the crust sounds hollow when tapped—your signal of perfect doneness.
Frequently Asked Questions
Can I Make Garlic Bread Ahead of Time and Freeze It for Later Use?
Yes, you can freeze garlic bread successfully.
Prepare your loaf with butter variations like herb-infused or compound butter, add your cheese options—parmesan, mozzarella, or asiago—then wrap it tightly in aluminum foil and plastic wrap.
Freeze up to three months.
When you’re ready, bake directly from frozen at 375°F for 15-20 minutes until golden.
This method gives you complete control over fresh garlic bread whenever you want it.
How Do I Store Leftover Garlic Bread to Keep It Fresh the Longest?
You’ll want to store your leftover garlic bread in airtight containers to prevent moisture loss and staleness.
Place it on your counter at room temperature for up to two days, or refrigerate it for extended freshness.
For ideal humidity control, you can include a paper towel inside the container to absorb excess condensation.
Freeze portions beyond two days in freezer bags for maximum longevity without compromising quality or texture.
What Bread Types Work Best if I Don’t Have Traditional Baguettes Available?
You’ll find ciabatta alternatives work excellently—they’ve got the right crumb structure for absorption.
Focaccia variations give you flexibility; their oil content prevents drying.
Consider sourdough or Italian bread; they’re sturdy enough to handle garlic butter without becoming soggy.
Thick-cut Texas toast delivers consistent results.
Pick any bread with an open crumb structure and sturdy crust that won’t collapse under toppings.
Your choice dictates cooking time and butter ratios.
Can I Use Garlic Powder Instead of Fresh Garlic in the Butter Mixture?
You can substitute garlic powder for fresh garlic, but you’ll need precise potency conversion: use one-eighth teaspoon powder per clove.
The flavor comparison reveals garlic powder delivers concentrated, slightly muted notes versus fresh garlic’s sharp bite.
You’ll mix it directly into softened butter without pre-cooking.
This method streamlines your process and gives you straightforward control over intensity.
Adjust amounts based on your preference for assertive garlic presence or subtle undertones in your butter mixture.
How Do I Reheat Garlic Bread Without Making It Dry or Soggy?
You’ll achieve crisp restoration by reheating at 350°F for 5-7 minutes, balancing moisture without compromising texture.
Wrap your garlic bread loosely in foil—this prevents steam buildup that’d create sogginess while maintaining interior softness.
For best results, skip microwaves entirely; they’ll destroy your bread’s structural integrity. You’re free to unwrap during the final minute if you want enhanced exterior crispness.
This method preserves both your garlic butter’s flavor profile and your bread’s textural quality.


Leave a Comment