Key Takeaways
- Preheat oven to 350°F on lower-middle rack and prepare a 9×5-inch loaf pan with oil and parchment paper.
- Whisk flour, baking soda, baking powder, and warm spices; cream butter and sugars until fluffy before adding eggs.
- Alternate adding dry ingredients and pumpkin puree to egg mixture, starting and ending with dry ingredients; fold gently.
- Bake for 55–65 minutes until a toothpick inserted in center comes out clean or internal temperature reaches 205–210°F.
- Cool on wire rack for 1 hour, then wrap tightly; store at room temperature up to 3 days or freeze.
Ingredients You’ll Need
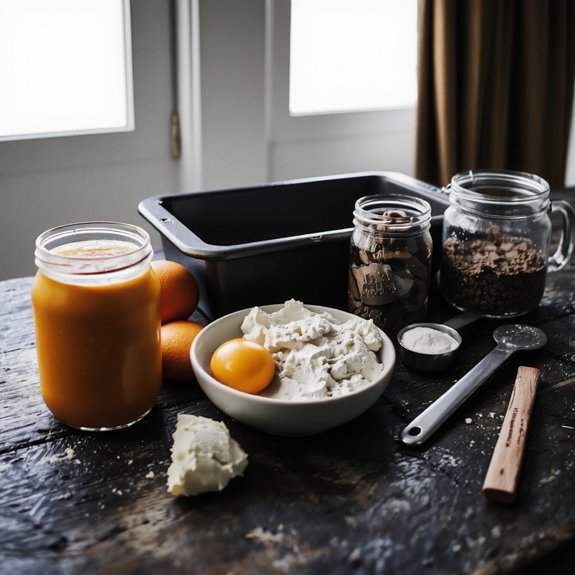
You’ll need 1¾ cups all-purpose flour, 1 teaspoon baking soda, ½ teaspoon baking powder, 1 teaspoon ground cinnamon, ½ teaspoon ground ginger, ¼ teaspoon ground cloves, ¼ teaspoon ground nutmeg, ¼ teaspoon salt, ⅔ cup granulated sugar, ⅓ cup packed brown sugar, ½ cup vegetable oil, 2 large eggs, and 1 cup pumpkin puree.
For ingredient substitutes, consider using canola oil instead of vegetable oil, or replace eggs with applesauce at a 1:1 ratio for a lighter crumb. All-purpose flour can be substituted with whole wheat flour at fifty percent replacement.
Explore flavor variations by adding ½ teaspoon cardamom or increasing spice concentrations to intensify warmth. You can incorporate ½ cup chopped pecans or walnuts for textural complexity. These modifications let you customize your loaf while maintaining structural integrity and baking chemistry.
Preparing Your Baking Pan and Oven

Prepping your loaf pan guarantees even baking and easy removal of your finished pumpkin bread.
You’ll want to choose either a standard 9×5-inch loaf pan or two smaller 8×4-inch pans, depending on your preference.
For greasing techniques, apply a thin, uniform coating of vegetable oil or melted butter to all interior surfaces, including corners and crevices.
Apply a thin, uniform coating of vegetable oil or melted butter to all interior surfaces, including corners and crevices.
Alternatively, use non-stick cooking spray for consistent coverage.
Line the bottom with parchment paper for foolproof extraction.
Position your oven rack in the lower-middle position before preheating to 350°F.
This rack placement makes certain that your bread bakes evenly without excessive browning on top.
Allow 15 minutes for proper temperature calibration.
These preparatory steps eliminate variables, giving you complete control over your baking results and preventing disappointment.
Mixing Your Batter
Combining your dry ingredients properly sets the foundation for a well-textured loaf.
In a medium bowl, whisk together 1¾ cups flour, 1 teaspoon baking soda, ½ teaspoon baking powder, and your spices—cinnamon, nutmeg, and cloves.
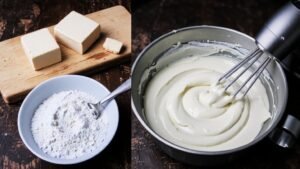
In a separate bowl, cream together softened butter and sugar until light and fluffy, approximately 2-3 minutes.
This aerates your mixture and promotes even rising.
Add eggs individually, beating well after each addition to incorporate air without overdeveloping gluten.
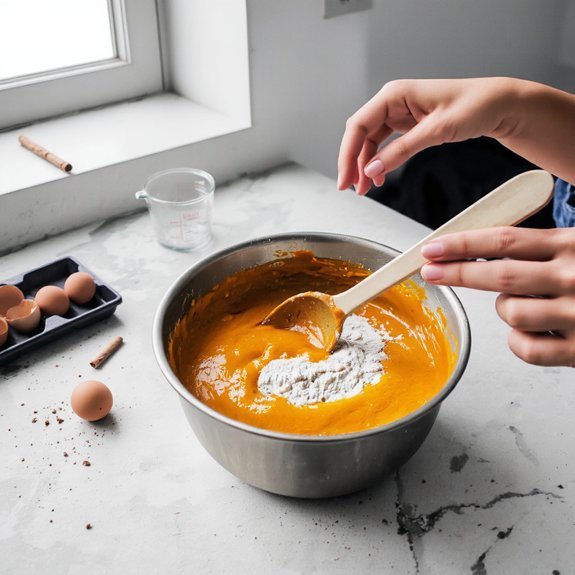
Alternate adding your dry ingredients and pumpkin puree to the wet mixture, beginning and ending with dry ingredients.
Use a gentle folding technique with a spatula, rotating your bowl as you fold.
This method minimizes gluten development while ensuring complete incorporation.
Don’t overmix; stop once no flour streaks remain.
Your batter’s consistency should resemble thick pudding.
Baking and Testing for Doneness
Once your batter’s ready, pour it into a greased 9×5-inch loaf pan, smoothing the top with a spatula to guarantee even baking. Position the pan in a preheated 350°F oven for 55-65 minutes.
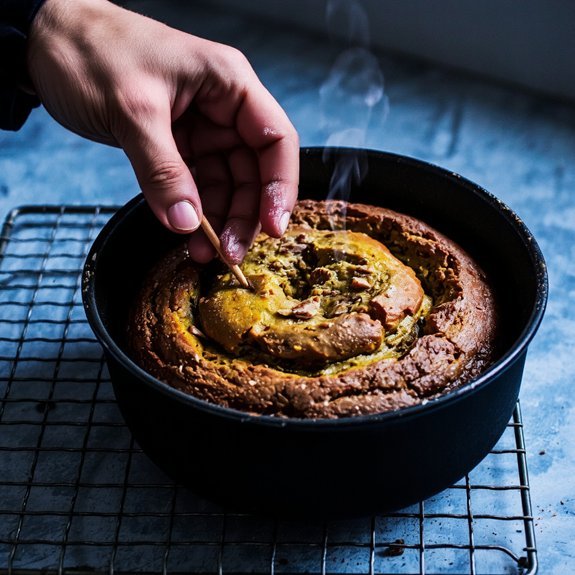
Monitor doneness using two reliable methods:
| Method | Indicator | Timing | Temperature | Result |
|---|---|---|---|---|
| Toothpick Test | Clean insertion | 55-60 min | N/A | Fully baked |
| Thermometer Check | Internal reading | 60-65 min | 205-210°F | Done |
| Visual Cue | Golden-brown crust | Final check | Surface temp | Ready |
| Touch Test | Slight spring-back | 60 min | N/A | Nearly done |
| Cooling Period | Settles properly | After removal | Ambient | Complete |
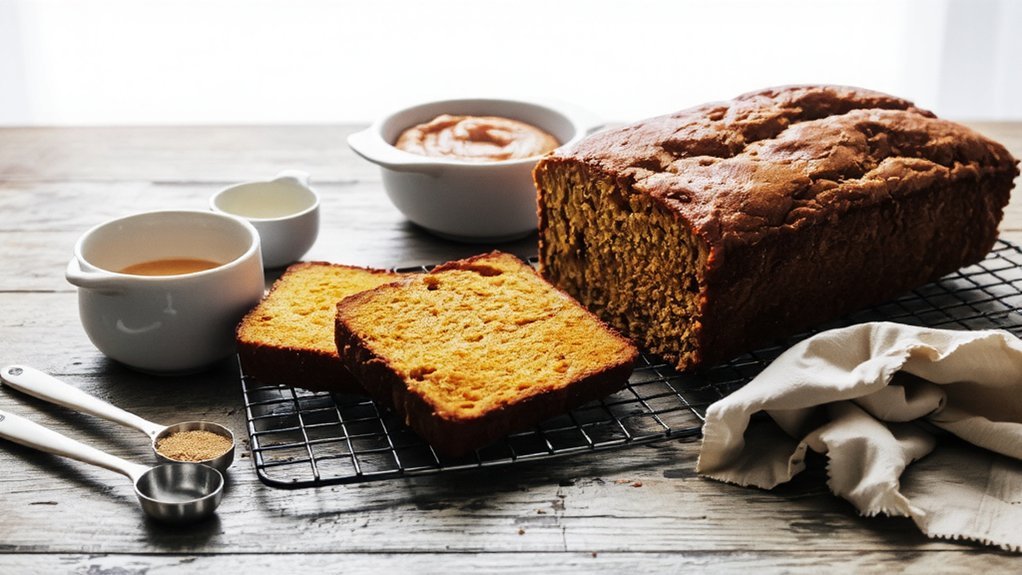
You’ll know you’ve succeeded when a toothpick inserted into the center emerges with minimal crumbs. Alternatively, use an instant-read thermometer—your bread’s internal temperature should reach 205-210°F for ideal moisture retention and structural integrity. Remove from the oven and cool on a wire rack.
Cooling and Storing Your Pumpkin Bread
Allowing your pumpkin bread to cool properly guarantees you’ll maintain its tender crumb structure and prevent condensation from making it soggy.
Remove the loaf from its pan immediately after baking and place it on a wire rack for one hour at room temperature. This prevents steam accumulation that compromises texture.
Once cooled completely, wrap your pumpkin bread tightly in plastic wrap or aluminum foil. You can keep it at room temperature for three days maximum.
For extended preservation, place your wrapped loaf in freezer storage where it’ll remain fresh for up to three months.
When you’re ready to enjoy frozen bread, thaw it at room temperature for two to three hours without unwrapping. This controlled thawing preserves moisture and prevents quality degradation, ensuring you maintain complete control over your bread’s final outcome.
Frequently Asked Questions
Can I Substitute Canned Pumpkin With Fresh Pumpkin Puree?
You can substitute fresh pumpkin puree, but you’ll need to adjust your measurements.
Fresh puree contains higher water content than canned, so reduce it by 25% and increase your flour slightly. You’ll experience enhanced flavor intensity with fresh pumpkin. Strain your puree thoroughly to eliminate excess moisture.
Use a 3:4 ratio—for every three cups canned pumpkin called for, use two and one-quarter cups fresh puree. This precise calculation guarantees ideal texture and rise.
What’s the Best Way to Freeze Pumpkin Bread for Later?
You’ll want to cool your pumpkin bread completely before wrapping it tightly in plastic wrap, then aluminum foil.
For ideal preservation, employ vacuum sealing to eliminate air exposure and prevent freezer burn.
Store at 0°F for up to three months.
When you’re ready, use gradual thawing techniques by refrigerating overnight, allowing enzymatic processes to restore moisture.
This method preserves your freedom to enjoy homemade pumpkin bread whenever you choose.
How Do I Make Pumpkin Bread Without Eggs or Dairy?
You’ll create a flax substitute by mixing one-quarter cup ground flaxseed with three-quarter cup water, letting it sit five minutes until it’s gelatinous.
Replace eggs with this mixture at a 1:1 ratio.
You’ll use applesauce binder—substitute one-quarter cup unsweetened applesauce per egg—to achieve ideal moisture retention and structural integrity.
You’re liberated from conventional baking constraints while maintaining precise chemical ratios.
Why Did My Pumpkin Bread Sink in the Middle?
Your pumpkin bread’s sunken center typically results from an undercooked center combined with excess moisture. You’ve likely overmixed your batter, incorporating too much air that escapes during baking.
Additionally, too much pumpkin purée or liquid disrupts the structural integrity. Use precise measurements: reduce moisture content by 10-15%, avoid overmixing beyond incorporation, and verify internal temperature reaches 205°F. You’ll gain better control over your bake’s outcome.
Can I Add Nuts or Chocolate Chips to This Recipe?
You can absolutely customize your pumpkin bread. Add 1 cup chopped walnuts or pecans for textural contrast against the moist crumb.
Chocolate chips (1.5 cups semi-sweet) create excellent flavor pairings with pumpkin’s warm spices. Fold these ingredients into your batter after combining dry components.
Don’t exceed 2 cups total add-ins—excess weight compromises structural integrity and causes sinking. Distribute uniformly throughout the batter for consistent results across your loaves.


Leave a Comment