Key Takeaways
- Preheat oven to 475°F with baking stone for 30 minutes to create steam-driven pocket formation in pita bread.
- Mix flour, water, salt, yeast, and sugar; rest 20 minutes, then knead 8–10 minutes until dough is smooth and elastic.
- Allow dough to rise 1–2 hours at 75–80°F until doubled, then shape into quarter-inch rounds and proof 30–45 minutes.
- Bake shaped pitas directly on preheated stone for 3–4 minutes without opening door to allow pocket inflation from steam.
- Cool completely before storing in airtight container at room temperature up to two days or freeze for three months.
Gathering Your Ingredients
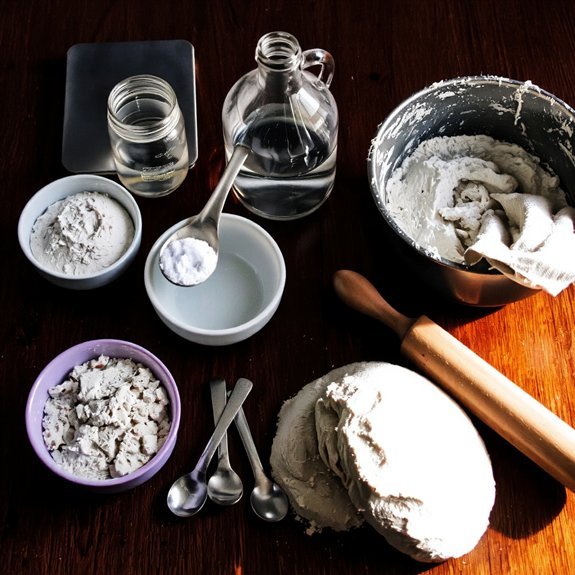
Before you start mixing, you’ll need to gather the right ingredients for homemade pita bread.
You’ll require three cups of all-purpose flour, one teaspoon of salt, one and a half teaspoons of instant yeast, and one tablespoon of sugar.
Add one tablespoon of olive oil and one cup of warm water to complete your base ingredients.
Organize your pantry strategically, keeping dry ingredients in airtight containers away from moisture and heat.
This guarantees ideal freshness and baking performance.
Consider seasonal sourcing for your flour and yeast, purchasing from local suppliers during peak seasons when quality peaks and prices drop.
You’ll also need measuring cups, a mixing bowl, and a kitchen scale for precision.
Having everything prepared beforehand streamlines your baking process and guarantees consistent results every time you make pita bread.
2. Understanding Flour Types and Their Impact
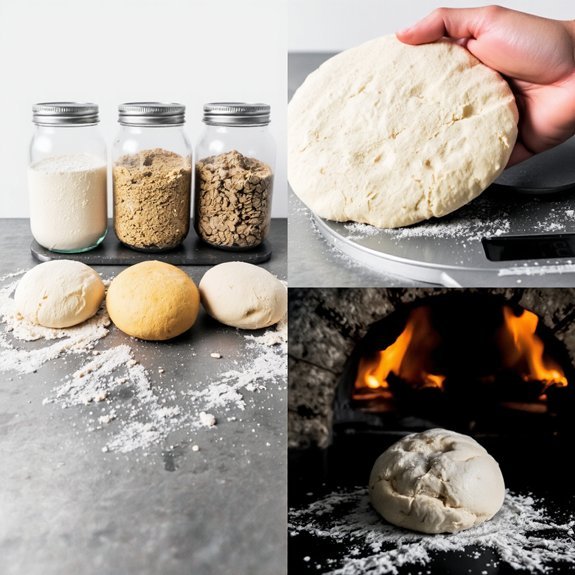
Why does flour choice matter so greatly in pita bread baking? The protein content directly determines your dough’s structure and elasticity.
You’ll want bread flour, which contains 12-14% protein, creating the strong gluten network that produces pita’s characteristic pocket.
All-purpose flour, with its 10-12% protein content, yields acceptable results but won’t develop the same strength.
Whole grain flour adds nutritional density and nutty flavor, though it absorbs more water and requires dough adjustments.
Don’t mix flour types haphazardly. Each carries distinct hydration demands and fermentation speeds.
Bread flour demands slightly less water; whole grain requires more.
Your dough’s success hinges on matching flour selection to your technique.
Select deliberately. Your flour choice controls rise speed, texture, and pocket formation—the foundations of excellent pita bread.
3. Mixing and Kneading Your Dough
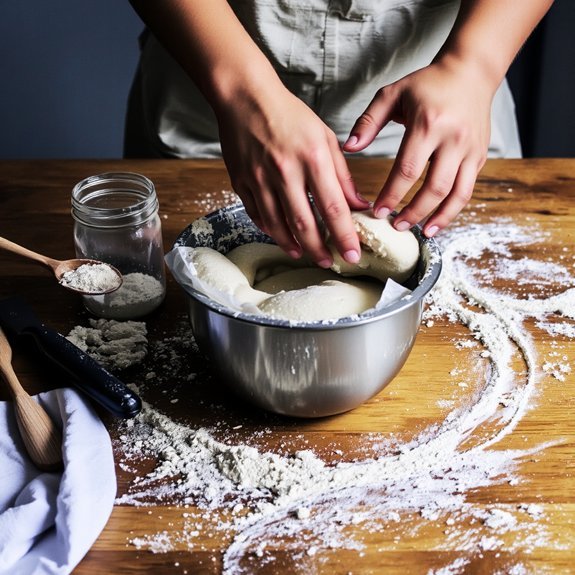
Once you’ve selected your flour, you’ll combine it with water, salt, and yeast to build your dough’s foundation. Mix these ingredients until you’ve formed a shaggy mass, then let it rest for twenty minutes.
This autolyse benefits your dough by allowing flour to fully hydrate and beginning enzymatic activity naturally.
After resting, knead for eight to ten minutes. You’re developing gluten—those protein networks that’ll create pita’s signature structure and chewiness.
Work the dough until it’s smooth and elastic, resisting stickiness without adding excess flour. You’ll know you’re done when the dough springs back quickly after poking it.
Proper kneading won’t just strengthen your dough; it’ll give you control over your final product’s texture and rise. This foundation determines your bread’s success.
4. The First Rise: Patience Pays Off
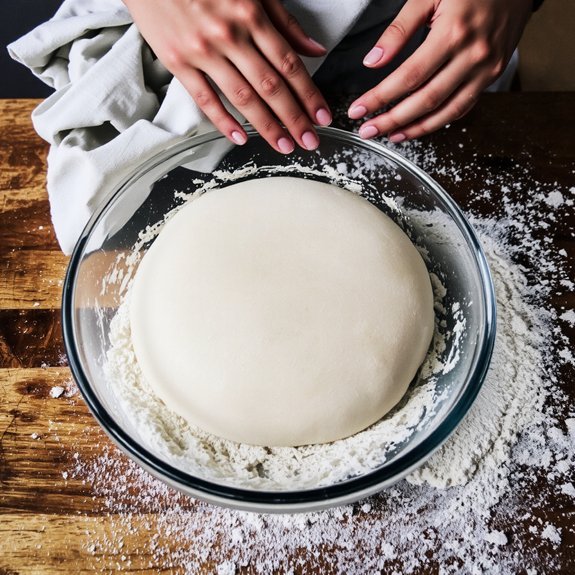
After kneading, you’ll transfer your dough to a lightly oiled bowl, turning it to coat all surfaces evenly.
Cover it with a damp cloth or plastic wrap to prevent drying.
Place the bowl in a warm, draft-free location—ideally between 75-80°F.
This mindful waiting period typically lasts one to two hours until the dough doubles in volume.
During this first rise, gluten develops and fermentation begins, creating the structure necessary for proper pita puffing.
Don’t rush this stage; temperature control directly impacts your results.
Check progress periodically by poking the dough gently—it should spring back slowly, not immediately.
Incorporate this kitchen ritual into your baking practice.
Understanding the science behind rising gives you control over your process.
Patient fermentation yields superior flavor and texture, rewarding your discipline with authentic, quality bread that justifies the wait.
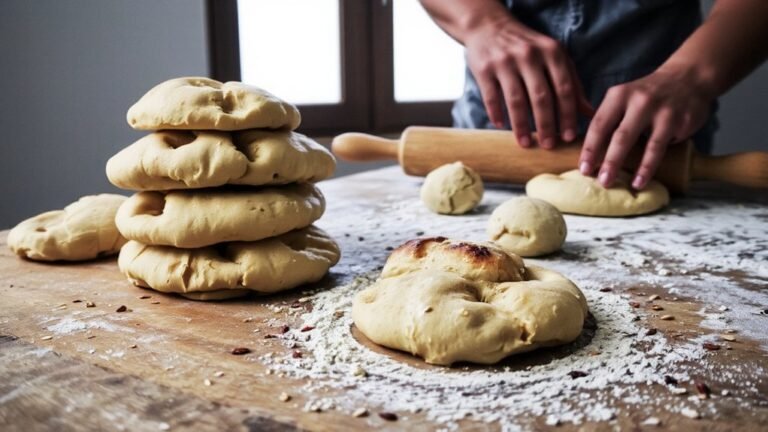
5. Shaping Your Pita Rounds
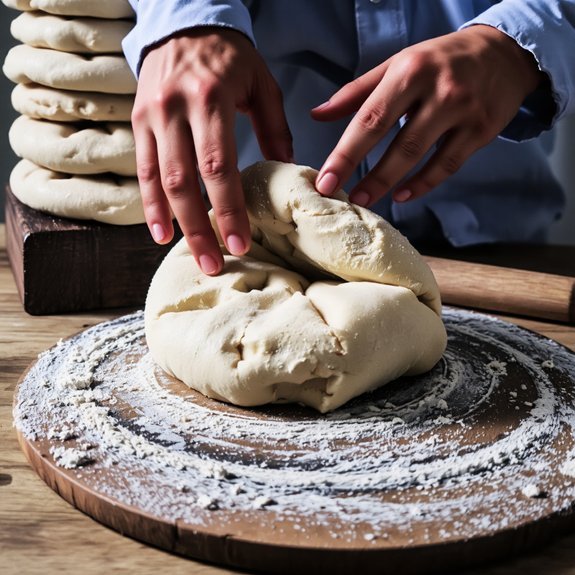
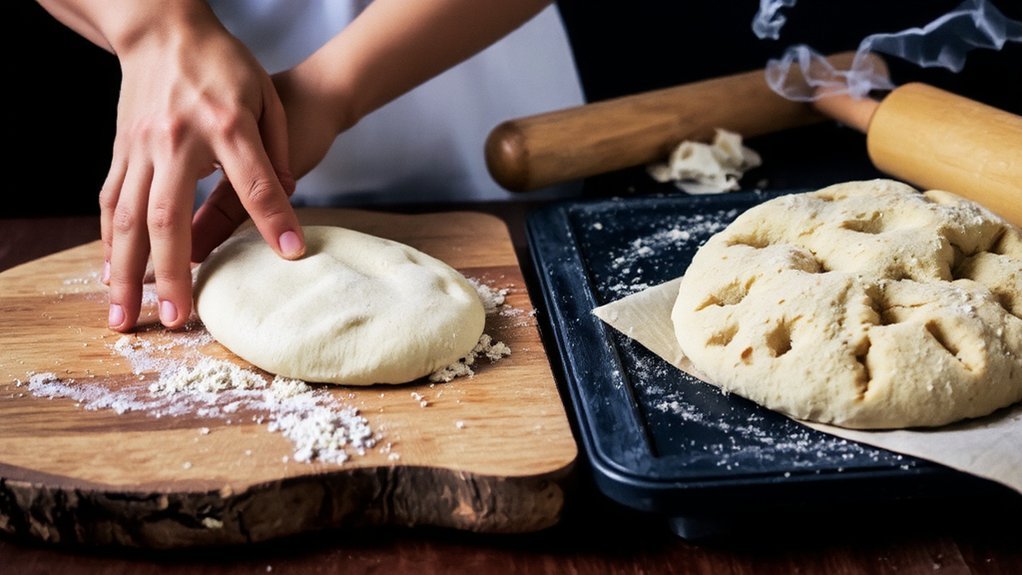
You’ll flatten each dough ball by hand, starting from the center and working outward to create an even thickness of approximately ¼ inch.
Apply gentle, consistent pressure with your fingertips rather than your palms to maintain better control and prevent tearing.
Check your rounds frequently by holding them up to light, adjusting any thin or thick spots before moving to the next stage.
Hand-Flattening Techniques
With your dough balls rested and ready, it’s time to flatten them into thin, even rounds.
Start by placing a dough ball on your work surface. Use your fingertips to gently press outward from the center, working systematically toward the edges. This pressure distribution prevents thick spots and guarantees uniform thickness throughout.
Develop a smooth wrist motion that rolls and presses simultaneously. Rotate your dough quarter-turns between presses, maintaining control over the shape. Your goal is a circle roughly quarter-inch thick—thin enough for proper puffing during baking.
Avoid aggressive flattening, which creates rough edges and uneven surfaces. If dough springs back, let it rest briefly before continuing. With consistent technique, you’ll master the hand-flattening method that produces perfectly shaped pita rounds ready for baking.
Achieving Uniform Thickness
Measuring your dough’s thickness as you flatten guarantees consistent results across all your pita rounds.
You’ll achieve uniformity by implementing these techniques:
- Use calibration tools like a ruler or thickness gauge positioned beside your workstation, enabling quick reference checks without interrupting your workflow.
- Optimize workstation lighting with overhead or directional sources, allowing you to visually assess dough thickness and spot thin areas before they compromise your bread’s structure.
- Apply steady, even pressure across the dough’s surface, working from the center outward while maintaining quarter-inch thickness—the ideal measurement for proper puffing during baking.
Consistent thickness prevents undercooked centers and makes certain every pita develops that signature pocket.
Your precision here directly determines your bread’s quality and your freedom to troubleshoot baking issues confidently.
6. The Second Rise: Getting Ready to Bake
You’ll need to monitor your dough rounds as they expand during the second rise, watching for them to roughly double in thickness over 30-45 minutes at room temperature.
You can identify readiness by gently poking a round—it should spring back slowly, indicating proper fermentation without overproofing.
Once your rounds show these signs, you’re ready to transfer them to your preheated oven for baking.
Monitoring Dough Expansion
Observing the dough’s expansion during the second rise tells you when it’s ready for the oven.
You’ll need to track precise measurements without relying on guesswork.
Here’s how:
- Visual assessment: Watch for the dough to roughly double in size, typically reaching 1.5 to 2 inches in height within 60-90 minutes at room temperature.
- Weight monitoring: Record your dough’s initial weight post-shaping. A 20-30% increase indicates sufficient fermentation and gas development for ideal pita puffing.
- Poke test verification: Press your finger gently into the dough. It should spring back slowly—not immediately, indicating proper proofing.
You’re free to adjust timing based on your kitchen’s temperature.
Warmer environments accelerate rising; cooler ones require patience.
Advanced bakers employ thermal imaging to monitor internal dough temperature, ensuring consistency.
This methodical approach guarantees predictable, perfectly puffed pitas every time.
Identifying Readiness Signs
Once your dough’s entered its second rise, you’ll need to recognize the distinct visual and tactile cues that signal it’s ready for baking. The dough should’ve increased in volume by roughly 50-75%, appearing noticeably puffy without collapsing under its own weight. Press your finger gently into the surface—it’ll spring back slowly, not immediately or sluggishly.
Check the surface sheen; it’ll appear slightly matte yet supple, indicating proper hydration and gluten development. Smell cues matter too. You’ll detect a pleasant, yeasty aroma signaling adequate fermentation without sourness.
Avoid over-proofing, which creates weak gluten structure and dense pita. Conversely, under-proofed dough won’t pocket properly during baking. These readiness signs guarantee ideal oven spring and that characteristic hollow interior you’re seeking.
Preparing for Oven
After confirming your dough’s reached ideal proofing, it’s time to prepare your oven and baking surface for the final stage.
You’ll want maximum control over your baking results, so take these steps:
- Preheat your oven to 475°F, allowing at least 30 minutes for full heat penetration and stone preheating if you’re using one.
- Position your rack placement in the lower-middle section of your oven, ensuring adequate space above for bread expansion without interference.
- Place your baking stone directly on the rack, or line a baking sheet with parchment paper for easier handling.
This setup gives you the heat distribution you need for perfectly puffed pita. Your stone preheating creates the steam pocket essential for that characteristic hollow interior. You’re now ready to bake.
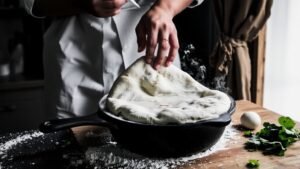
7. Achieving the Perfect Pocket
What separates exceptional pita from mediocre flatbread is the formation of a steam pocket during baking.
You’ll achieve this by mastering the steam technique, which requires oven temperatures between 475–500°F.
Place your dough rounds directly on a preheated baking stone or steel—this intense, direct heat causes moisture to rapidly transform into steam, inflating your bread from within.
Timing matters critically.
You’ll bake for 3–4 minutes until the pocket forms fully.
Don’t open the oven door prematurely; interrupting heat causes the pocket to collapse.
Your reward: a hollow interior with exceptional crumb texture—light, airy, and structurally sound for stuffing.
The pocket’s success depends on proper hydration in your dough and unwavering oven temperature maintenance.
When executed correctly, you’ve liberated yourself from flat, dense pita forever.
8. Baking Temperature and Timing
Because you’re working with moisture-dependent chemistry, your oven temperature must stay consistently between 475–500°F throughout the bake cycle.
Precision here determines whether you’ll achieve that coveted pocket or end up with a dense, flat disc.
- Calibrate your oven using an independent thermometer; built-in gauges frequently run 25°F off, sabotaging your results before you’ve begun.
- Bake for 5–8 minutes until pitas puff dramatically; don’t open the door during this critical window—you’ll collapse the steam-driven rise.
- Make altitude adjustments if you’re above 3,000 feet; increase temperature by 15–25°F and reduce baking time slightly, as moisture evaporates faster.
Pull pitas from the oven when they’re golden and still slightly flexible.
They’ll finish firming as they cool, giving you complete control over your final product.
9. Storage and Reheating Tips
Once your pitas cool completely to room temperature, you’ll want to store them in an airtight container or resealable plastic bag to prevent moisture loss and staleness.
Store cooled pitas in an airtight container or resealable bag to prevent moisture loss and staleness.
Keep them at room temperature for up to two days, or freeze them for extended storage up to three months.
For microwave reheating, wrap a pita in a damp paper towel and heat for 10-15 seconds.
This method restores moisture without overdrying.
Alternatively, wrap multiple pitas together and heat for 20-30 seconds.
For crispier results, use your oven.
Wrap pitas in foil and heat at 350°F for five minutes.
You can also reheat directly on the oven rack for a crunchier texture.
Don’t reheat thawed frozen pitas in the microwave—use the oven method instead for best results.
Frequently Asked Questions
Can I Use Whole Wheat Flour Instead of All-Purpose Flour for Pita Bread?
You can absolutely swap whole wheat flour for all-purpose flour in pita bread. However, you’ll need to adjust your hydration ratios because whole wheat absorbs more moisture—increase water by 10-15%.
Extend your kneading time to 10-12 minutes instead of 8, allowing the bran to fully hydrate and develop gluten structure. This gives you denser, nuttier pitas while maintaining proper rise and pocket formation. You’re free to experiment with ratios to match your preferred texture.
What Should I Do if My Pita Bread Doesn’t Puff up in the Oven?
If your pita bread won’t puff up, you’ve got control issues with two critical factors.
First, crank your oven temperature to 475°F or higher—you need intense heat for that steam-driven expansion.
Second, use a preheated baking surface like a pizza stone or cast-iron skillet.
This thermal mass drives moisture conversion rapidly.
You’re commanding the conditions here: proper heat and surface contact create the pocket you want.
How Long Can I Store Homemade Pita Bread Before It Goes Bad?
You’ll maintain your homemade pita bread’s shelf life for 2-3 days at room temperature in an airtight container.
For extended storage, you’ve got freedom to freeze it up to three months.
Before consuming, check for mold indicators—visible fuzzy growth or discoloration signals spoilage.
Store in cool, dry conditions away from moisture.
Inspect regularly.
Proper airtight sealing prevents premature deterioration and maximizes your bread’s usability window.
Can I Freeze Pita Dough and Bake It Later?
Yes, you can freeze pita dough for later baking.
Vacuum sealing your dough prevents freezer burn and extends shelf life up to three months.
When you’re ready, thaw proofing requires removing the dough from the freezer and letting it rise at room temperature for two to four hours.
This controlled thawing activates yeast activity, ensuring your pita bread bakes with proper volume and texture.
You’ll maintain complete control over your baking schedule without compromising quality.
Why Did My Pita Bread Turn Out Flat and Dense?
Your pita bread turned flat and dense due to insufficient kneading, which didn’t develop adequate gluten structure for proper rise.
Additionally, check your yeast quality—expired or inactive yeast won’t generate sufficient gas.
You’re constrained by these two factors: knead for at least ten minutes until smooth and elastic, and verify your yeast’s freshness before proofing. These adjustments’ll give you the control needed for light, pillowy pitas.


Leave a Comment