
Key Takeaways
- Create a sourdough starter by mixing equal parts flour and water daily for 5–7 days until bubbly and tangy.
- Perform stretch-and-fold exercises every 30 minutes during the first 2 hours of bulk fermentation at 75–80°F.
- Cold ferment shaped dough at 38–40°F for 8–48 hours to develop flavor and strengthen the gluten network.
- Preheat a Dutch oven to 450°F for 45 minutes, then bake scored dough covered for 20 minutes, uncovered for 15–20 minutes.
- Store baked bread in paper bags at room temperature to prevent staleness; avoid plastic containers.
Understanding Sourdough Starter
A sourdough starter is a living culture of wild yeast and beneficial bacteria that you’ll nurture to leaven your bread.
A sourdough starter is a living culture—your personal ecosystem of wild yeast and bacteria ready to naturally leaven your bread.
You’re effectively creating your own microbial ecology—a self-sustaining ecosystem that ferments dough naturally.
You’ll maintain your starter by feeding it flour and water regularly.
This simple routine keeps your culture active and vigorous.
The microbial balance determines your bread’s rise, texture, and crumb structure.
Understanding flavor chemistry helps you recognize what’s happening inside your starter.
Fermentation produces organic acids and compounds that develop complex, tangy notes in your finished loaf.
You’ll notice your starter becoming more active as beneficial bacteria multiply.
Start with equal parts flour, water, and starter.
This ratio gives you complete control over fermentation speed and flavor intensity.
You’re not dependent on commercial yeast—you’ve got this covered.
Creating Your Starter From Scratch
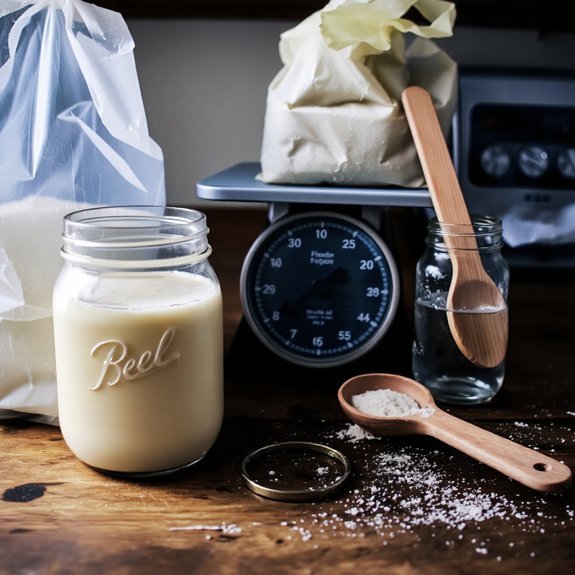
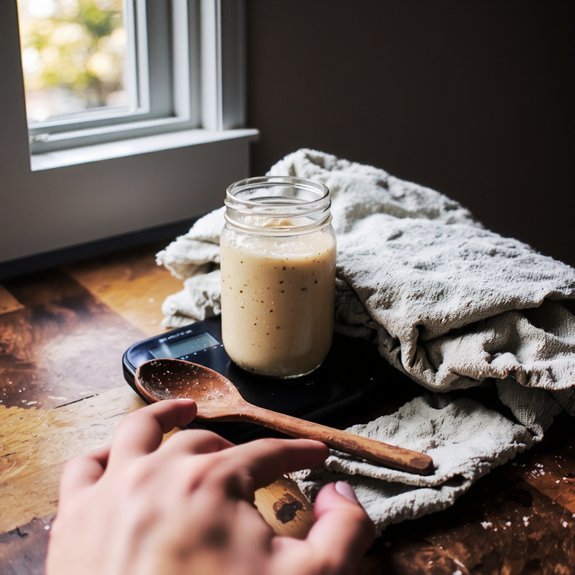
You’ll start your sourdough starter by mixing equal parts flour and water—typically one cup of each—in a clean jar to create a thick paste.
You’ll then feed your starter daily by discarding half the mixture and adding fresh flour and water, which activates the wild yeast and bacteria that give sourdough its distinctive flavor.
Within five to seven days of consistent daily feeding, you’ll notice bubbles and a pleasant tangy smell, signaling that your starter is active and ready for baking.
Mixing Flour and Water
Combining flour and water is where your sourdough journey truly begins—it’s surprisingly simple, yet it sets the foundation for everything that follows.
You’ll create a living culture that demands nothing but your attention and care.
Start with these essentials:
- Use a 1:1 hydration ratio (equal parts flour and water by weight)
- Choose lukewarm water temperature between 70-75°F
- Select unbleached, all-purpose or bread flour for best results
- Mix thoroughly until no dry flour remains
- Cover loosely to allow airflow and wild yeast colonization
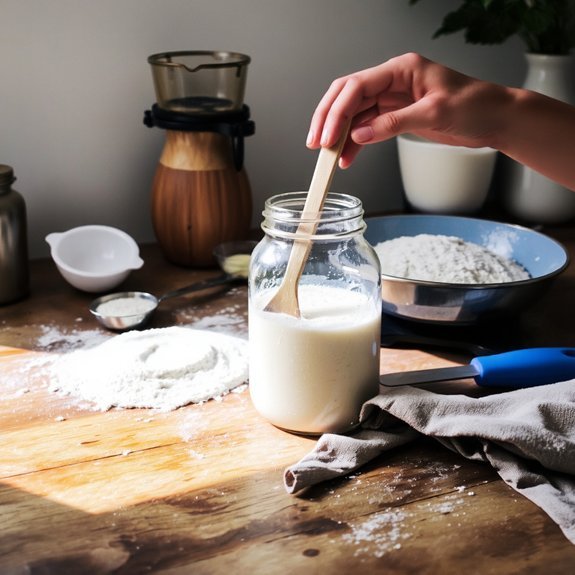
Blend your ingredients in a clean jar, stirring until you’ve got a shaggy, paste-like mixture.
This isn’t fussy work—you’re simply giving wild yeast and bacteria the conditions they need to thrive.
Your commitment to consistency matters far more than perfection.
You’re building something alive now.
Feeding Your Starter Daily
Now that you’ve mixed your flour and water, the real magic begins—daily feeding is what transforms your mixture into an active, vigorous starter.
Each day, discard half your starter and feed it with equal parts flour and water.
This routine strengthens the wild yeast and bacteria colonies, ensuring your starter rises reliably.
You’ll notice bubbling and a pleasant sour aroma within days.
Keep your starter away from pet hazards like curious cats or dogs.
Store it safely on a high shelf if needed.
Consider allergy awareness when sharing your starter—always inform friends about potential gluten content or cross-contamination risks.
Stay consistent with timing.
Feed your starter at the same time daily, ideally at room temperature.
This disciplined approach gives you complete control over your fermentation process, freeing you from commercial yeast dependency.
Your independence in baking starts here.
Feeding and Maintaining Your Starter
Keeping your sourdough starter alive and vigorous requires consistent feeding on a predictable schedule.
You’ll establish independence in your baking when you master these essential practices:
- Feed your starter equal parts flour and water daily at room temperature
- Discard half the mixture before each feeding to maintain manageable quantities
- Practice starter hygiene by using clean utensils and containers
- Store in a refrigerator between bakes to slow fermentation and reduce feeding frequency
- Use filtered water to avoid chlorine interference with wild yeast cultures
Consistent feeding strengthens your starter’s vigor, ensuring reliable rise and flavor in your loaves.
You’re not bound by rigid rules—adjust feeding times to fit your schedule.
When you’re ready to bake, remove your starter from refrigerator storage 24 hours beforehand, allowing it to become active and bubbly.
Your starter rewards attention with superior bread.
Mixing and Autolyse Techniques
Allowing your flour and water to rest together before adding salt and starter—a process called autolyse—fundamentally transforms your dough’s development and your bread’s final texture.
The autolyse—resting flour and water together—fundamentally transforms your dough’s development and your bread’s final texture.
During this 30-minute to 2-hour rest, gluten relaxation occurs naturally without mechanical effort, giving you stronger, more elastic dough.
Here’s your freedom to experiment: mix your flour and water thoroughly, then wait.
Don’t rush this step. The hydration allows enzymes to work, breaking down starches and strengthening gluten networks independently.
Once autolyse completes, incorporate your active starter and salt.
Salt timing matters vitally—add it after autolyse rather than before. Salt inhibits fermentation initially, so this sequencing optimizes your dough’s rise and flavor development.
This approach requires patience, not complicated technique. You’re working with your dough’s natural biology, not against it.
Bulk Fermentation Process

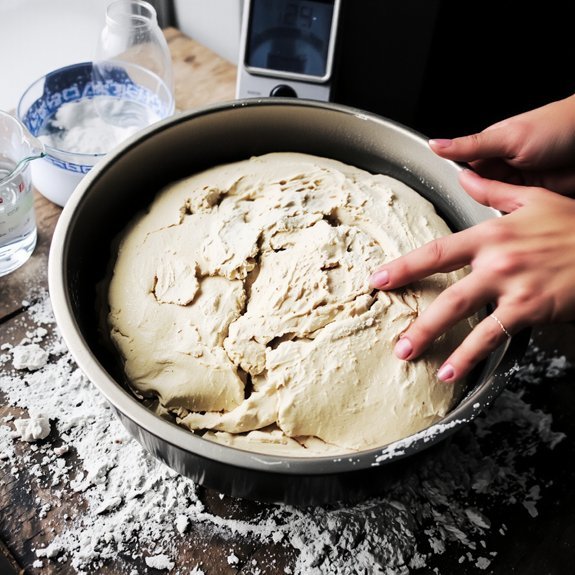
After mixing in your starter and salt, you’ll enter bulk fermentation—the phase where your dough develops flavor, strength, and structure over 4 to 6 hours at room temperature.
During this critical stage, you’re in control.
Here’s what matters:
- Temperature Control: Keep your environment between 75-80°F for ideal fermentation speed
- Stretch and fold: Perform 4-6 sets every 30 minutes during the first 2 hours
- pH Monitoring: Your dough’s acidity increases, creating tang and digestibility
- Visual cues: Watch for a 50-75% volume increase and jiggly texture
- Trust your instincts: Every kitchen’s different—adjust timing based on your conditions
You’re building a strong, flavorful dough.
Don’t rush it.
Let gluten develop naturally through gentle handling, and you’ll achieve the open crumb structure you’re after.
Shaping and Pre-shaping Methods
Once your dough’s reached that jiggly, risen state, you’re ready to move from passive fermentation to active shaping—this is where you’ll give your loaf its final form and build surface tension.
Start with pre-shaping: gently fold your dough into a round, creating tension as you work.
Let it rest on the bench for 20-30 minutes—this bench rest allows the gluten to relax while maintaining structure.
Next, perform your final shape. Flip the dough seam-side down, fold the edges toward the center with intention, then roll it tightly away from you. This tension building creates the framework your loaf needs to rise upward rather than spreading outward.
Place your shaped dough seam-side up in a banneton, ready for the final proof.
Cold Fermentation and Proofing
Your shaped dough’s next phase—cold fermentation—is where patience transforms flavor and texture.
This retardation timing develops flavor complexity that quick fermentation can’t match.
Here’s what you’ll control:
- Temperature: Keep your dough at 38-40°F for ideal fermentation
- Duration: Aim for 8-48 hours depending on your desired tang
- Container: Use a proofing box or your refrigerator
- Hydration: Monitor moisture levels to prevent drying
- Scoring readiness: Cold dough holds shape better when you score it
During this period, wild yeast and bacteria work slowly, building deep, complex flavors while the gluten network strengthens.
You’re not waiting passively—you’re engineering superior bread.
When you’re ready to bake, your dough will have developed the structure and taste that distinguishes authentic sourdough.
This cold approach gives you freedom to bake on your schedule.
Scoring and Baking Your Loaf
Scoring transforms your cold dough from a smooth sphere into an edible work of art while controlling how your loaf expands in the oven’s heat. You’ll create deliberate cuts using a sharp blade, directing the bread’s rise and developing that signature ear.
| Scoring Pattern | Depth | Angle |
|---|---|---|
| Classic Cross | ¼ inch | 30° |
| Batard | ½ inch | 45° |
| Decorative | Shallow | Varied |
Master steam techniques by placing a Dutch oven in your 450°F oven for 45 minutes beforehand. Transfer your scored loaf inside, trapping moisture that keeps your crust flexible during the critical first 20 minutes. This steam creates bold oven spring and that crackling, golden exterior you’re after. Bake 35-40 minutes total until deeply browned.
Troubleshooting Common Sourdough Problems
Even with perfect technique, you’ll sometimes pull a loaf from the oven that doesn’t meet your expectations—and that’s where troubleshooting saves your next bake.
Common issues you’ll encounter include:
- Dense crumb: Your dough lacked sufficient fermentation time or oven spring
- Flat loaf: Overproofing weakened gluten structure; reduce final rise duration
- Gummy interior: Underbaking or excess moisture; bake longer at higher temperature
- Stale prevention: Store in paper bags at room temperature, not plastic
- Equipment calibration: Use an oven thermometer to verify actual temperature accuracy
Each problem teaches you something valuable.
Track your variables—temperature, timing, hydration—so you’ll identify what went wrong.
Don’t abandon your starter; minor adjustments yield dramatic improvements.
You’re building mastery through experimentation, not perfection on your first attempt.
Keep pushing forward.
Frequently Asked Questions
What’s the Ideal Kitchen Temperature for Successful Sourdough Baking?
You’ll want to maintain a room temperature between 68-72°F for ideal fermentation. Your proofing temperature matters equally—aim for 75-78°F during bulk fermentation. Don’t let it drop below 65°F, or you’ll slow your dough’s development.
You’ve got flexibility here: cooler temperatures create tangier bread with extended timelines, while warmer conditions accelerate everything.
Monitor your kitchen’s natural climate and adjust accordingly. You’re in control—these temperatures aren’t rigid laws, but guidelines that’ll help you master your sourdough game.
How Do I Convert My Sourdough Starter to a Different Hydration Level?
You’ll convert your starter by adjusting flour ratios and weight scaling to match your desired hydration.
Feed your starter with new flour ratios—say, moving from 100% to 80% hydration—then maintain this consistently for 5-7 feedings.
Weigh everything precisely; don’t eyeball it.
You’re in control here.
Scale your feedings proportionally, keeping the same feeding schedule.
Your starter’ll adapt beautifully, giving you complete freedom to experiment with different hydration levels that suit your baking style.
Can I Bake Sourdough in a Dutch Oven Without One?
You can absolutely bake without a dutch oven.
Try a cloche alternative like an inverted mixing bowl or roasting pan to trap steam.
The steam method is essential—place a hot pan below your bread or toss ice cubes onto the oven floor.
You’re not bound by traditional equipment.
Experiment with what you’ve got.
Your sourdough’ll rise beautifully with proper steam, giving you that crispy crust you’re after.
What’s the Nutritional Difference Between Sourdough and Commercial Yeast Bread?
You’ll discover sourdough’s superior nutritional profile when you compare it to commercial yeast bread. Sourdough’s fermentation process lowers its glycemic index, meaning you won’t experience rapid blood sugar spikes.
You’ll also benefit from enhanced mineral bioavailability—your body absorbs calcium, iron, and magnesium more efficiently. The natural fermentation breaks down phytic acid, liberating nutrients commercial breads trap.
You’re choosing a bread that respects your body’s needs and gives you genuine nutritional freedom.
How Long Does Sourdough Bread Stay Fresh After Baking?
Your sourdough’s shelf life typically extends 3-5 days at room temperature in a paper bag, preserving that crusty exterior you’ve earned.
You’ll find it stays fresher longer than commercial bread thanks to natural fermentation.
For extended storage, don’t hesitate freezing whole loaves or slices up to three months.
Thaw at room temperature or toast directly from frozen.
You’re in control of your bread’s destiny—no preservatives required.
Leave a Comment