Key Takeaways
- Measure flour, yeast, salt, and water separately; mix dry ingredients with wet using circular motions until shaggy dough forms.
- Knead dough for 8–10 minutes using heel-of-hand technique until smooth, elastic, and passing the windowpane test for gluten development.
- Bulk ferment at 75–78°F for 4–6 hours until dough increases 50–75% in volume; shape and final proof 2–4 hours or overnight cold.
- Score loaf surface with sharp blade; bake at 450°F with steam for 20 minutes, then 15 minutes, finishing at 425°F dry heat.
- Cool baked loaf on wire rack for at least one hour undisturbed before slicing to allow crumb structure to set properly.
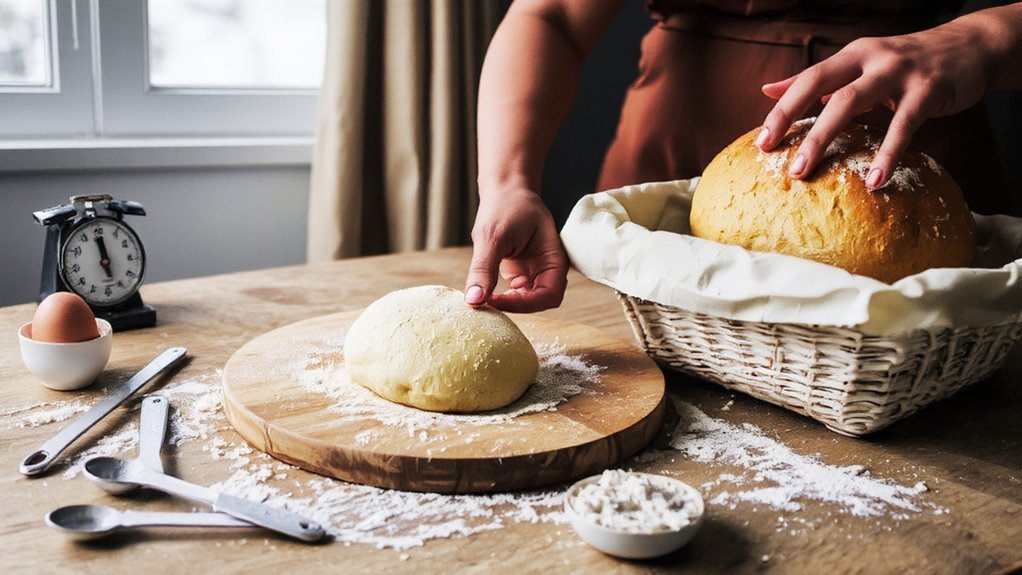
Gathering Your Ingredients and Equipment
Before you mix a single ingredient, you’ll need to gather everything required for successful bread baking. Start with ingredient sourcing—obtain high-quality bread flour, active dry yeast, salt, and filtered water.
These fundamentals directly impact your final product’s quality and rise.
Next, assemble your equipment: a large mixing bowl, kitchen scale, dough scraper, banneton basket, Dutch oven, and reliable thermometer. Don’t overlook tool sanitation; wash all equipment thoroughly with hot water and soap before beginning.
Sanitized tools prevent unwanted bacterial contamination that compromises fermentation.
Arrange your workspace strategically. You’ll need counter space for kneading and a warm environment for proofing.
Stock parchment paper and a bench knife for handling dough efficiently.
This preparation phase demands precision. Organized ingredient sourcing and meticulous tool sanitation establish the foundation for consistent, excellent bread.
Mixing and Kneading Your Dough
You’ll combine your dry ingredients with the wet ingredients until a shaggy dough forms, then knead for 8-10 minutes until the dough becomes smooth and elastic.
Proper kneading develops gluten strands, which you’ll recognize when the dough springs back after you press it with your finger.
Aim for a dough that’s tacky but not sticky—it should hold together without sticking excessively to your hands or work surface.
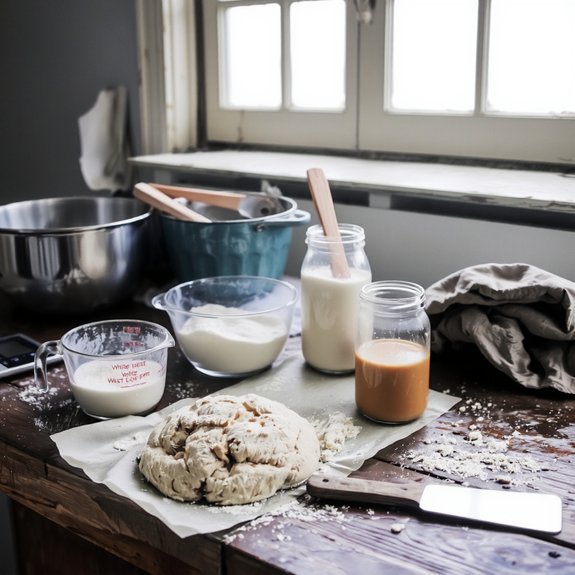
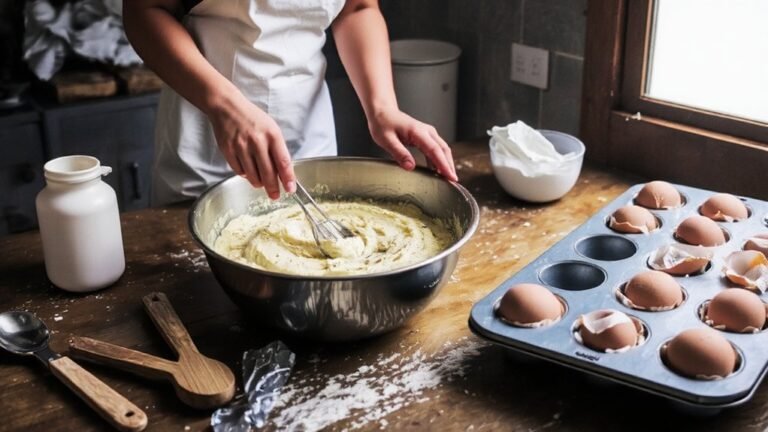
Combining Dry and Wet Ingredients
Once you’ve measured your dry ingredients into a bowl and your wet ingredients into a separate container, create a well in the center of the dry mixture and pour the wet ingredients into it. Using a wooden spoon, you’ll integrate the components with deliberate, circular motions from the center outward, ensuring lump prevention throughout the process.
| Ingredient Type | Function | Emulsifier Choices |
|---|---|---|
| Flour | Structure | N/A |
| Liquid | Hydration | Water, milk |
| Fat | Tenderness | Oil, butter, eggs |
Work methodically until you’ve achieved a shaggy dough with no dry streaks visible. You’re not fully kneading yet—just combining. This controlled integration prevents overworking and guarantees consistent gluten development. Your dough should feel slightly tacky but manageable, ready for the next kneading phase.
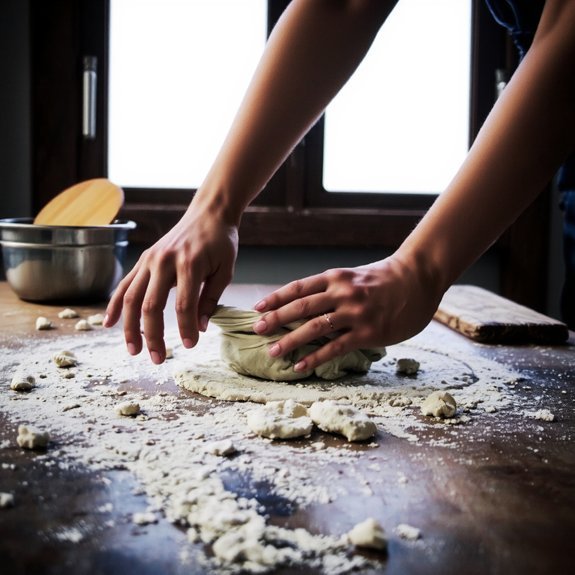
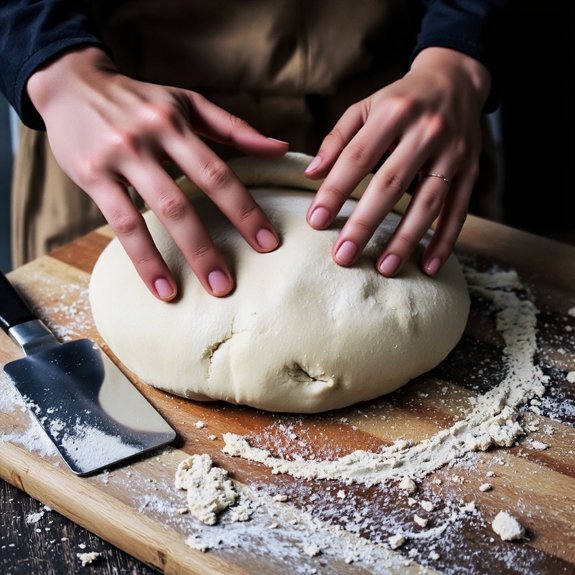
Proper Kneading Techniques and Duration
Now that your dough’s come together into a shaggy mass, it’s time to knead—the process that develops gluten strands and transforms your mixture into an elastic, cohesive dough.
Push the dough away from you using the heel of your hand, fold it back over itself, rotate it ninety degrees, and repeat for eight to ten minutes. This rhythmic motion builds the gluten network essential for proper rise and texture.
Maintain proper kneading ergonomics by keeping your wrists straight and engaging your core rather than straining your shoulders. Work on a lightly floured surface to prevent sticking.
Regarding hand care, dust flour onto your palms beforehand to reduce direct contact with sticky dough. Your dough’s ready when it becomes smooth, elastic, and springs back when poked—your ticket to superior bread.
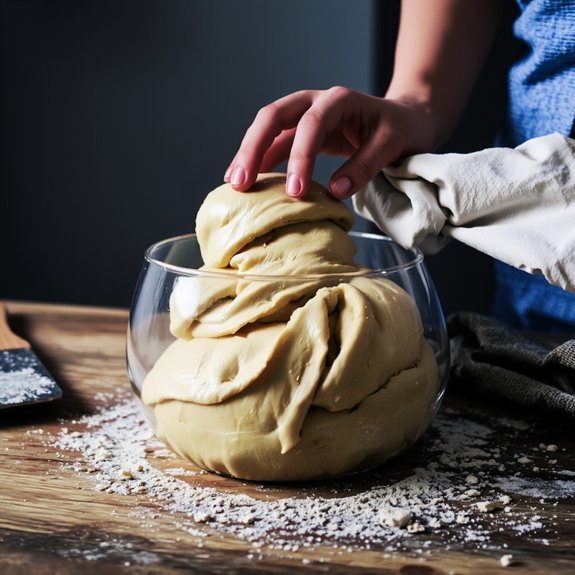
Achieving the Right Dough Consistency
While kneading builds the gluten structure that’ll give your bread its rise and texture.
The dough’s consistency during mixing determines how effectively that kneading can work. You’ll control this consistency by managing flour granularity and accounting for ambient humidity—two variables that directly impact your final product.
Here’s your consistency-control approach:
- Start with 60% hydration, adjusting based on flour absorption rates
- Add flour incrementally, observing how the dough responds to your hands
- Account for ambient humidity; dry conditions require slightly more water
- Aim for a tacky, cohesive mass that doesn’t stick excessively to surfaces
You’re achieving ideal consistency when the dough holds together while remaining workable.
This foundation enables proper gluten development during kneading, giving you full control over your bread’s final structure and quality.
The First Rise: Bulk Fermentation
You’ll want to keep your dough between 75–78°F during bulk fermentation, as temperature directly controls fermentation speed and gluten development.
Watch for visual cues like a 50–75% volume increase, a domed surface, and visible bubbles at the dough’s edge—these signs indicate proper dough development.
Depending on your kitchen temperature, you’re typically looking at 4–6 hours for bulk fermentation, though cooler conditions may extend this timeline.
Temperature Control Matters
Since yeast activity directly correlates with temperature, controlling your dough’s environment during bulk fermentation is essential for predictable results.
You’ll want to maintain consistency throughout this critical phase.
Consider these temperature management strategies:
- Aim for 75-78°F for standard room-temperature fermentation, accelerating yeast activity predictably
- Use an energy-efficient cooler or proofing box to maintain stable conditions without excessive heating costs
- Monitor with a reliable thermometer, taking safety precautions to avoid cross-contamination between measurements
- Adjust fermentation duration inversely—warmer temperatures shorten bulk fermentation; cooler temperatures extend it
You control the pace of your fermentation by managing heat.
Cooler environments grant you extended flexibility in scheduling, while warmer setups demand closer attention.
Either way, precision here determines your bread’s final structure, flavor development, and oven spring.
Dough Development Signs
As your dough ferments, observable physical changes reveal the yeast’s metabolic activity and gluten network development. You’ll notice the dough’s volume increasing by roughly 50-75% within 4-6 hours at room temperature.
The surface becomes smooth and slightly domed, indicating proper gluten formation.
Perform the windowpane test by stretching a small dough portion between your fingers. If it forms a thin, translucent membrane without tearing, your gluten structure’s adequately developed. The dough should feel slightly tacky but hold its shape.
Aroma development signals fermentation progress—you’ll detect pleasant, yeasty, slightly sour notes. This indicates flavor compound formation and organic acid production.
When your dough passes the poke test (an indentation slowly springs back halfway), bulk fermentation’s complete. You’re now ready for shaping.
Timing Your Fermentation
How long should bulk fermentation actually take?
You’ll control this critical phase through schedule mapping and production coordination.
Temperature dictates timing—warmer environments accelerate fermentation, cooler ones slow it.
Monitor these indicators:
- Dough increases 50-75% in volume
- Surface develops visible bubbles and slight dome shape
- Poke test shows slow spring-back with slight indentation remaining
- Gluten structure feels strengthened and elastic
Don’t rely solely on time.
Your bulk fermentation might take 4-6 hours at 75°F or 8-12 hours at cooler temperatures.
You’re free to adjust based on your kitchen conditions and schedule.
Proper fermentation develops flavor complexity and gluten strength, directly impacting your final loaf’s structure and taste.
Trust the visual and tactile cues your dough provides.
Shaping Your Loaf
Transforming your risen dough into a structured loaf requires careful technique to create surface tension that’ll support your bread’s final rise.
Shaping risen dough with precision creates the surface tension necessary to support your bread’s final rise and structure.
You’ll gently turn your dough onto a lightly floured surface, then fold the edges toward the center with deliberate precision.
Use your hands to create tension by pulling the dough toward you repeatedly, rotating it ninety degrees between folds.
For decorative shaping, you can form batards, boules, or elaborate patterns that showcase your skill.
Once shaped, place your loaf seam-side up in a floured banneton basket for the final proof.
Before baking, scoring techniques become essential.
You’ll use a sharp blade to cut decisive slashes across your loaf’s surface, controlling expansion and creating that distinctive bread appearance.
These cuts determine how your bread splits during oven spring, releasing steam efficiently and delivering professional results.
The Second Rise: Final Proofing
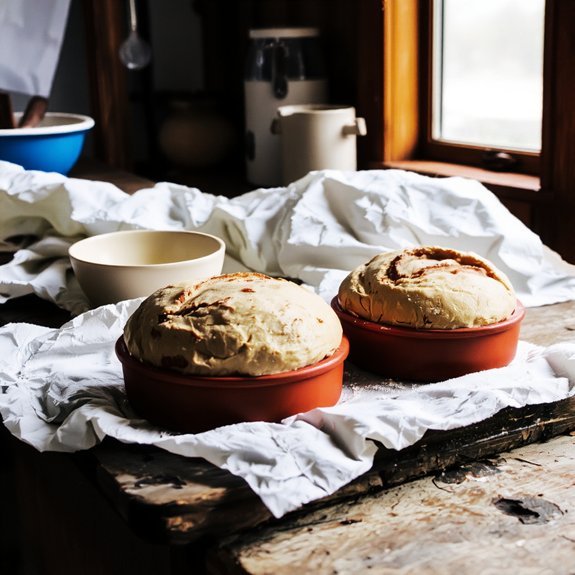
Once you’ve placed your shaped dough in the banneton basket, you’ll need to execute the final proof—a critical stage that develops flavor and achieves the ideal rise for scoring and baking.
Control your proofing environment strategically:
- Maintain 75–78°F for ideal fermentation speed and crumb maturation
- Cover your basket with plastic or a cloth to prevent surface drying
- Monitor for the poke test—your finger should leave a slow-closing indent
- Time your proof based on temperature: 2–4 hours at room temperature or 8–16 hours cold
Cold fermentation in your refrigerator extends aroma development while building complex flavors.
You’ll notice increased extensibility and enhanced gluten structure.
This deliberate timing gives you complete control over your final product’s character and performance during baking.
Baking and Cooling Your Bread
Your properly proofed dough is now ready for the oven, where high heat will arrest fermentation, set the crumb structure, and develop the crust’s color and flavor. Preheat your oven to 450-475°F, ensuring complete temperature stabilization for ideal crust development.
| Stage | Temperature | Duration | Action | Result |
|---|---|---|---|---|
| Initial Bake | 450°F | 20 min | Steam injection | Crust expansion |
| Mid-Bake | 450°F | 15 min | Remove steam | Crust hardening |
| Final Bake | 425°F | 10-15 min | Dry heat | Color deepening |
| Cooling | Room temp | 1 hour minimum | Undisturbed rest | Crumb setting |
| Storage | 68°F | Long-term | Sealed container | Preservation |
Score your loaf’s surface to control expansion. Steam during initial baking creates oven spring and crust development. Once golden-brown, transfer your bread to a wire rack. Cooling sets your crumb structure permanently—resist slicing while warm, as this destabilizes the interior texture.
Frequently Asked Questions
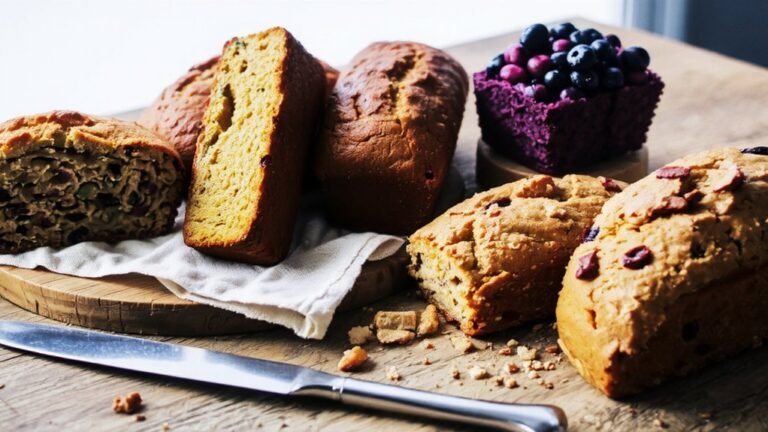
Can I Use Whole Wheat Flour Instead of All-Purpose Flour for Bread Baking?
Yes, you can substitute whole wheat flour for all-purpose flour, but you’ll need hydration adjustments since whole wheat absorbs more water.
Increase your liquid by 2-3 tablespoons per cup of flour.
Expect a denser crumb and deeper, nuttier flavor profile.
Your dough may feel stickier initially.
Mix whole wheat gradually into recipes if you’re experimenting—start with 25-50% substitution to maintain structure while developing that rich, complex taste you’re after.
What Should I Do if My Dough Rises Too Quickly or Too Slowly?
You’ll control rise rates through temperature adjustment.
If your dough’s rising too quickly, you’re dealing with warmth—move it to a cooler spot or reduce ambient temperature.
For sluggish rises, you need the opposite: warmer conditions accelerate fermentation.
Make proofing adjustments by monitoring dough volume rather than clock time.
You’ve got freedom here: experiment with your kitchen’s microclimate, refrigerate overnight for controlled slow rises, or use a proofing box for precision.
Master these variables and you’ll nail consistent results.
How Do I Know if My Bread Is Fully Baked Inside Without Cutting It?
You’ll determine doneness using two reliable methods.
First, perform the tap test—knock the bread’s bottom; a hollow sound indicates it’s fully baked.
Second, check the internal temperature with a meat thermometer; you’re looking for 190-210°F depending on bread type.
Both techniques give you definitive proof your bread’s completely baked through, eliminating guesswork and ensuring consistent results every time.
Can I Freeze Dough and Bake It Later, and How Does This Affect Results?
Yes, you can freeze dough for later baking.
For freezer storage, wrap your dough tightly in plastic wrap and store it up to three months.
When you’re ready to bake, use proper thaw techniques: defrost overnight in your refrigerator for ideal flavor development, or let it rise at room temperature for two to three hours.
Frozen dough produces results comparable to fresh dough when you follow these precise procedures.
Why Did My Bread Turn Out Dense, and How Can I Prevent This Next Time?
Your bread turned dense because you’ve likely underdeveloped gluten or used low hydration dough.
You didn’t knead enough or skip proper folding techniques.
Next time, knead thoroughly until you’ve built adequate gluten structure—roughly 10 minutes by hand.
Increase water content slightly; you’re aiming for a wetter, more extensible dough.
Allow adequate bulk fermentation time.
These adjustments’ll yield an open crumb structure you’re after.


Leave a Comment