Key Takeaways
- Beat softened butter and sugar for 2–3 minutes until light and fluffy, then incorporate egg and molasses until fully combined.
- Fold dry ingredients (flour, baking soda, salt, ginger, cloves, cinnamon) into wet mixture until no flour streaks remain; avoid overmixing.
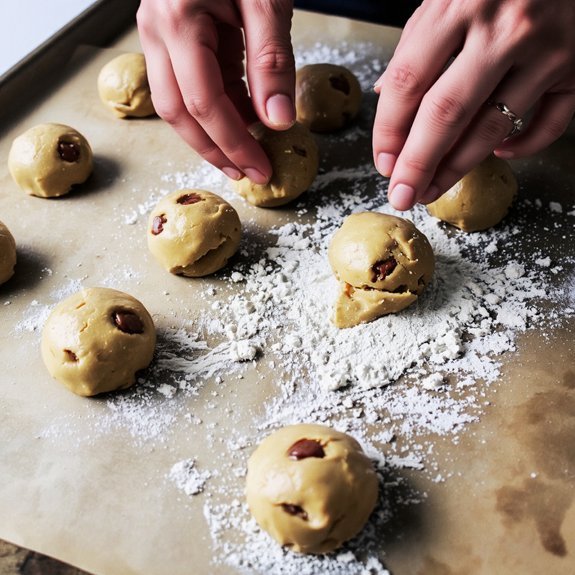
- Roll dough to ¼-inch thickness, portion into 2-tablespoon scoops, chill 30 minutes, and space 2 inches apart on parchment-lined baking sheets.
- Preheat oven to 350°F for 15 minutes, bake on middle rack for 10–12 minutes until edges set but centers remain slightly soft.
- Cool on baking sheet for 3 minutes, transfer to wire rack to finish cooling, then store in airtight containers for up to 3 weeks.
Gathering Your Ingredients
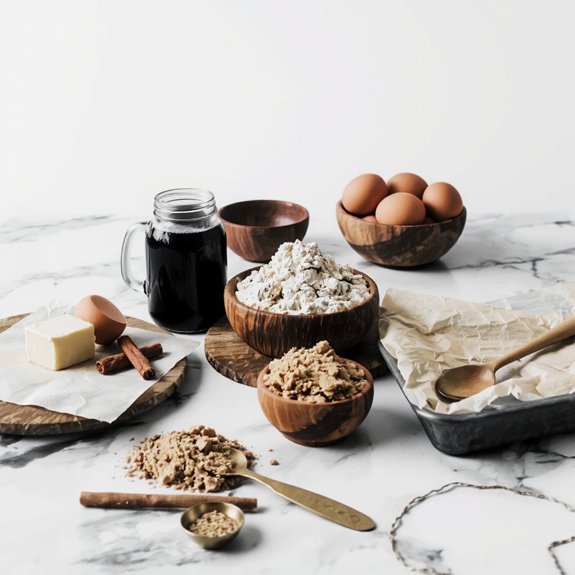
You’ll need several key ingredients to make molasses cookies: 2¾ cups all-purpose flour, 1 teaspoon baking soda, ½ teaspoon salt, 1 teaspoon ground ginger, ½ teaspoon ground cloves, ¼ teaspoon ground cinnamon, ¾ cup unsalted butter (softened to 65-70°F), 1 cup granulated sugar, 1 large egg, and ¼ cup unsulfured molasses.
Source your ingredients from local suppliers whenever possible to support your community’s freedom of choice.
Check your pantry first—you’ll likely have flour, baking soda, and salt on hand.
For the spices, make sure they’re fresh; older spices lose potency and won’t deliver the depth you’re seeking.
Molasses quality matters greatly. You can substitute with blackstrap molasses for deeper flavor notes.
Seasonal substitutions work well too: adjust spice ratios based on your local harvest availability.
Room-temperature butter emulsifies properly, creating ideal cookie texture and rise.
2. Preparing Your Workspace and Equipment
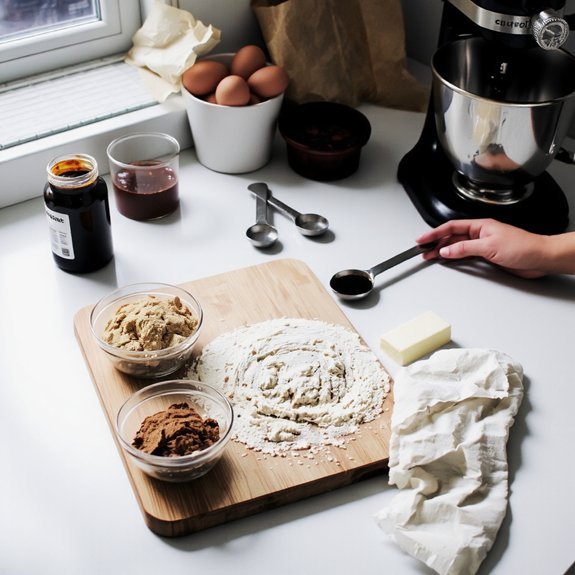
You’ll need mixing bowls, measuring cups and spoons, a whisk, baking sheets, and parchment paper to execute this recipe properly.
Organize your baking station by positioning your equipment within arm’s reach and arranging ingredients in the order you’ll use them.
Clean and prep all surfaces with a damp cloth, then dry thoroughly to prevent moisture from affecting your dough’s consistency.
Essential Equipment Checklist
Before mixing your molasses dough, gather these key tools: two mixing bowls (one for wet ingredients, one for dry), a whisk, a wooden spoon or sturdy spatula, measuring cups and spoons, a kitchen scale for accuracy, baking sheets, parchment paper, an oven thermometer to verify your bake temperature, and a cooling rack.
You’ll want commercial-grade equipment that won’t compromise your results.
When selecting baking sheets, choose heavy-duty aluminum or steel models with even heat distribution.
Check purchase guides for durable parchment paper that withstands repeated use without tearing.
Quality mixing bowls prevent ingredient separation during preparation.
An oven thermometer’s critical—it’ll reveal temperature discrepancies many home ovens exhibit.
Invest in tools backed by solid warranty info, protecting your baking investment.
Your cooling rack shouldn’t have gaps where cookies might slip through, ensuring proper air circulation for even cooling and achieving that perfect chewy-crispy texture molasses cookies demand.
Organizing Your Baking Station
Once you’ve assembled your equipment from the checklist, arrange everything within arm’s reach of your primary work surface to minimize movement and maintain workflow efficiency.
Create distinct workflow zones: designate one area for dry ingredients, another for wet components, and a separate zone for mixing and shaping.
This strategic layout prevents cross-contamination and streamlines your process.
Label drawers clearly—mark containers with ingredient names, measurements, and expiration dates.
You’ll work faster when you’re not hunting for items mid-bake.
Position your mixer, bowls, and measuring tools in your primary zone.
Keep your oven thermometer visible and accessible.
Store molasses, spices, and flour in airtight containers at consistent temperatures.
This organization grants you freedom to focus entirely on technique rather than searching for supplies, ensuring precise execution of your cookie recipe.
Cleaning and Prepping Surfaces
A spotless work surface forms the foundation of successful molasses cookie baking, eliminating variables that’d compromise your dough’s texture and flavor development. You’ll want to wipe down your countertop with a food-safe disinfectant, making sure no residual oils or debris interfere with your ingredients.
For countertop care, use a damp cloth with mild soap and water, then dry thoroughly with a lint-free towel. This prevents moisture from affecting your flour’s hydration ratios.
Sanitize your mixing bowls, measuring spoons, and cookie sheets with hot water and disinfectant safety protocols in mind—avoid harsh chemicals that’d leave harmful residues.
Clear your workspace completely, removing unnecessary items. Arrange your mise en place strategically within arm’s reach. This organized approach gives you control over your baking environment and guarantees precise execution throughout the process.
3. Mixing the Dough
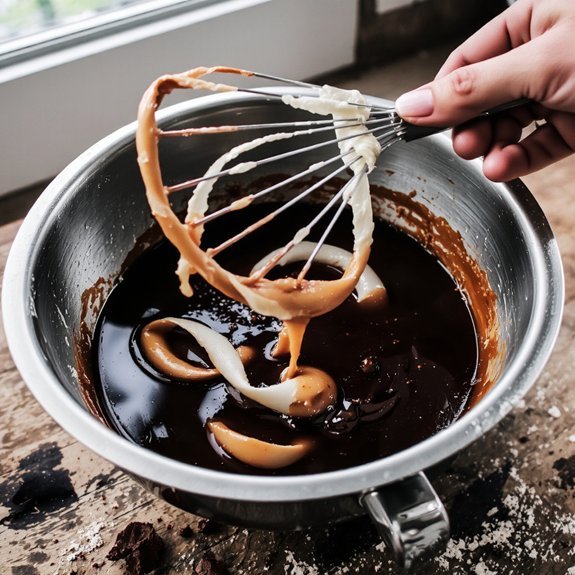
Combine your softened butter and granulated sugar in a large bowl, then beat on medium speed for 2-3 minutes until the mixture becomes light and fluffy.
This fat aeration creates the foundation for your cookies’ texture.
Fat aeration creates the essential foundation for achieving your cookies’ ideal texture and structure.
Next, incorporate your egg and molasses, mixing thoroughly until fully combined.
The molasses dissolves into the wet ingredients, ensuring even distribution throughout your dough.
- 2 cups all-purpose flour
- 1 teaspoon baking soda
- ½ teaspoon salt
- 1 tablespoon ground ginger
- 1 teaspoon ground cinnamon
Gradually fold the dry mixture into your wet ingredients using a spatula, stirring until you’ve achieved a cohesive dough.
Don’t overmix—stop once no flour streaks remain. Your dough’s ready for the next phase.
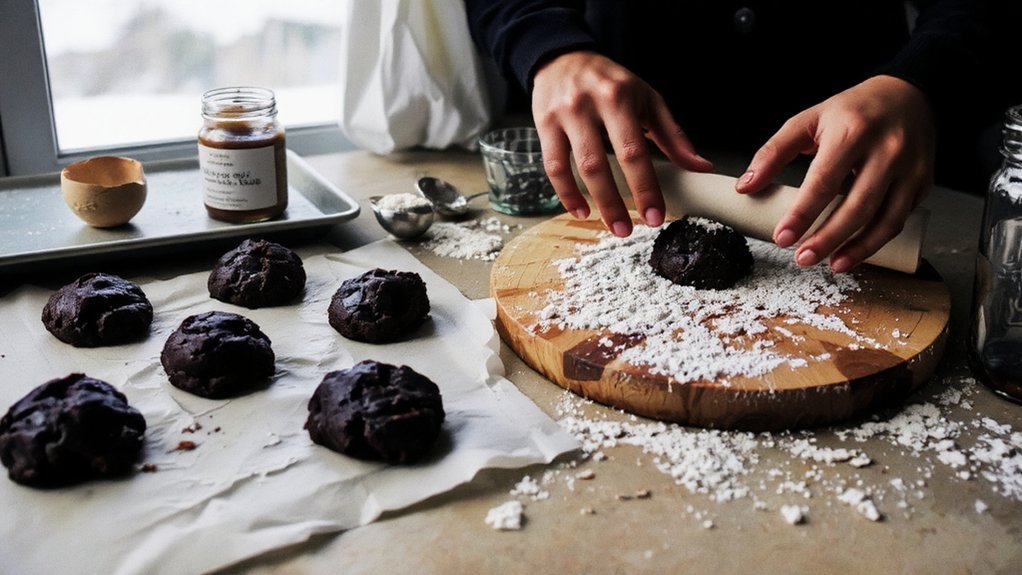
4. Shaping and Rolling the Cookies
You’ll roll your dough to a consistent 1/4-inch thickness to guarantee even baking and uniform cookie texture.
Portion your dough using a 2-tablespoon scoop or 1-1/2-inch balls to standardize sizes and baking times.
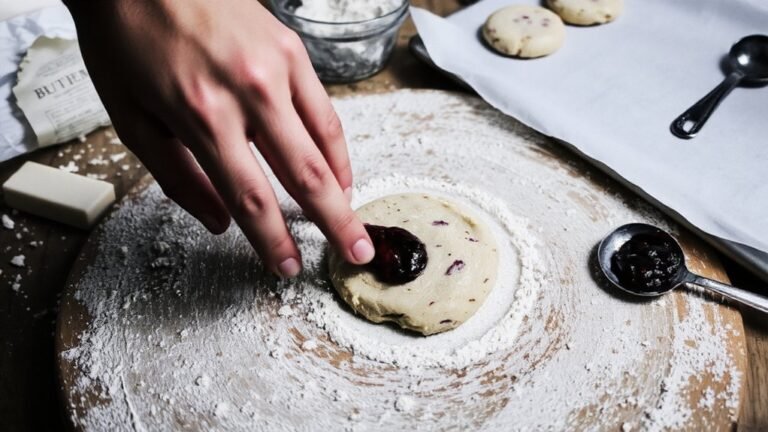
Dust your work surface and rolling pin with granulated sugar instead of flour to prevent sticking while maintaining the cookies’ characteristic crackled surface.
Rolling Dough to Thickness
Shaping your molasses dough requires a cool work surface and a ¼-inch thickness for ideal texture.
You’ll achieve consistent results by following regional techniques passed down through historical practices.
Use these methods for best dough preparation:
- Dust your work surface with granulated sugar instead of flour
- Roll between two parchment sheets to prevent sticking
- Maintain dough temperature at 65-70°F for easier handling
- Apply even pressure across the entire surface
- Rotate dough 90 degrees every few passes
The ¼-inch measurement guarantees proper rise and crackle formation during baking.
You’re not constrained by complicated equipment—a standard rolling pin works perfectly.
Monitor thickness with a ruler for accuracy.
This precision prevents underbaked centers and overdone edges, giving you complete control over your final product’s texture and appearance.
Portioning Cookie Sizes
A 1-tablespoon cookie scoop—or roughly 15 grams per portion—ensures uniform baking and consistent results across your entire batch.
You’ll want to maintain consistent portion weights throughout your process, as this directly impacts baking time and texture uniformity.
For a standard dough batch, you’ll typically yield 24-36 cookies, depending on your desired size.
Smaller portions around 12 grams produce delicate, crispy cookies, while 18-20 gram portions create chewier centers with crispier edges.
You’re free to customize your portion weights based on preference.
Weigh each scoop on a kitchen scale for absolute precision—this eliminates guesswork and guarantees reproducible results.
Space portions evenly across your baking sheet, leaving roughly 2 inches between each cookie.
This spacing accommodates spreading without cookies merging together during baking.
Preventing Sticking and Cracking
To prevent sticking during the shaping process, dust your work surface and hands with cornstarch or rice flour—these won’t incorporate into the dough like wheat flour will.
Your molasses cookies’ ingredient interactions directly impact cracking during baking. Here’s why precision matters:
- Maintain dough temperature between 65-70°F for ideal handling
- Roll to uniform ⅜-inch thickness for consistent thermal expansion
- Space cookies 2 inches apart on parchment paper
- Chill shaped dough 30 minutes before baking to reduce spreading
- Use parchment paper instead of greased sheets to minimize sticking
The molasses content creates moisture that causes thermal expansion as cookies bake. Cooler dough resists rapid expansion, preventing cracks.
Your work surface temperature matters too—a marble slab stays cooler longer than wood. This control over ingredient interactions and heat management yields smooth-surfaced cookies with minimal cracking.
5. Baking to Perfection
Getting your oven to the right temperature is essential—you’ll want it preheated to 350°F for exactly 15 minutes before your first batch goes in.
Temperature control makes the difference between underbaked centers and overdone edges.
Place your cookies on the middle rack, spacing them two inches apart.
Bake for 10-12 minutes, depending on your oven’s accuracy.
You’re looking for edges that’ve set while centers remain slightly soft—they’ll continue cooking as they cool.
Timing precision matters here.
Remove them when the tops appear dry but the cookies still give slightly when pressed.
This residual heat finishes the bake without sacrificing that signature chewy texture.
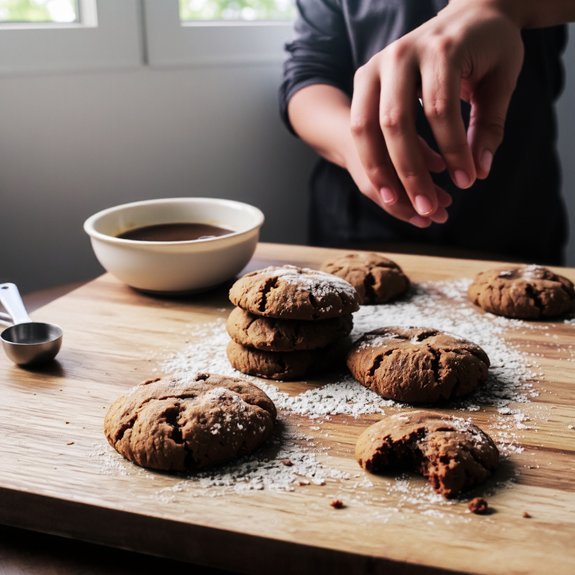
Let cookies cool on the baking sheet for three minutes before transferring to a wire rack.
This cooling window guarantees they won’t crumble while staying perfectly tender.
6. Storage and Serving Tips
Once your molasses cookies have cooled completely, you’ll want to store them in an airtment container with an airtight seal to maintain their chewy texture and prevent them from hardening.
Store cooled molasses cookies in an airtight container to preserve their chewy texture and prevent hardening.
For ideal preservation, consider these storage methods:
- Room temperature: 2-3 weeks in airtight containers
- Refrigerator: 4-5 weeks at 40°F
- Freezer storage: up to 3 months when wrapped individually
- Stack layers with parchment paper to prevent sticking
- Keep away from moisture and direct sunlight
Presentation ideas elevate your serving options. Arrange cookies on tiered cake stands for elegant displays, or package them in kraft boxes with ribbon for gifts.
Dust tops with cinnamon sugar before serving for enhanced visual appeal. These storage techniques and presentation strategies guarantee your molasses cookies remain fresh and impressive, giving you complete control over your baking outcomes.
Frequently Asked Questions
Can I Substitute Molasses With Honey or Corn Syrup in This Recipe?
You can substitute, but you’ll encounter significant flavor differences. Honey adds floral sweetness; corn syrup contributes neutral sweetness without molasses’ deep complexity.
For a 1:1 swap, reduce other liquids by 25% since honey and corn syrup contain more moisture. Expect lighter color and milder taste.
You’ll lose molasses’ distinctive spiced notes, producing cookies that lack authentic character. Adjust sweetness carefully—both alternatives are sweeter than molasses—and accept your cookies will taste fundamentally different from the original recipe.
Why Do Molasses Cookies Crack on Top While Baking?
Your molasses cookies crack because you’re experiencing rapid leavening from baking soda reacting with acidic molasses, creating CO2 that escapes through the dough’s surface.
The sugar crust that forms on top hardens faster than the interior rises, causing splits.
You’ll control this by reducing baking soda slightly, chilling dough longer, and baking at precise 350°F temperatures.
These adjustments let you dictate your cookies’ appearance entirely.
How Do I Prevent My Cookies From Spreading Too Thin?
You’ll prevent excessive spreading by chilling your dough for at least two hours before baking. Use precise flour measurement—weigh ingredients rather than scooping—to guarantee proper dough consistency.
A drier dough spreads less. You’re controlling the variables that matter: gluten development and moisture content.
Chill Dough between batches too. This gives you freedom from guesswork, producing consistently thick, chewy cookies with defined edges every single time.
Can I Freeze Molasses Cookie Dough Before Baking?
You can absolutely freeze your molasses cookie dough.
Portion your dough into balls, place them on a baking sheet, and freeze for two hours before transferring to airtight containers.
Your freezing duration can extend up to three months without compromising quality.
When you’re ready to bake, skip thawing methods entirely—bake frozen dough directly at 350°F, adding just two to three minutes to your baking time.
This approach gives you complete control over your baking schedule.
What Causes Molasses Cookies to Be Too Cakey or Dry?
You’ll get cakey, dry cookies when you’re overmixing dough or using excess leavening agents.
Overmixing develops too much gluten, creating a dense crumb structure.
Too much baking soda or powder throws off your moisture balance, drying them out fast. Stick to precise measurements—don’t eyeball your leavening. Use a light hand when combining ingredients. Your molasses cookies deserve that chewy independence they’re born to have.


Leave a Comment