Key Takeaways
- Whip room-temperature egg whites with sugar until stiff, glossy peaks form, then gently fold in almond flour and powdered sugar.
- Pipe quarter-inch rounds onto parchment paper, tap baking sheets to release air bubbles, then rest macarons 20–40 minutes to form skin.
- Preheat oven to 300°F and verify actual temperature with an independent thermometer; bake for 15–18 minutes until shells are set.
- Maintain 45–55% relative humidity during piping and resting to prevent cracking, hollows, and ensure proper feet development on shells.
- Store finished macarons in airtight containers at room temperature for 24 hours before refrigerating to stabilize filling and prevent moisture loss.
Essential Ingredients and Equipment
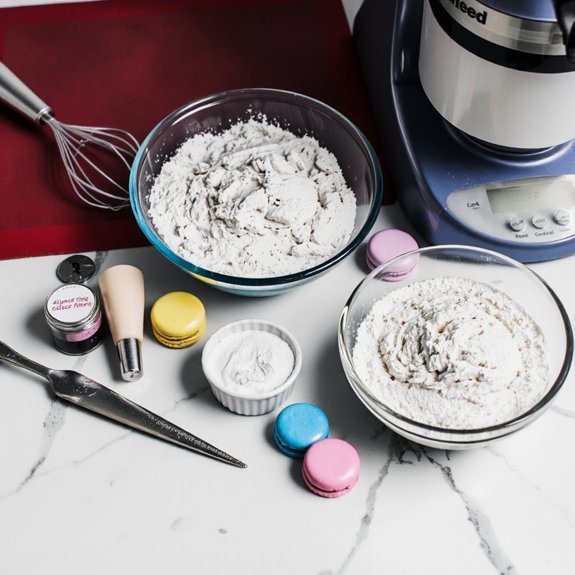
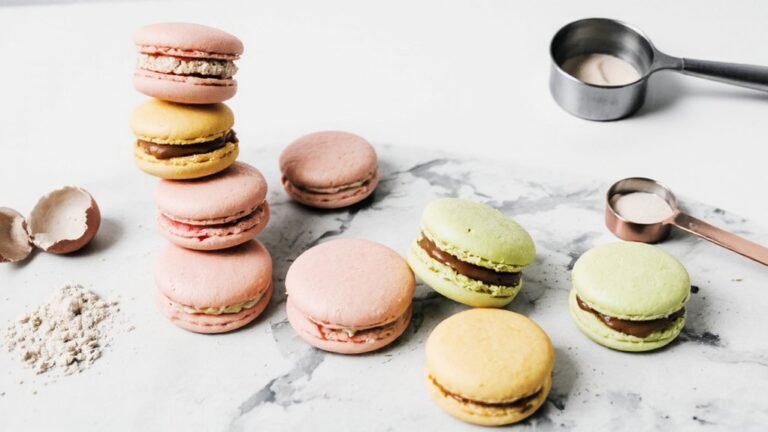
You’ll need almond flour, powdered sugar, egg whites, and granulated sugar as your foundational ingredients, along with food coloring if you’re tinting your shells.
Almond flour, powdered sugar, egg whites, and granulated sugar form the foundation of perfect macarons, with optional food coloring for tinted shells.
For ingredient sourcing, invest in blanched, finely-ground almond flour—coarser varieties compromise texture.
Seek out pure powdered sugar without cornstarch additives.
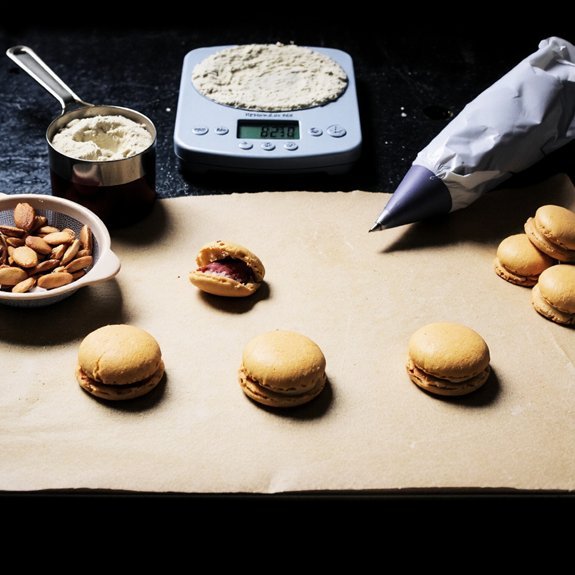
You’ll require specific equipment: a stand mixer, piping bag with round tips, baking sheets, parchment paper, and an oven thermometer.
A food scale guarantees precision; macarons demand exact measurements.
You’ll also benefit from a sifter or fine-mesh strainer for combining dry ingredients without lumps.
Regarding equipment maintenance, clean your mixing bowl thoroughly—any residual grease prevents meringue formation.
Dry equipment completely before use.
Replace worn piping tips that compromise shell consistency.
Regular maintenance guarantees reliable results and extends equipment lifespan, giving you maximum control over your baking success.
Mastering the Meringue: Whipping Egg Whites to Perfection

Since meringue forms the structural foundation of macarons, mastering egg white preparation is non-negotiable.
You’ll need room-temperature eggs, as they whip more efficiently than cold ones. Start whisking at medium speed until soft peaks form, then gradually add superfine sugar while increasing to high speed. The protein structure develops as you whip, creating stable foam that traps air bubbles essential for macaron rise.
Watch humidity levels carefully—they directly affect your meringue’s stability. High humidity causes stickiness and deflation; low humidity accelerates drying.
Whip until stiff, glossy peaks form, typically three to five minutes total. Don’t overbeat, as this breaks down the protein structure and creates grainy texture.
Properly whipped meringue appears smooth, shiny, and holds its shape instantly.
The Macaronage Technique: Folding Your Batter
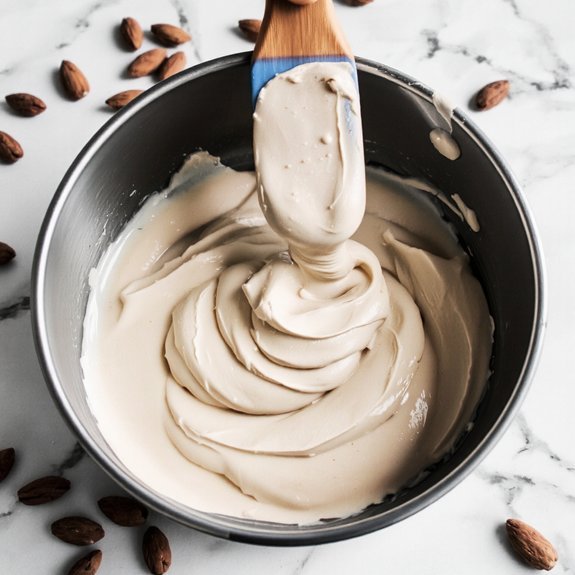
Folding almond flour and powdered sugar into your meringue—a process called macaronage—demands precision and restraint. You’ll combine dry ingredients first, then gently incorporate them into your whipped egg whites using a spatula.
Your folding rhythm is essential. Use decisive strokes down the center, across the bottom, and up the sides. Rotate your bowl between folds. You’re aiming for a specific consistency—not stiff peaks, not runny batter.
Watch for batter sheen. Your mixture should flow slowly from the spatula, creating a ribbon-like trail. It’ll transform from thick to glossy as you fold. Stop before you’re tempted to continue; over-folding deflates your meringue and ruins texture.
This technique separates successful macarons from dense failures. Master it, and you’ll achieve those signature smooth shells.
Piping and Baking Your Macarons
Once your batter reaches that glossy, ribbon-like consistency, it’s ready for piping—and this step determines whether your macarons’ll have smooth, domed shells or cracked, irregular surfaces.
The glossy, ribbon-like batter consistency is your signal that macarons are ready for piping—it’s the crucial step determining smooth shells versus cracked surfaces.
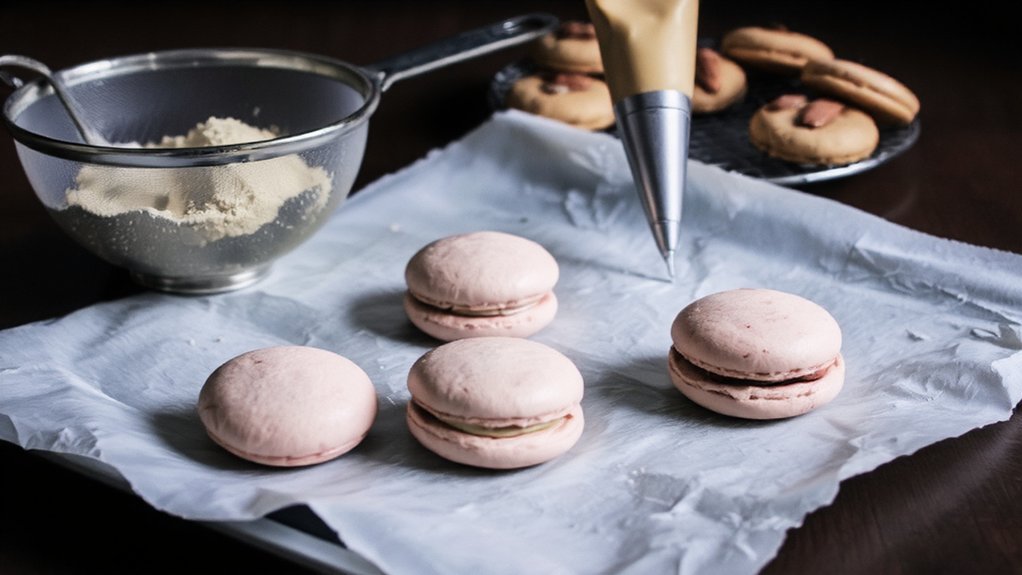
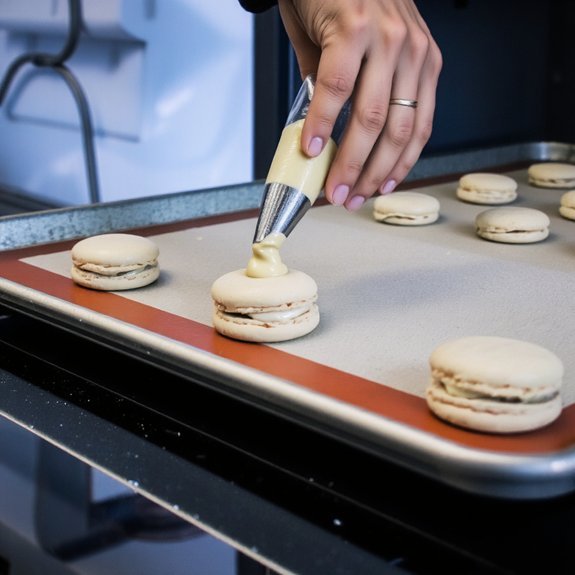
Fill your piping bag fitted with a round tip, then pipe quarter-inch rounds onto parchment paper using consistent pressure. Maintain uniform piping patterns to guarantee even baking. Space each macaron about an inch apart.
Tap your baking sheet firmly against the counter to release trapped air bubbles—this prevents hollow shells. Let piped macarons rest for 20-40 minutes; this vital cooling time allows a skin to form on the surface, essential for developing those characteristic feet during baking.
Preheat your oven to 300°F, then bake for 15-18 minutes until set.
Troubleshooting Common Macaron Problems
Why do your macarons crack, hollow out, or fail to develop feet?
Environmental conditions and technique directly determine your success.
You’re likely battling humidity and temperature fluctuations that destabilize your batter and shell formation.
Control these variables:
- Humidity control: Maintain 45-55% relative humidity during piping and resting; excess moisture prevents feet development while insufficient humidity causes premature shell formation
- Storage solutions: Keep finished macarons in airtight containers at room temperature for 24 hours before refrigerating; this stabilizes the filling and prevents moisture loss
- Oven calibration: Verify your oven’s actual temperature with an independent thermometer; even 10-degree deviations cause cracking or hollow centers
You’ll master macarons by respecting these non-negotiable parameters.
Precision beats intuition every time.
Frequently Asked Questions
Can I Make Macarons Without a Macaron Mat or Template?
Yes, you can master macarons without specialized equipment. You’ll want to explore parchment alternatives like silicone baking sheets or parchment paper marked with circles using a pen.
Freehand piping demands steady hand control and consistent pressure on your piping bag. You’re trading convenience for creative freedom—practice your technique relentlessly to achieve uniform shells.
This approach requires precision and patience, but you’ll develop superior piping skills that’ll liberate you from template dependency.
How Far in Advance Can I Prepare Macaron Shells Before Filling?
You can prepare your macaron shells up to five days ahead, provided you’re storing them correctly.
After baking, let them cool completely, then seal overnight shells in airtight containers with parchment between layers.
The resting duration in your fridge stabilizes their structure, making them sturdier for filling.
This advance preparation gives you freedom to tackle filling and assembly on your own schedule without compromising quality or texture.
What’s the Ideal Humidity Level for Baking Successful Macarons?
You’ll achieve ideal humidity between 45-55% for successful macarons.
Higher moisture causes sticky batter and flat feet; drier conditions create cracked shells.
You’re not bound to perfect conditions—make weather adaptations by adjusting rest times and oven temperatures accordingly.
On humid days, extend resting periods.
During dry spells, reduce them.
You control these variables, giving you the freedom to troubleshoot and master macaron consistency regardless of environmental factors.
Can I Use Liquid Food Coloring Instead of Gel Coloring?
You shouldn’t use liquid food coloring in macarons.
The excess water destabilizes your meringue texture, compromising the delicate structure you’ve worked to achieve.
You’ll experience color bleeding throughout your batter, creating muddied, uneven shells.
Gel coloring contains minimal water, preserving meringue integrity while delivering vibrant, stable hues.
Stick with gel or powder colorants—they won’t sabotage your batch’s success.
How Do I Store Finished Macarons to Maintain Their Texture?
You’ll maintain your macarons’ delicate texture by storing them in airtight containers with layer separators between each macaron. This prevents moisture loss and crushing.
Keep them refrigerated at 35-40°F for up to two weeks, or freeze them for three months. Before serving, let them reach room temperature—don’t rush this step.
The separators allow you to stack multiple layers without compromising that signature crisp shell and chewy center you’ve worked to achieve.

Leave a Comment