Key Takeaways
- Whisk dry ingredients (flour, baking powder, salt, coconut) separately, then alternate with wet ingredients when mixing batter.
- Grease and line a 9-inch pan with parchment paper to prevent sticking and ensure easy cake removal.
- Bake at 350°F for 30–35 minutes until a toothpick inserted in the center comes out clean.
- Cool completely in the pan for 10–15 minutes, then invert onto a rack for at least 2 hours.
- Frost with butter-coconut mixture, apply crumb coat, chill 30 minutes, then add final coat and toasted coconut.
Gathering Your Ingredients
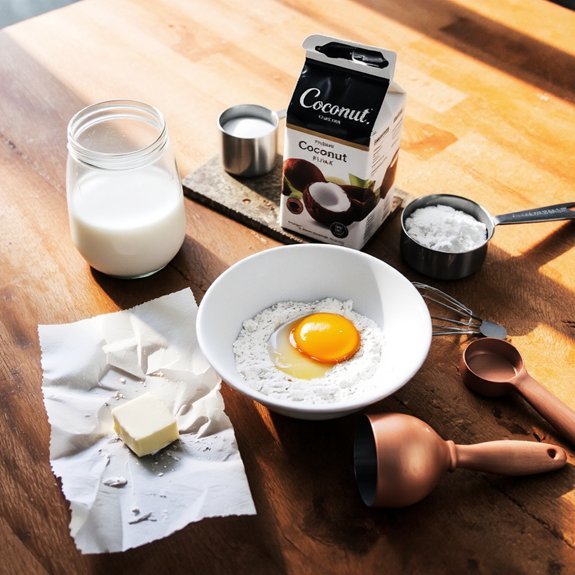
Before you’re able to bake your coconut cake, you’ll need to assemble all the necessary components.
Gather two cups all-purpose flour, one-and-a-half cups granulated sugar, three-and-a-half teaspoons baking powder, one teaspoon salt, one cup shredded coconut, four large eggs, one cup coconut milk, half cup vegetable oil, and two teaspoons vanilla extract.
Check your leavening agents for freshness checks—baking powder loses potency over time.
Inspect your coconut for moisture and odor, ensuring quality.
If you’re managing allergen alternatives, substitute all-purpose flour with almond flour at a one-to-one ratio, or replace eggs with flax eggs using three tablespoons water mixed with one tablespoon ground flaxseed per egg.
For dairy-free versions, use canned coconut milk exclusively.
Measure ingredients precisely before mixing to guarantee consistent results and ideal texture in your finished cake.
Preparing Your Baking Pans
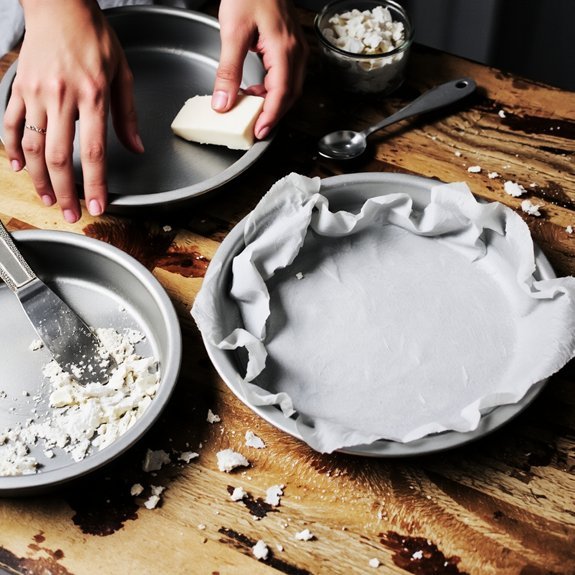
Once you’ve measured all your ingredients, you’ll need to ready your baking pans to prevent sticking and guarantee even baking.
Select your pan materials wisely—aluminum conducts heat efficiently, while dark steel promotes browning.
Here’s your lining strategy:
- Grease thoroughly with butter or coconut oil, ensuring complete coverage
- Line the bottom with parchment paper for effortless removal
- Dust lightly with flour or coconut flour to create an additional barrier
These lining techniques eliminate guesswork.
Proper pan preparation directly impacts your cake’s structural integrity and surface quality.
Don’t skip this step—it’s the difference between a perfectly released cake and a frustrating disaster.
Your finished coconut cake depends on this foundation.
Mixing the Cake Batter
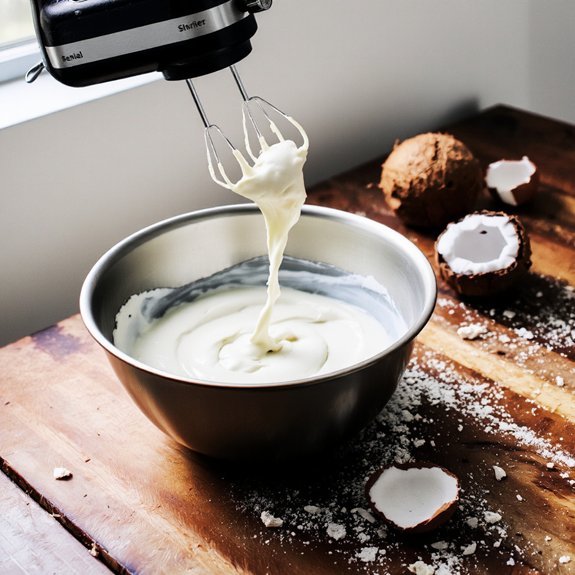
Combining your dry and wet ingredients properly sets the foundation for a tender, evenly textured cake.
Proper combination of dry and wet ingredients establishes the foundation for achieving a tender, evenly textured cake.
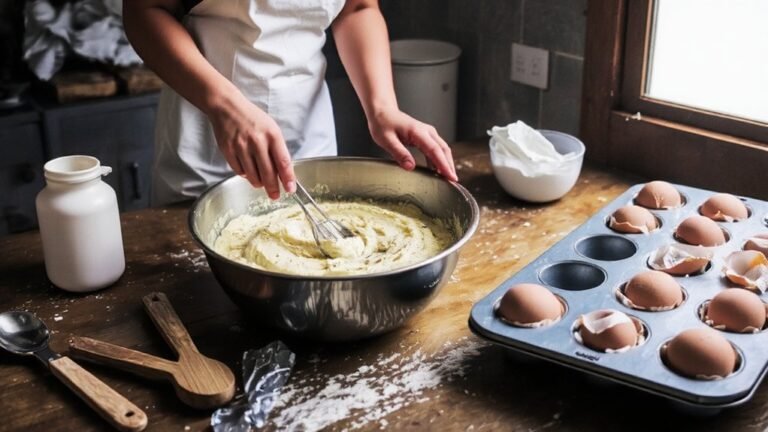
Start by whisking together your flour, baking powder, salt, and shredded coconut in a medium bowl.
In a separate bowl, cream your butter and sugar until light and fluffy, then add eggs one at a time, beating well after each addition.
Alternate adding your dry mixture and coconut milk to the wet ingredients, beginning and ending with the dry mixture.
Use a low mixing speed when incorporating each addition to avoid overmixing, which toughens the crumb.
Employ a gentle folding technique with a spatula for the final combination, ensuring no flour streaks remain.
This methodical approach guarantees a moist, tender coconut cake with ideal texture and flavor distribution throughout.
Baking and Cooling Your Cake
Your batter’s now ready for the oven, where heat’ll transform those carefully combined ingredients into a golden cake.
Preheat your oven to 350°F and pour the batter into a greased 9-inch round pan.
Bake for 30-35 minutes until a toothpick inserted in the center comes out clean.
Monitor these critical indicators:
- Golden-brown exterior with slight springiness when touched
- Internal temperature reaching 210°F for proper coconut structure
- Dry toothpick confirming moisture balance
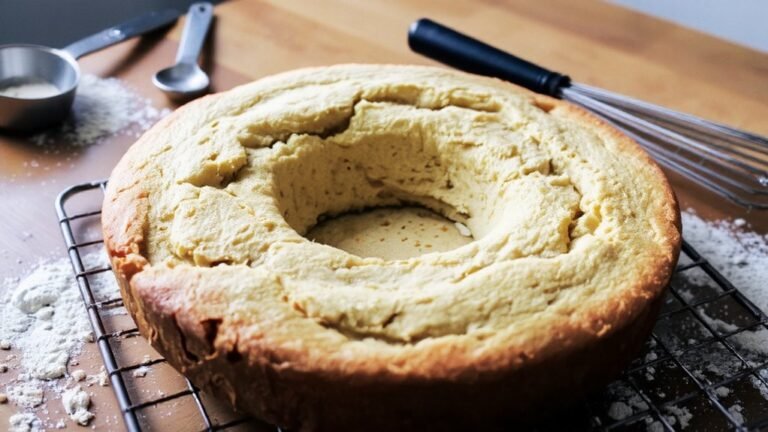
Remove the cake and allow 10-15 minutes of resting time in the pan.
This resting period lets the crumb set properly.
Then perform a rack transfer by inverting the cake onto a cooling rack.
You’ll prevent condensation from softening the bottom while allowing air circulation underneath.
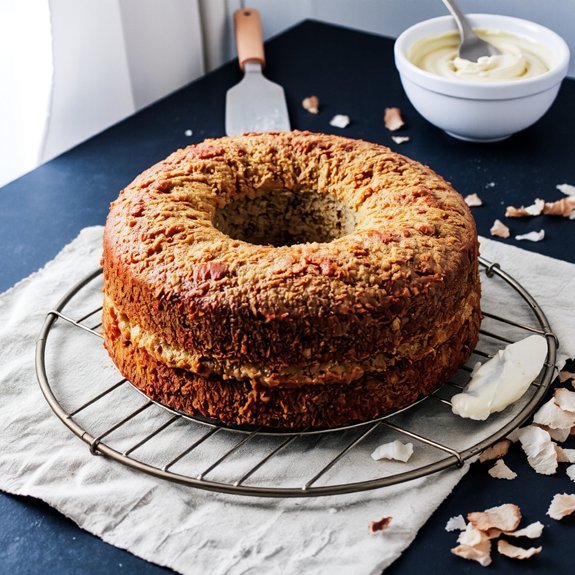
Cool completely—at least two hours—before frosting or serving.
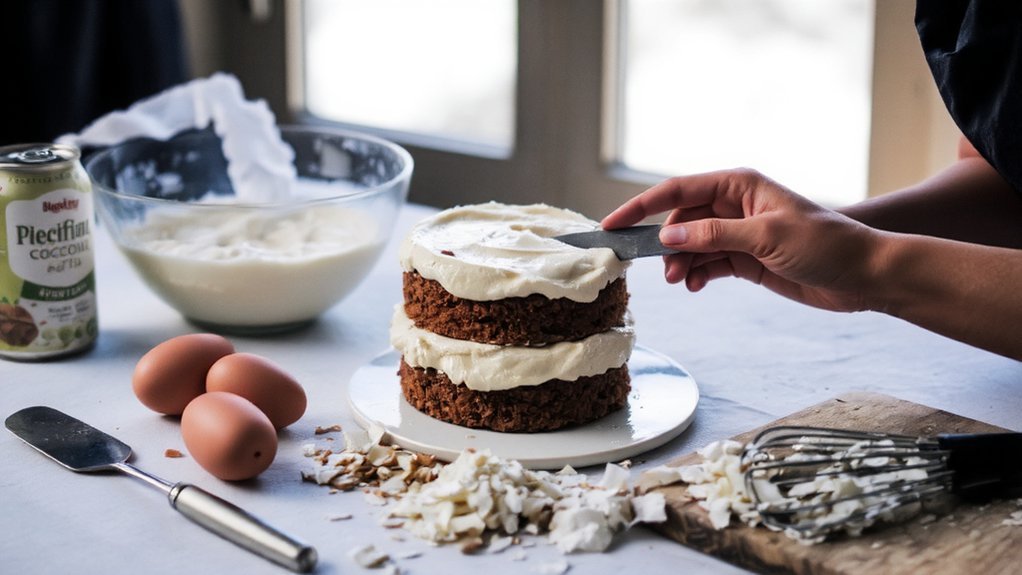
Frosting and Decorating With Coconut
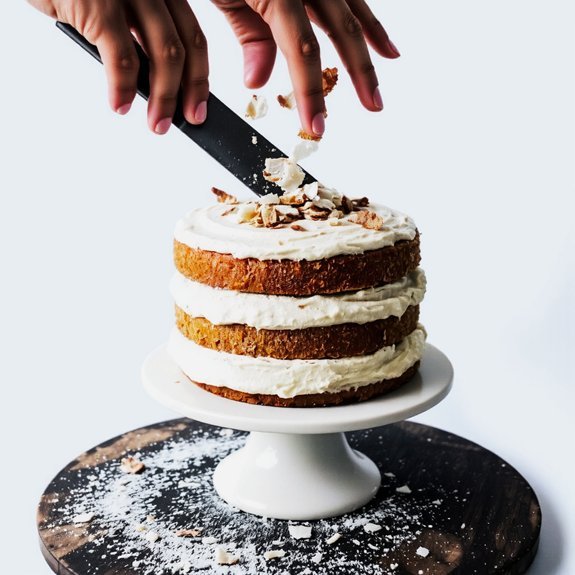
Frosting your cooled cake requires a stable, coconut-forward base that’ll complement the cake’s delicate crumb. Whip softened butter with powdered sugar, then incorporate coconut milk and vanilla extract to create a coconut buttercream with ideal consistency. Spread an even crumb coat across all layers, chill for thirty minutes, then apply your final frosting layer with precision.
For decoration, you’ve got total control over your design aesthetic. Toast fresh coconut flakes in a dry skillet at 325°F until golden—this intensifies flavor and creates textural contrast. Press toasted coconut onto frosting sides immediately after application. Layer additional toasted coconut on top for visual impact and depth. Consider white chocolate shavings or candied coconut strips for sophisticated touches. Your finished cake now showcases coconut’s complexity at every level.
Frequently Asked Questions
Can I Use Shredded Coconut Instead of Coconut Milk in the Batter?
You can substitute shredded coconut for coconut milk, but you’ll need to make critical moisture adjustments.
Shredded coconut absorbs liquid differently than milk, so add extra buttermilk or water to maintain proper batter consistency. You’ll also need to compensate for the fat content difference—coconut milk contains substantially more fat, so incorporate additional butter or oil to achieve the right texture and richness in your final cake.
How Long Does a Coconut Cake Stay Fresh After Baking?
Your coconut cake stays fresh for 2-3 days at room temperature before microbial timeline concerns emerge.
You’ll notice texture changes—the crumb dries out as moisture migrates.
Store it in an airtight container to slow degradation.
Refrigeration extends freshness to 5-7 days, though coconut oil in the batter can solidify slightly.
Freeze it for up to three months without compromising structure, ensuring you maintain complete control over your baked creation’s longevity.
What’s the Best Way to Store Leftover Coconut Cake?
You’ll maximize your coconut cake’s shelf life by placing it in airtight containers within 2 hours of cooling.
For short-term storage, refrigerate it for up to 5 days.
For extended preservation, you’ve got freedom to use freezer storage—wrap individual slices tightly in plastic wrap, then place them in freezer-safe containers for up to 3 months.
This method protects the cake’s moisture and coconut flavor integrity perfectly.
Can I Make This Cake Ahead of Time for an Event?
You can absolutely bake your coconut cake one day ahead.
Prepare the cake layers, cool them completely, then wrap them airtight.
Store the frosting separately in an airtight container.
On event day, you’ll assemble and frost everything fresh. This approach handles transport logistics smoothly—stacked layers travel safer than frosted cakes. For day of prep, you’ll only need thirty minutes to finish assembling. Your coconut cake stays moist and maintains its structural integrity perfectly.
How Do I Prevent the Coconut From Browning Too Quickly?
You’ll prevent premature browning by baking at a low temperature—around 325°F instead of 350°F. Spread your coconut in a thin layer across the cake’s surface rather than piling it thick.
This distribution promotes even, controlled toasting. Monitor closely during the final minutes of baking.
You can also tent the cake loosely with foil if browning accelerates too quickly, protecting the coconut while your cake finishes baking through completely.


Leave a Comment